Set Reviews

Set Review - Creator - Vacation Getaways - #31052

I got this set a while ago and for some reason I forgot to post the review.  Sorry.  Set 31052 is part of the Creator line and is titled "Vacation Getaways."  It was released on 22 May 2016 and has a retail price in the US of $69.99.  That's $0.088 per piece for 792 pieces.  Here is my review...

box front.jpg
box back.jpg

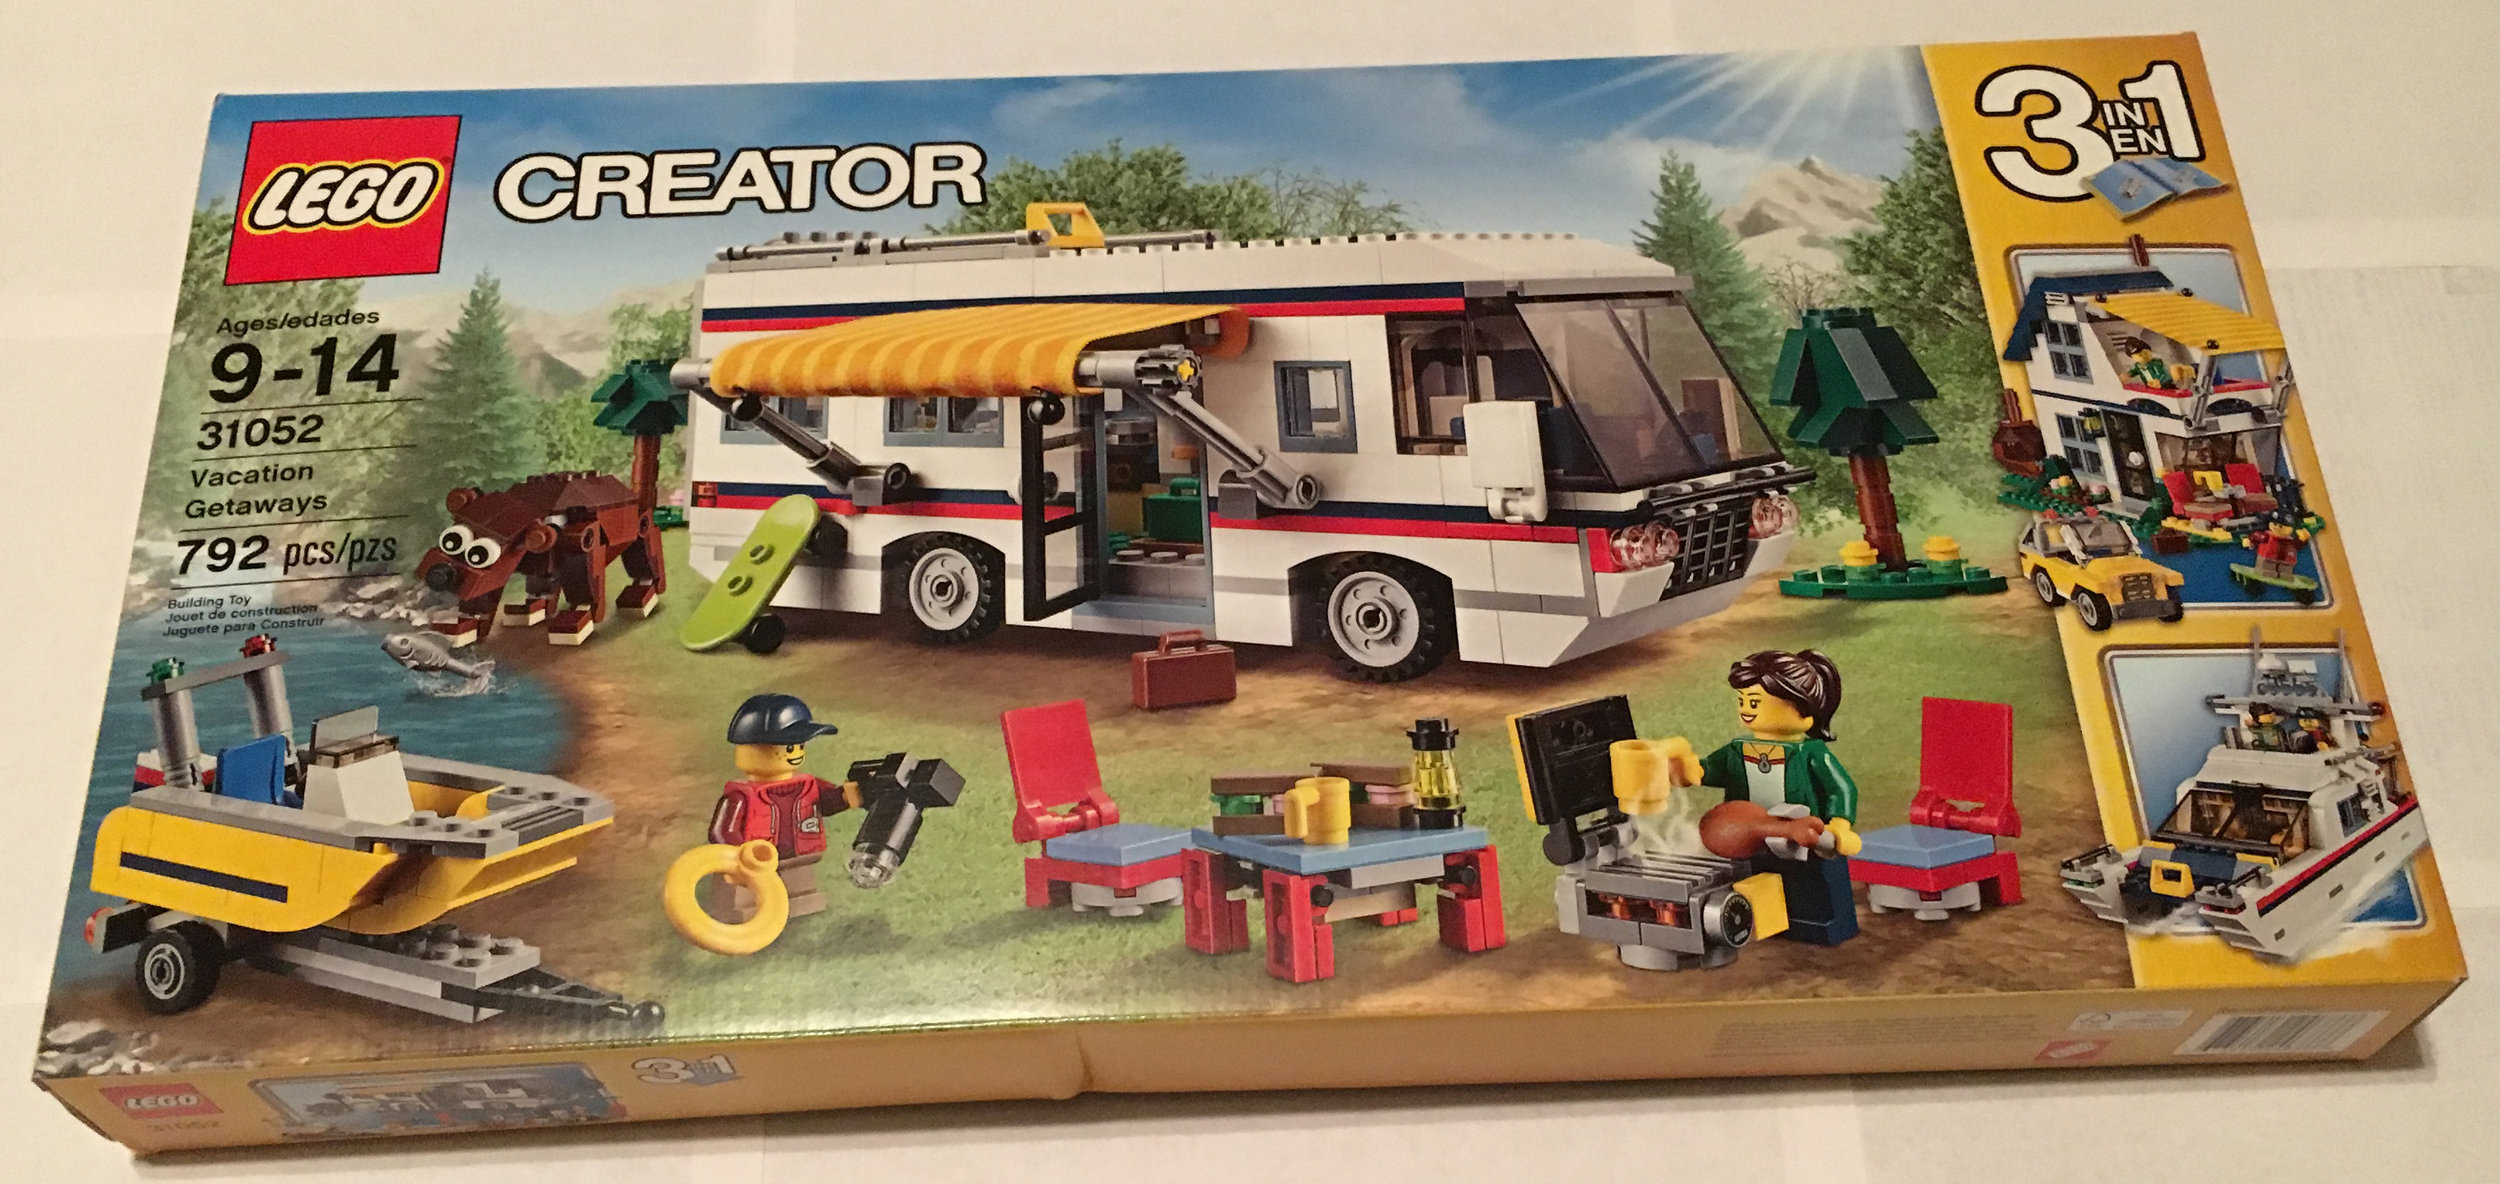
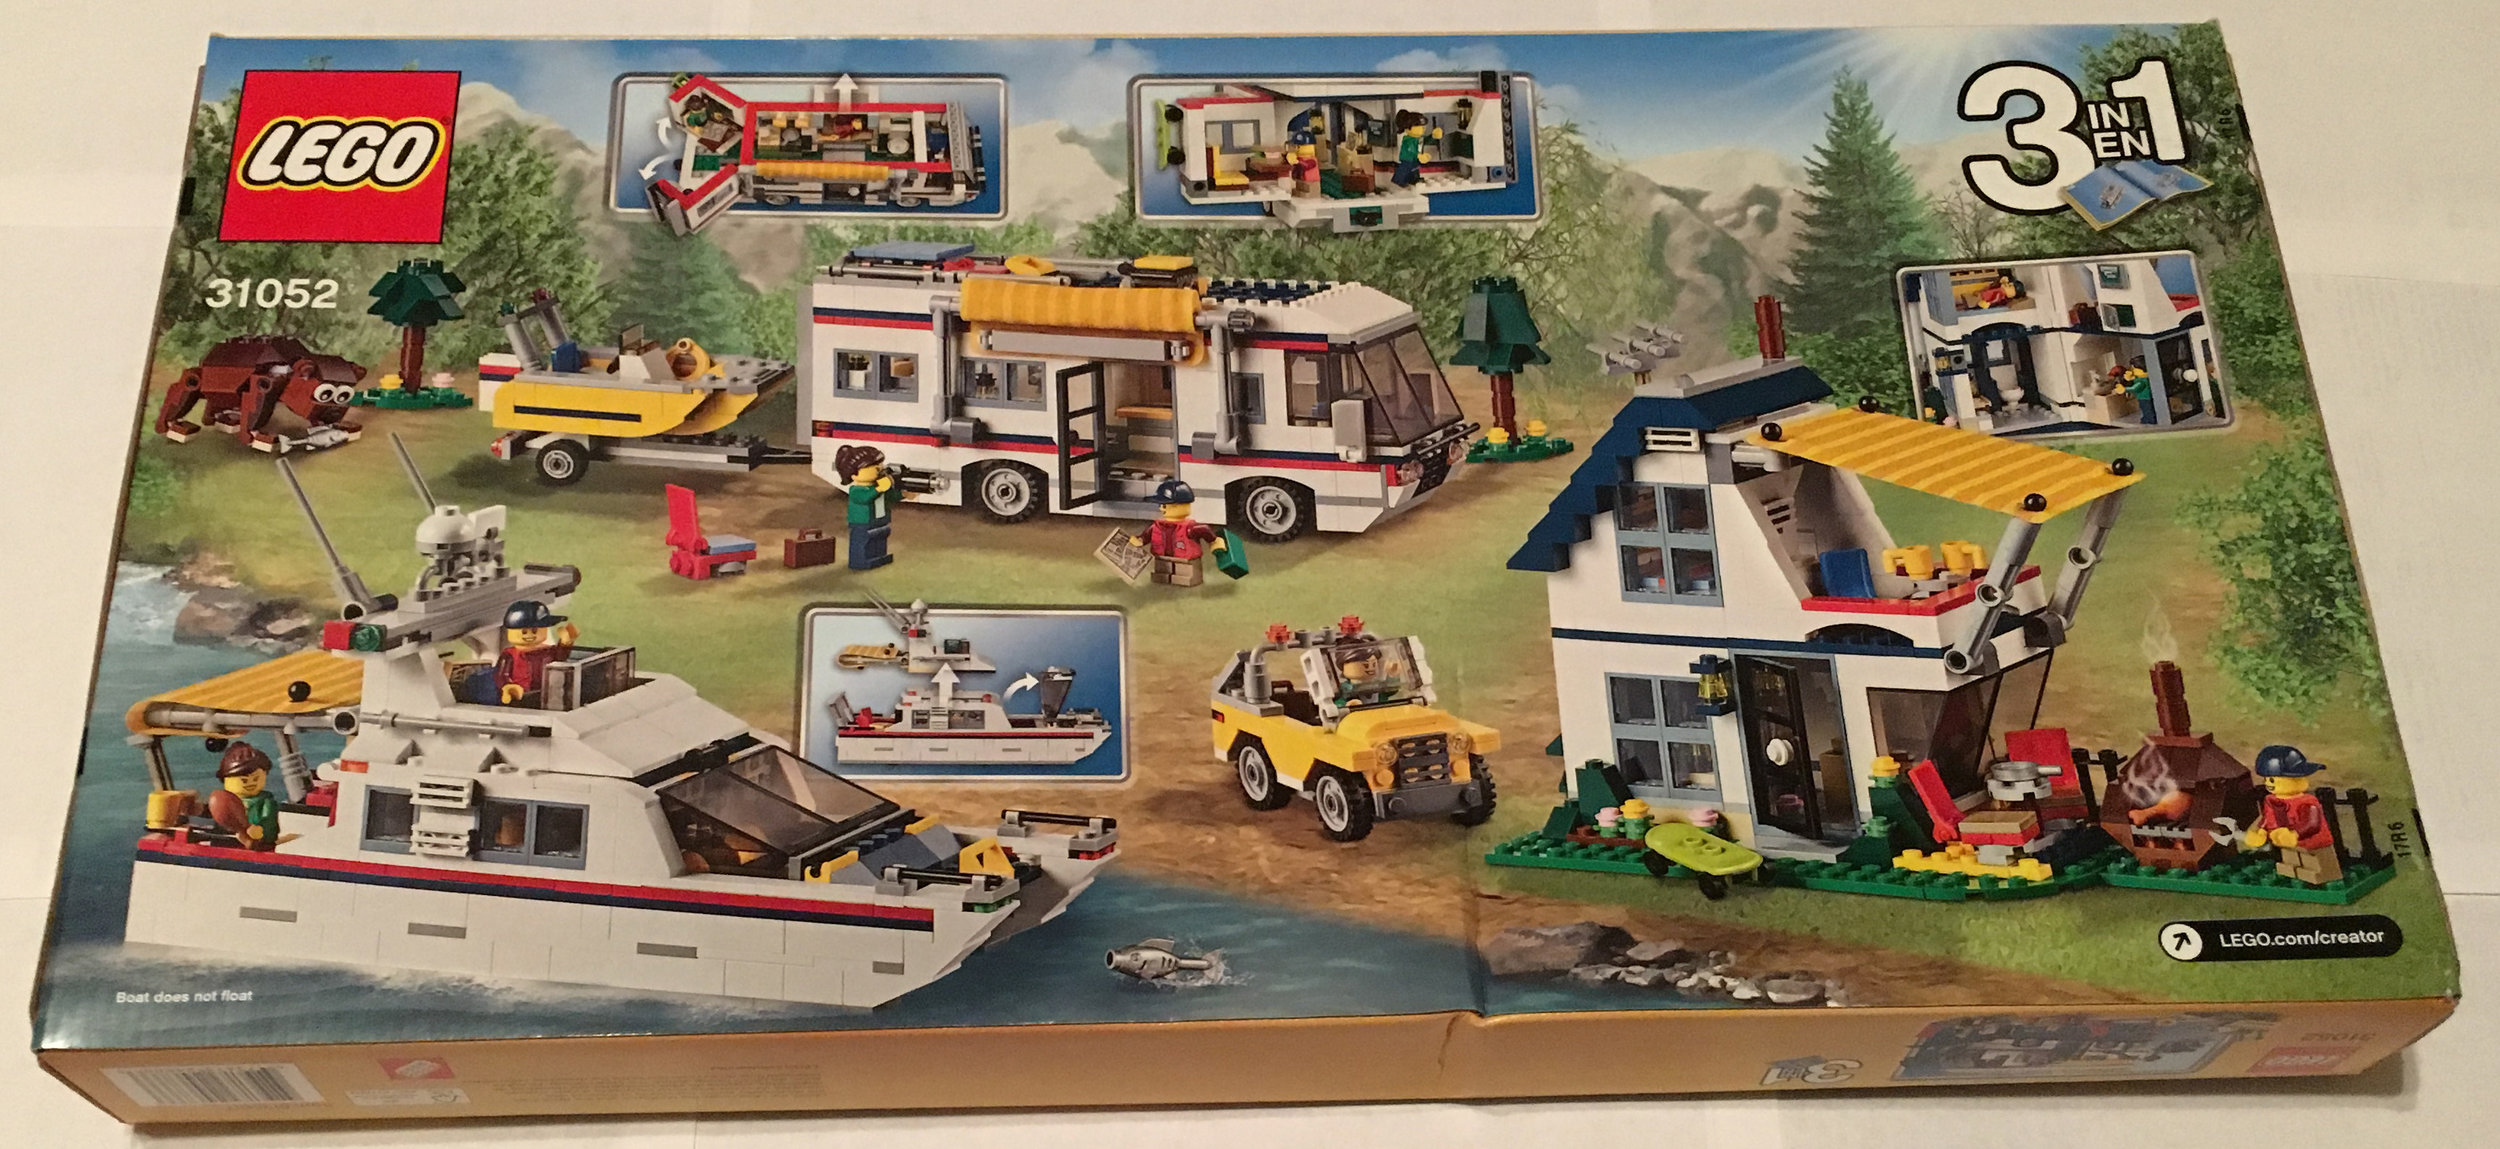
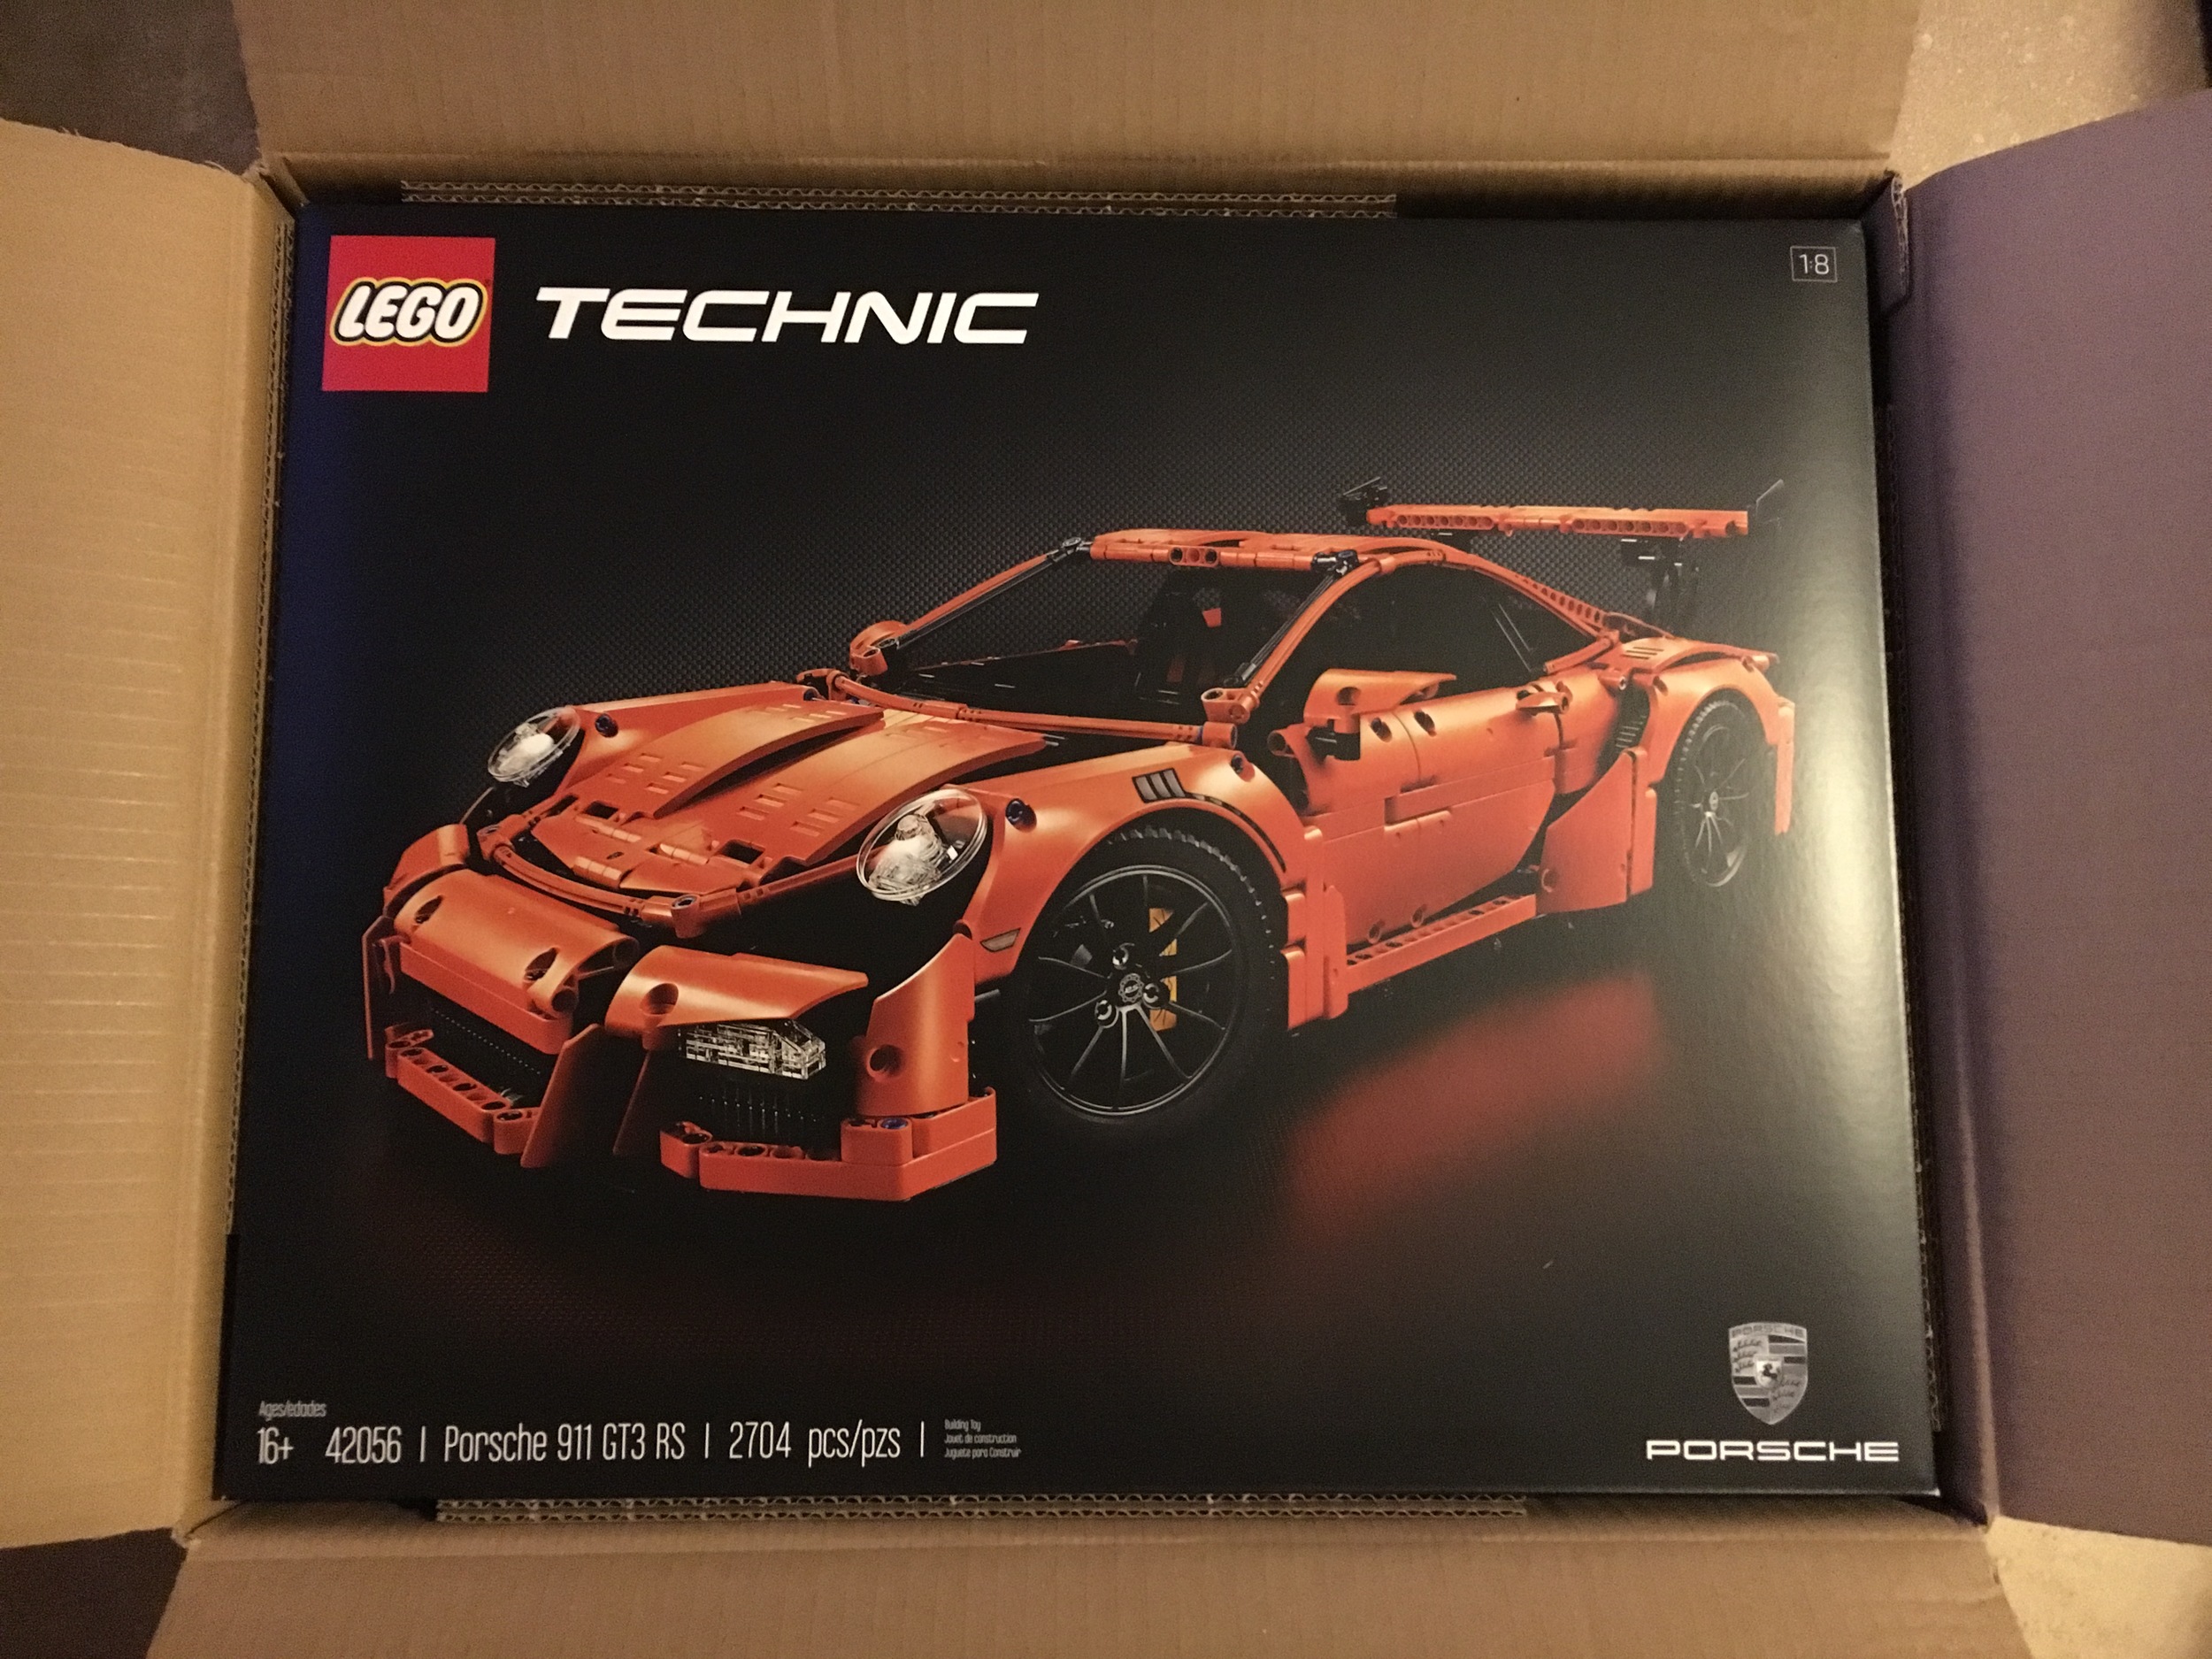
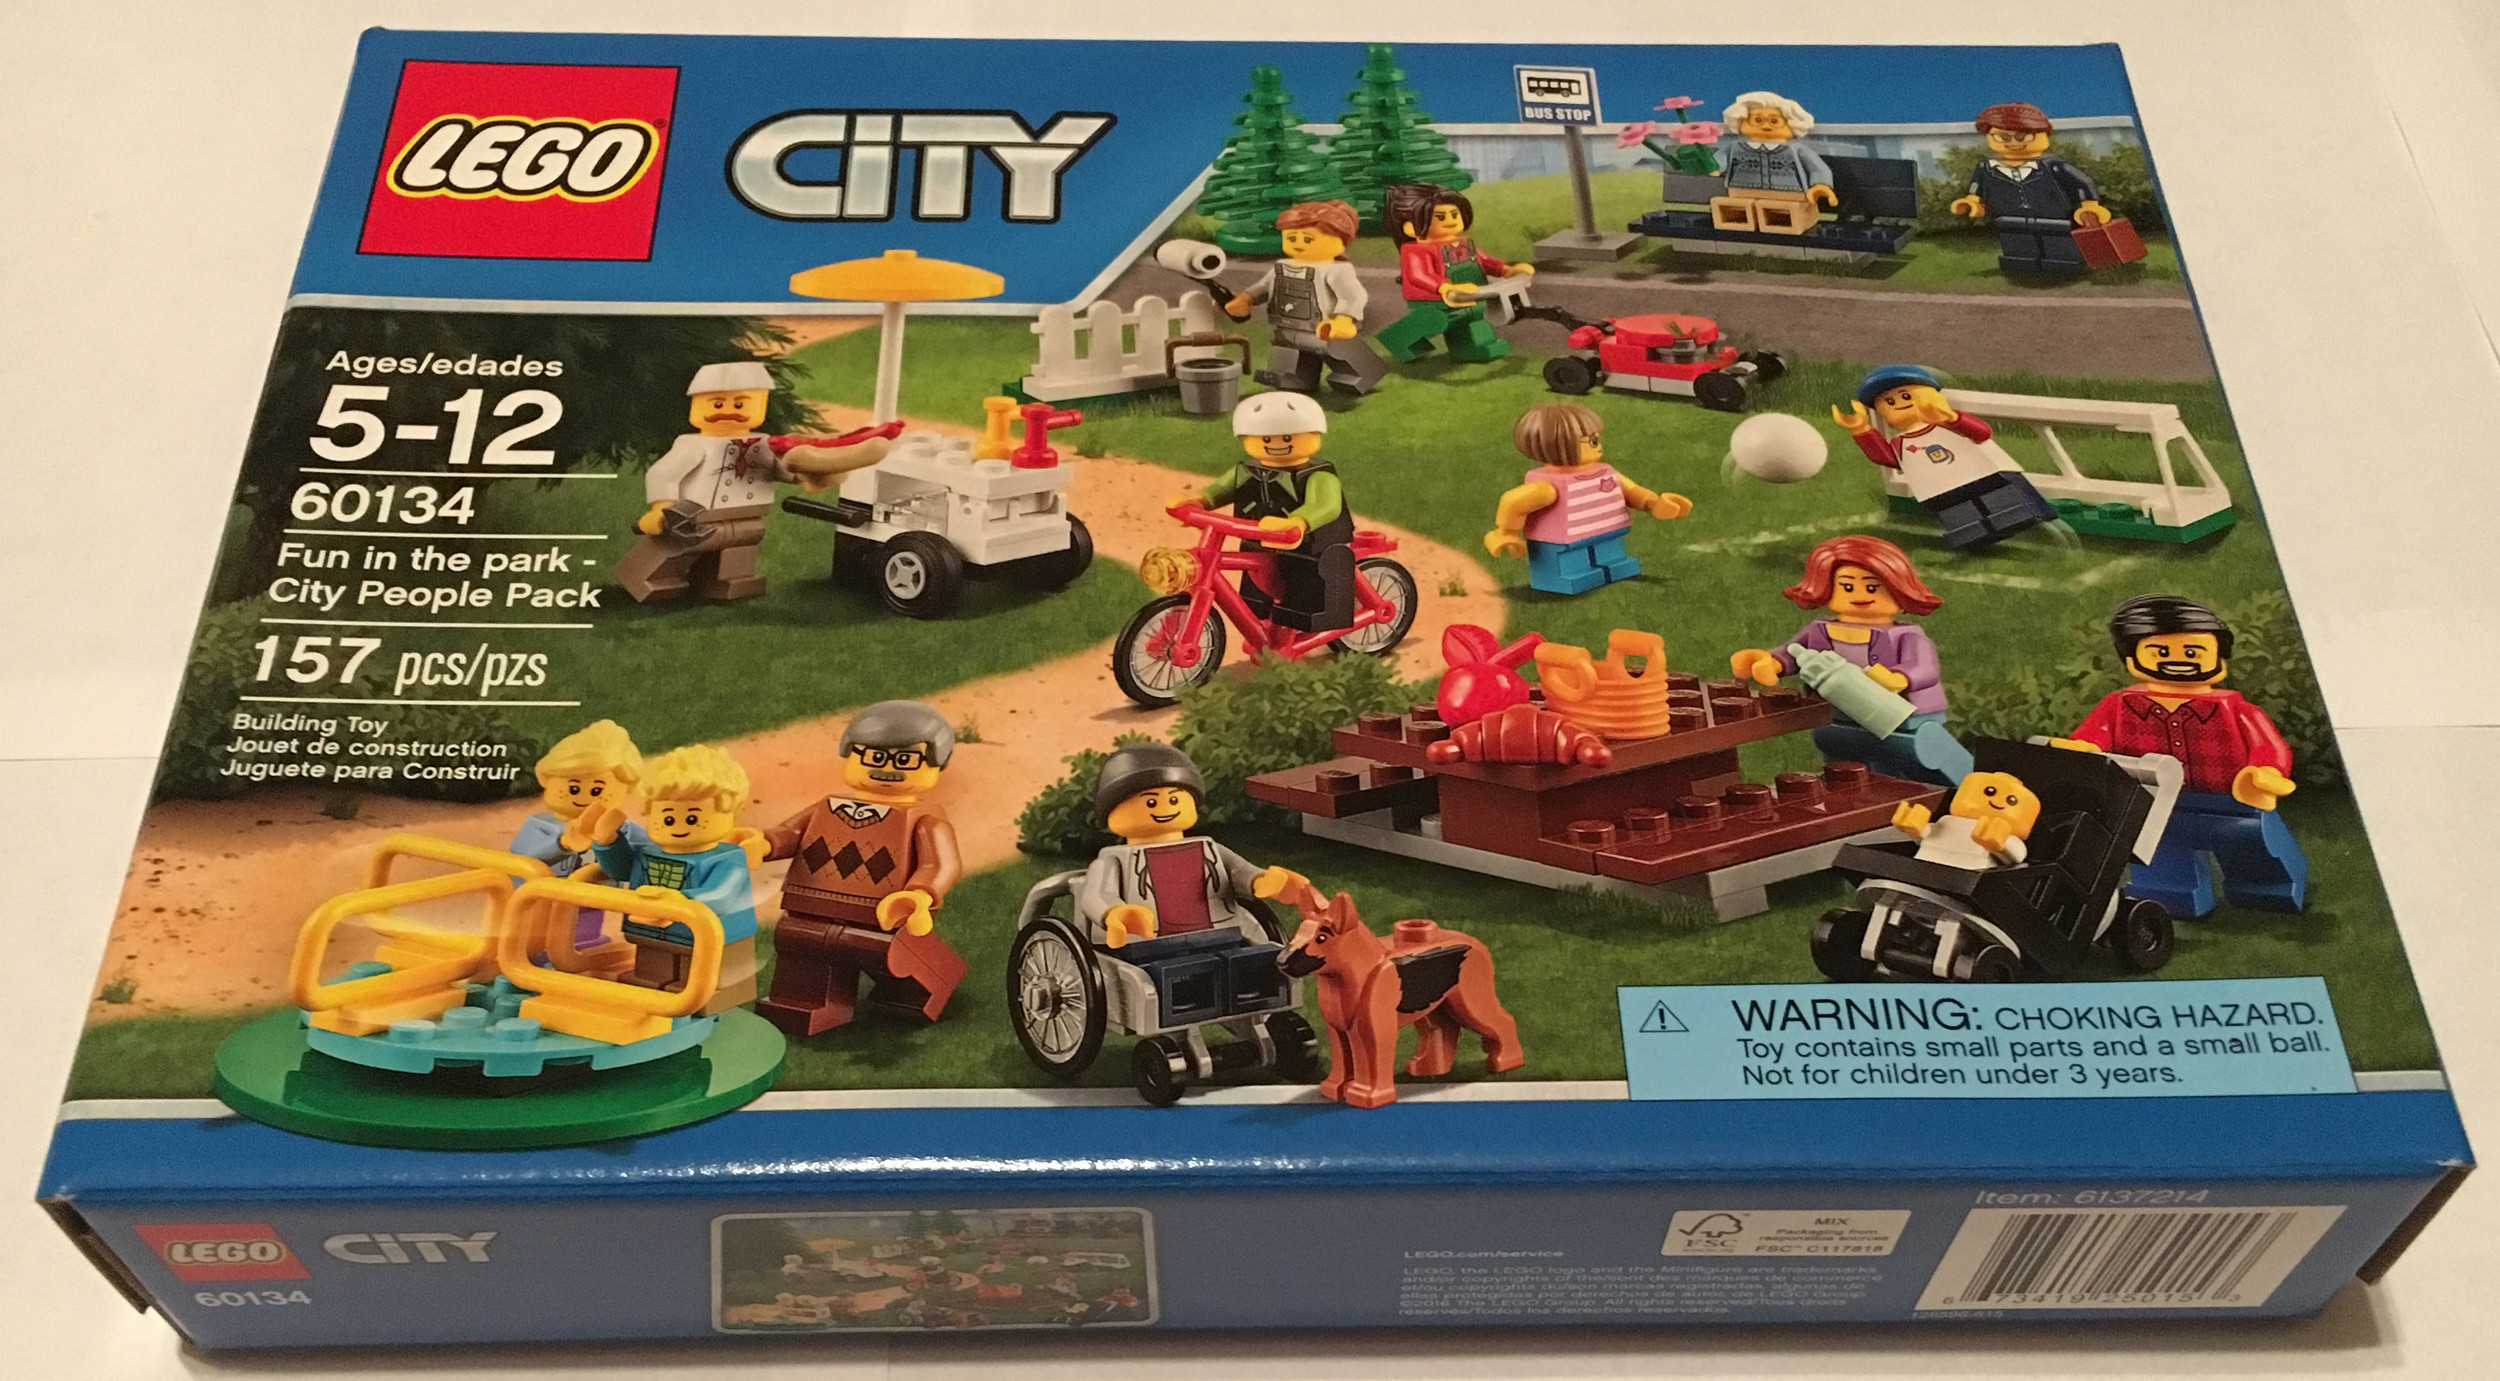
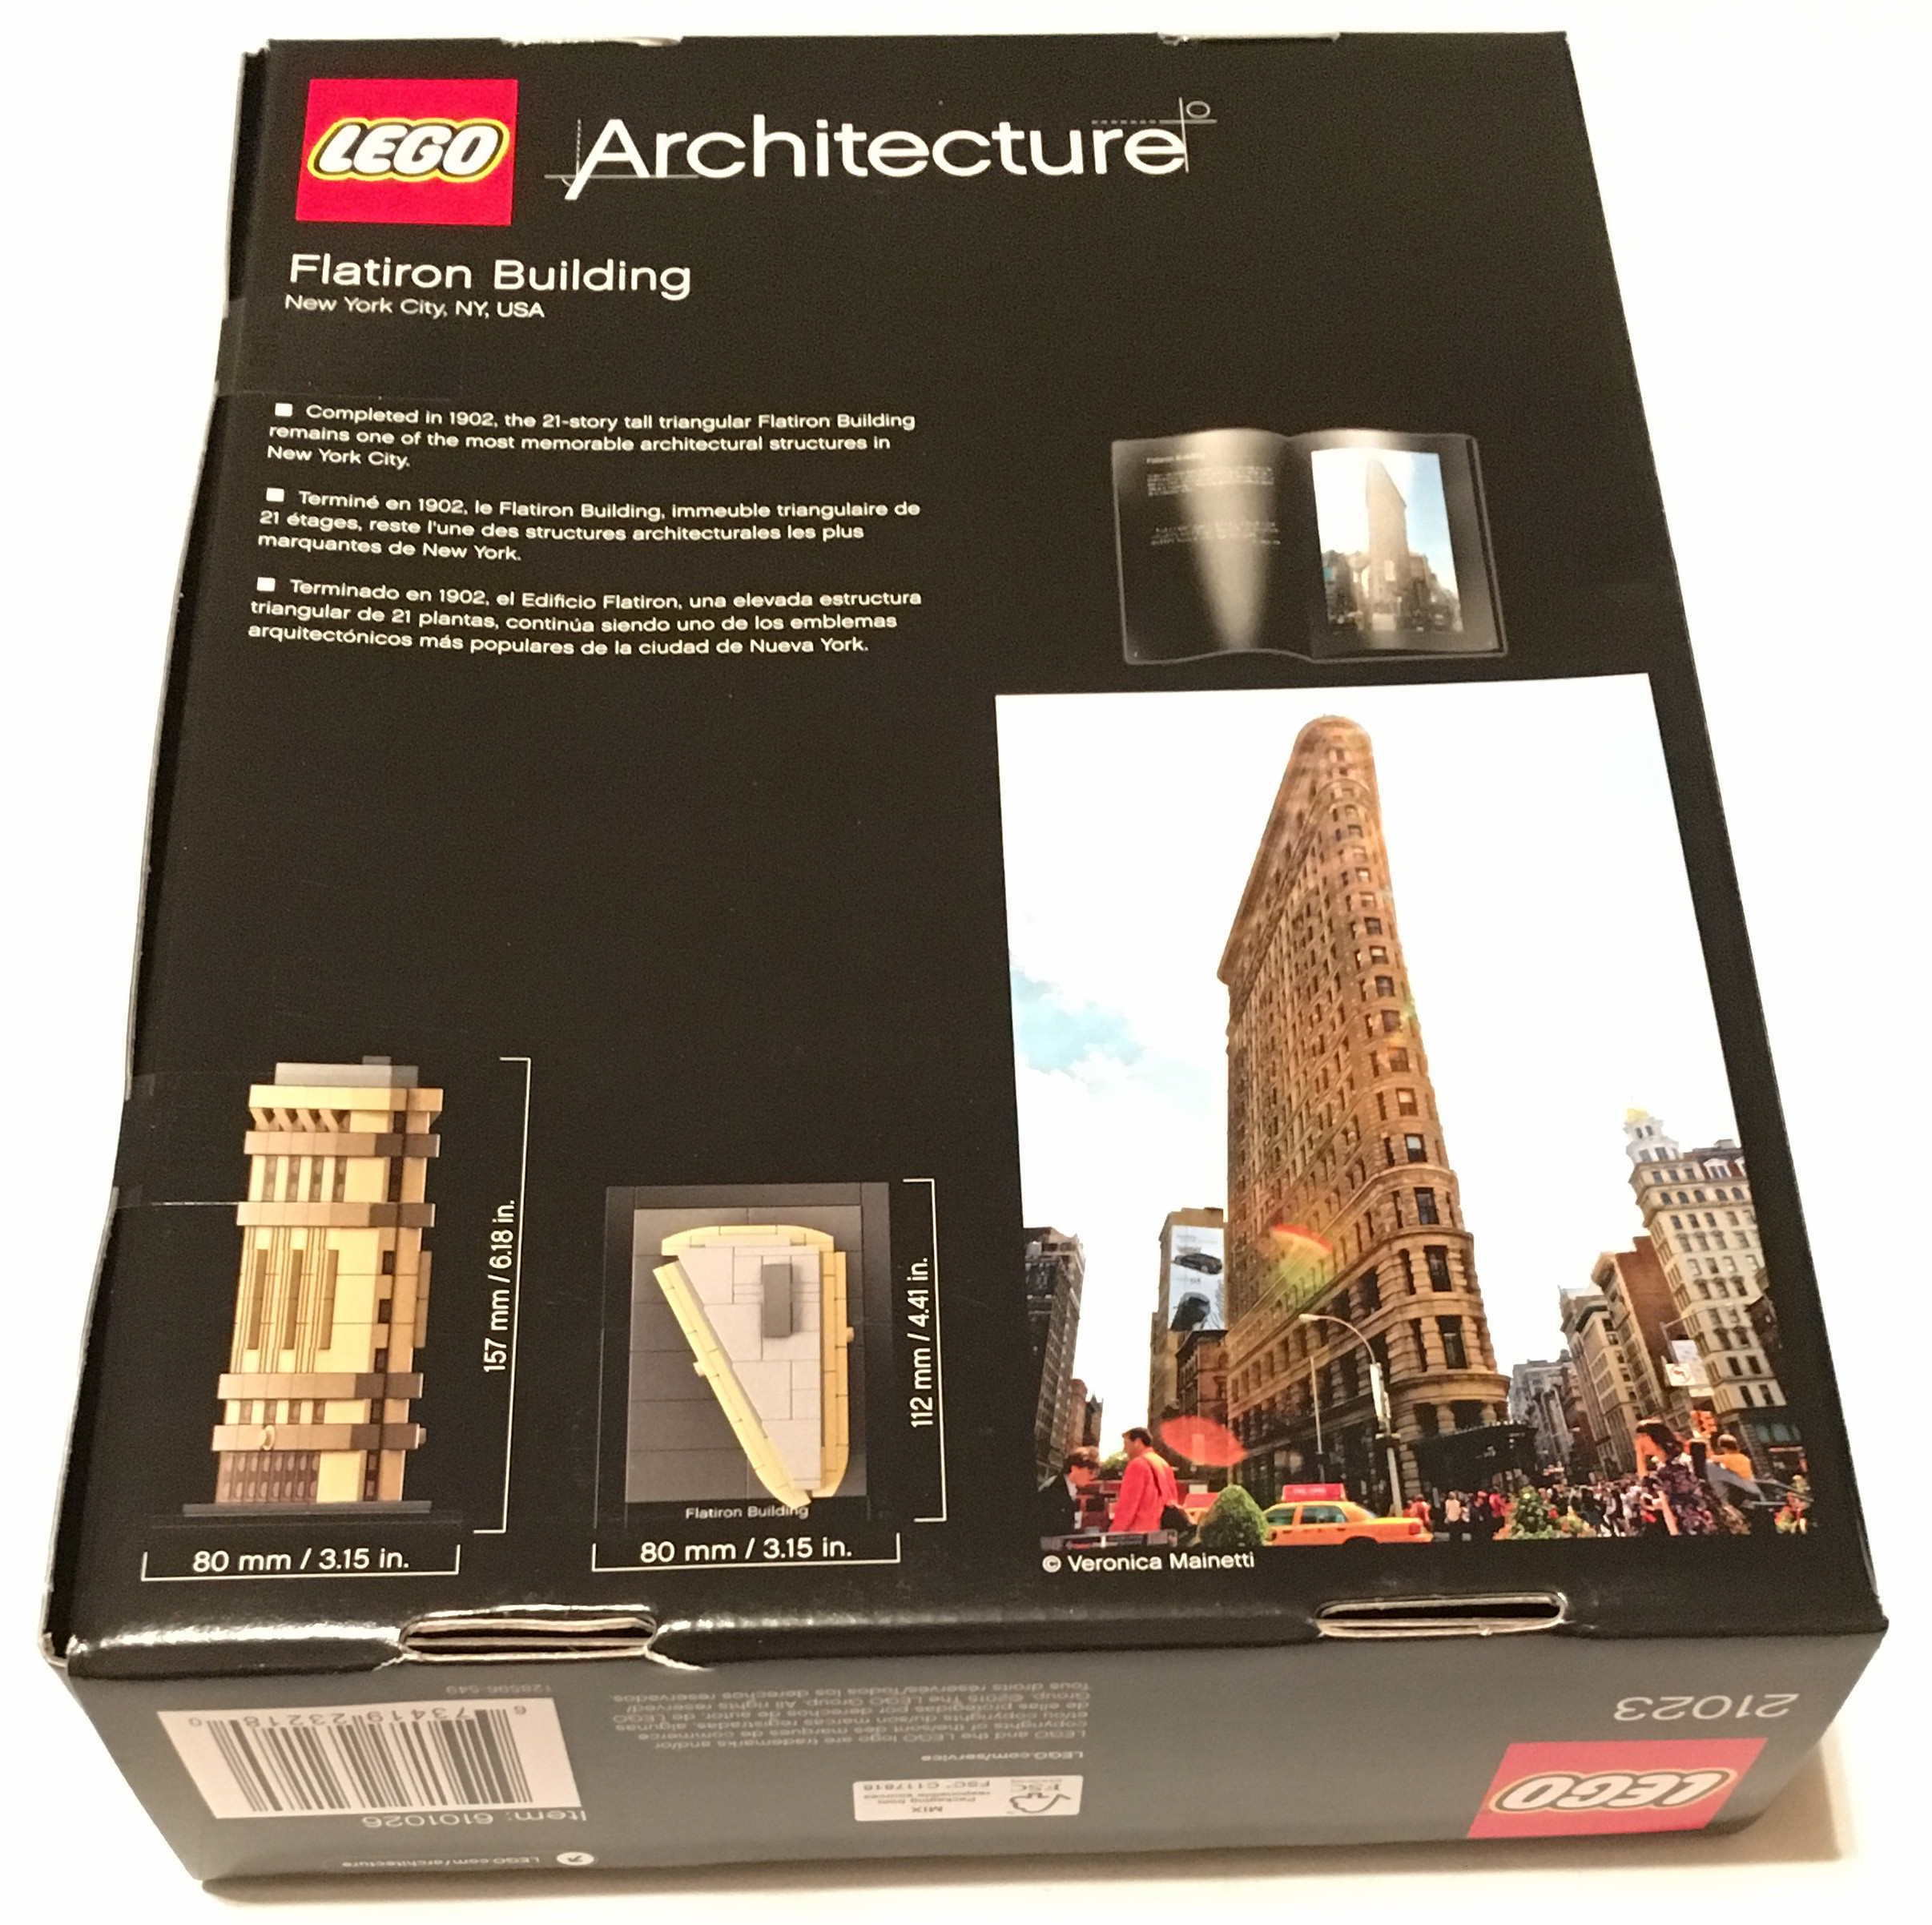
Here is the box.  The front shows the camper with boat, picnic area, trees, and wildlife design.  The back shows the larger boat and the small house options as well.

contents.jpg


First part of the build at step 17 is the start to the base, 2 minifigures (a female and male child), a chicken leg and a camera).


31052build2.jpg


Next up you can see how the back opens up.  You can also see the start of a table area for eating meals.


31052build4.jpg


We now have 2 seats in the front, a door on the side, and the living area built.


31052build7.jpg


The designers used SNOT to put the front windshield in.  You can also see what the pull out looks like.  Pull out?  Is that what you call it?  Or is it an extension?


31052build9.jpg


Here is the final build to include a small motor boat, some wildlife, and 2 trees.


31052final2.jpg


Here is a look with the top removed with a better look at the eating area, kitchenette, bed, toilet, and driving area..  It also shows how the top comes off for access.


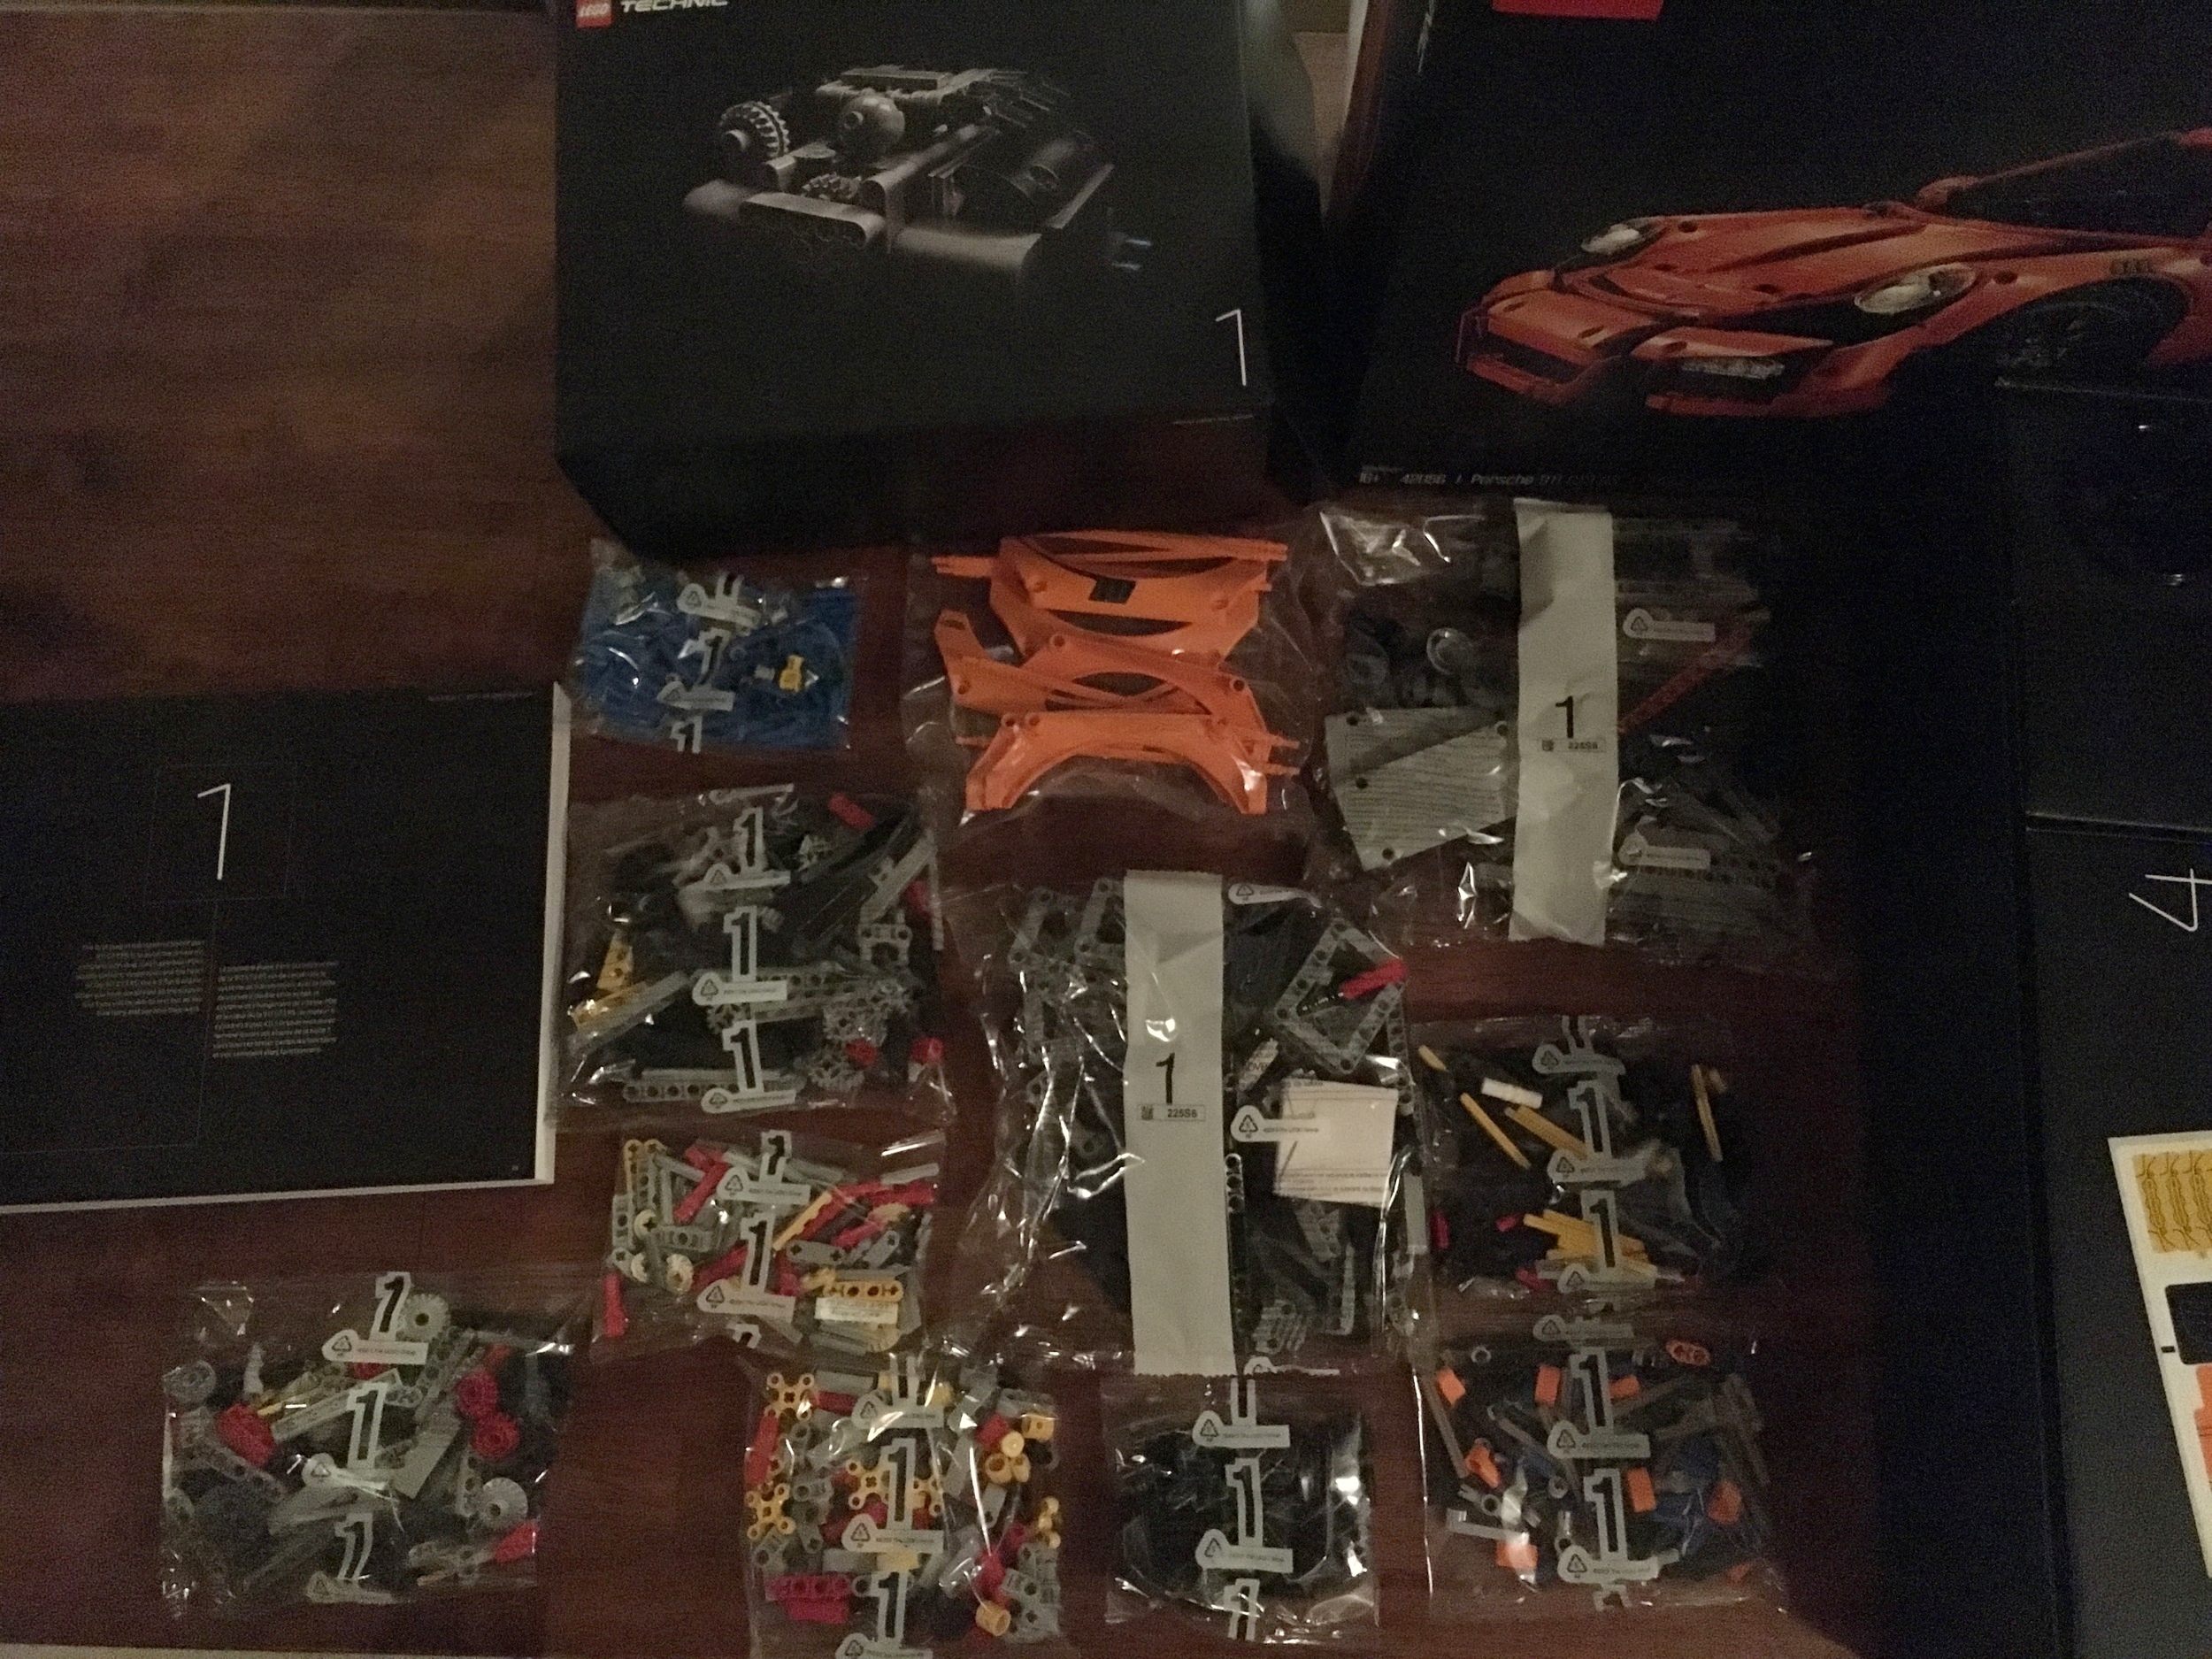
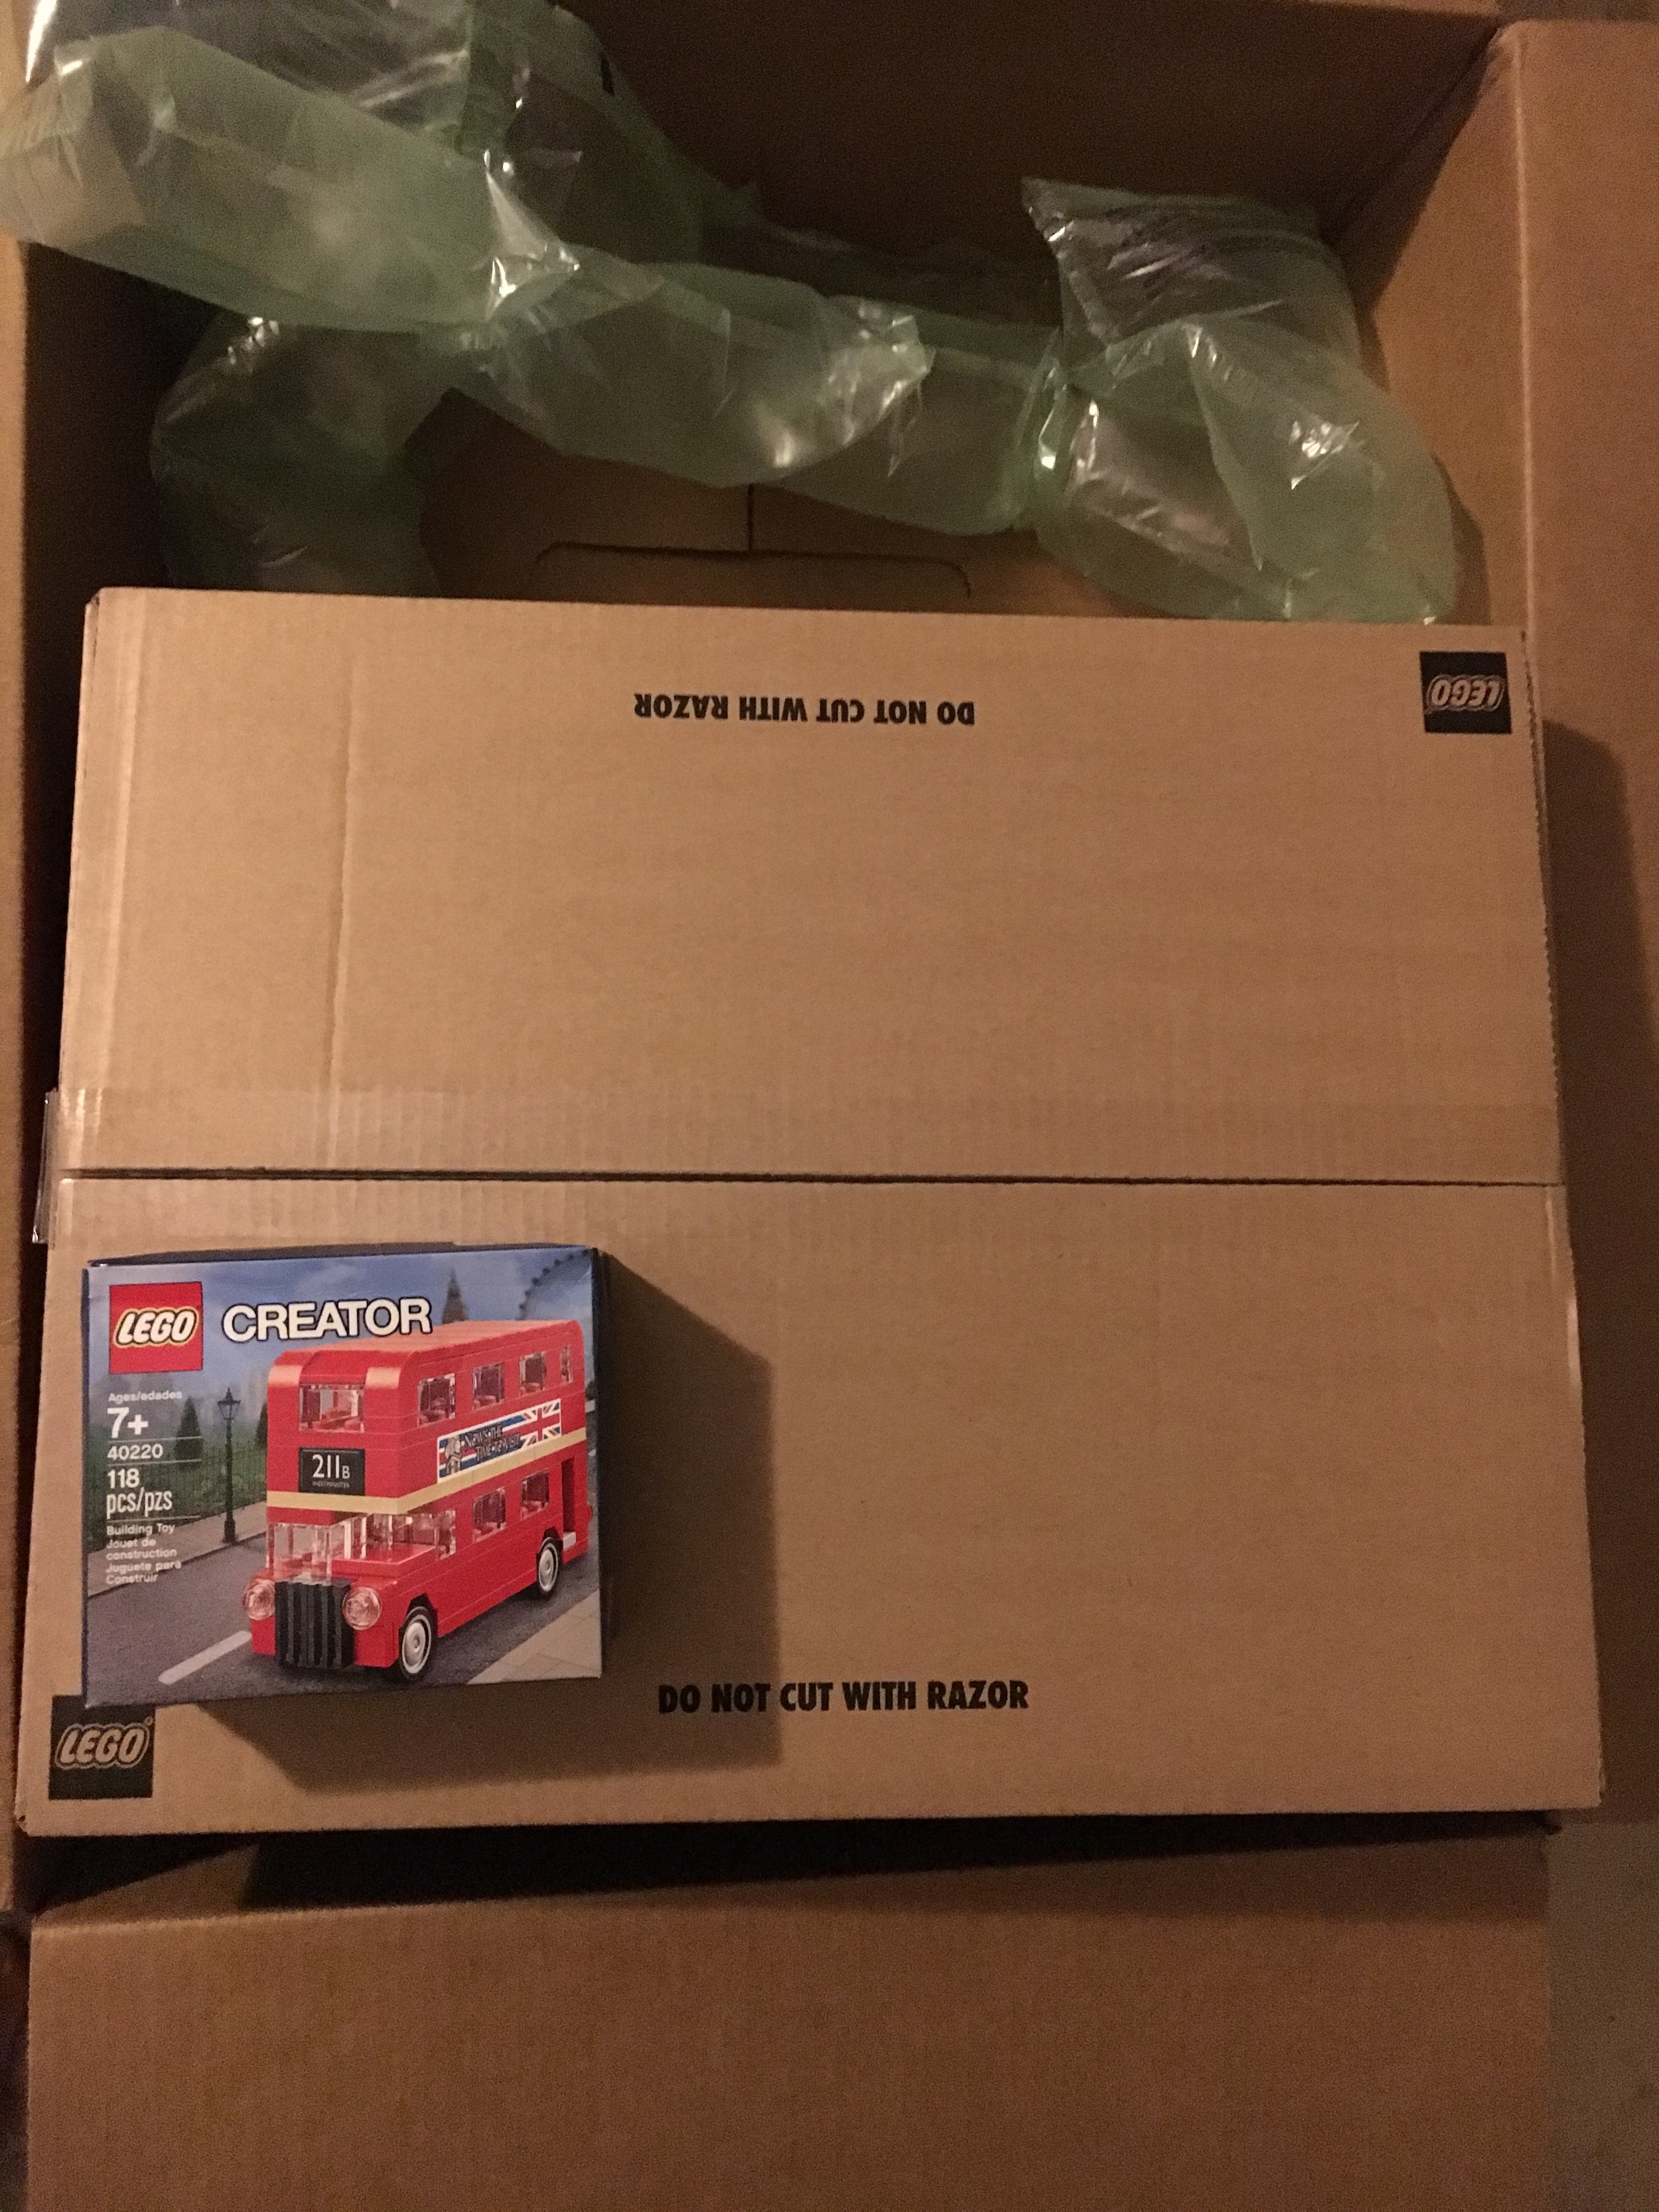
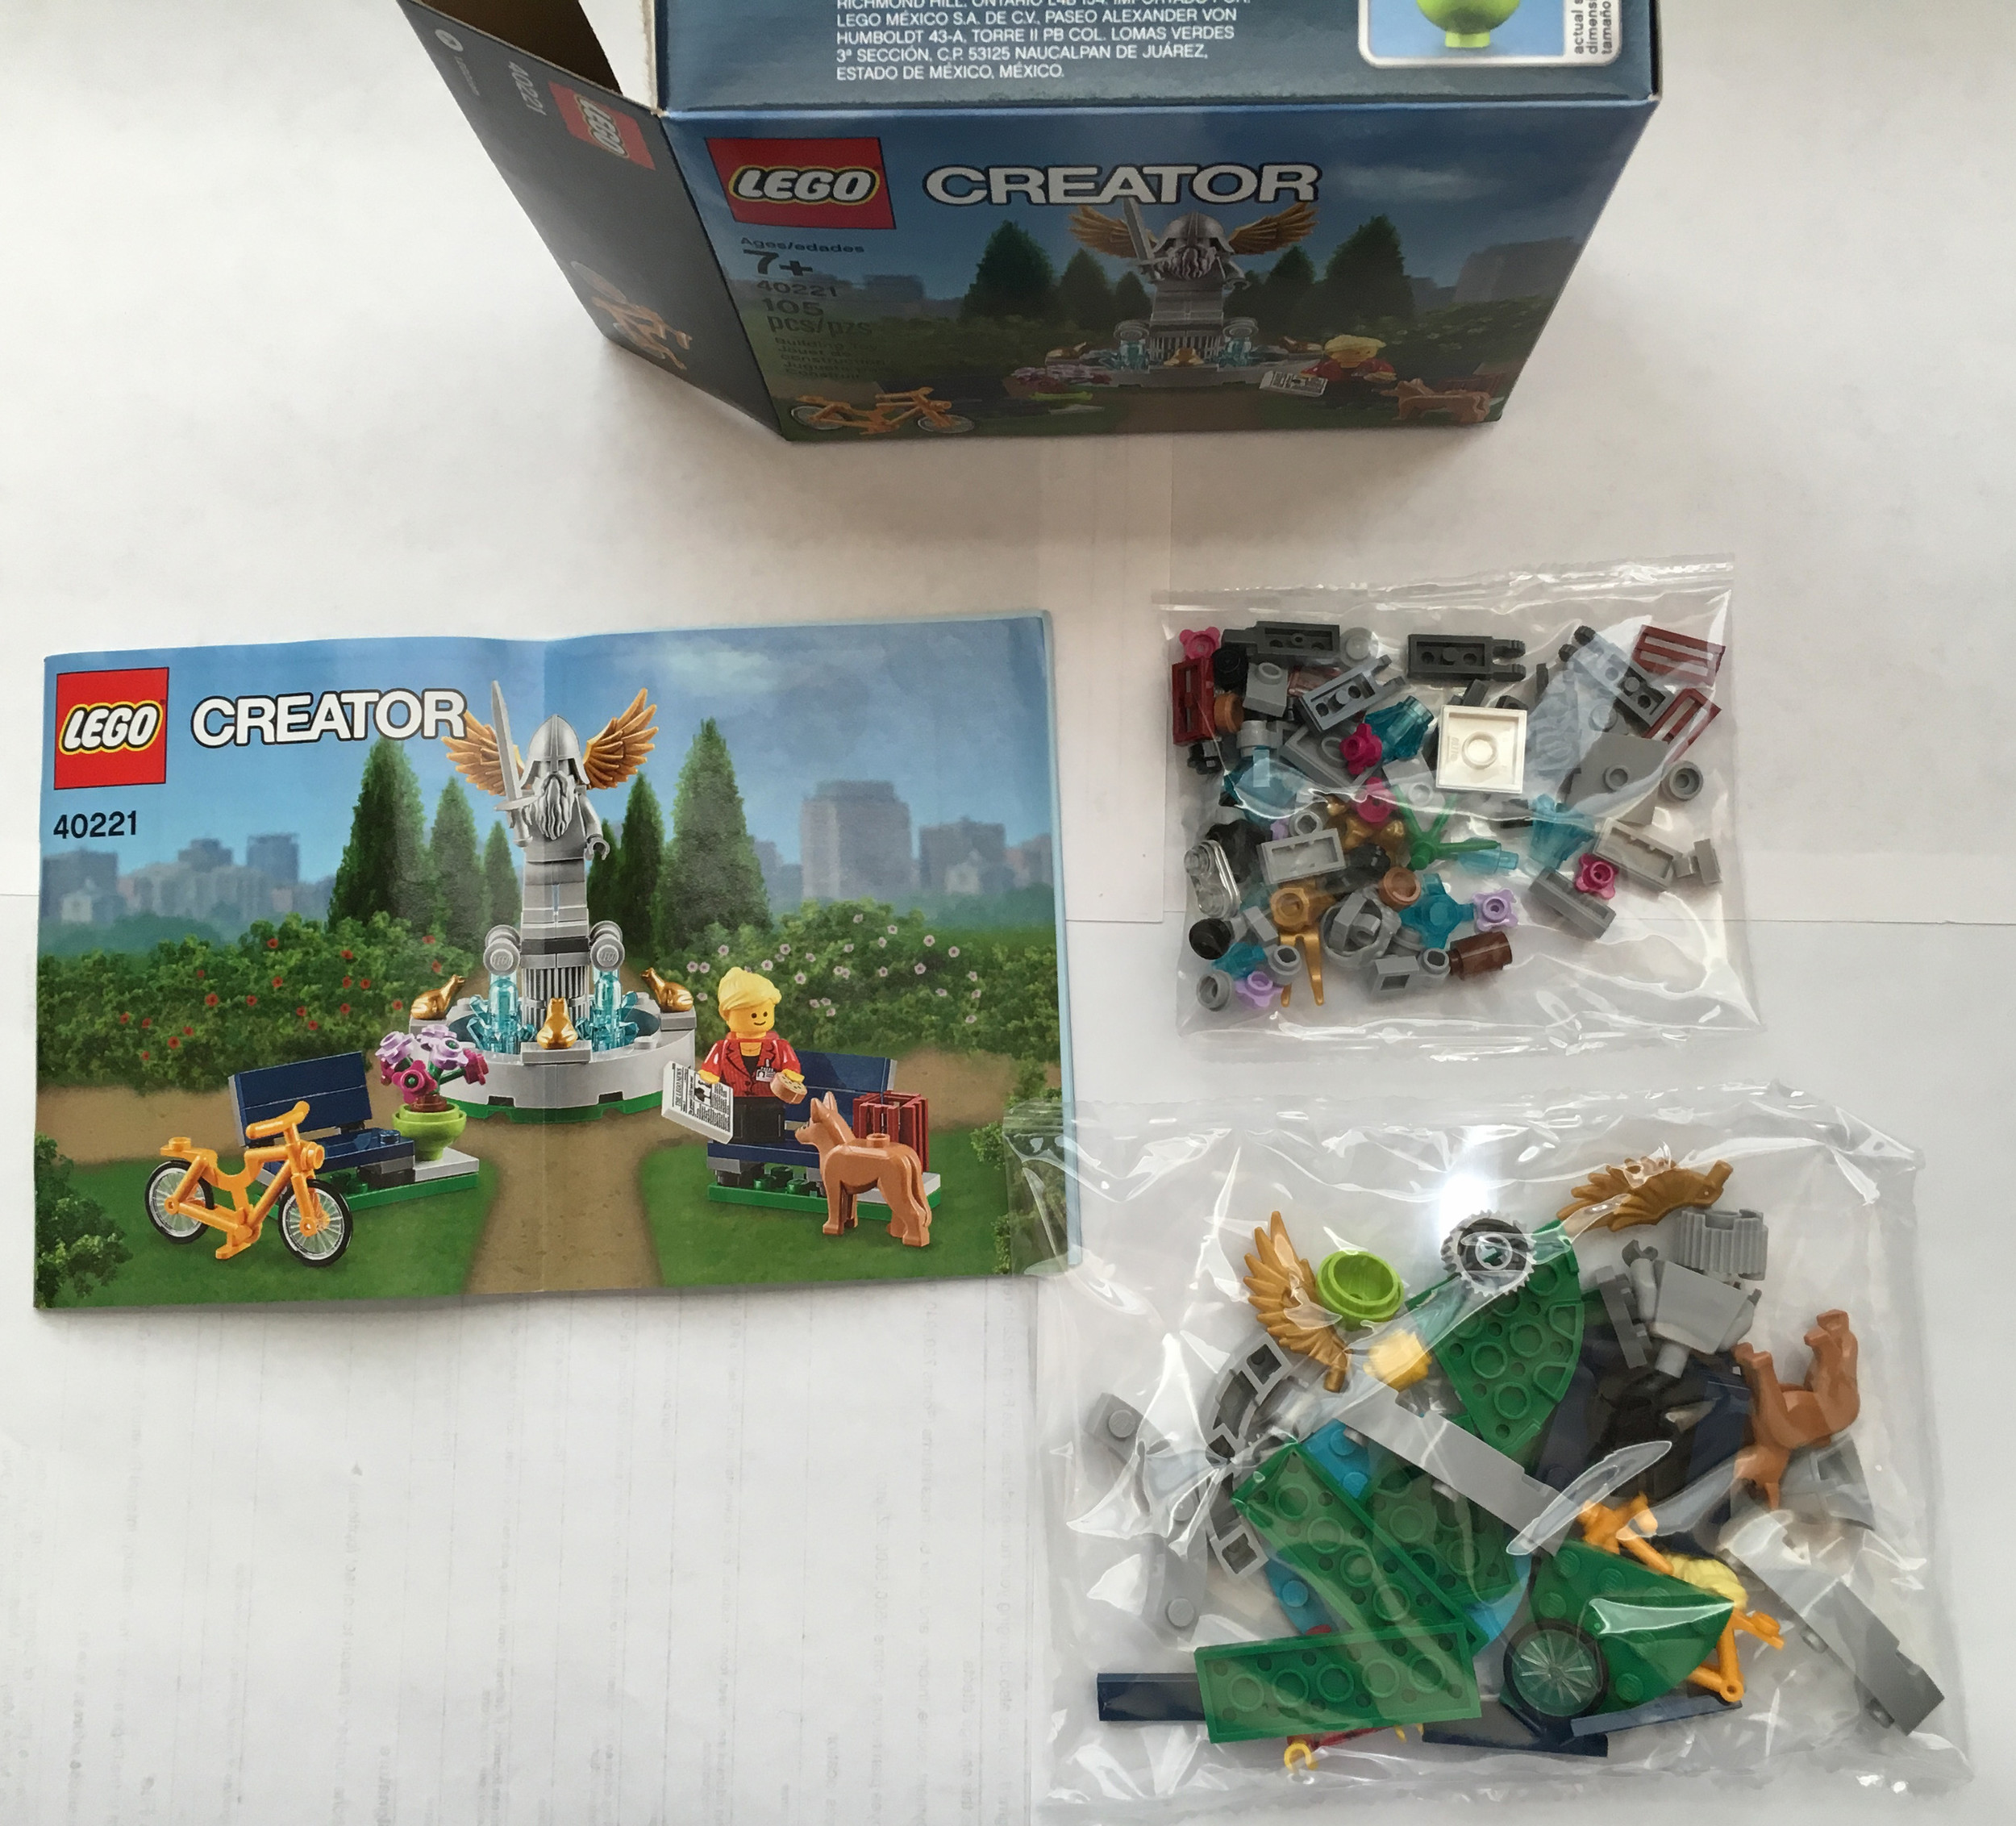
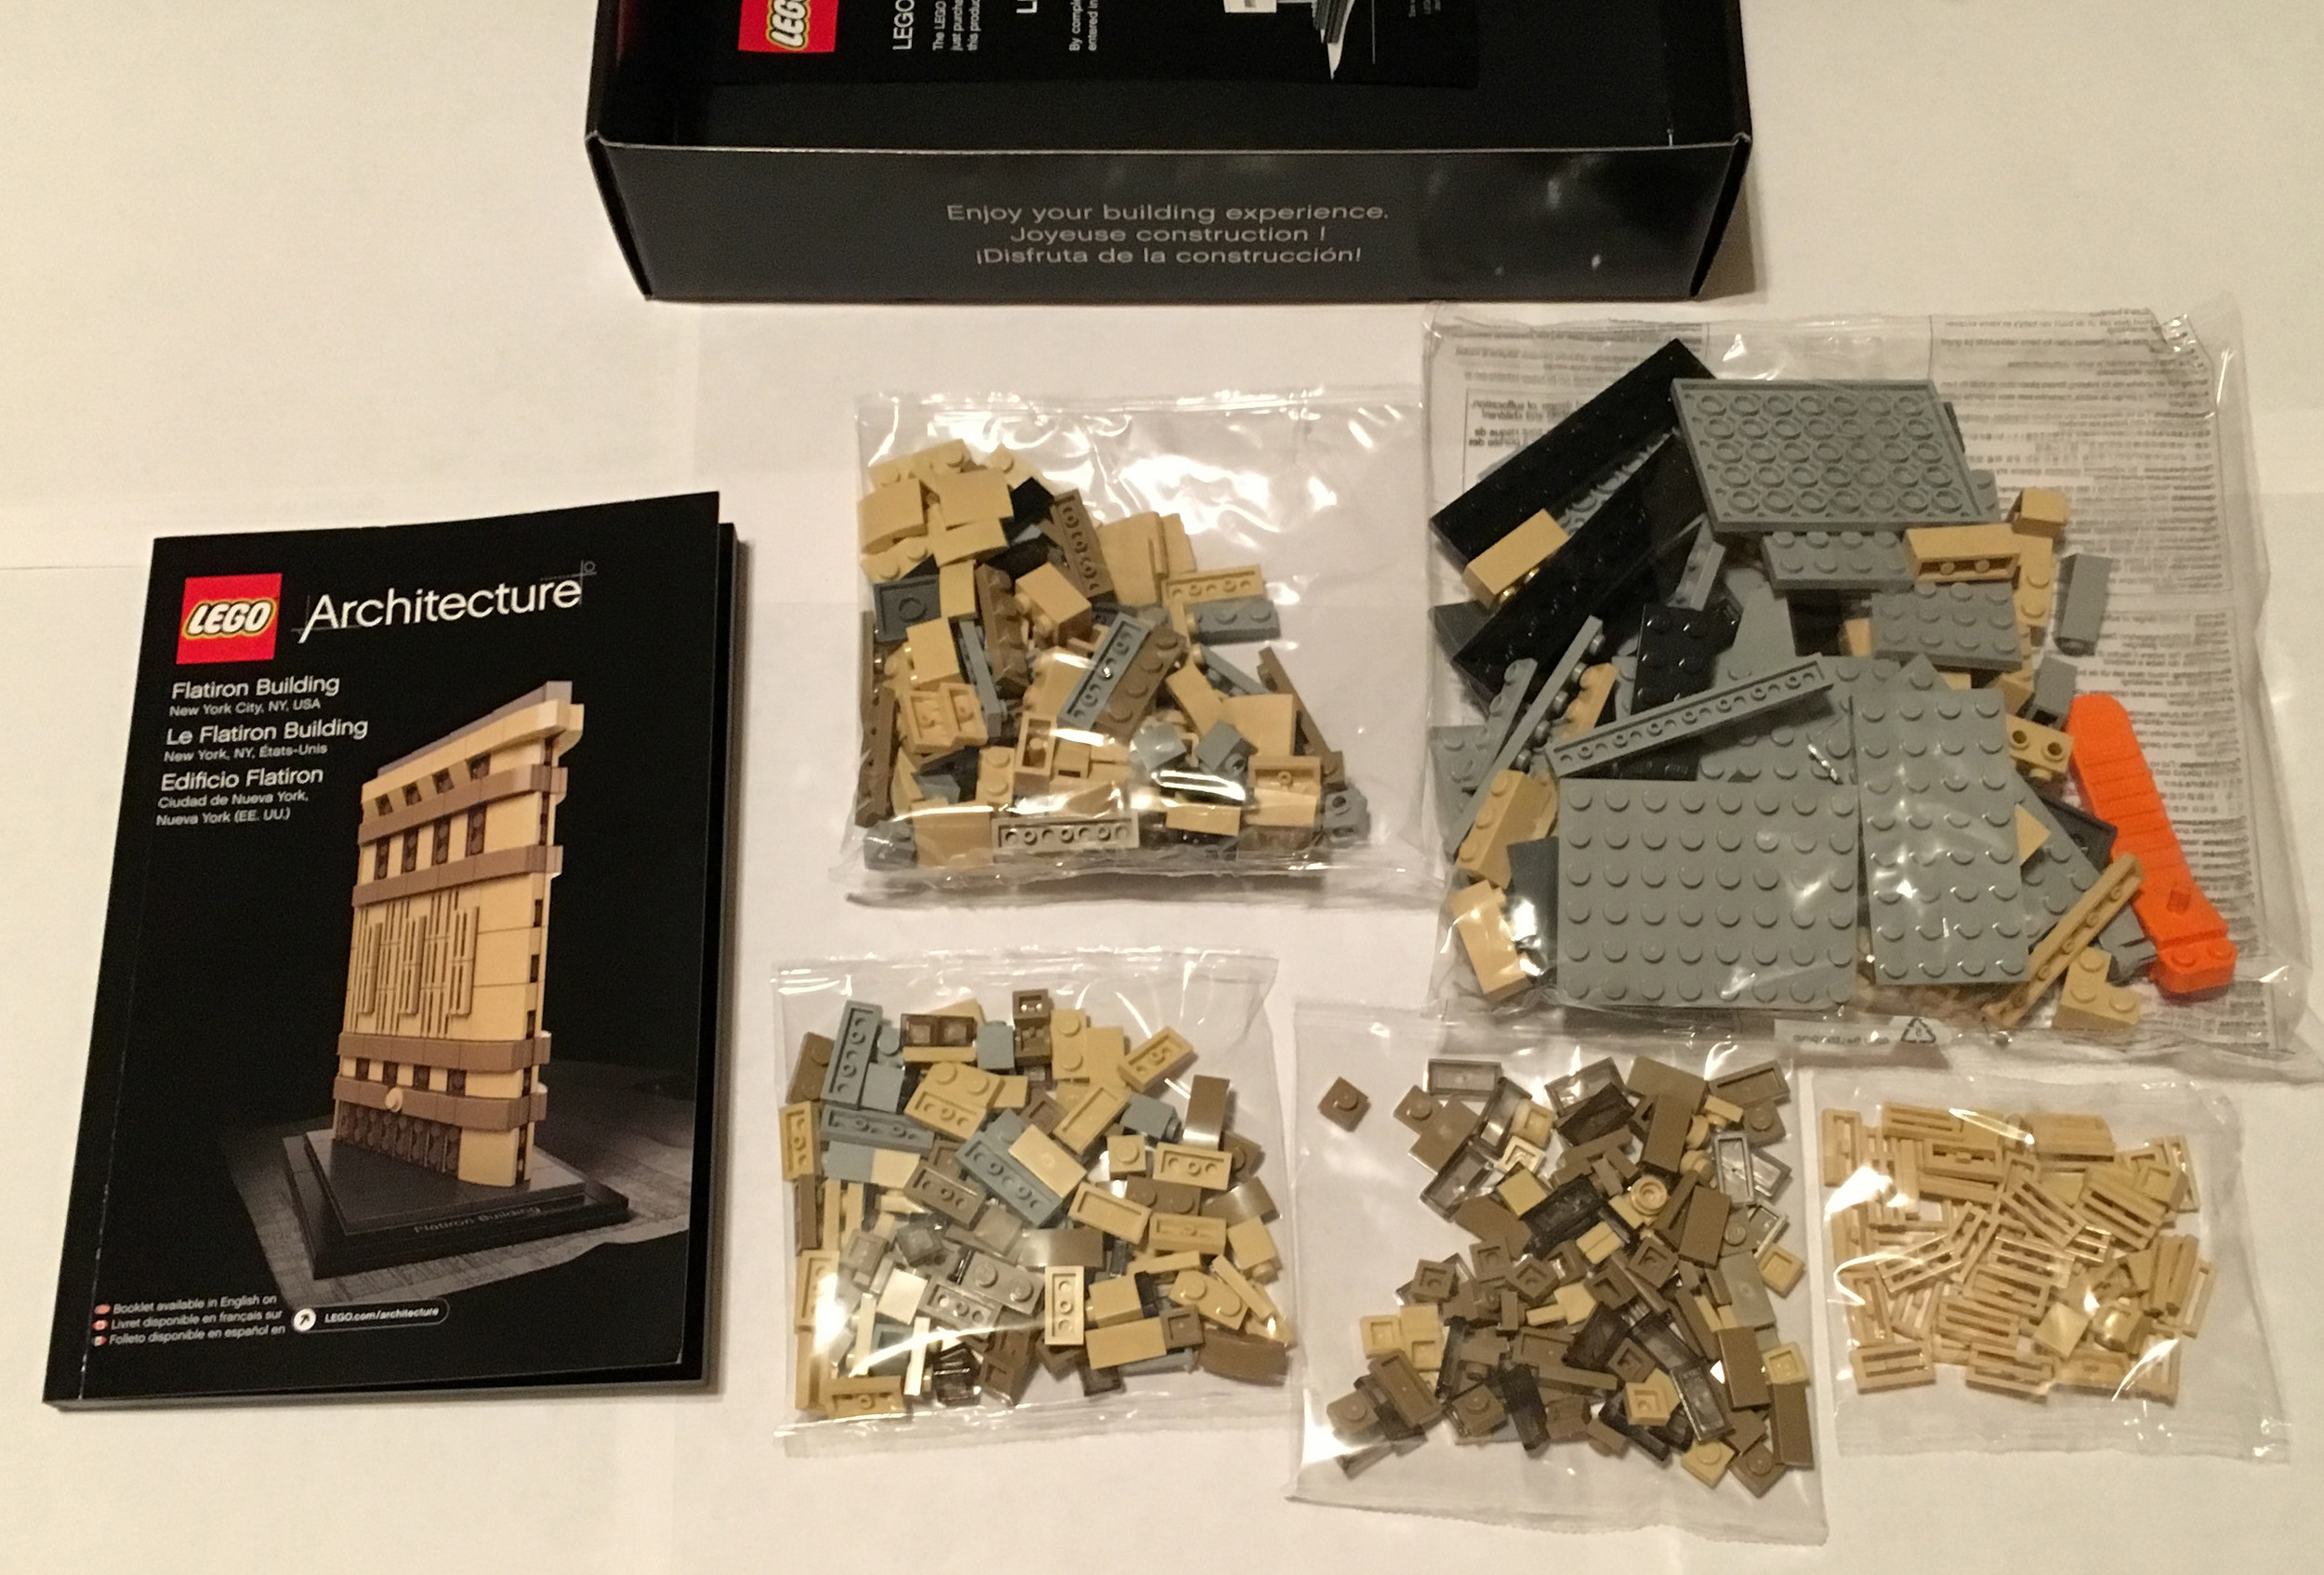
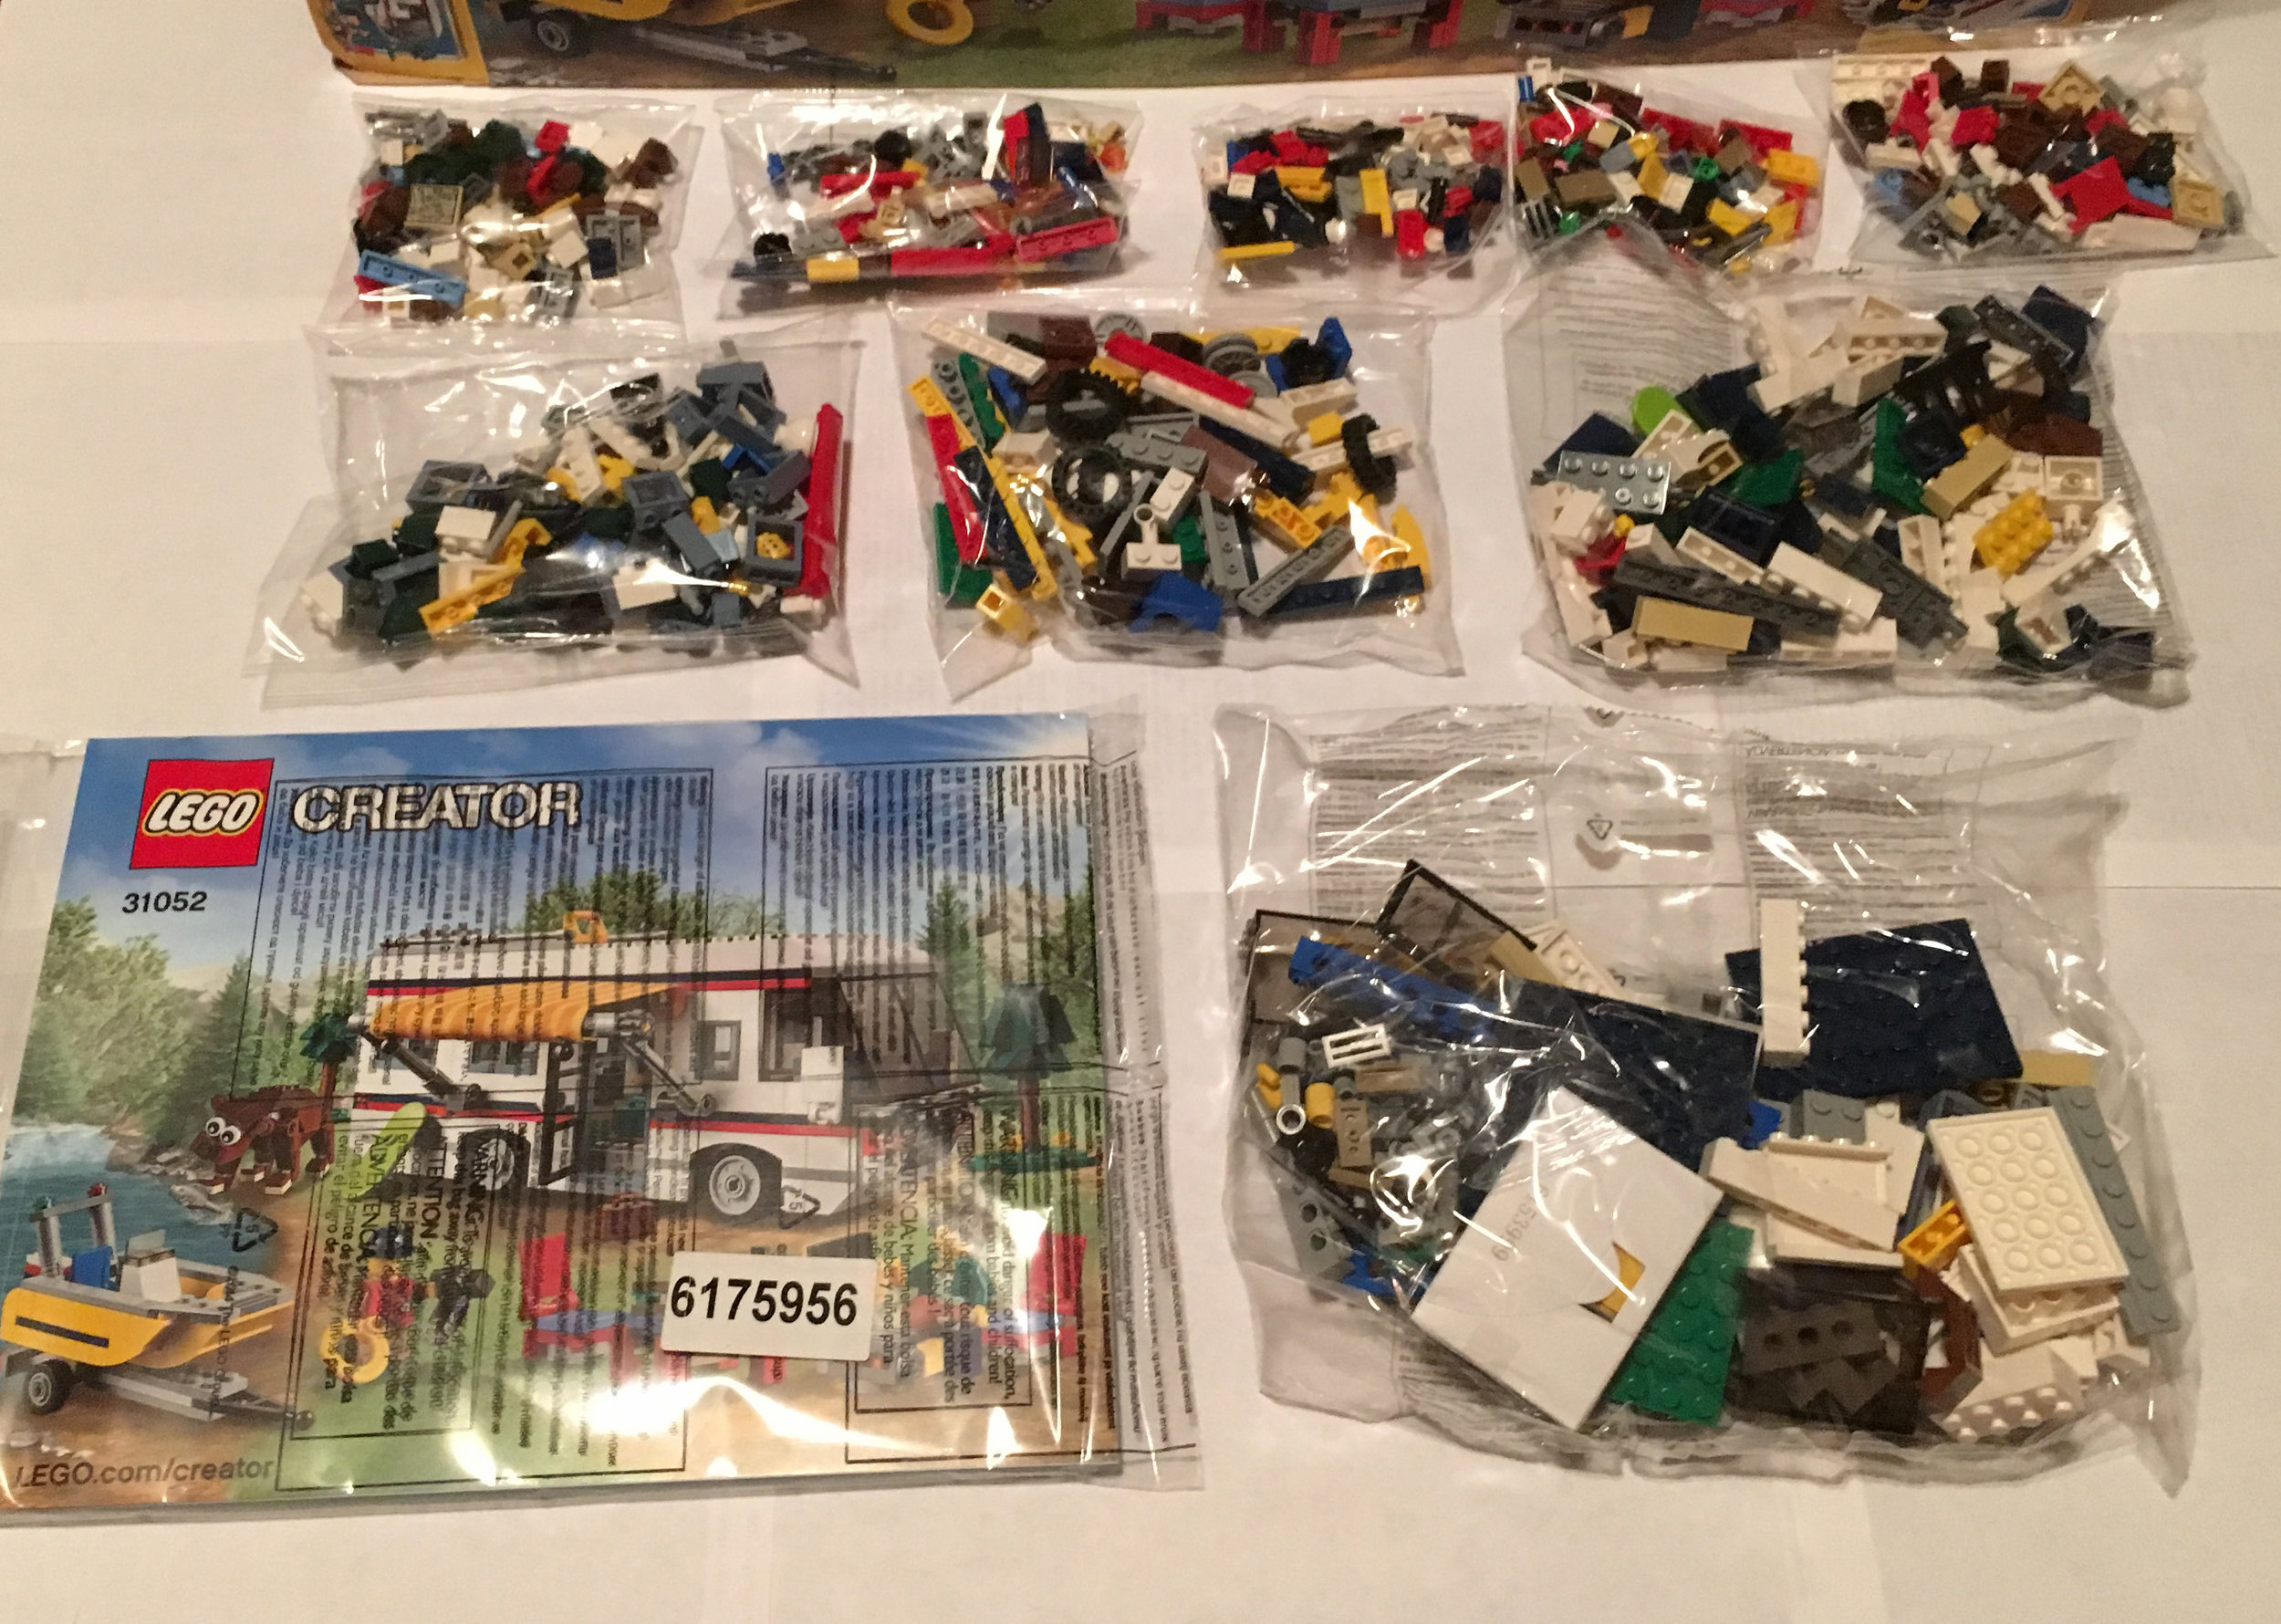
Set contents are 9 bags and the instruction booklet that is protected in a bag (Thanks LEGO!).


31052build1.jpg


Step 31 of the build is still more of the base


31052build3.jpg


Step 65 and it's starting to look more like a camper now.  The back is mostly done and we're starting to build up the front as sides as well.


31052build5.jpg


Here is a close up during the build of the kitchen area, the bathroom area, and the bed area that pulls out.


31052build8.jpg


The actual camper vehicle is done here.  We just need to add all of the extra parts on the top where the storage area is.


31052final1.jpg


Here is the build with the grill, table, chairs, and skateboard set up along with the awning out for some extra shade


31052final3.jpg

Final thoughts...
     -I'm a big fan of the Creator line.  It focuses on the building and not the licensed themes that are very popular.  I only built one of the 3 instructions included, but I thought it was a great build.
     -Lots of great pieces.  If you don't want to use this for your City scene or elsewhere, you can break it a part for pieces to use in your MOCs.
     -The cost is good and as of the date of this write up (10 Oct 16), Amazon has the set 20% off so if you're reading it around that date and were looking to get this set, now's the time!
     -If you're a fan of sets with lots of details, then this set is probably not for you.  Go for the VW Van.  This set is for building multiple sets with a single set of pieces.

What are your thoughts of this set?  Post them below!


Set Review - Porsche 911 GT3 RS - #42056 - Technic - Part 5

Part 1 - Part 2 - Part 3 - Part 4

I finished!  WOOHOO!  Let me tell you, it was a great build.  It took me about 3 weeks too.  Some days I put more time in then others and some days I wasn't able to build at all.  I'm glad to have a space where I can leave things out right now.  Onto the finale!

Here's the box for #4, the construction before the build starts, and the start of the instruction booklet.  

final_box.jpg

Box 4 comes with 4 parts bags.

box4_porsche.jpg

The build starts with the driver's side in the front with the bumper, turn signals, headlights, body around the wheel, and door.  

Porsche_door.jpg

Finalizing the door is next to include the driver's side mirror and the door handle.

porsche_door.jpg

Next up is the rear of the car.  You complete the engine cover and distinctive tail fin.  I show one picture with the trunk open and one with it closed.

porsche_back.jpg
 
porsche847.jpg
porsche_trunk_open.jpg

To the left is the build at step 847.  It's pretty much done.  I'm not sure what the flexible, rubber like pieces are called, but they are added in to help create some of the curves.  You can see a bunch by the hood, around the windshield, and then running to the back.  

After you finish the back, you keep rotating the car and move around to complete the passenger side door, wheel cover, and headlight.  

The next step is to add the rims and wheels.  The wheels come in a separate box.  They are inside the box and the rims are on the top of the box.

wheels.jpg

Here are some final pictures...

final_porsche.jpg
final_porsche3.jpg
final_porsche5.jpg
final_porsche7.jpg
final_porsche2.jpg
final_porsche4.jpg
final_porsche6.jpg
 

At the back of the instruction booklet, it says you get get a free gift by entering your vehicle code at LEGO.com/technic.  Well that's not true.  You need to go to http://www.lego.com/en-us/technic/codebreaker.  If you're wondering what it is, you get a digital certificate that says you have a set and then a bunch of high resolution photos that can be used as wallpaper for your phone or computer (or printed I guess).  They are pretty sharp and hey, it's something else that you get for buying the set.  

Also if you go to the LEGO.com/technic web site, they have a bunch of promo videos along with a video about them packaging the set in one of their factories.  Again, nothing fancy, but interesting to see where your set came from.  

Final words... if you've read this far and through all 5 parts, then thank you.  Please leave feedback or email me with your thoughts... should I make these much shorter and to the point or is it better to see all of the details?  Anyways, back to the set...  If you can't tell, I think this set is awesome!  The build was incredible, the final set design is sleek, and to be honest, I have never build a LEGO® set like this.  I'm really impressed with how this turned out from the start with packaging and design to the finish in having the final product.  Well done LEGO®!!!!!

Set Review - Porsche 911 GT3 RS - #42056 - Technic - Part 4

View Part 1 - Part 2 - Part 3 - Part 5

Before I start this one, just a quick note.  For those of you who follow the blog, I recently moved from NM to FL.  My FL home is slightly bigger and my NLS agreed to designate some space for building activities.  I purchased 2 metal shelves for storage and placed a wood board on top for building.  Now I have a standing desk where I can build at.  Also you'll note that some pictures are at night with a light on and some are during the day.  I don't have a light box yet.  I'm working on it.  So I apologize up front that the pictures aren't all the same.

Box 3 of this set is assembling more of the body to include the rear, the hood and the roof.  This one starts in the instruction booklet at #532.  Before we start, here is box 3 with a picture of the hood on the box and in the instructions.  I also included the build at the end of box 2.

porschebox3.jpg

Next up are the contents.  It only has 4 bags of parts and it uses some of the parts from the bag included in box 1.

box3contents.jpg

Some pictures of the build...  First off is some work on the back of the vehicle.

box3build1.jpg

Next up is more work on the back.  The break light and turn signals are there along with the bumper and a GT3RS sticker.

box3build2.jpg

The top of the car is shown with the back here.  

box3final1.jpg

Another view of the back just so you can see more detail.  This one is of the passenger side in the back. 

box3final2.jpg

Here's a view from the front so you can see the hood.  Still need a lot more detail here, but I think that'll all be in the next box.

box3final3.jpg

A top shot of the whole set at the end of box 3.

box3final4

Back to building!!!!!

Set Review - Porsche 911 GT3 RS - #42056 - Technic - Part 3

View Part 1 - Part 2 - Part 4 - Part 5

If you can't tell, I'm taking my time putting this set together.  To be fair, if I sat down to crank it out, it would take a day or two non-stop.  So let's get right to it...

Box2.jpg

Box 2 is the body of the car.  The instruction book talks about how during the building of an actual 911 GT3 RS, they have a stage where the "drivetrain is connected to the body of the car."  This section starts at instruction number 324.

box2contents.jpg

Box 2 contains 9 parts bags which are shown here.  

box2build1.jpg

Here's the build at instruction 349.  This is the body at the front of the car.

box2build2.jpg

Here is instruction step number 403 with the front together and then the start of the driver's side.

box2build3.jpg

Here's #454.  Front and sides are done and working on the back.  You can see some of the red pins that are not pressed in all the way throughout the model.  While building I was wondering what they were for, but they ended up being the way to attached the body to the drivetrain.  There were a few steps where all you had to do was just push in red pins.  

box2build5.jpg

#483... almost done with this section.

build2final.jpg

Here is the final of this section with the body attached to the drive train.  The seats and roll bar are in place now.  

build2final.jpg

Just another shot from the front.  Okay, enough already... time to get back to building more.  Happy building!

Set Review - Series 16 Minifigures - #71013

series16.jpg

I thought they were supposed to be out on 1 September, but I was totally wrong.  I'm not sure of the exact release date, but I checked the LEGO® Shop at Home web site one day and "tah-dah," they were sold out. What?  I kept checking back and happened to catch them available during a double VIP point weekend.  I ordered a bunch and it was a good thing because they are sold out again as of the time of this post.  I haven't checked to see availability at other retailers, but typically they sell quick at places like Target and Walmart.  Has anyone had any luck?

Onto the minifigures...  So these are $3.99 like past collectible minifigures and there are 16 as opposed to the Disney minifigures where there were 18.  

 
ice_queen.jpg
 
arabian_knight.jpg
 
cyborg.jpg
 
IMG_3113.JPG

Here are the first four.  The ice queen looks pretty mean and is in line with some other past mean female minifigs to include Maleficient and Spider Lady.  I assume she is shooting ice out of her hands, but I can't be sure.  I've seen two names for the next one.  One is Arabian Knight and the other is Desert Warrior.  I'm not sure which is right, but his weapon is about as tall as he is.  Next up is the cyborg.  I like the blue hair piece.  It looks like you could put it on Wyldstyle if you wanted to switch her hairdo around.  The last in this row is labeled on brickset as "imp."  He looks like he'd fit right in with the series 14 Halloween themed minifigures.  

spooky_boy.jpg
 
hiker.jpg
 
wildlife_photographer.jpg
 
kickboxer_girl.jpg
 

Spooky boy is the male version of the Series 12 Spooky girl.  The hiker has some new features that I haven't seen before.  He has a compass and map which both are new and a backpack that is different from the past standard minifigure backpack (I'm a fan of this character).  Next up is the wildlife photographer.  She has a camera and most importantly she comes with a small penguin.  This follows the theme of minifigures with various animals such as the skunk with the animal control officer.  The final one in this row is the kickboxer.  I like the option to put her hair on or her helmet and then there's a brick included to hold her helmet when she's not wearing it.  

scallywag_pirate.jpg
 
penguine_suit_guy.jpg
 
rogue.jpg
 
dog_show_judge.jpg

Two comments on these four.  First off is the kid in the penguin outfit.  I think it's great!  Some of the most popular Collectible Minifigures have been minifigures in animal outfits like the shark man or piggy guy.  This minifigure is interesting because it comes with ice skates and a base plate.  With the ice skates you can't put the minifigure on the base plate so not sure why it's there other than that's what they always do.  Second comment about these four is the Dog Show Judge.  I found the size of the dog interesting.  In my review of the Fountain, you can see the size of most pets in the LEGO® brand.  This dog doesn't quite fit in based on its size.  Or maybe the one in the Fountain is too big?  There's a cat in this minifigure and it's about the same size as this dog.  So what's the right size next to a minifigure?

Mariachi.jpg
 
spy.jpg
 
Banana_guy.jpg
 
babysitter_and_baby.jpg
 

The acoustic guitar is an awesome addition to the minifigure repertoire.  We can add it to the saxophone and a few others that have appeared.  I think the banana guy will be another winner along with hot dog guy.  The sunglasses are a nice touch.  Finally, the last minifigure I show is the babysitter with a baby minifigure.  The baby minifigure was added to the LEGO® wold in the recent City People Pack.  I'm surprised it showed up again so quickly, but am glad to see it.  It's like you're getting two minifigures in one pack.  Bonus!  

Overall I think LEGO® did another great job with the design of these minifigures.  In terms of the numbers of each they product, I'd prefer even numbers of all so I wouldn't get a lot of some and only a few of others.  In the end LEGO® just wants to make money so they won.  If you're good at feeling through bags, then keep at it.  I'm not so good at it so I'll keep buying a bunch and selling the rest.  What were your thoughts on series 16?

Set Review - Porsche 911 GT3 RS - #42056 - Technic - Part 2

Part 1 - Part 3 - Part 4 - Part 5

In case you missed it, I purchased the LEGO® Technic Porsche 911 GT3 RS (#42056).  In my last post, I showed the awesome packaging design.  Now it's time to get into the build.  

Porsche_contents.jpg

Box 1 is the largest parts box in the set.  It contains 11 parts bags.  One of them is some of the orange outer covering pieces to the car that isn't used in the instructions for box one (so if you purchased one of these, don't open that bag right away).  This set doesn't include a piece separator like many of the brick based sets do, but if you're like me, you have a bunch of extras to use if required.  Also, the instruction booklet gives a brief explanation of what you'll be building along with a picture of the engine on the box.

Porsche_openparts1.jpg

The picture above is all of the open parts packs.  To be honest I haven't built a Technic set in probably over 20 years.  Even then the last one was much smaller.  This one is monstrous and it was an adjustment for me to not be looking for bricks or plates.  Instead it was looking for pins, axles, or how many pin holes a part has.  I'm not saying it was a bad thing... it was just something I'm not used to when building.

porschebuild1.jpg

Here it is at step 92.  For those of you keeping track, box 1 has 323 steps.  You can see the start of the transmission, the floor of the seating area and lots of gears.  

porschebuild2.jpg

Here's instruction #203 (above).  Whew!  I'm starting to work on the front end to include where the front wheels go as well as the steering mechanics.  If you're really sharp you can pick out the building error that I made and didn't catch until the end (whoops!).  Also, they may be hard to pick out in this picture, but there are some stickers in this set.  There is one on what will be the dashboard and the Porsche logo is on the steering wheel.  I'm not a fan of stickers, but these seems to fit in okay.  The stickers aren't huge and are pretty easy to apply.

porschebuild3.jpg

The steering column is in process here.  If you've built the set, you can see where my mistake came in.  

porschebuild4.jpg

Not too much to point out in this picture other than if you can see where there passenger sits, there is a white 1x4 tile.  Each set has its own printed identification tag on it.  I had heard about this prior to getting the set and I assumed it was a sticker, but was shocked to see it was a printed tile.  Definitely an awesome touch to the set!

porschebuild4.jpg

All for attachments for the wheels are in along with the axles for the wheels.  

porschebox1final.jpg

Finally we get to the end of box one and 323 steps later.  It's been a great build so far.  I didn't keep track, but I probably spent about 8 hours on the build (not all at once)  As mentioned, I'm not as familiar with Technic builds so it's been a real challenge for me.  I have made a number of mistakes by either building too fast or mistaking where a part was supposed to go.  I had a number of instances occur where I had to figure out how to tear it apart to make the fix without tearing the entire set apart from scratch.  

My opinion so far... Wow!  I'm impressed to see the number of details and the functionality.  The steering column, shocks on the wheels, transmission, engine with pistons... it's all pretty impressive.  I'm excited to get into the next box and to make this set become a final reality.  Stay tuned for more.  

Set Review - Porsche 911 GT3 RS - #42056 - Technic - Part 1

Dear LEGO® Company,
     I saw a number of blog postings online about the Technic Porsche 911 GT3 RS.  I was intrigued and then after seeing the set designer video I think I was sold.  But the $299.99 price scared me away some.  I wasn't sure that I was ready to pay that much for a set.  After seeing it at one of your stores, I was sold.  Thankfully I had a bunch of VIP points and got a nice discount.

openbox.jpg

Opening this set was pretty exciting.  After seeing the care that was taken to package it up I took the plunge and carefully opened the box.  The Porsche set was smartly placed inside the box with extra padding on the side to make sure it didn't shift around during shipping.  The top of the box looks very dignified.  The sleek picture of the car, the Porsche logo and then some of the standard LEGO® set info like that it contains 2,704 pieces.  Let me tell you, my NLS is a communications designer and even she was impressed.  Trust me, that means a lot coming from her.   

box_top_inside.jpg


After opening the box, once again I was blown away.  It wasn't plastic bags thrown into a box with an instruction booklet packed in.  Your designers really took the time to place together a high class product.  Numbered boxes, an instruction booklet that contains history of the actual vehicle and the LEGO® vehicle design, and the impressive layout of the rims in the box.  All very well done!

Porsche_contents.jpg
box.jpg

I opened the large box that FedEx dropped off and found another box as well as set 40220 - London Bus.  The other box and packaging material smashed the London Bus set up quite a bit.  Please train your team better on packaging.  The second box impressed me.  Given the price of the set, seeing the separate packaging and warning to not use a razor to dive into the box showed that you understand folks pay a lot for this set.

Porschebox.jpg
Porsche_opened.jpg

The details on the box for this set are also incredible.  I won't spoil it for others with tons of pictures, but the sides of the box have the different sides of the vehicle.  The inside of the box top has a timeline of Porsche designs.  In my non-designer opinion, this packaging rivals Apple's product packaging.  Who did you hire to do this work?

Porsche_opened.jpg

The contents are like no other set I have built.  The elements are in numbered containers with pictures of the set on them.  They look like mini-sets on their own.  There are stickers again which I am not a fan of, but at least it is not a ton of them. The 856 steps in the instruction booklet that looks nicer than my manual to my car (granted I don't drive a Porsche... maybe those are nicer).  The rims are displayed in the box they come in and then the wheels are inside the box with the rims on the outside.  All I can say is that I am super excited to get building on this set.  It's been nothing but amazing so far and I haven't even opened any bags of parts.  Well done LEGO®!!!!


Set Review - Fountain - #40221

The Fountain is was a free set with purchases of $75 or more from 1 to 15 June 2016.  It also goes great with the Fun in the Park - City People Pack #60134.  The set contains 105 pieces with 2 minifigs (one minifig is a statue).  If you want to get the set, you'll have to look on the secondary market.  As of late June 2016, the set is going for around $15.  Should you spend that money?  

Here's the set.  It's the standard box front with the graphically designed background.

40221boxfront.jpg

The back the different elements of the set along with the alternative build of the statue with a female hair piece and a flag. 

40221boxback.jpg

The contents are simple to include 2 parts bags and an instruction book.

40221boxcontents.jpg

The build is pretty simple.  The female minifigure has a different torso and hair piece.  The basic head design with 2 dots for eyes and the smile could have been better, but we'll take it.  The statue is done well and it includes a second sword.  The wings match those of the Flying Warrior from Series 15 Collectible Minifigures.  The dog is a nice addition to the set.  The design of the fountain and the benches aren't anything too special, but I'm sure they would fit into a park MOC.  The bike doesn't include a reflective light or anything which I thought LEGO could have included.  The good part is that they give lots of extras in other sets so finding a piece is easier.  

40221finalbuild.jpg

If you're interested, here is the hair piece and flag that can be used on the statue.

40221alternate.jpg
 

Overall, it's a great free set.  Having planned to purchase items anyways, it's always great to get more LEGO sets at no additional charge.  Would I buy this one on the secondary market?  No thanks!  There isn't really anything that makes this set stand out as one worth investing in.  I'd recommend making up your own fountain MOC instead.  What are your thoughts?

Set Review - Fun in the Park - City People Pack - #60134

There was some media hype about this one well before it came out (but not before the LEGO Blogs caught it).  The main reason was the minifigure in a wheel chair.  I found a number of articles and friends sent me links to articles about this one.  There was a lot of anticipation about this set, but is it worth all the hype?

I'm going to switch things up this time and give the final recommendation first and then follow it with the review.  Should you buy this set?  If you are a LEGO CITY fan or a minifigure fan, YES!  Besides the wheel chair and the baby minifigure, there are some new hair styles, torsos, and pants.  It's a great addition to any City build that you're working on.  I highly recommend it.  Did I mention LEGO's first hot dog bun?   Let's get into the details...

This set was released in the US on 22 May 2016.  The cost is $39.99 for 157 pieces which works out to $0.255 per piece.  Is this high?  You betcha!  Compared to most sets definitely.  The key thing for this one, there are 15 minifigures.  That works out to $2.67 per minifigure.  Is that a good deal?  Yes!

So here's the box.  The front is similar to most showing all of the contents in a park with a Photoshopped scene.

60134boxfront.jpg

The back shows the different minifigures in action and the different minifigure parts.

60134boxback.jpg

The contents are 3 bags with 3 instruction books.  

60134contents.jpg

The first bag includes the much talked about wheel chair with minifigure.  The chair rolls quite well which surprised me.  It's also done to scale quite well in my opinion.  Not a lot special about the hot dog cart other than it includes a bun that a hot dog actually fits into.  The hot dog has been in the inventory for a while, but this is the first bun.  The bicycle isn't new, but the biker suit is new to the inventory. They've done a smaller version of the merry-go-round before.  The kid minifigure has some new parts to include the blond short hair.  Also there haven't been too many businesswomen types in minifigure land either.   The bus stop sign and tree are nice additions too.

60134bag1.jpg

Bag 2 is also full of some new figures as well.  The 2 children playing soccer are new.  I wouldn't mind a LEGO SPACE shirt like that!  There's an older couple and a park bench for them to sit on.  The woman's hair is new and I don't recall seeing sweaters like that before.  The woman painting is new too.  There's been a few painters in the inventory, but I think this is the first female one.

60134bag2.jpg

Bag 3 has the family having a picnic or maybe based on the amount of food they have (a hot dog and a biscuit) they are just having a snack.  It includes a mother (the picture shows her with shades, but the head is dual sided), a father figure, a girl figure, and then the baby in the stroller.  The stroller is very simple, but definitely works for the new baby minifigure.  The baby bottle is also a new and interesting design.  I'm curious to see if they will add more in the future or not.  The set also includes a dog and a female minifigure mowing the lawn.  The lawn mower has appeared in other sets.  I'm not sure if it's the same design or not, but it's pretty similar.  It also includes a small tree and a picnic table.

60134bag3.jpg

I haven't been able to put a town scene together in a while, but am hoping to do so soon.  These will definitely be a great addition.  The last city minifigure set that I'm aware of was 9348 - Community Minifigures.  While it was another great addition to the collection, the diversity of figures and parts was pretty basic.  It included fire, police, and some other basics, but not the creative figures in this set.  At LEGO Shop at Home it's currently listed as out of stock with an expected ship date of 3 July.  The good part is that it's not going away anytime soon as it's brand new so be patient and place your order when it's back.


Set Review - #21023 - Flatrion Building, New York

While I enjoy the LEGO Architecture series and I think some of the buildings they recreate are great, I don't often purchase the sets.  This one is a bit different.  The Flatiron Building is regularly $39.99 in the US.  With 471 pieces, that's $0.085 per piece.  This set has been discounted on Amazon.com in the US for a while, but I recently caught it at $25.60 or $0.054 per piece or roughly 36% off.  I'll take it!  This set was released on 2 May 2015 and can still be purchased at LEGO Shop at Home for full price.

To the build... First off, the box looks like most LEGO Architecture set boxes  Here are pictures of the front and back.

21023boxfront.jpg
21023boxback.jpg

The contents include a detailed instruction book with information about the actual building as well as the LEGO instructions.  It also contains 5 bags of bricks and a brick separator.

21023contents.jpg
21023build1.jpg

The build starts with the standard base for the LEGO Architecture series with the name of the set on a tile.


Next up in the internal structure of the building.  It's nothing too special and you can tell that the detail comes from the SNOT (Studs Not On Top) build to come.

21023build2.jpg
20123build3.jpg

The details of the building are formed by putting the various pieces on mostly 4 x 8 plates.  Some translucent tiles are used as windows and then some grill pieces are used to capture the small windows on the actual building.  The pictures below are the one side and then the back of the building.  As you can see at the corners, the connections aren't exactly smooth.  There are definitely some gaps, but I can't complain based on the size and scale of the model.

21023build4.jpg
21023build5.jpg

The SNOT designs continue around the building to complete the details of the building.  Then some plates and bricks are placed together to capture the top of the building.  The top leaves a bit to be desired in my opinion, but when I look at pictures of the building I don't tend to focus on that area so maybe that's why they didn't put a lot of detail there.

21023final1.jpg
21023final2.jpg

It's not a hard build.  The SNOT techniques aren't too challenging, but it's just a lot of 1x1 tiles and plates to put on along with a bunch of 1x2s.  From a design standpoint, I think LEGO did a good job at capturing the essence of the building.  The corners are not smooth, but I think that's a challenge given the scale of this building and the curves that they are trying to replicate.  In terms of price, it's not too bad in terms of price per piece, but the pieces are rather small.  I don't think I would have purchased it if I didn't get it for 36% off.  The build wasn't super exciting and the pieces aren't really anything out of the ordinary.  Would I recommend this set to someone at the full retail price? Unless they are really into NY City or Architecture or this building, I would not.  If it interests you check Amazon.com or elsewhere for discounts.