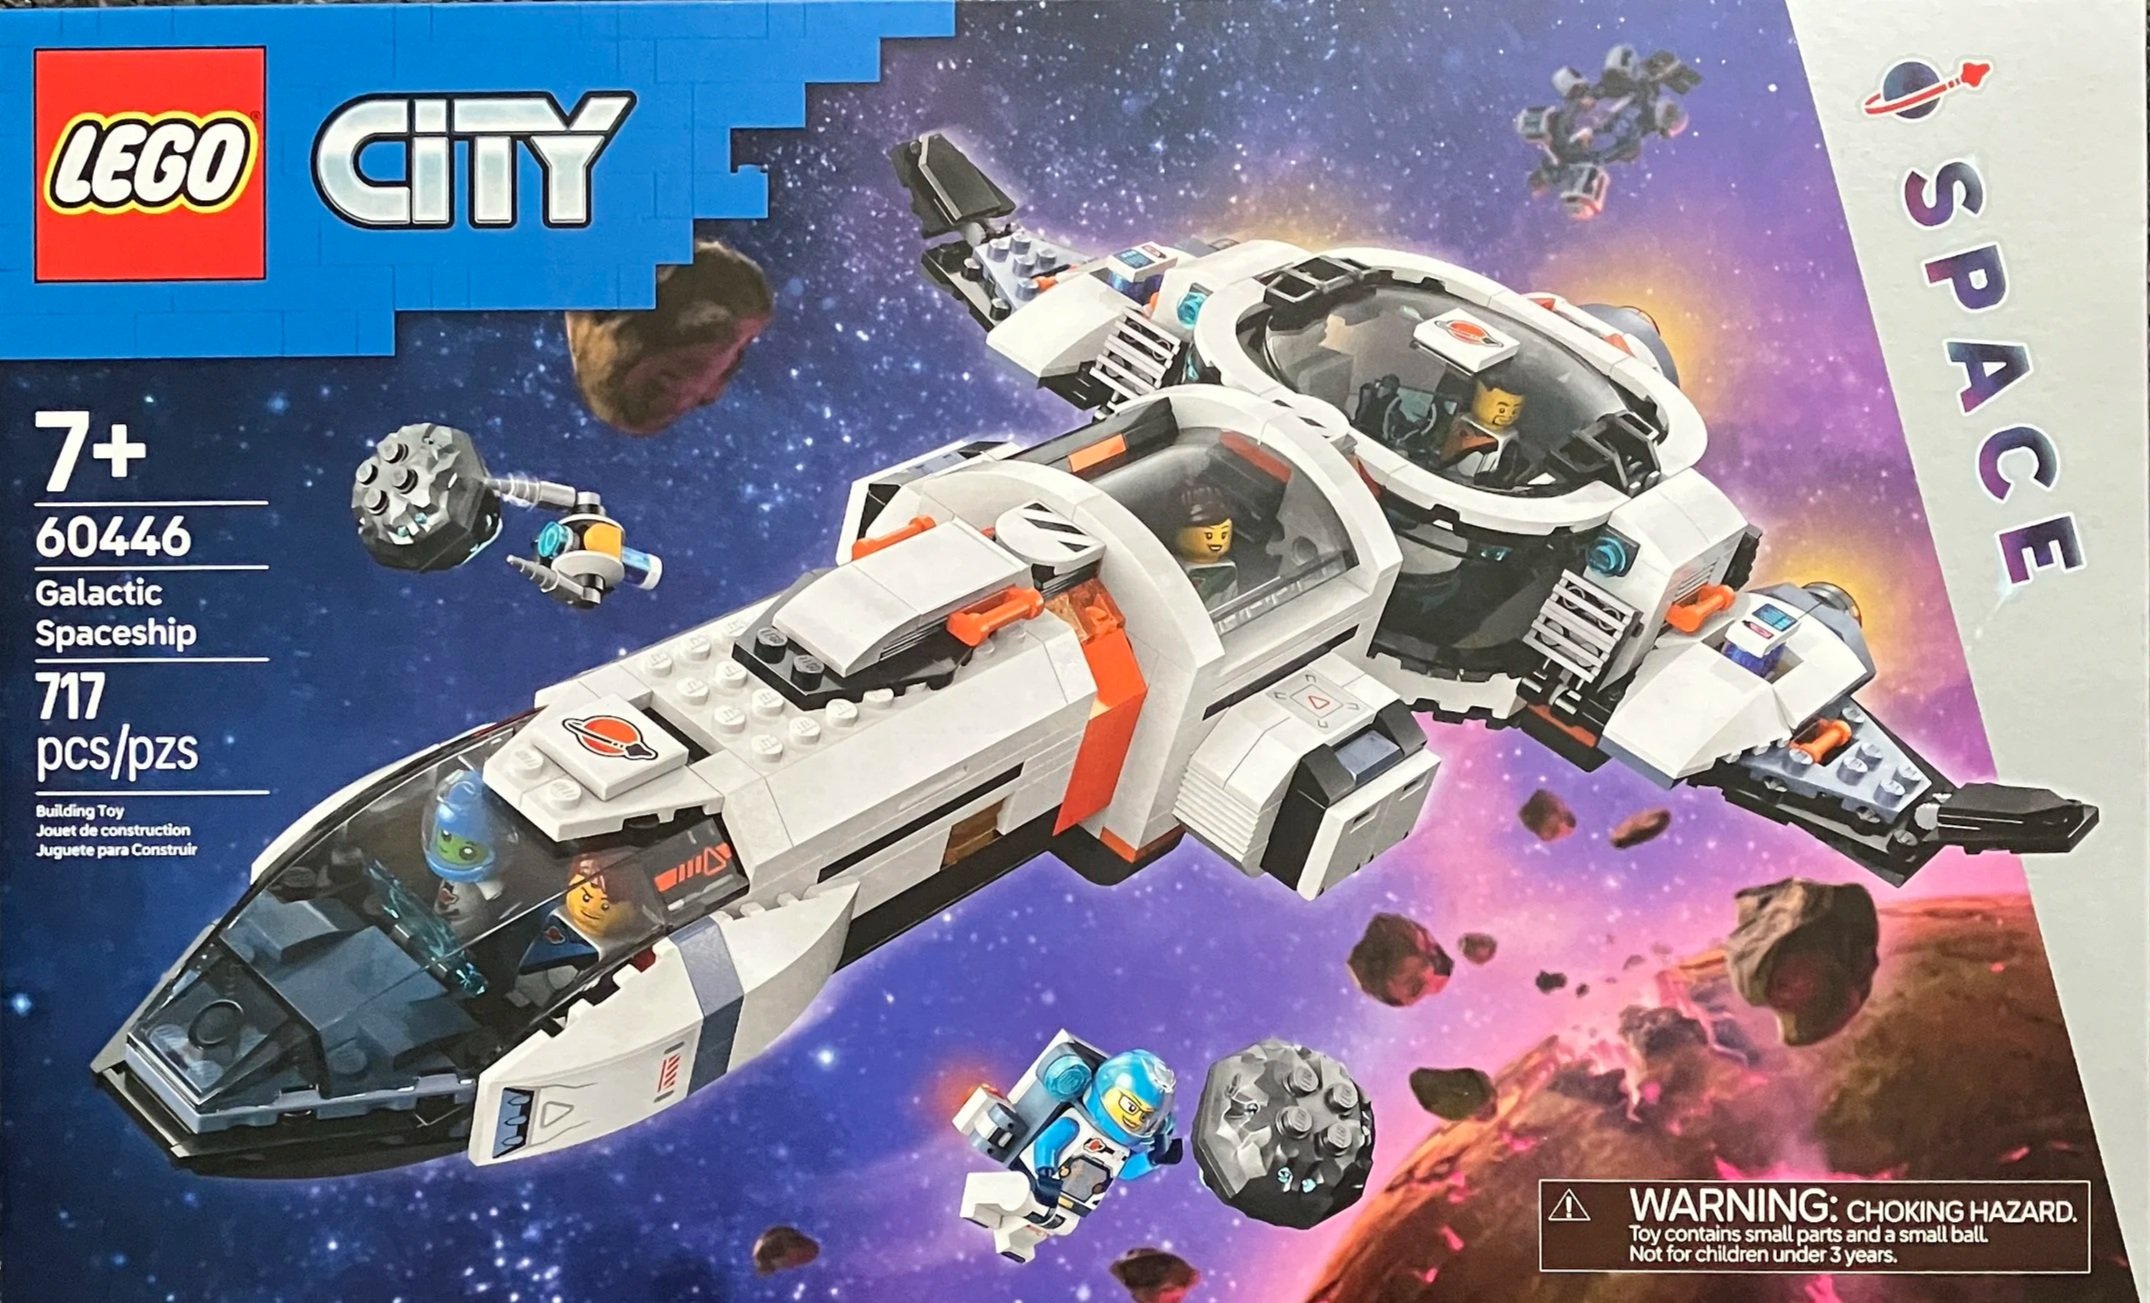
Continuing (and finalizing) the CITY Space sets review is #60446-1: Galactic Spaceship. This set was released on 1 January 2025 and retired on 31 December 2025 so it’s already gone (except for the overpriced secondary market). I grabbed it right before it retired in mid-December. This set contained 717 pieces and retailed for $79.99. This worked out to $0.112 per piece. I saw this one go on sale briefly for roughly 20% off and sadly did not pick it up on sale. I did get it with a GWP from LEGO Shop @ Home so that helped some. I found it odd that this set never went on sale a lot while the other ones always seemed to be at least 20% off.
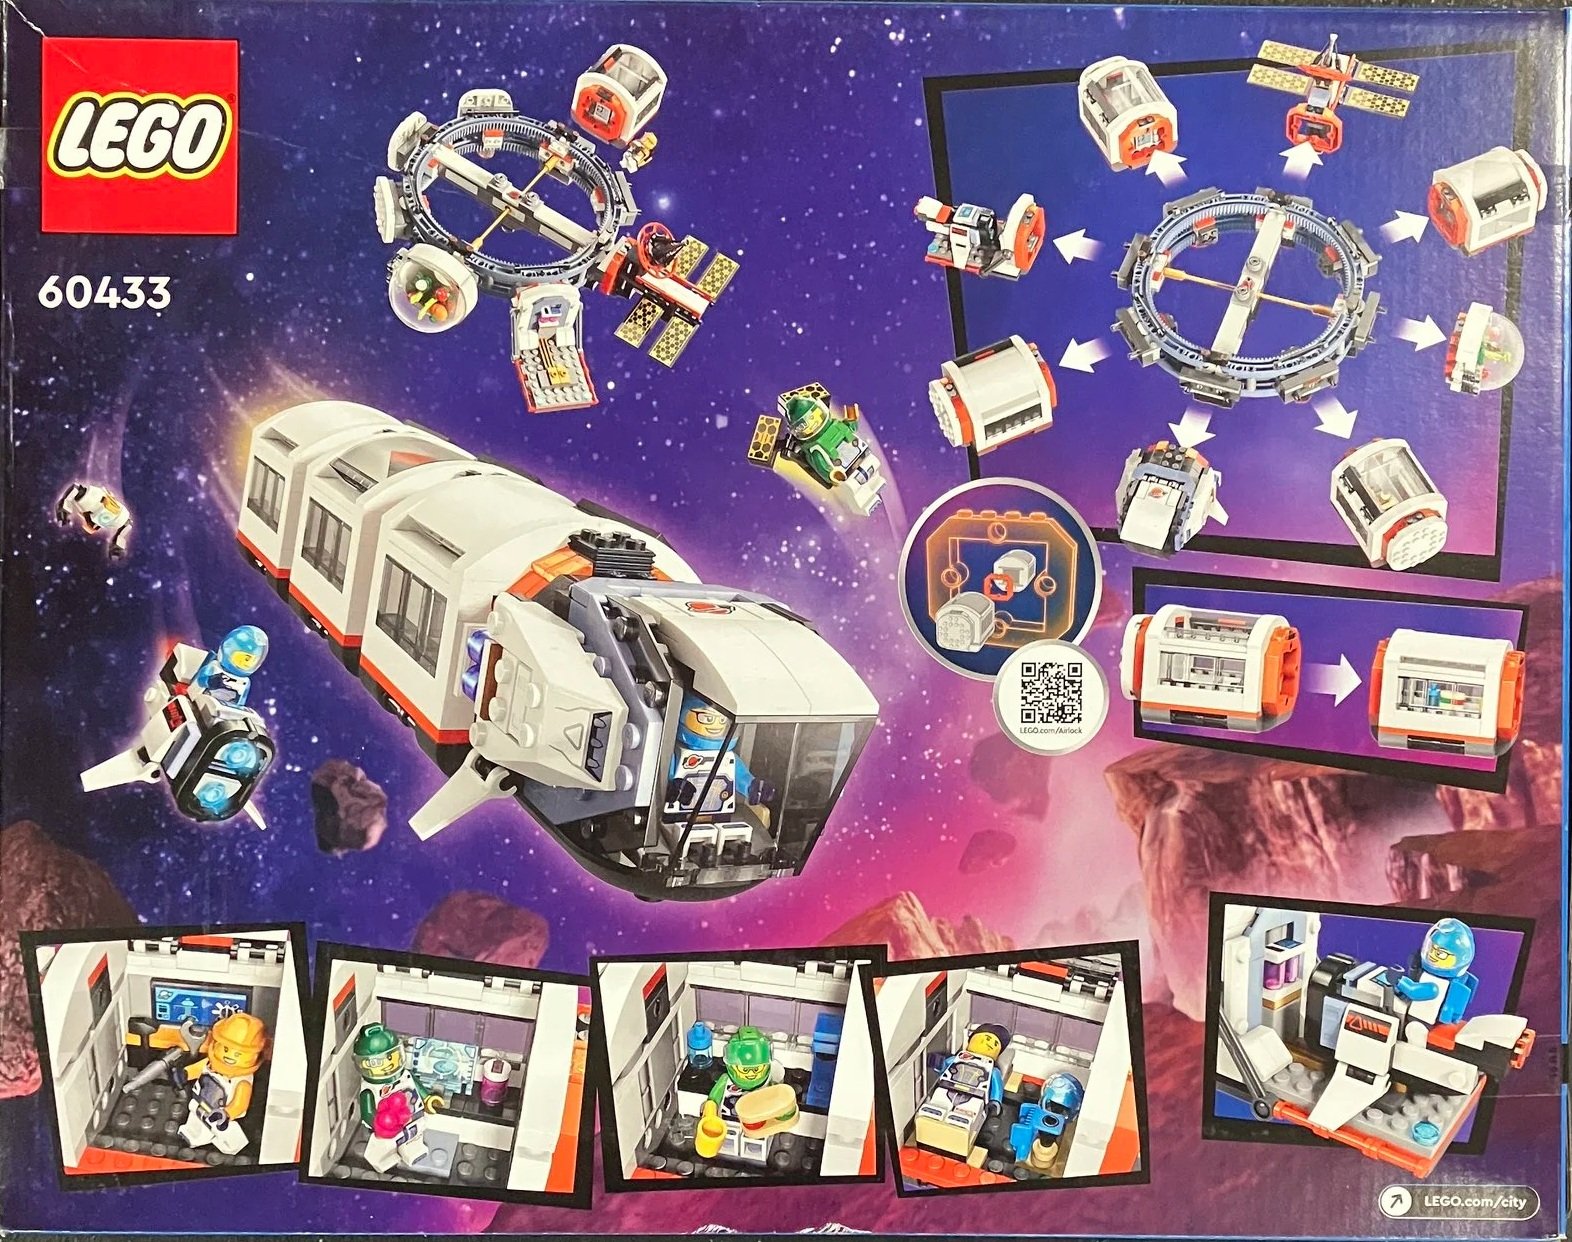
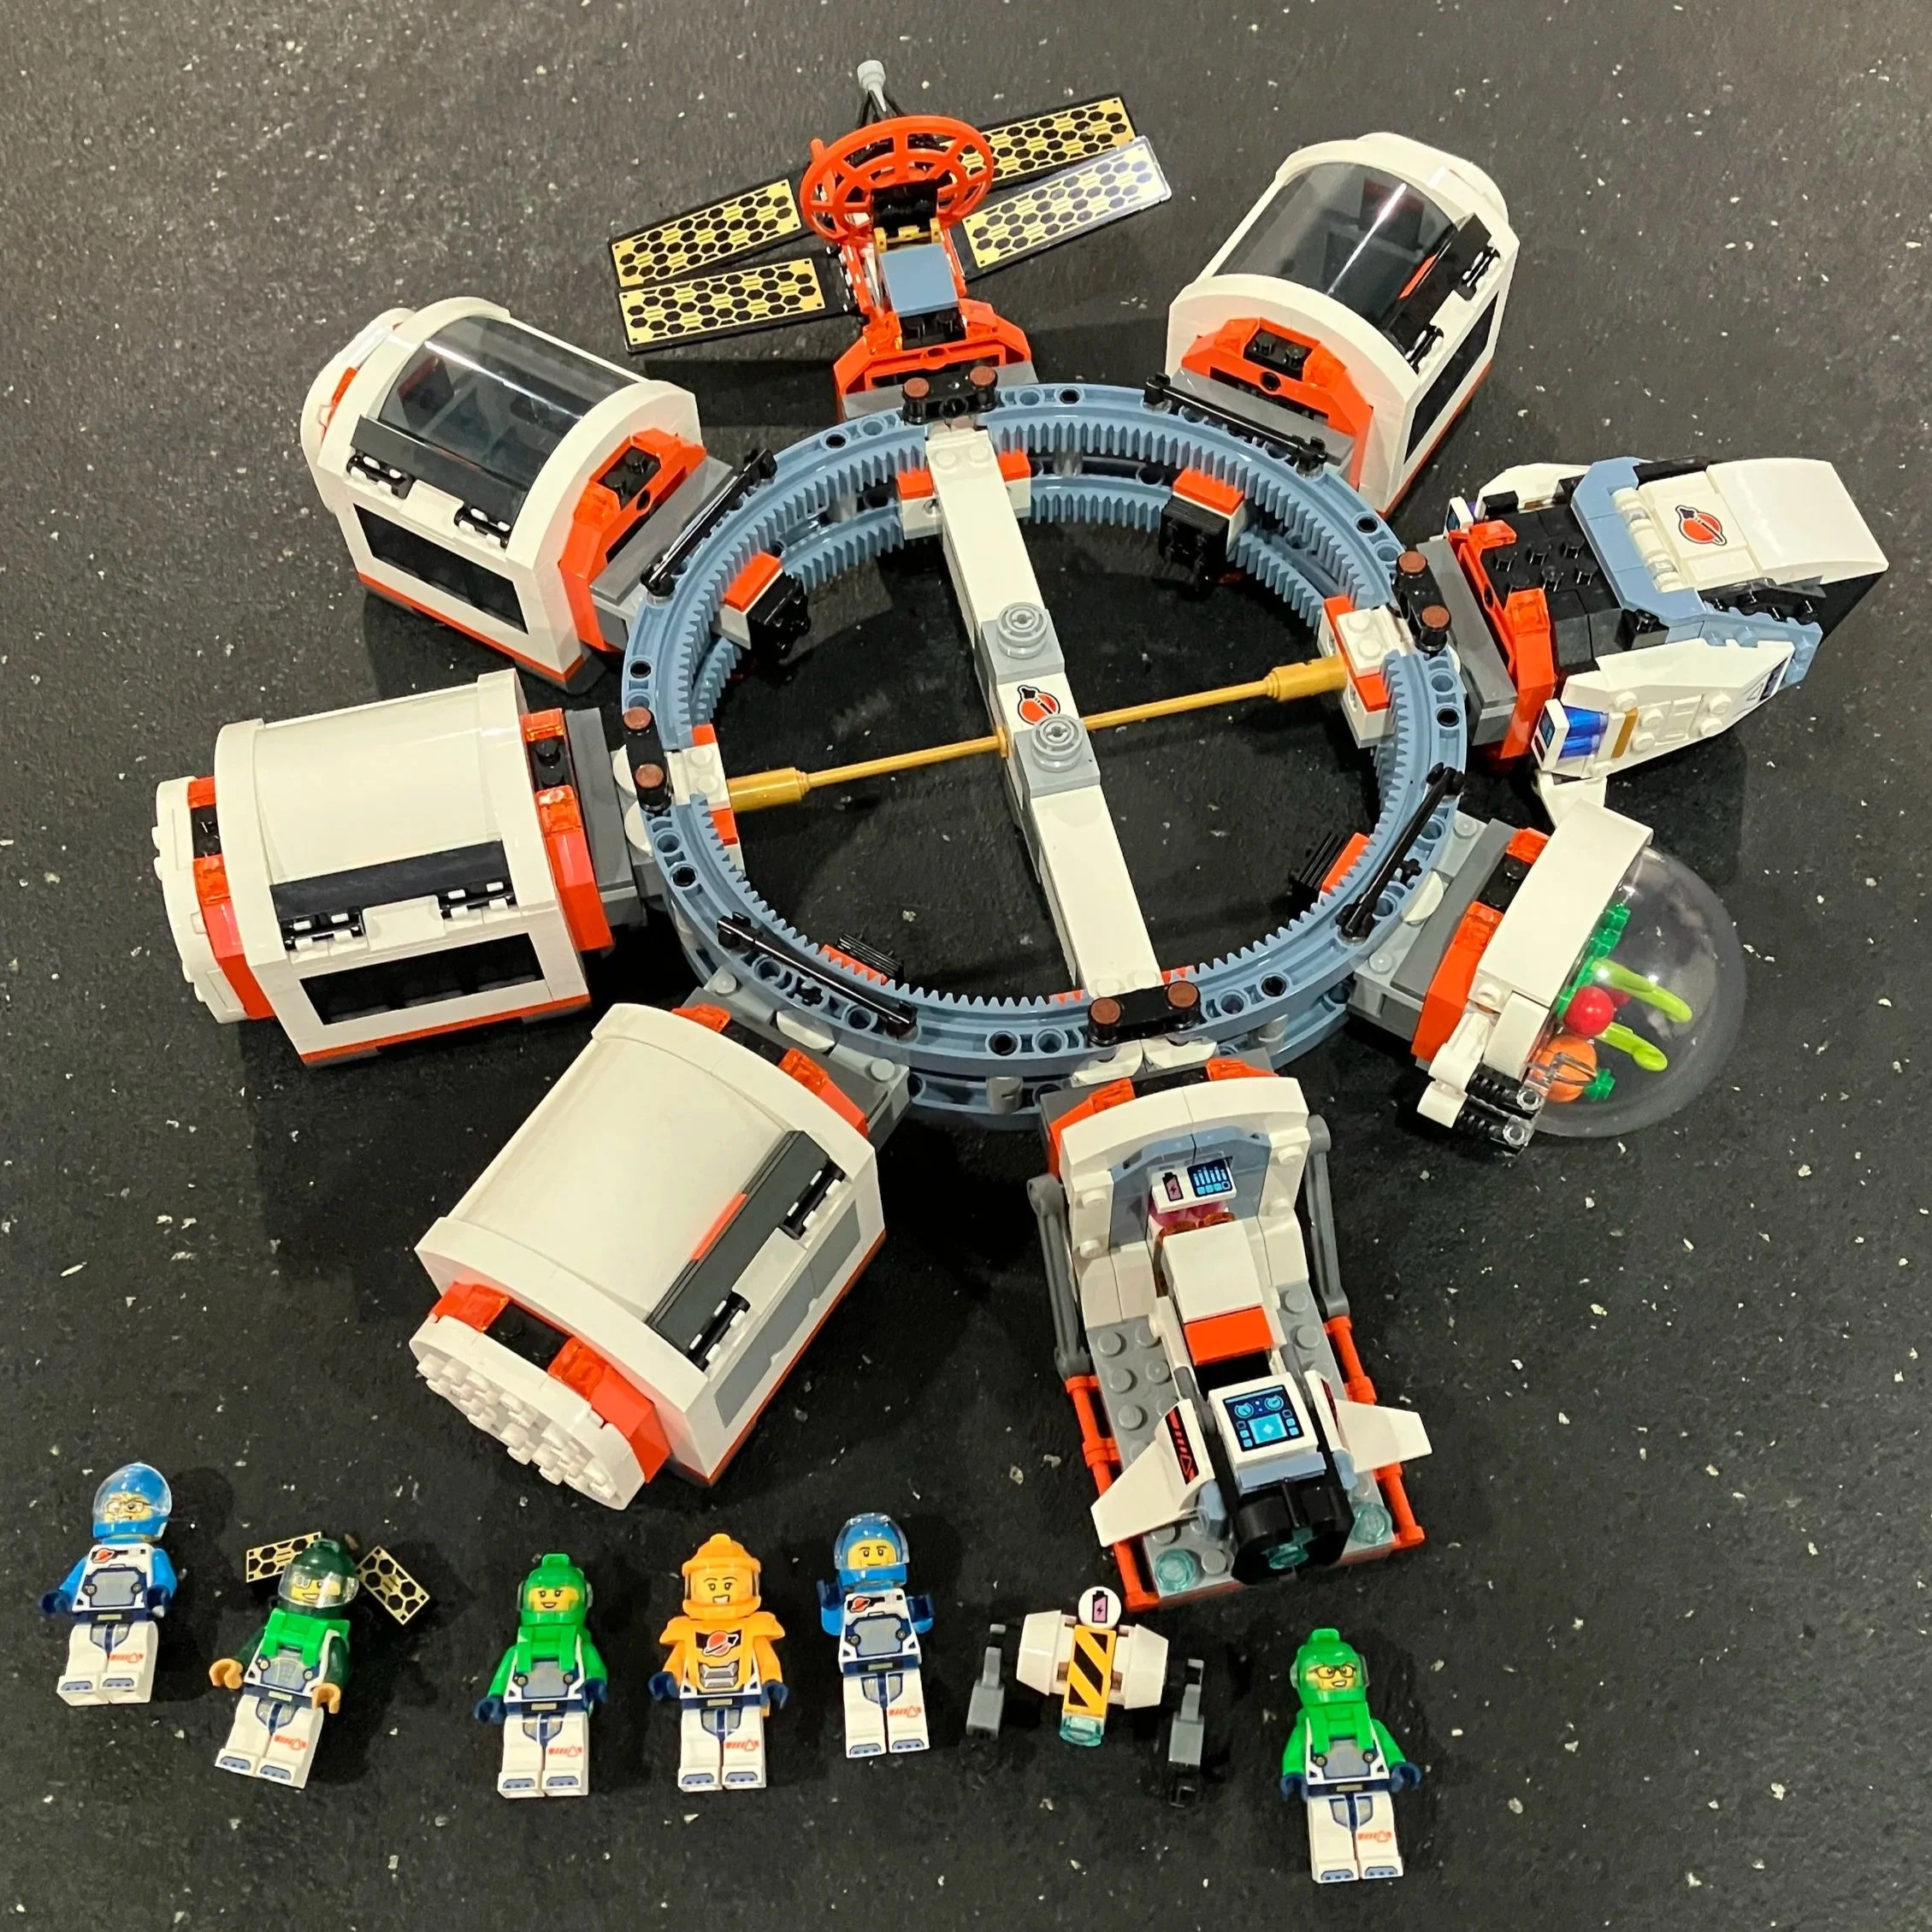
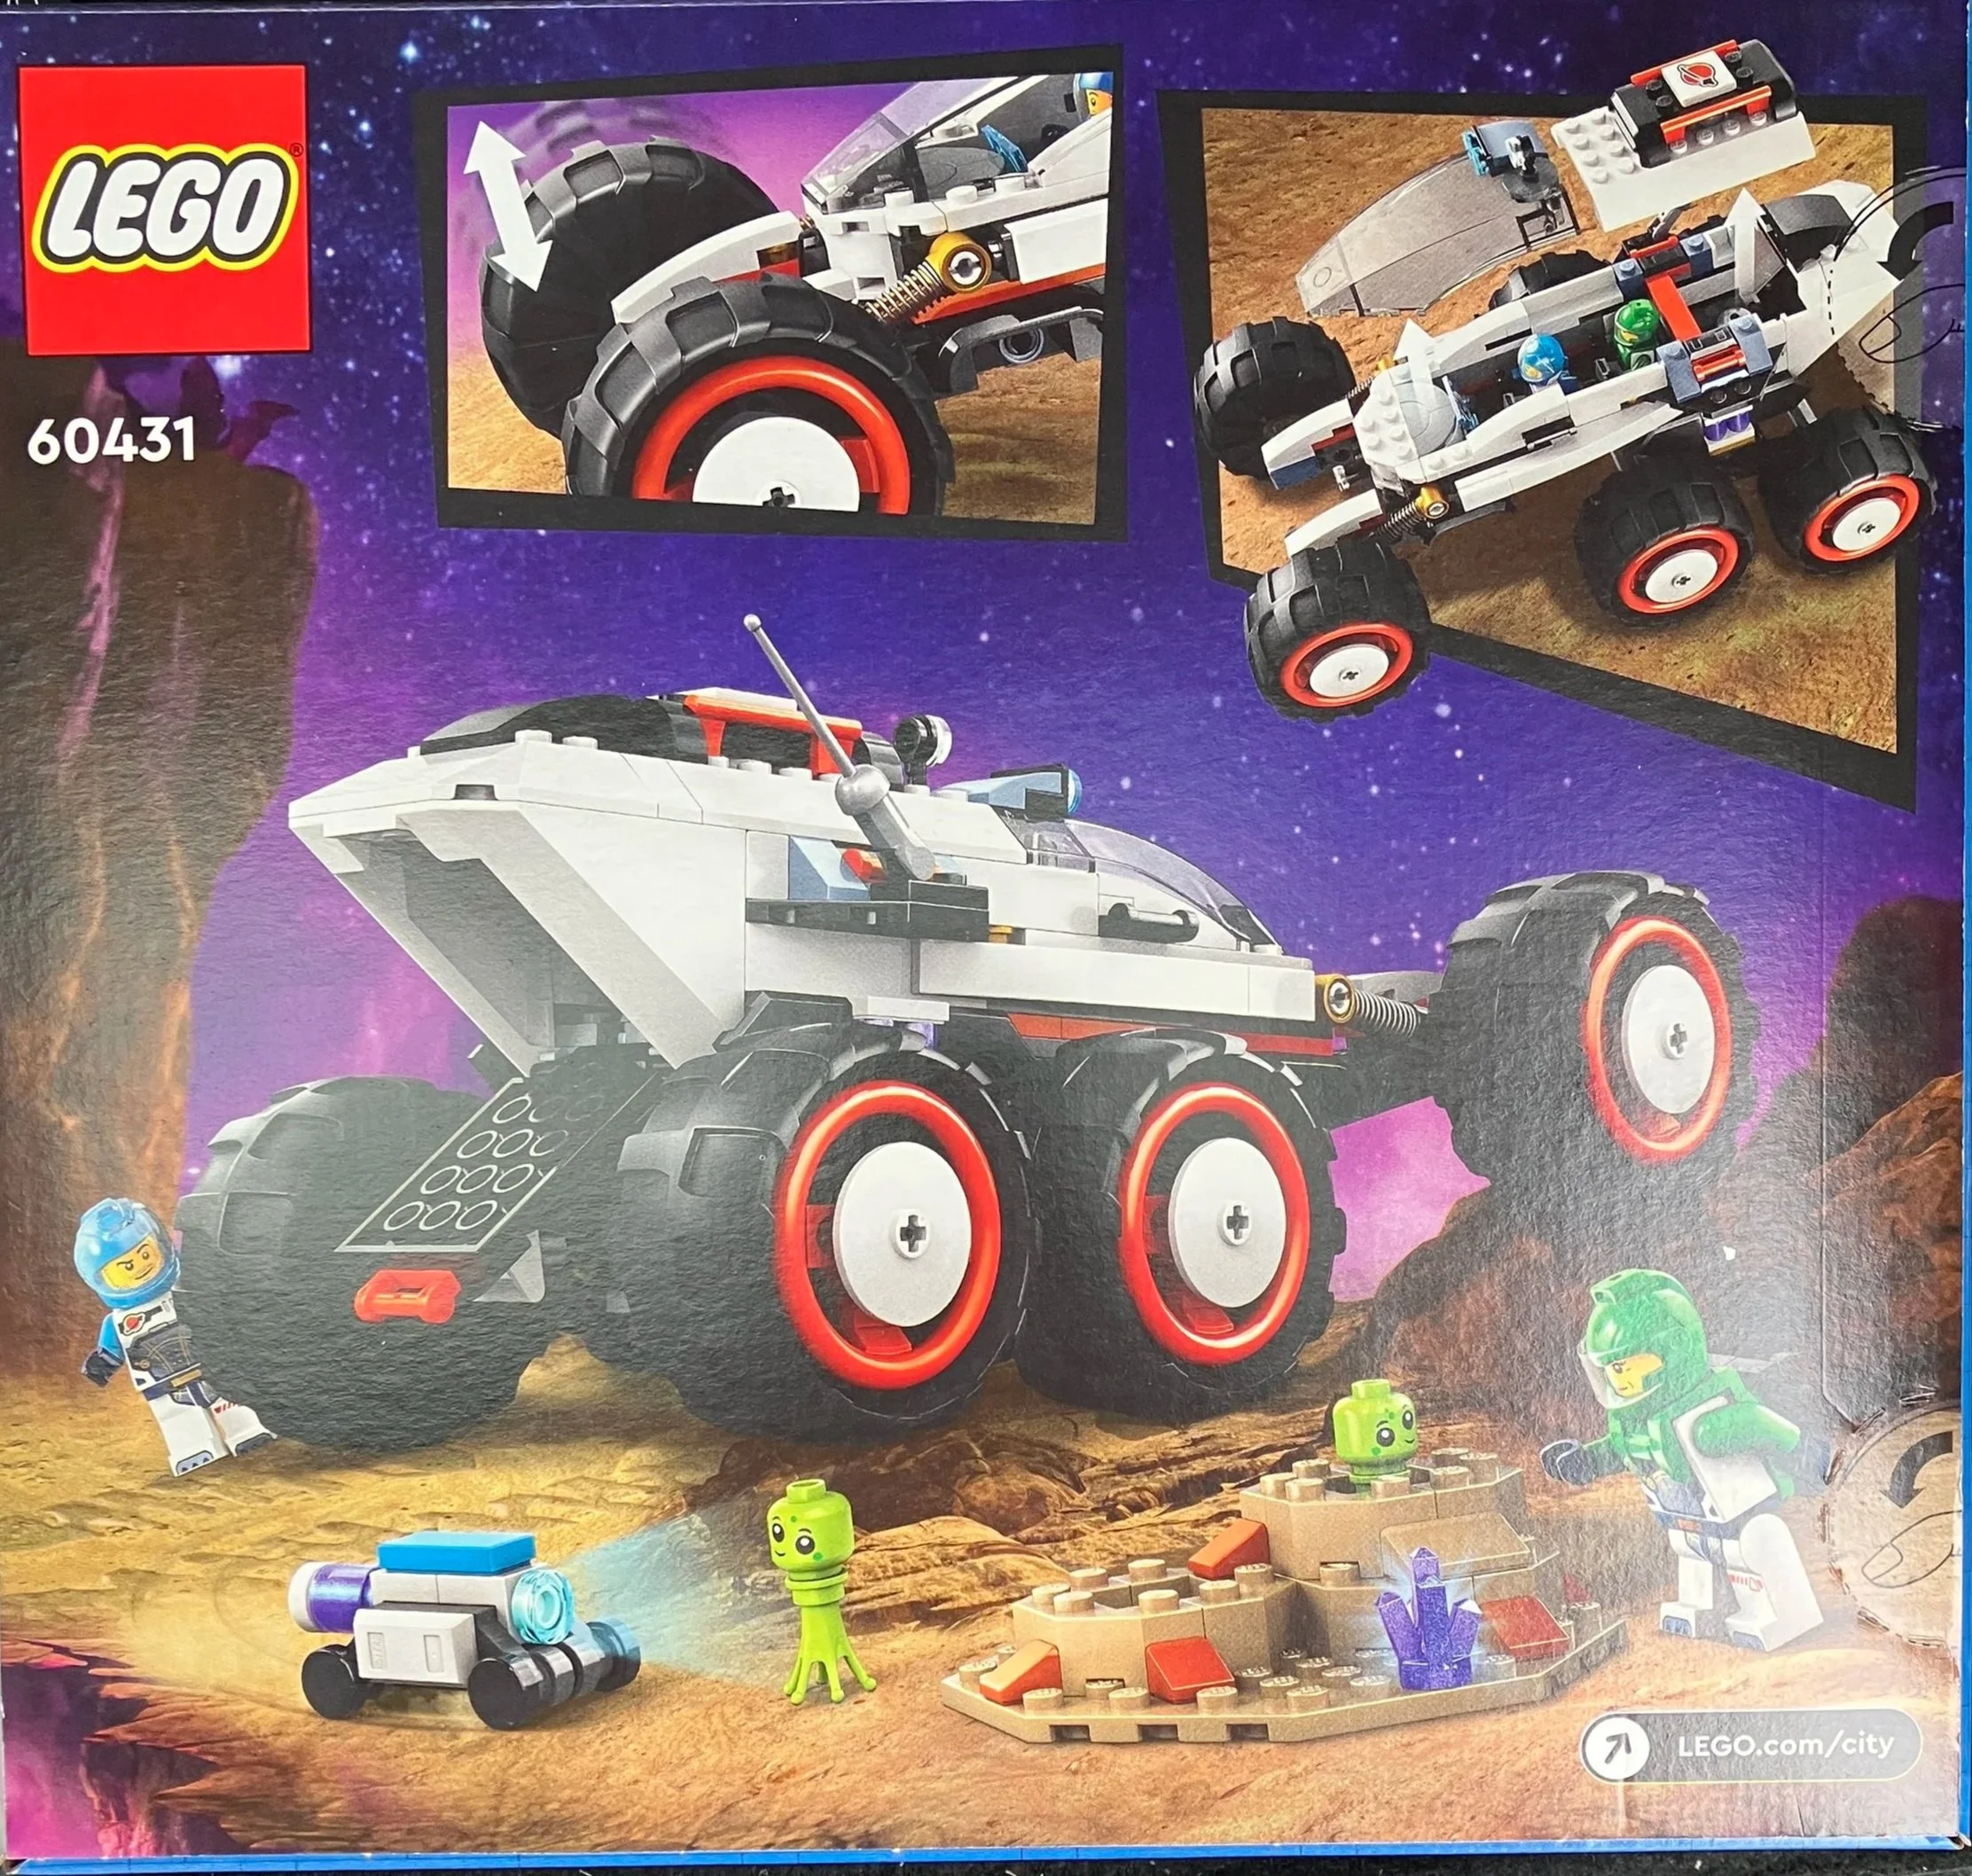
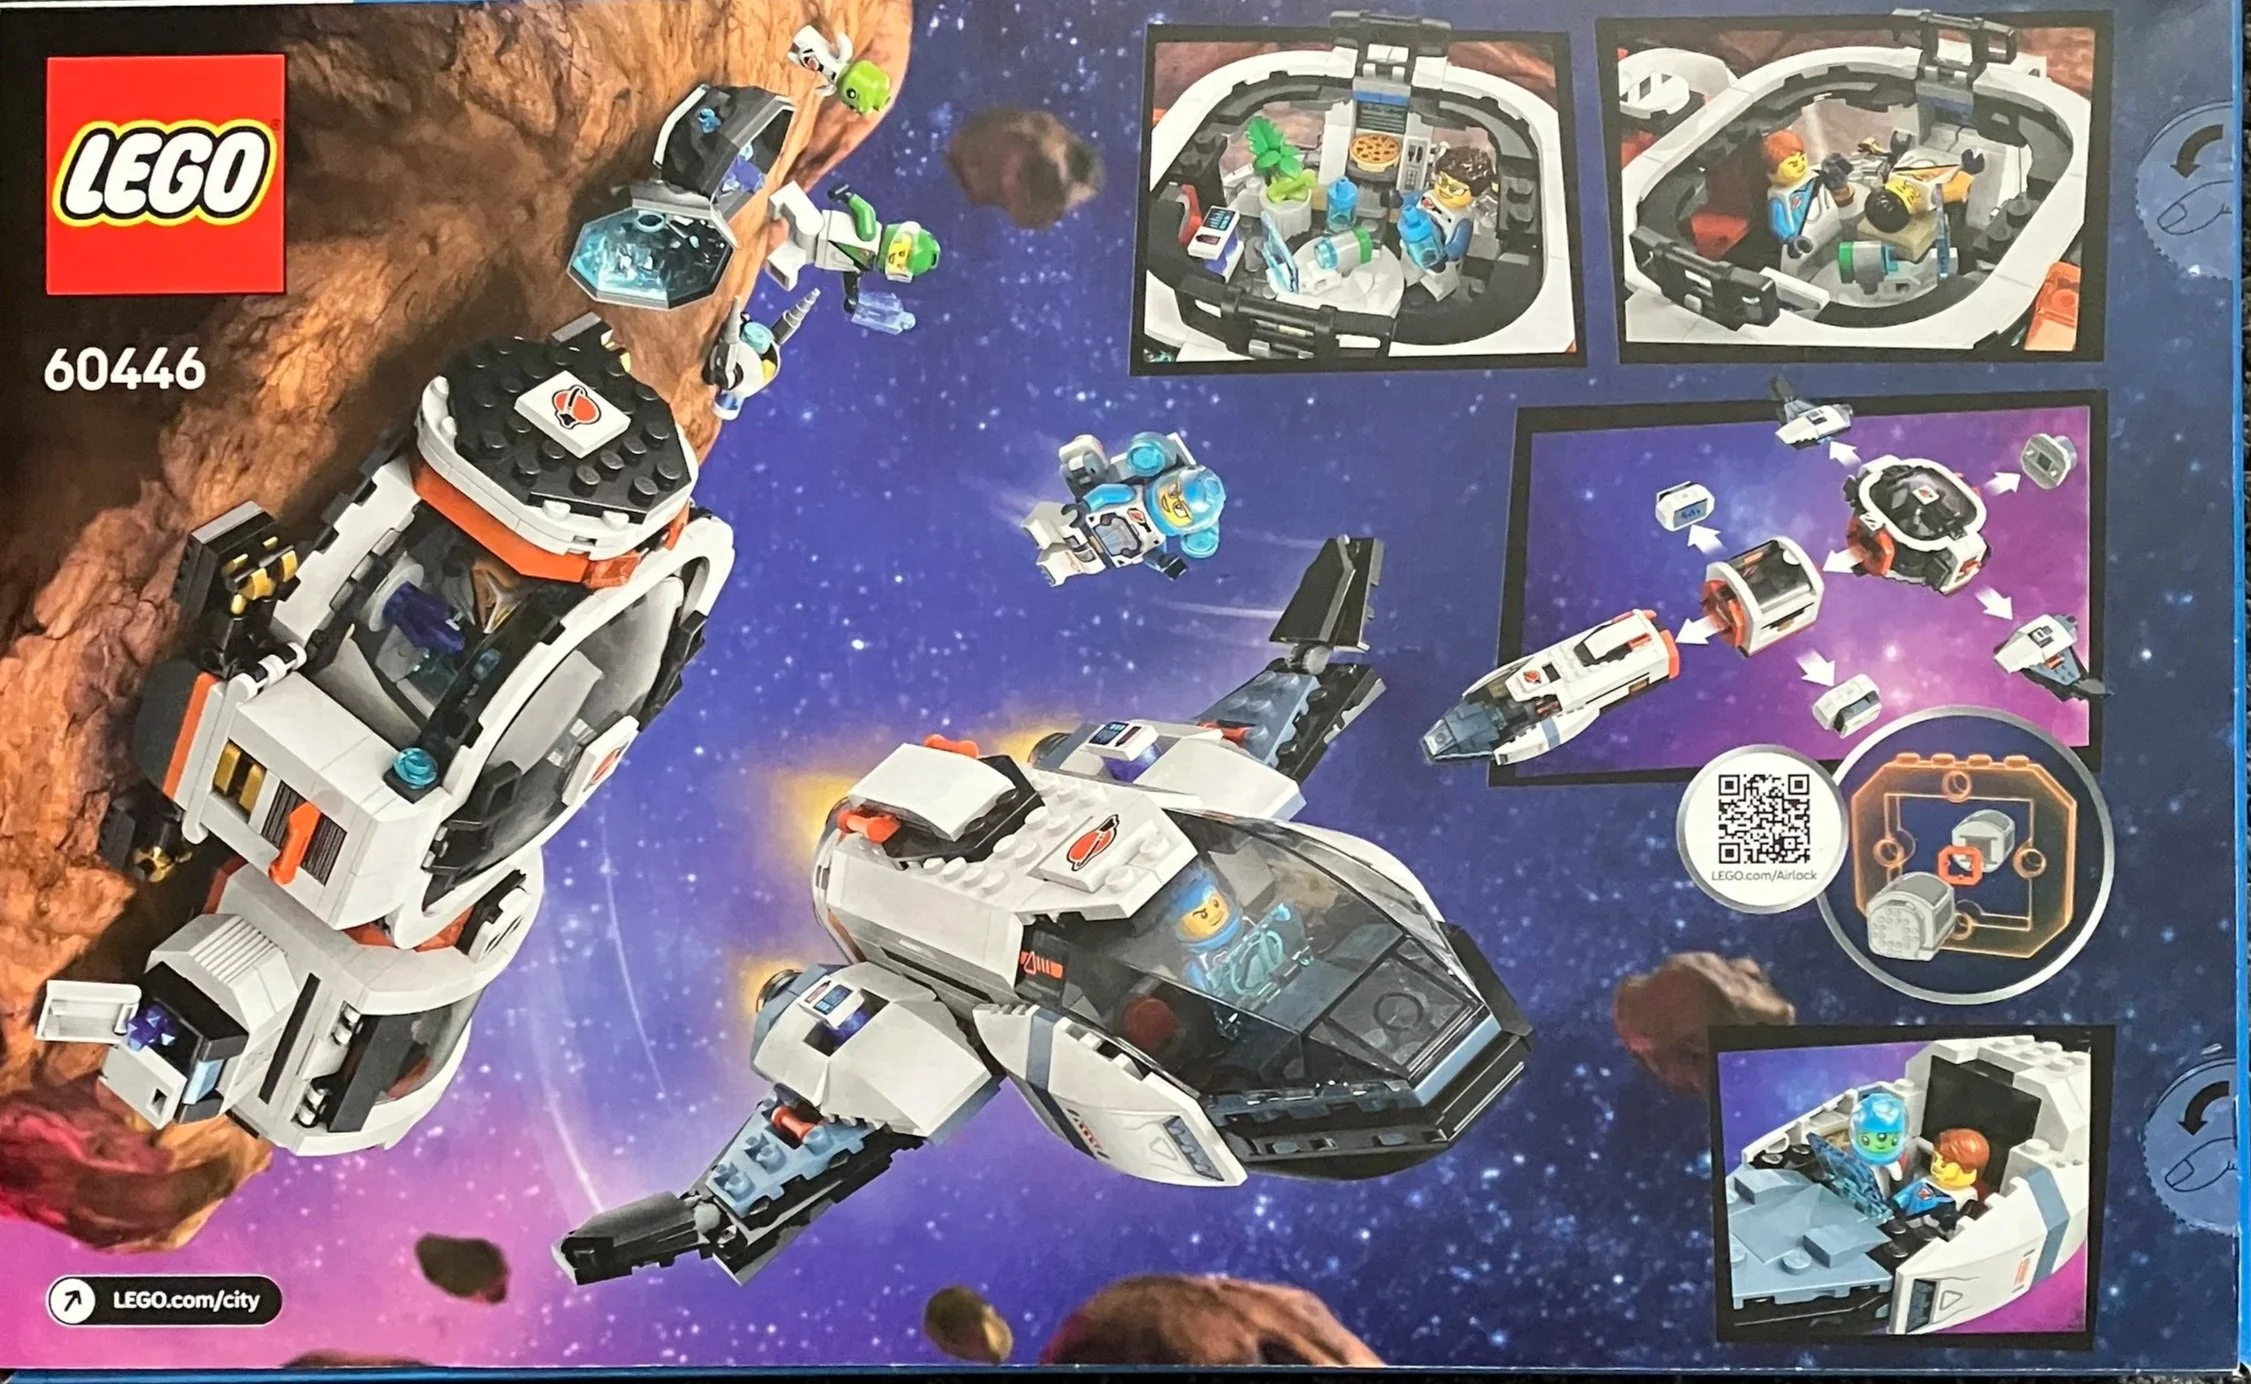
The box front shows the full set while the back shows some of the play features to include the modular parts and some of the internals of the set.
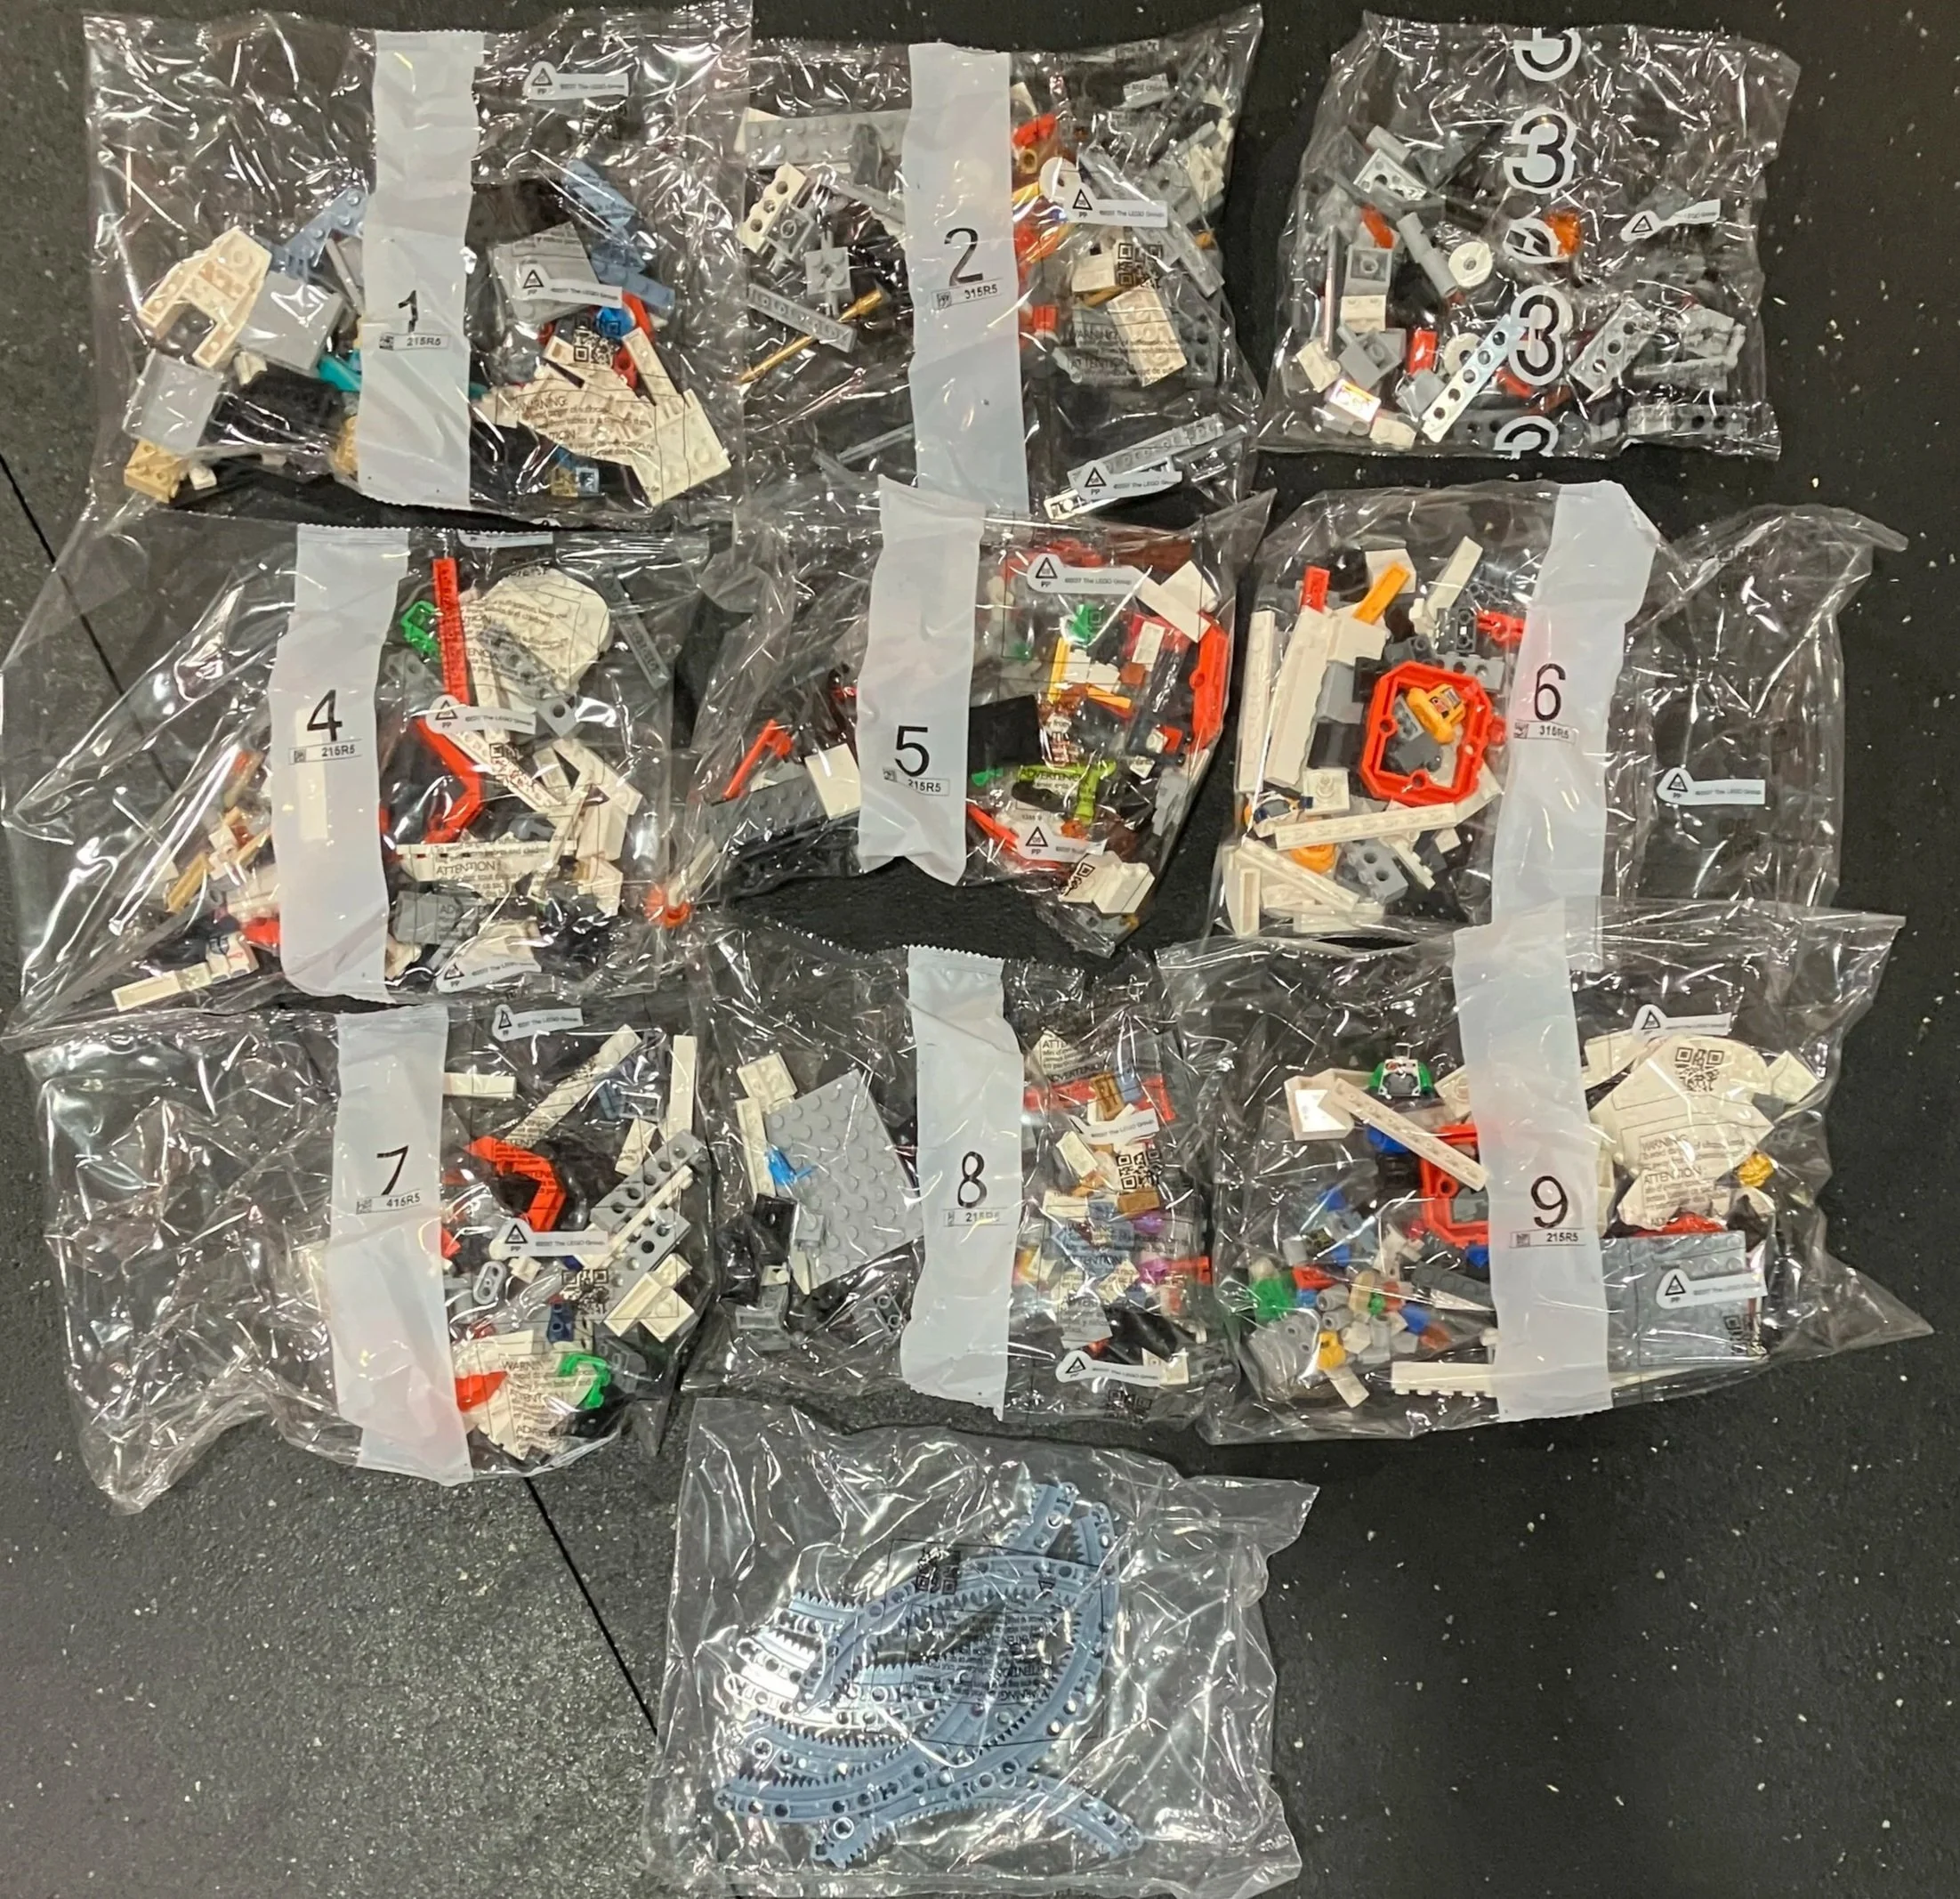
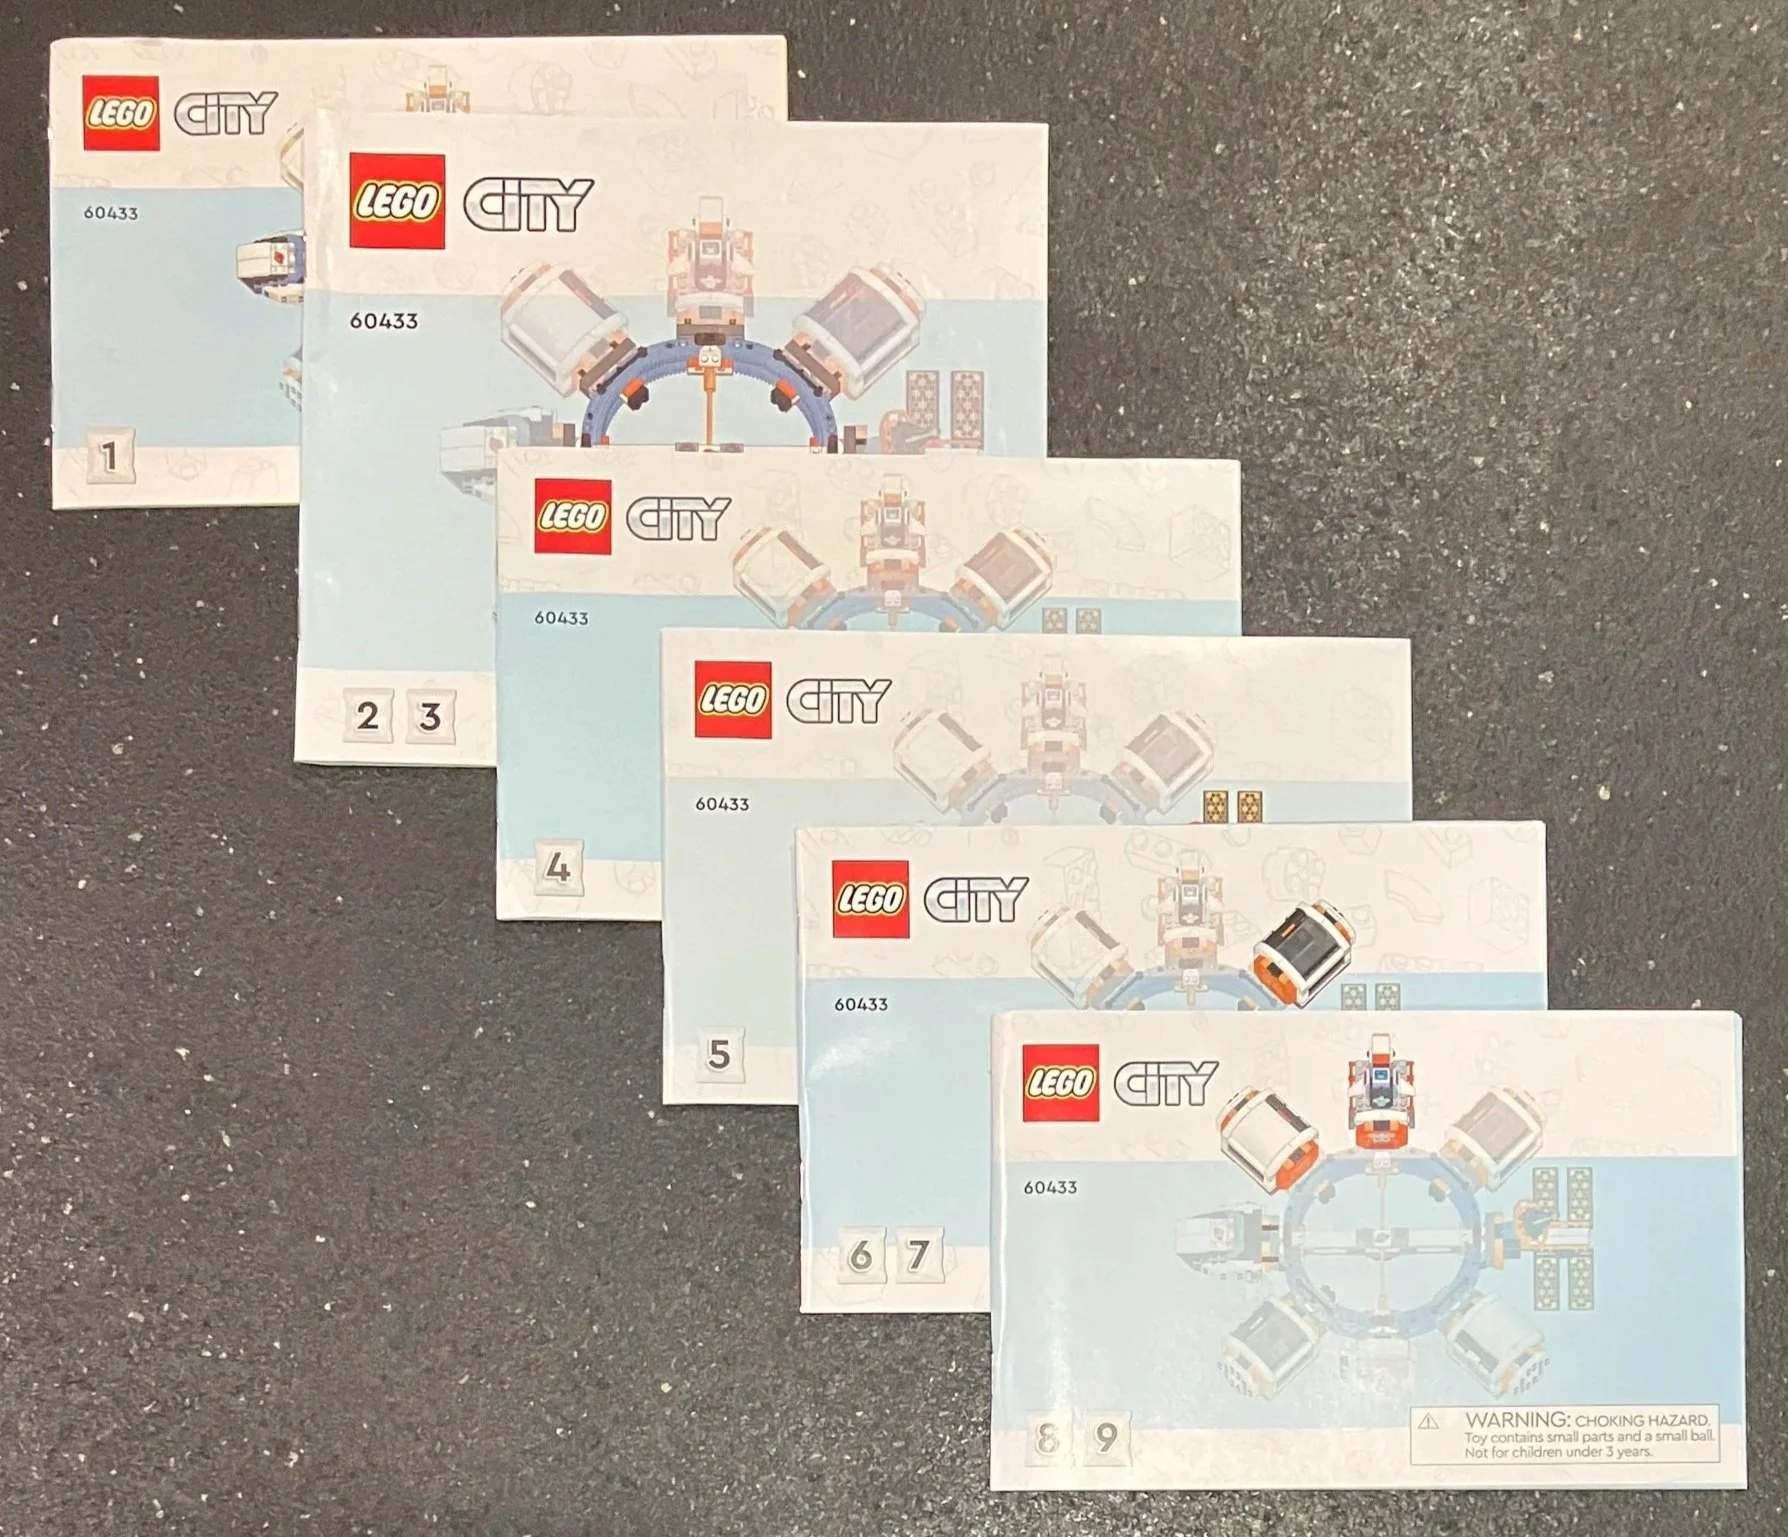
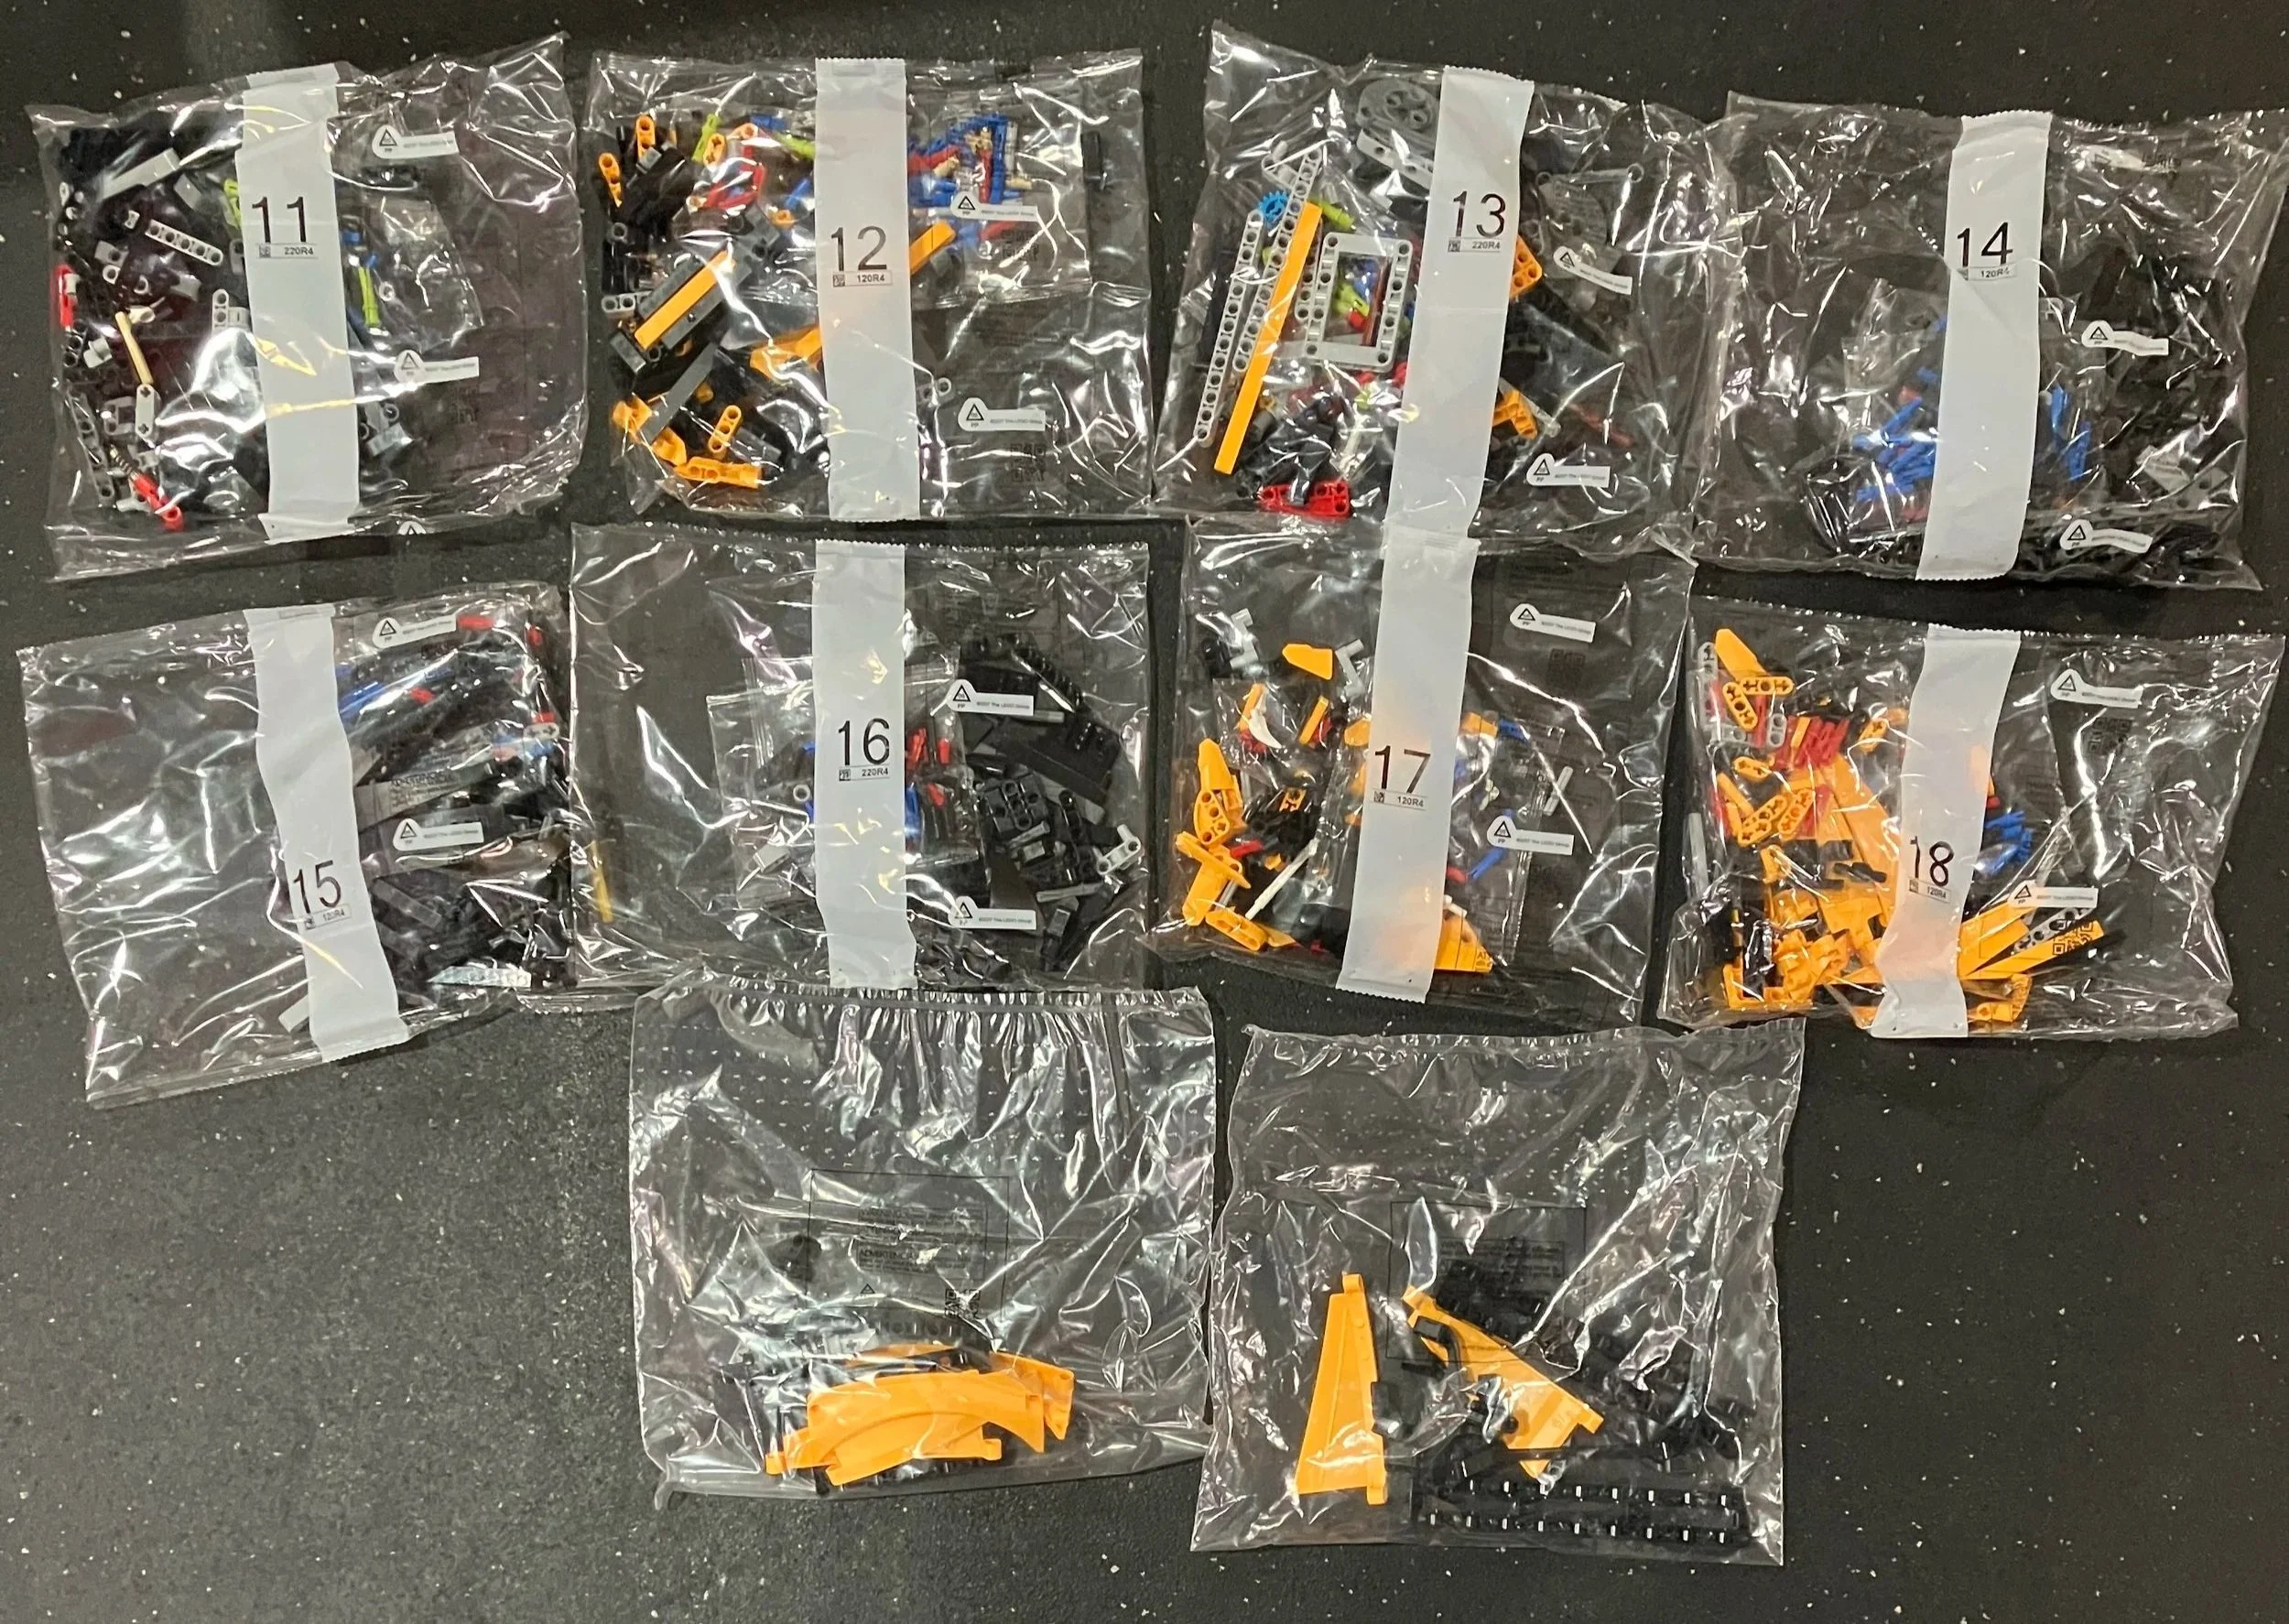
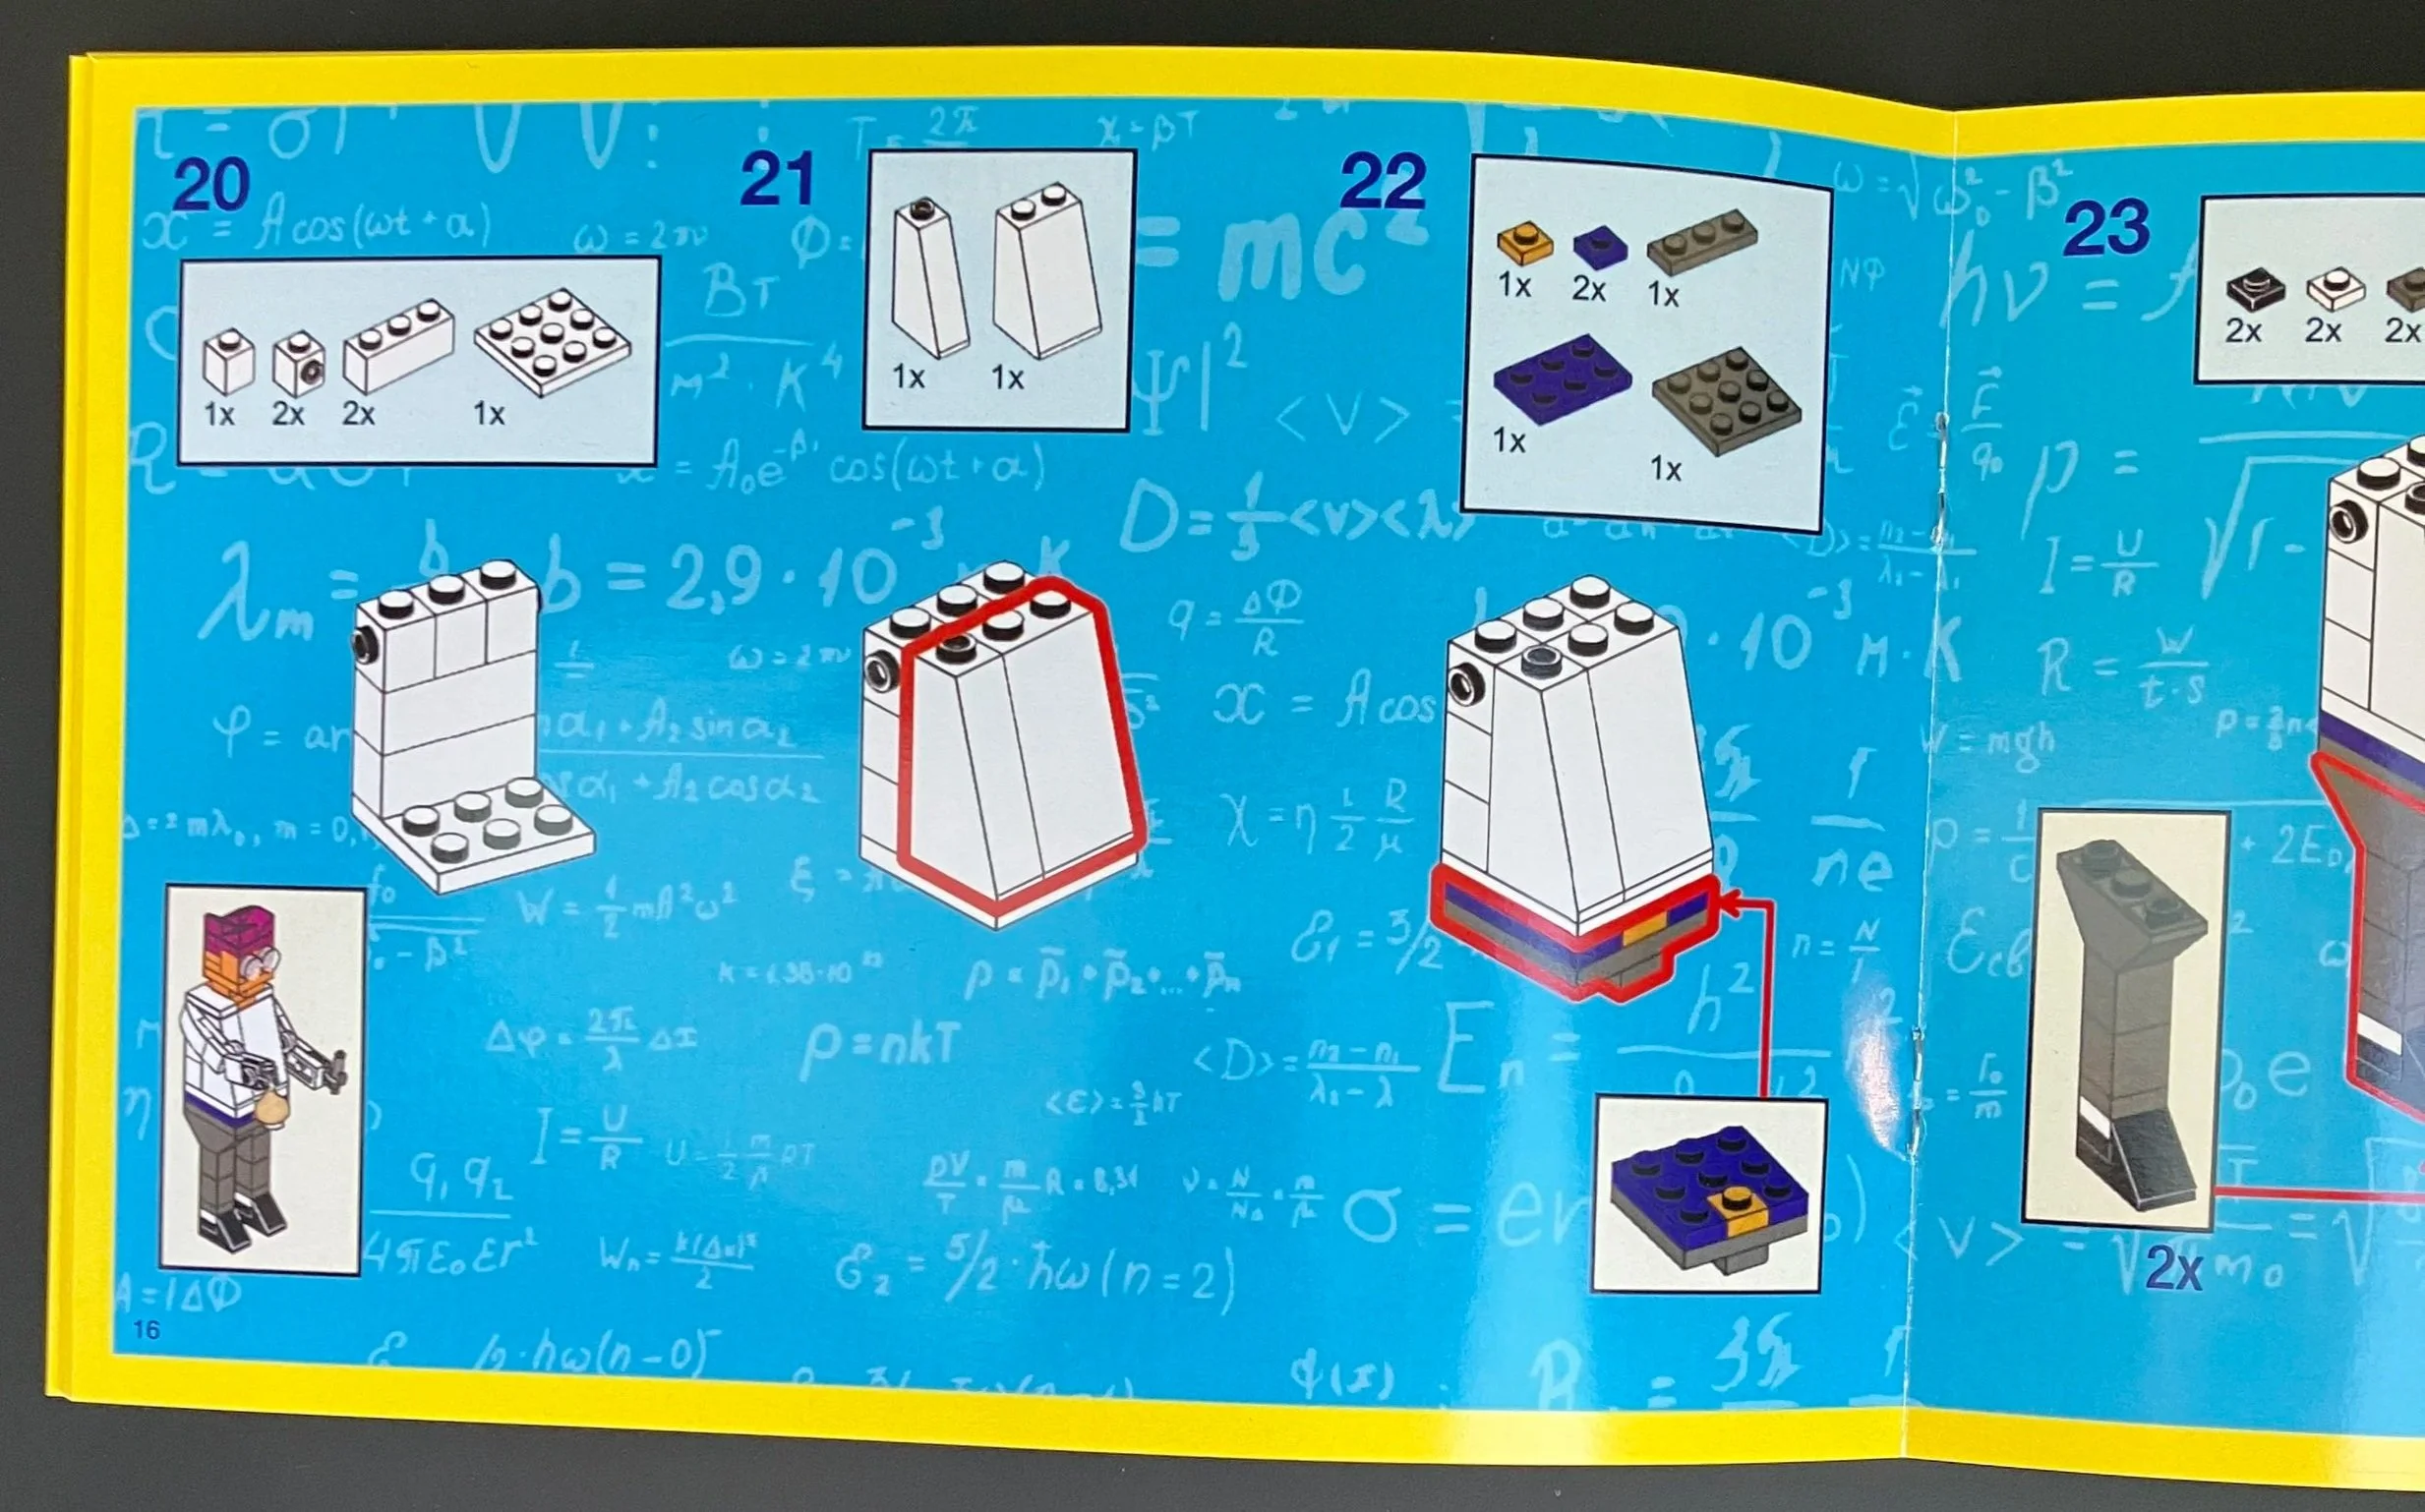
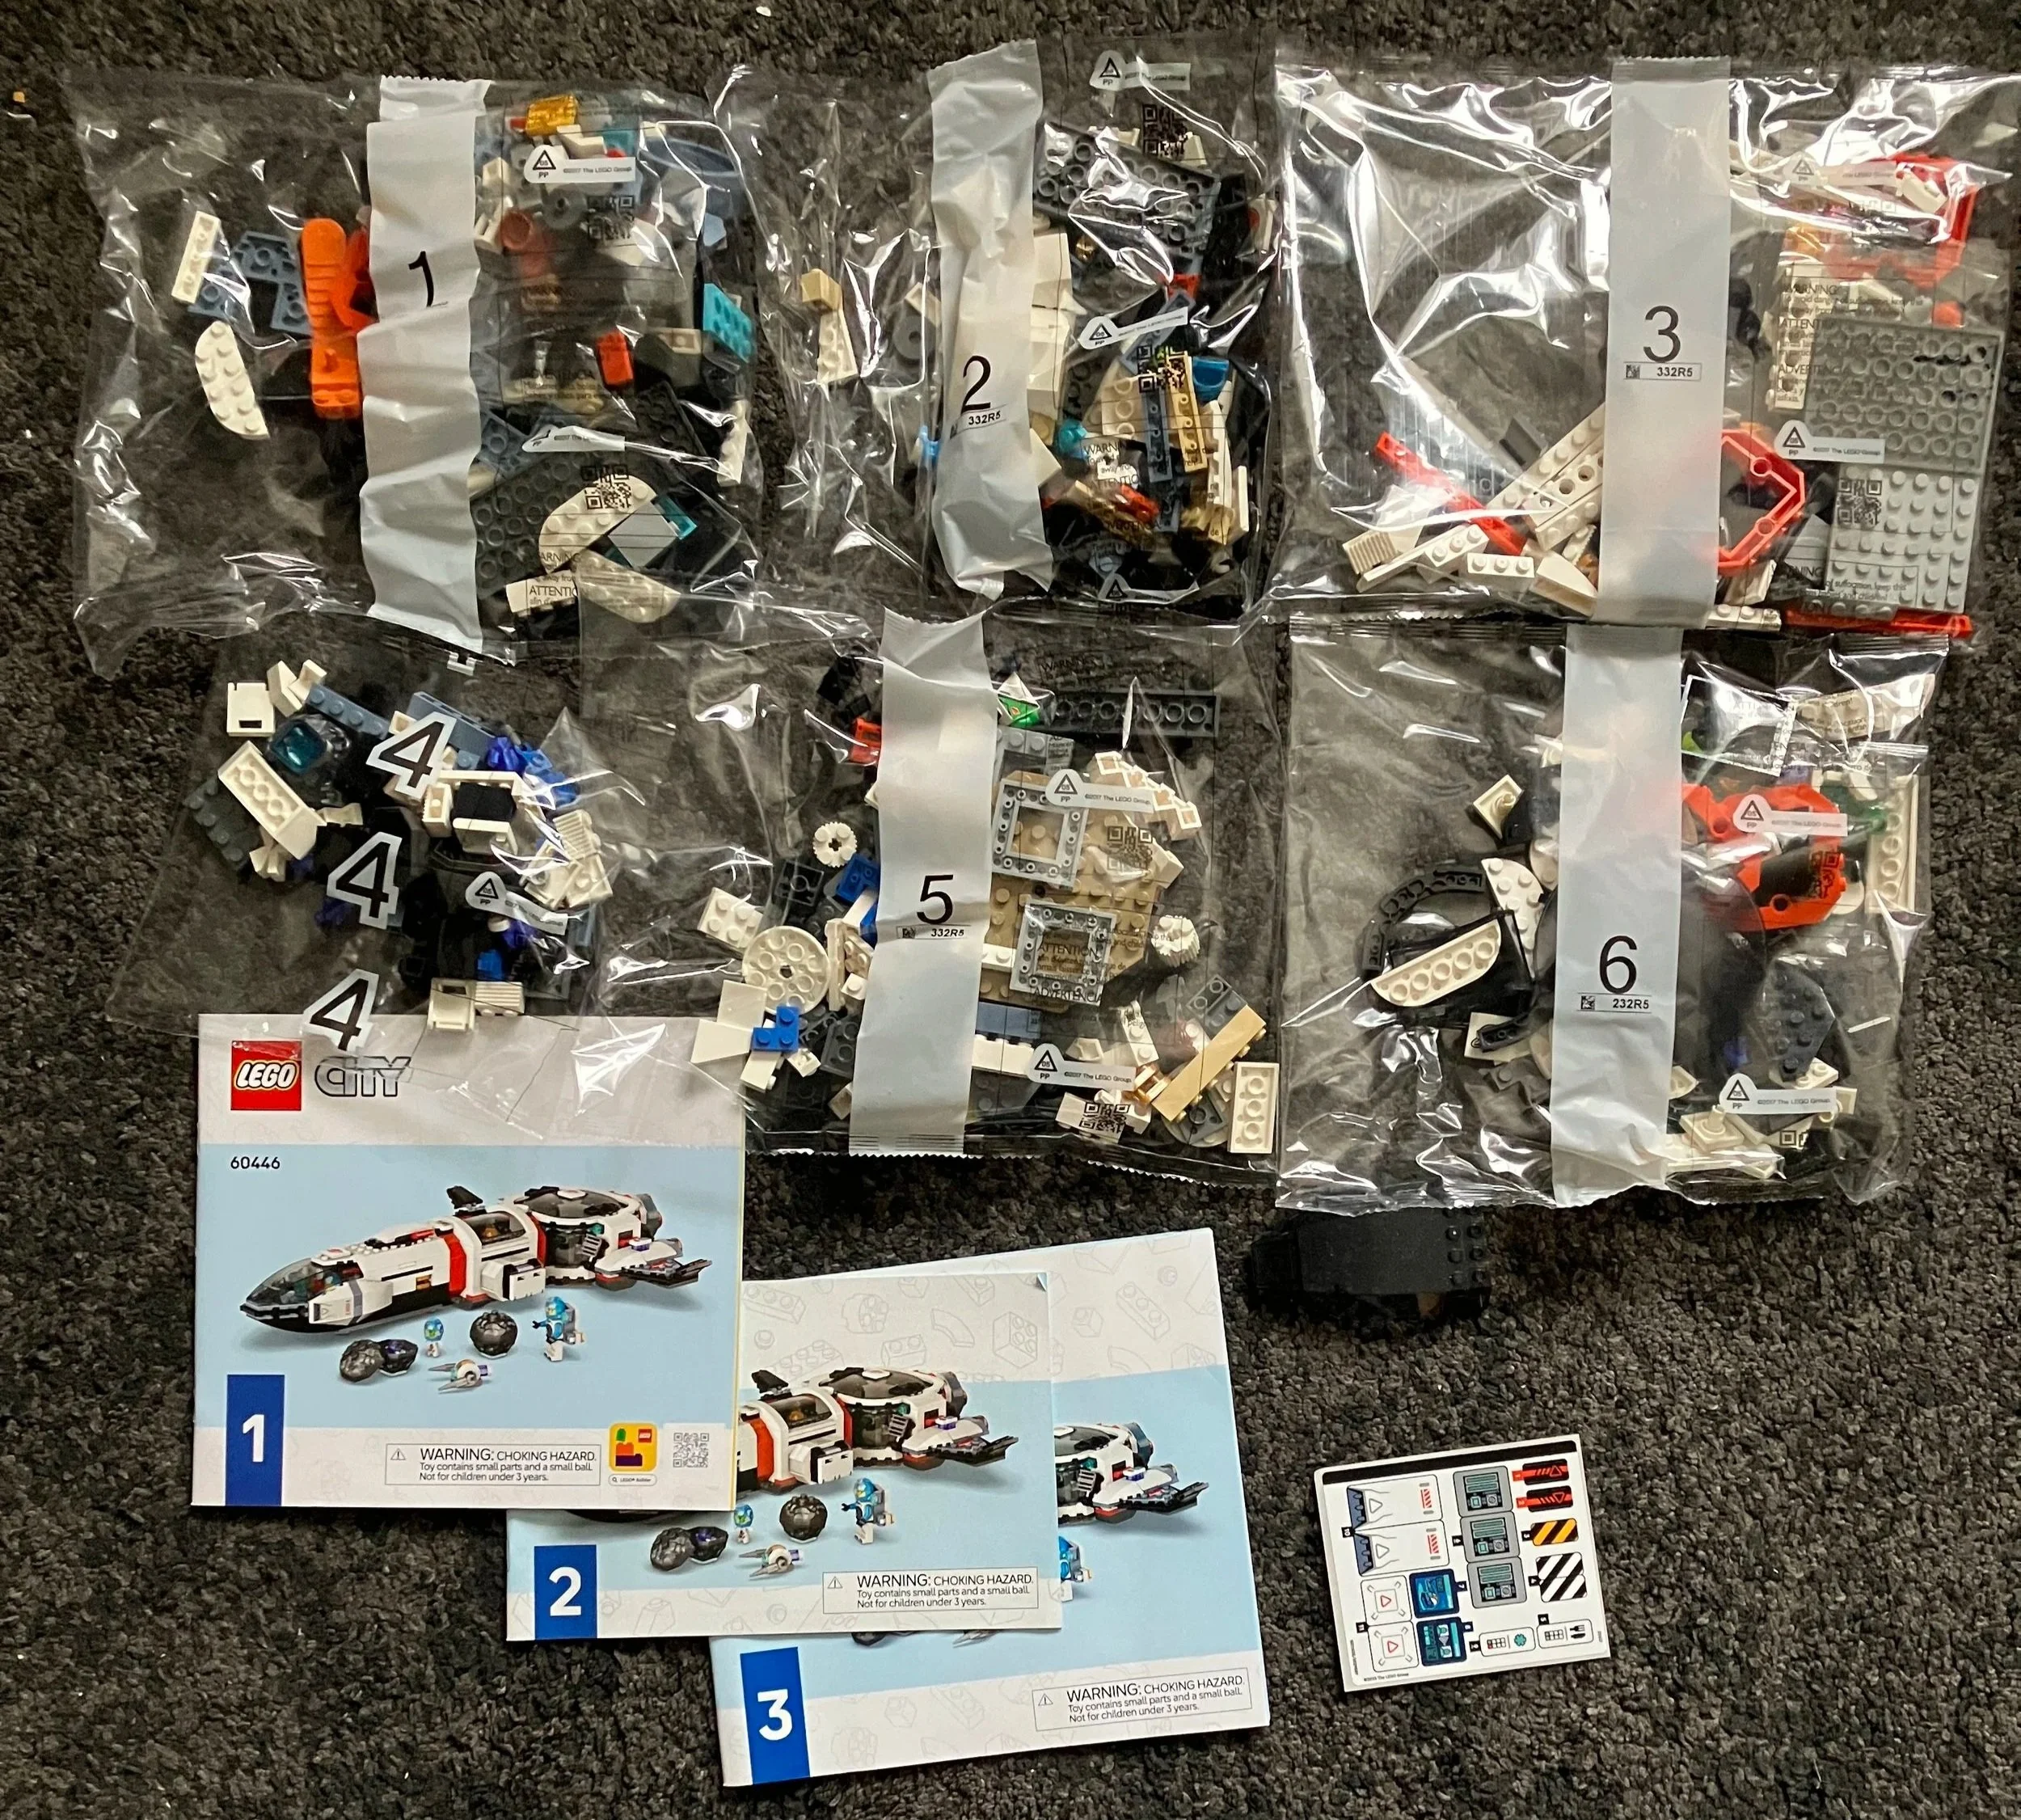
The set contained six numbered parts bags, three instruction booklets, a small sticker sheet, and the front screen piece was separate.
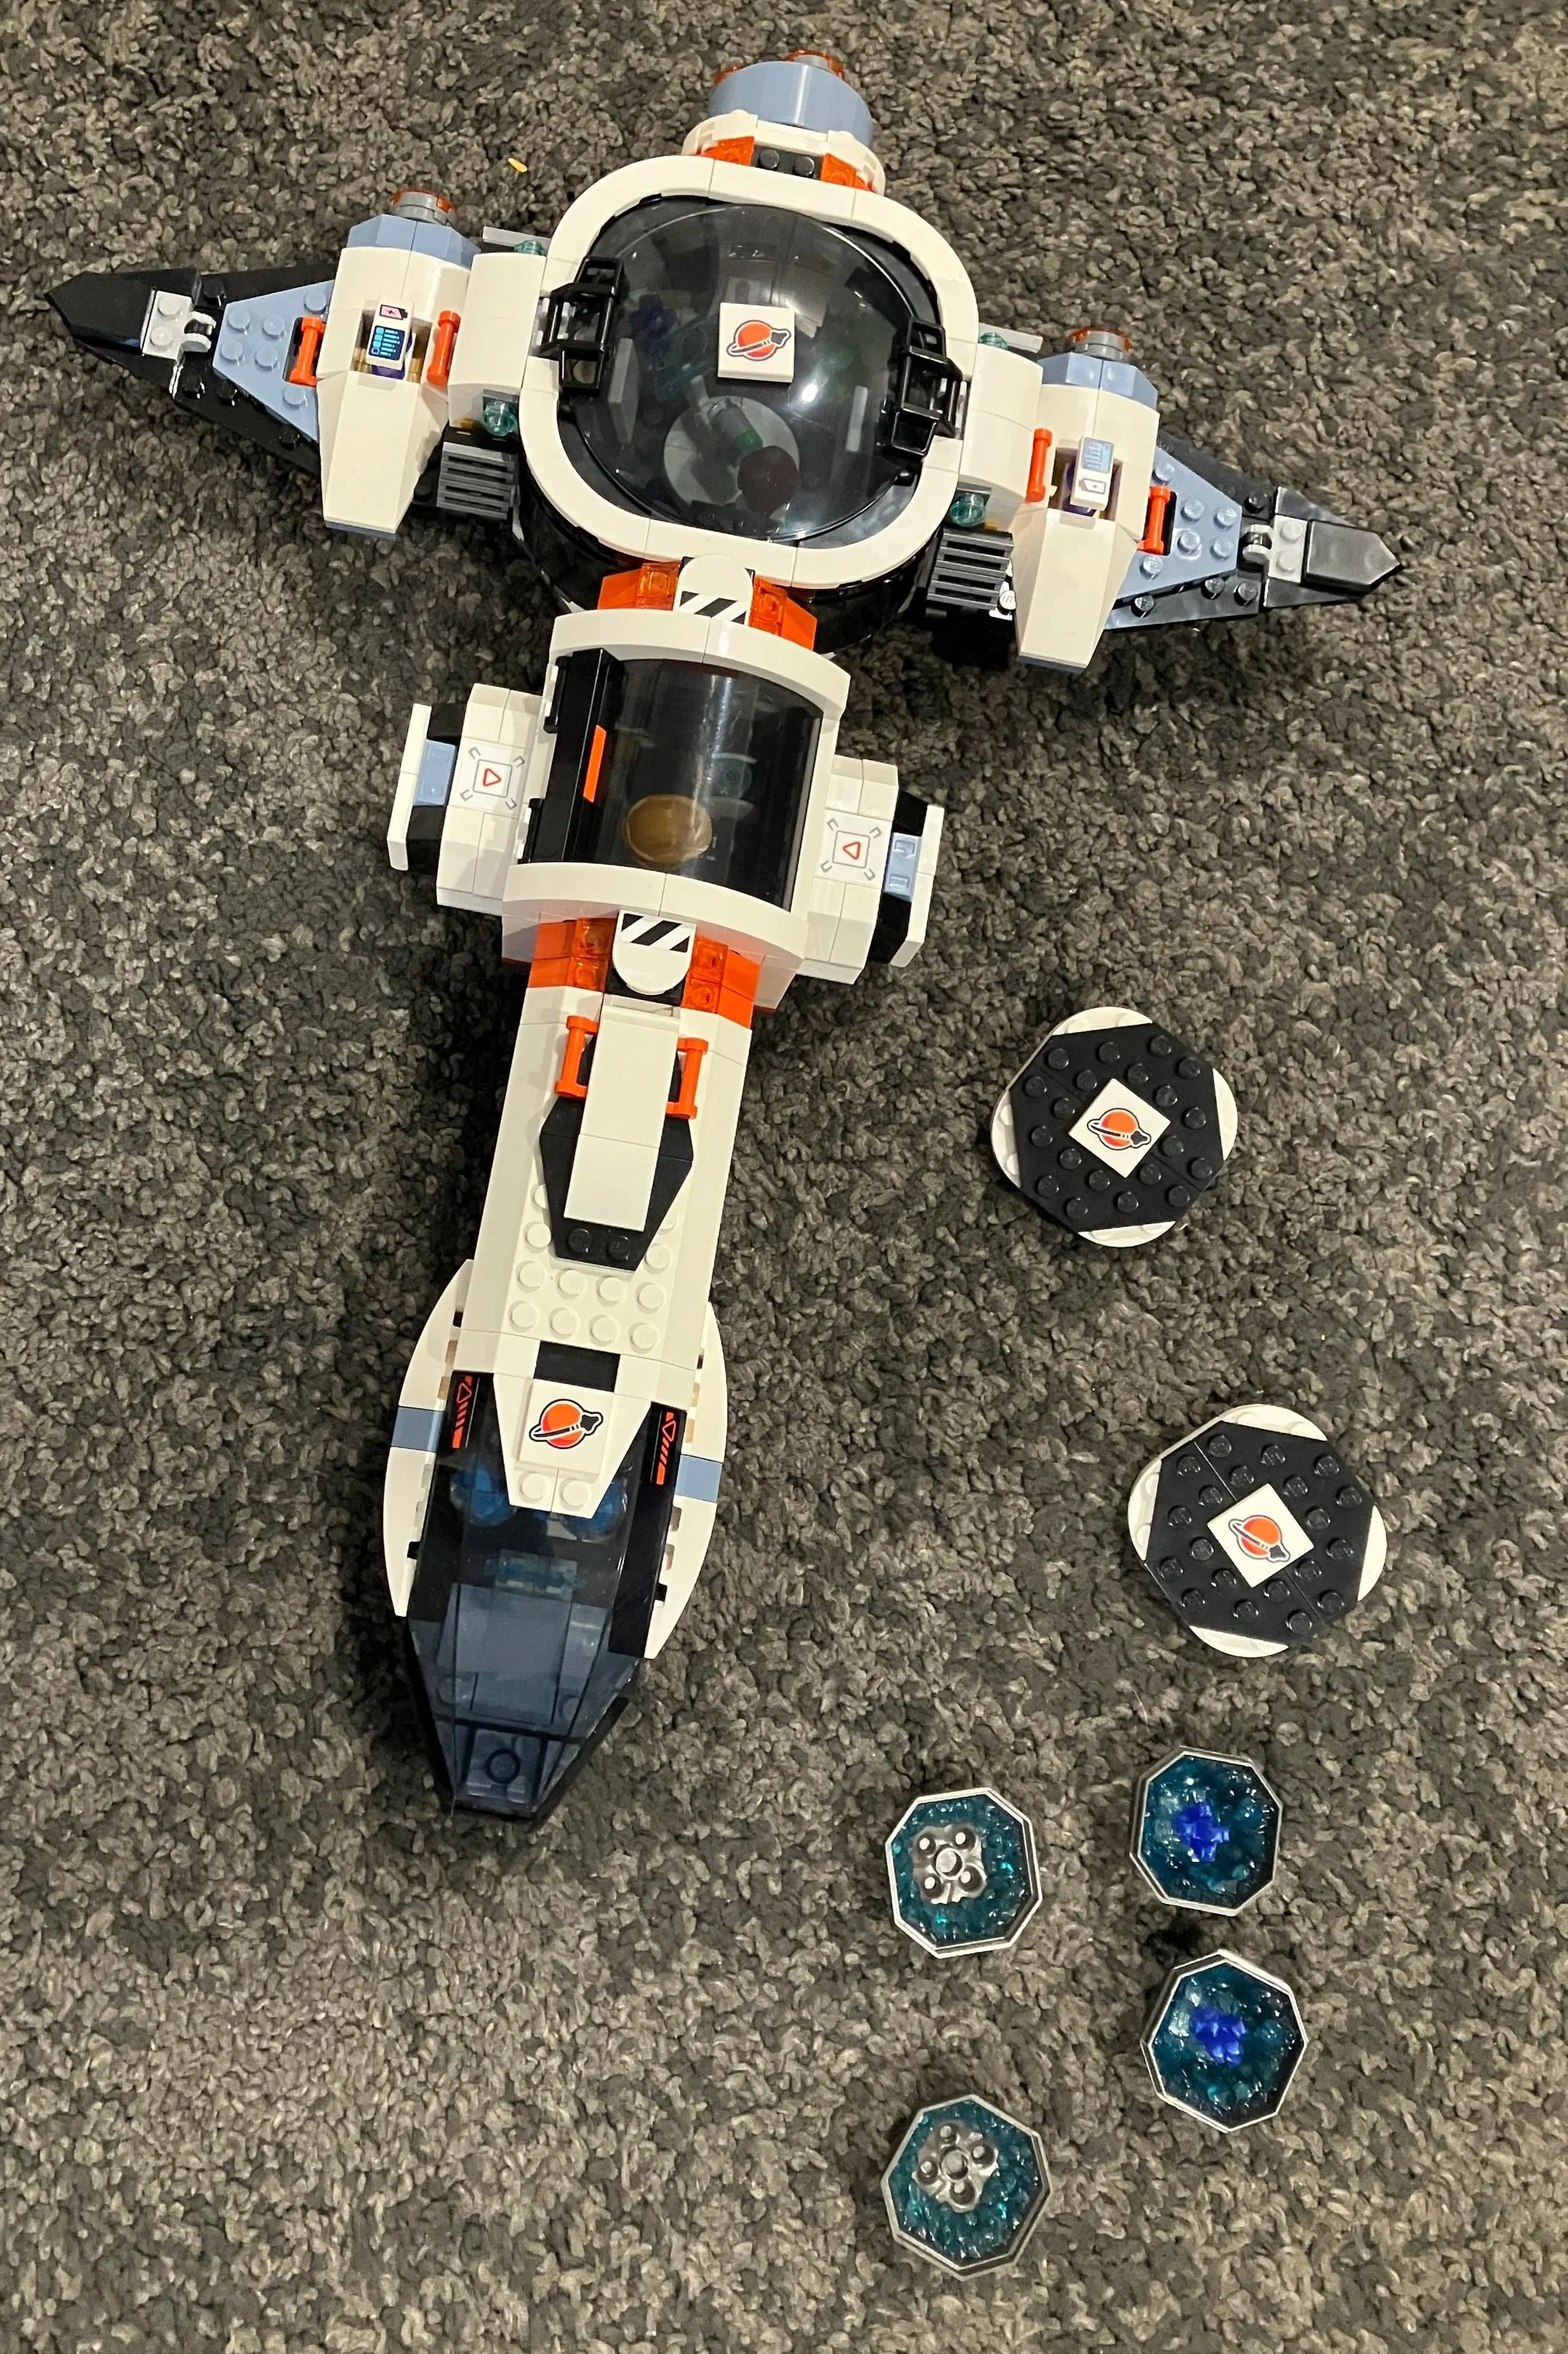
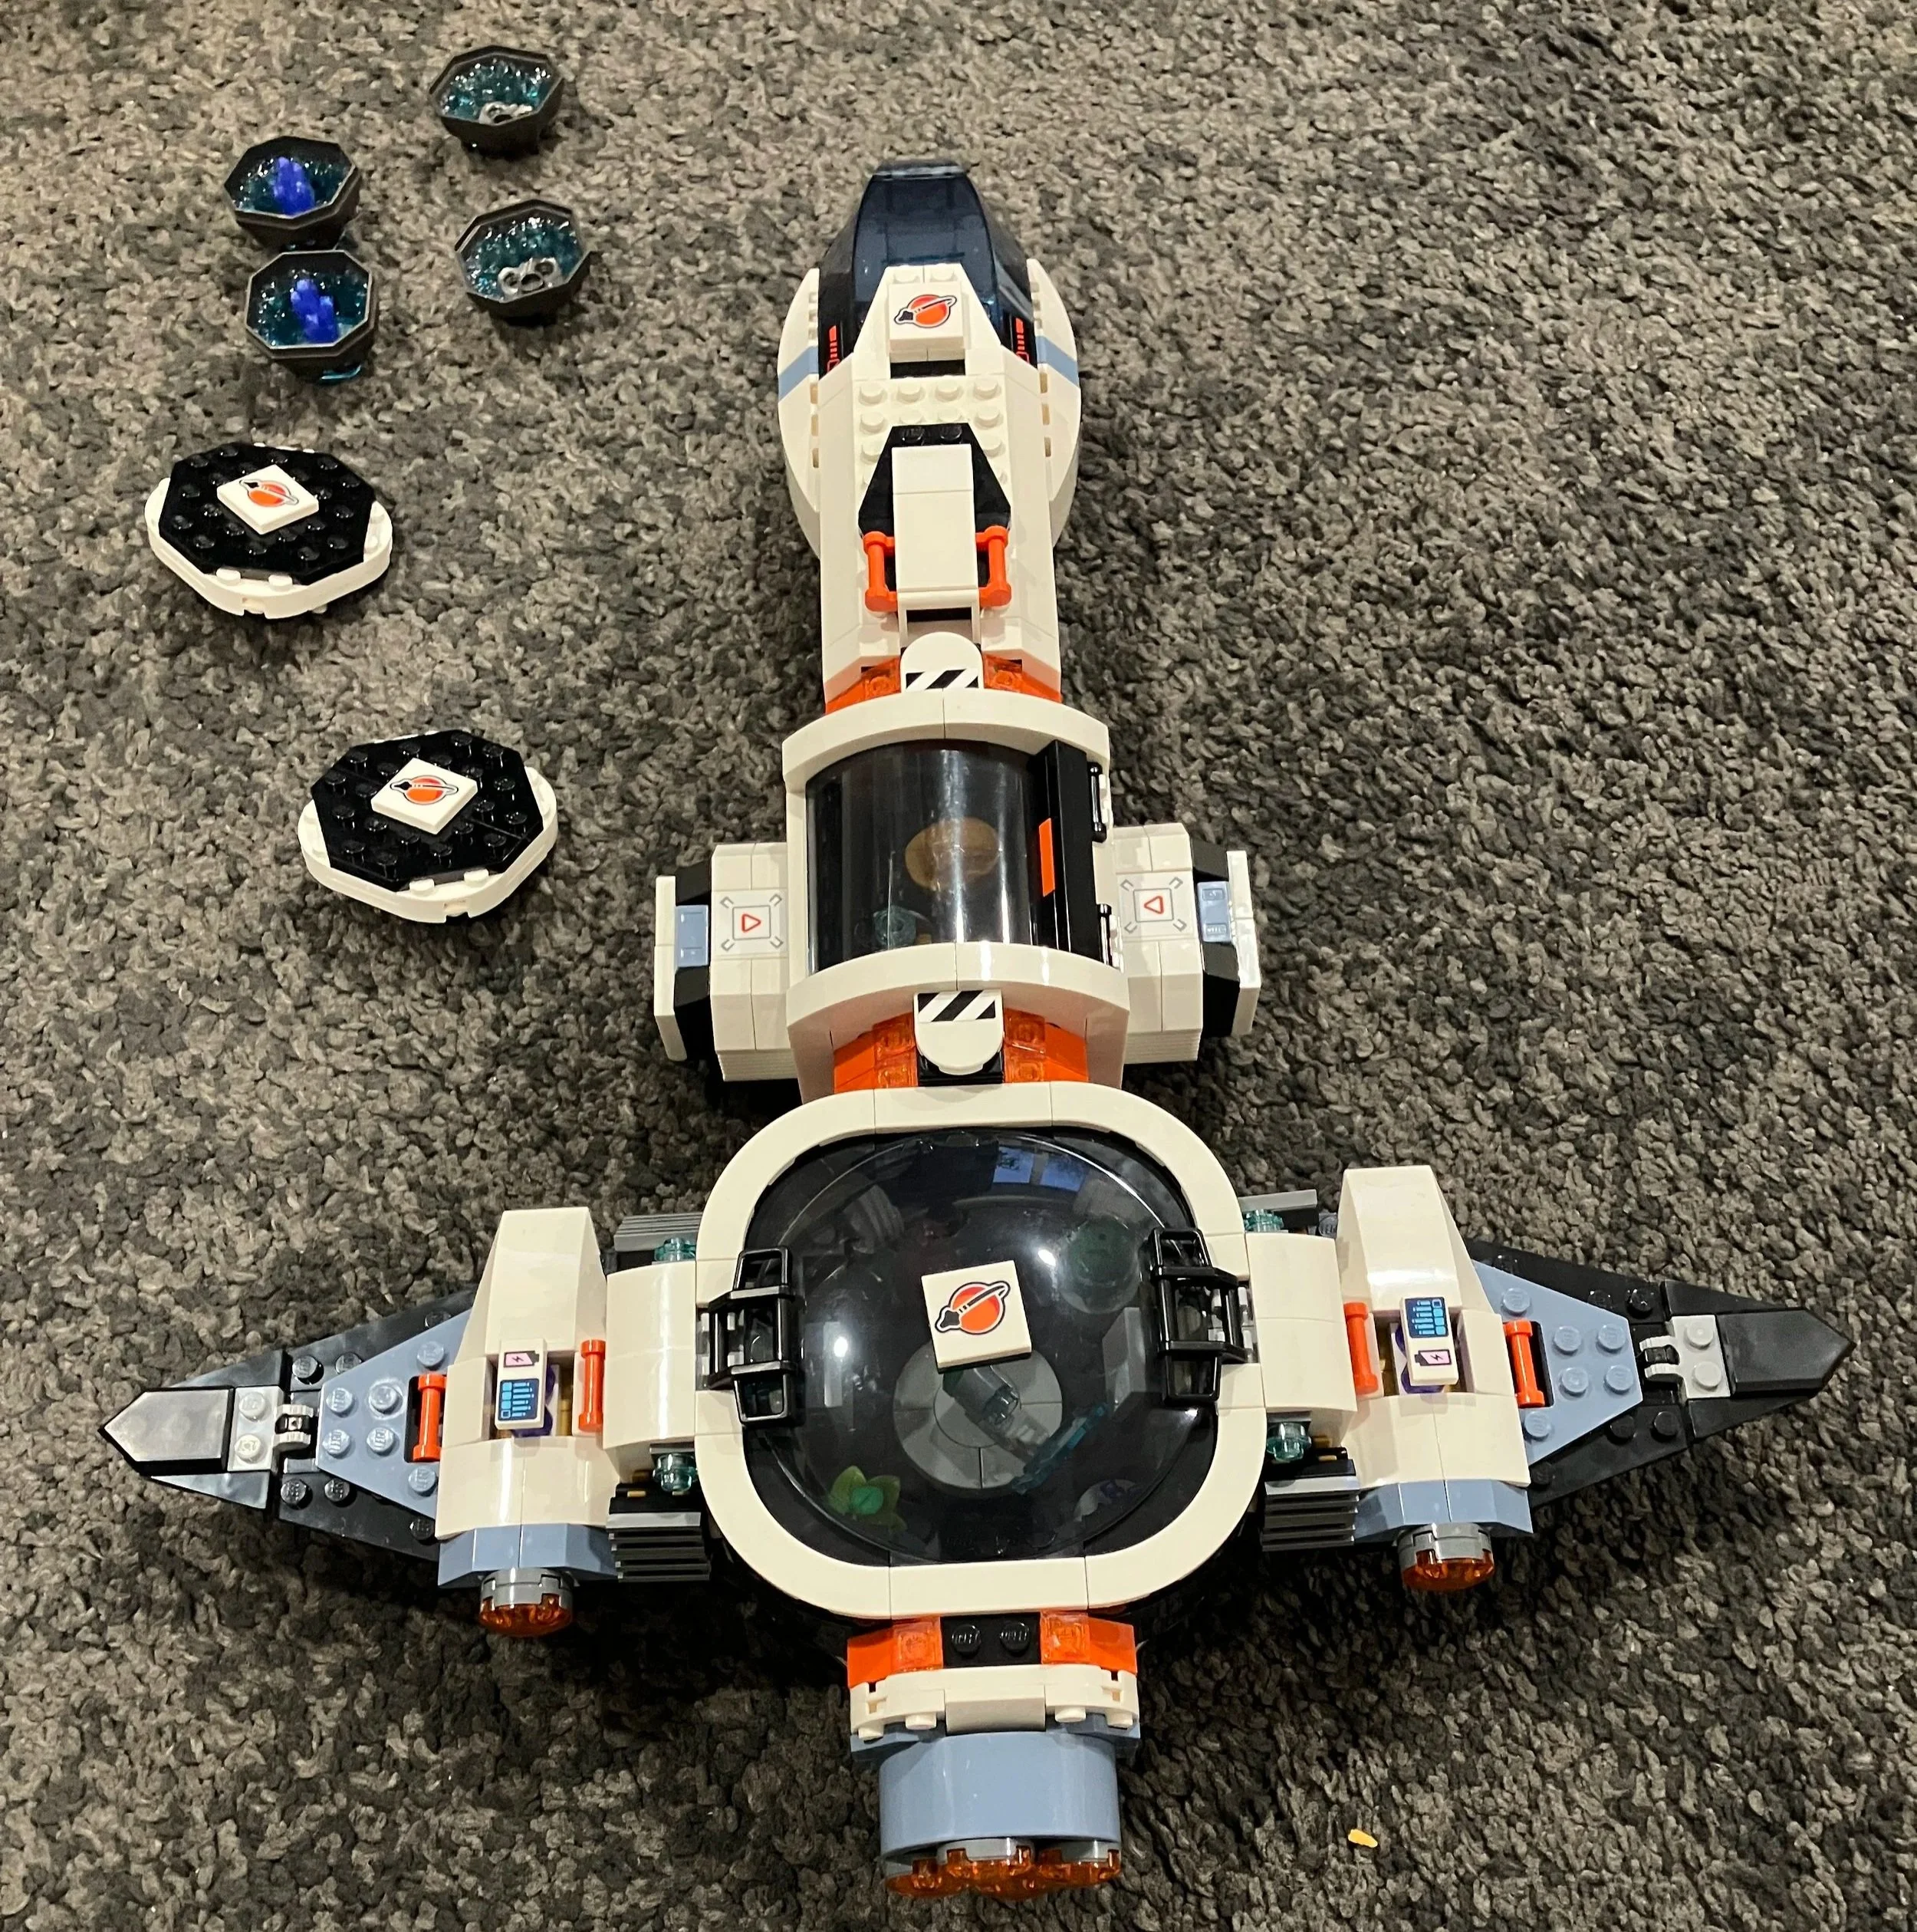
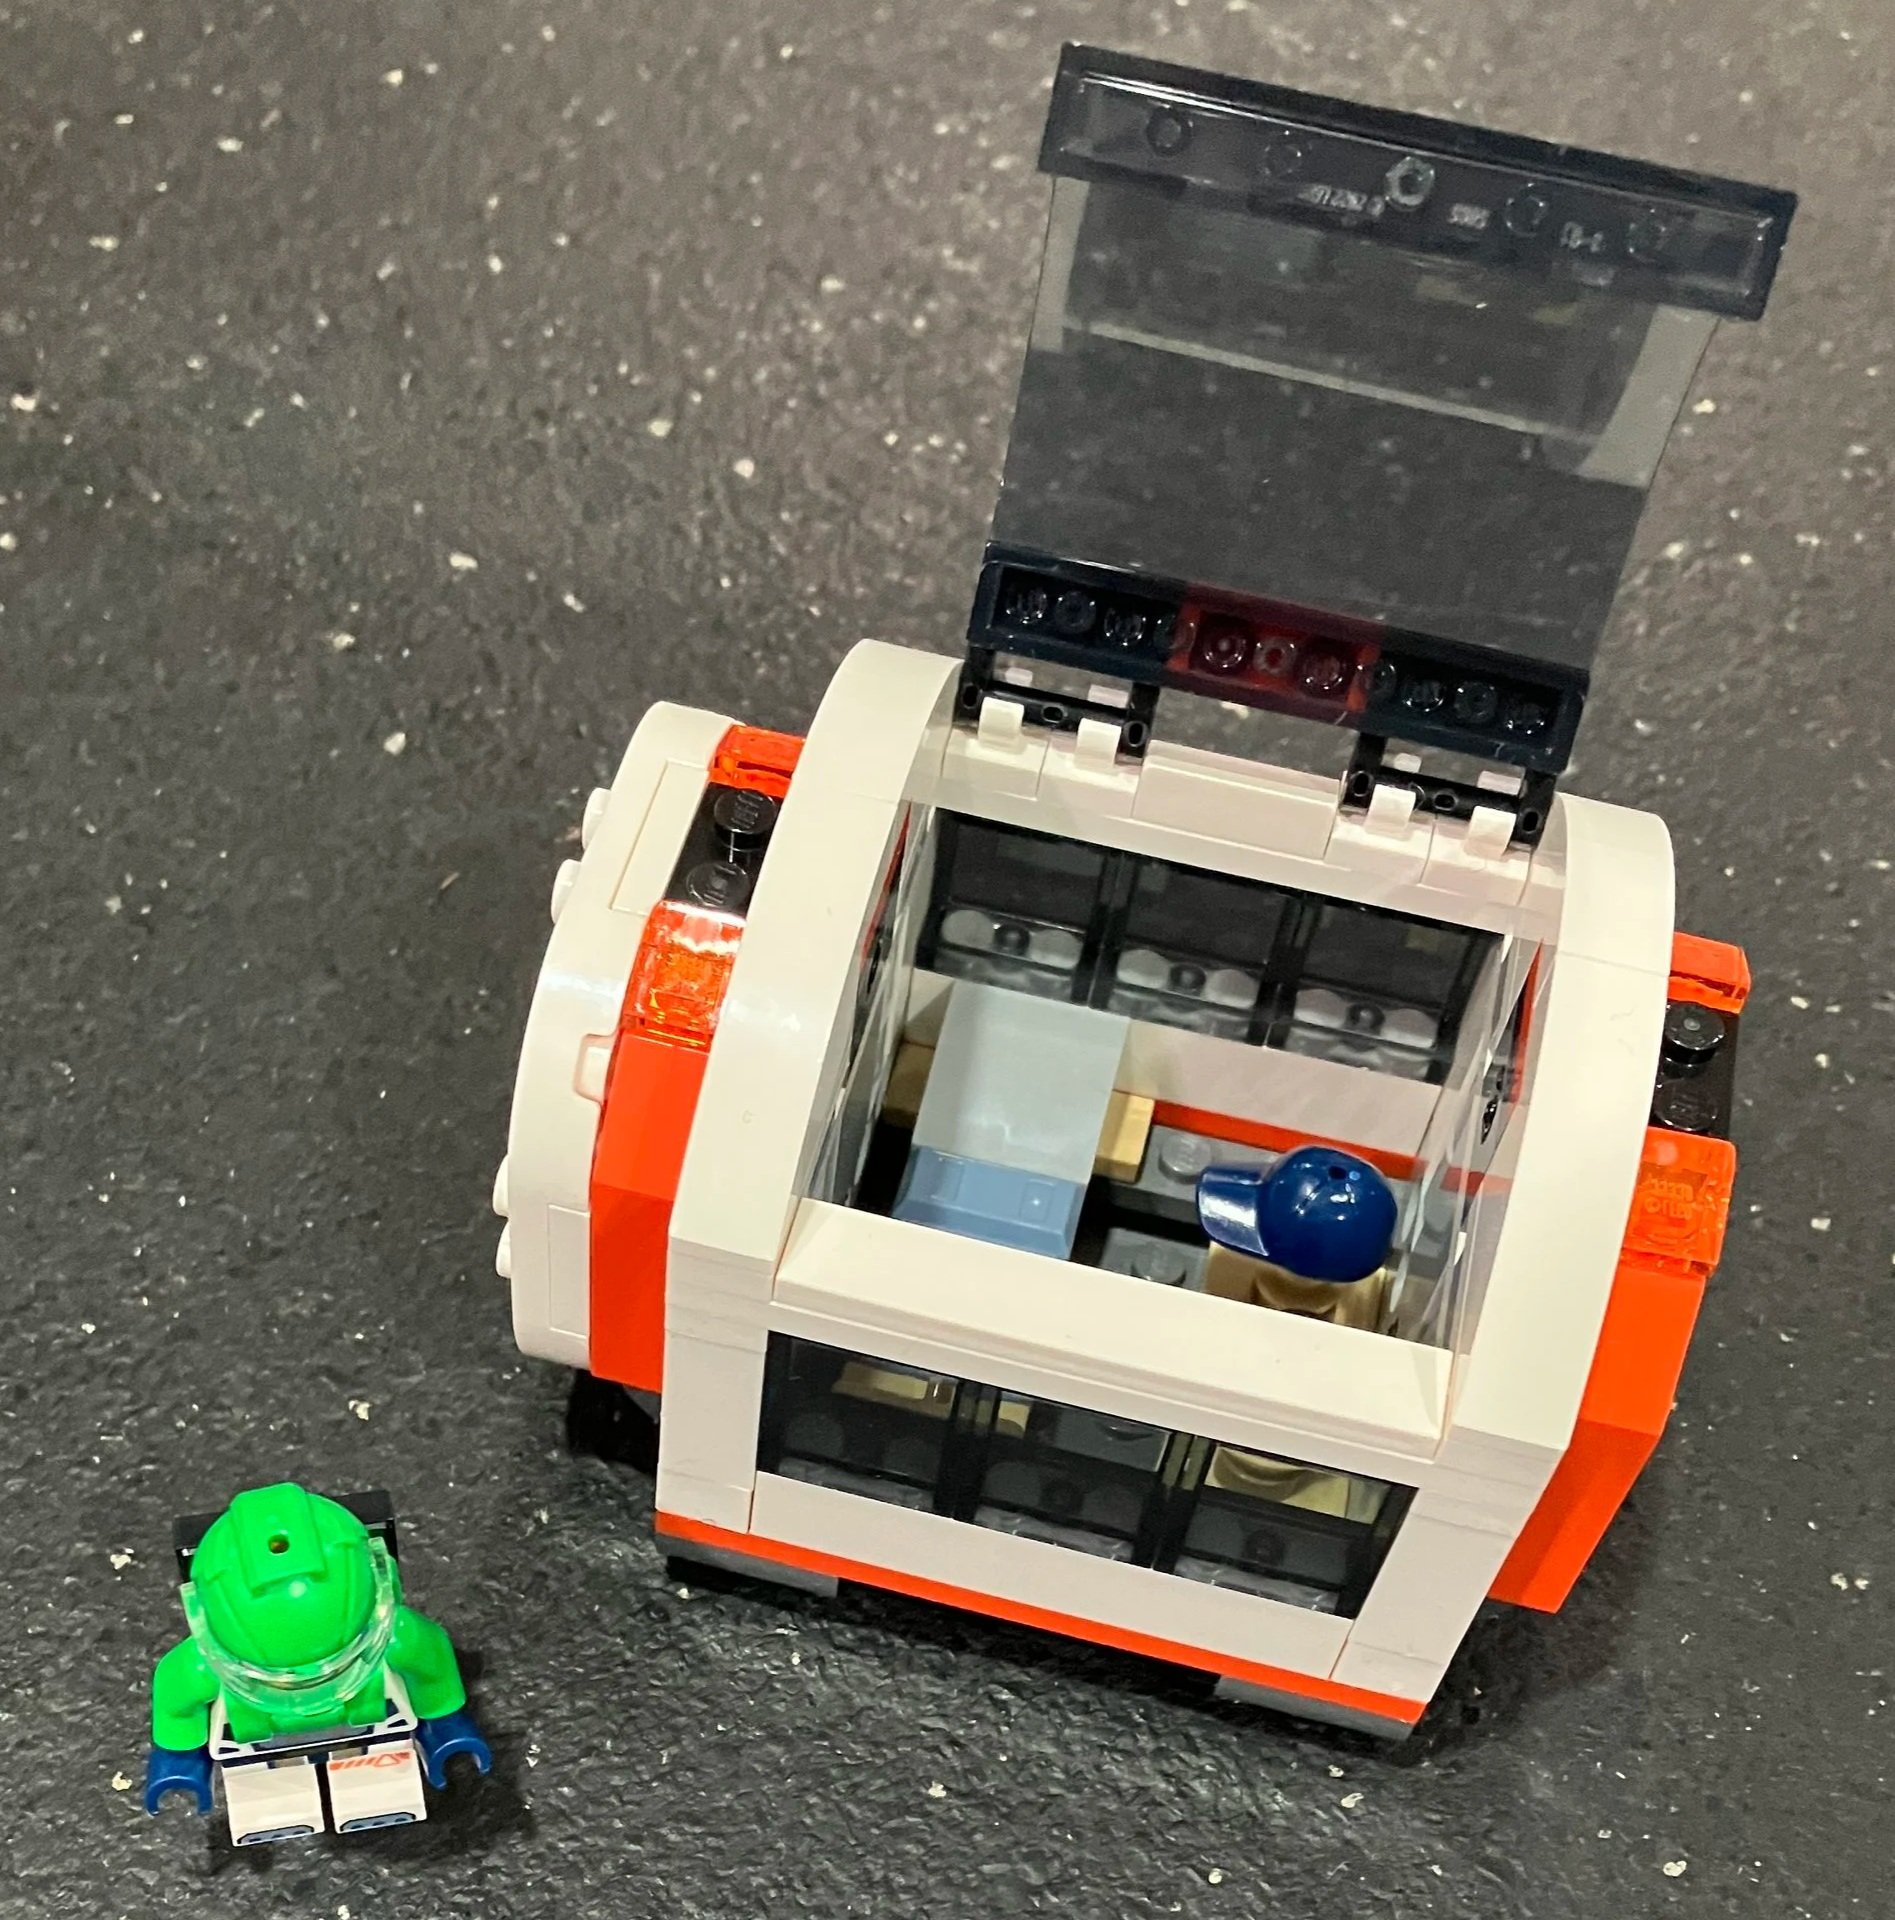
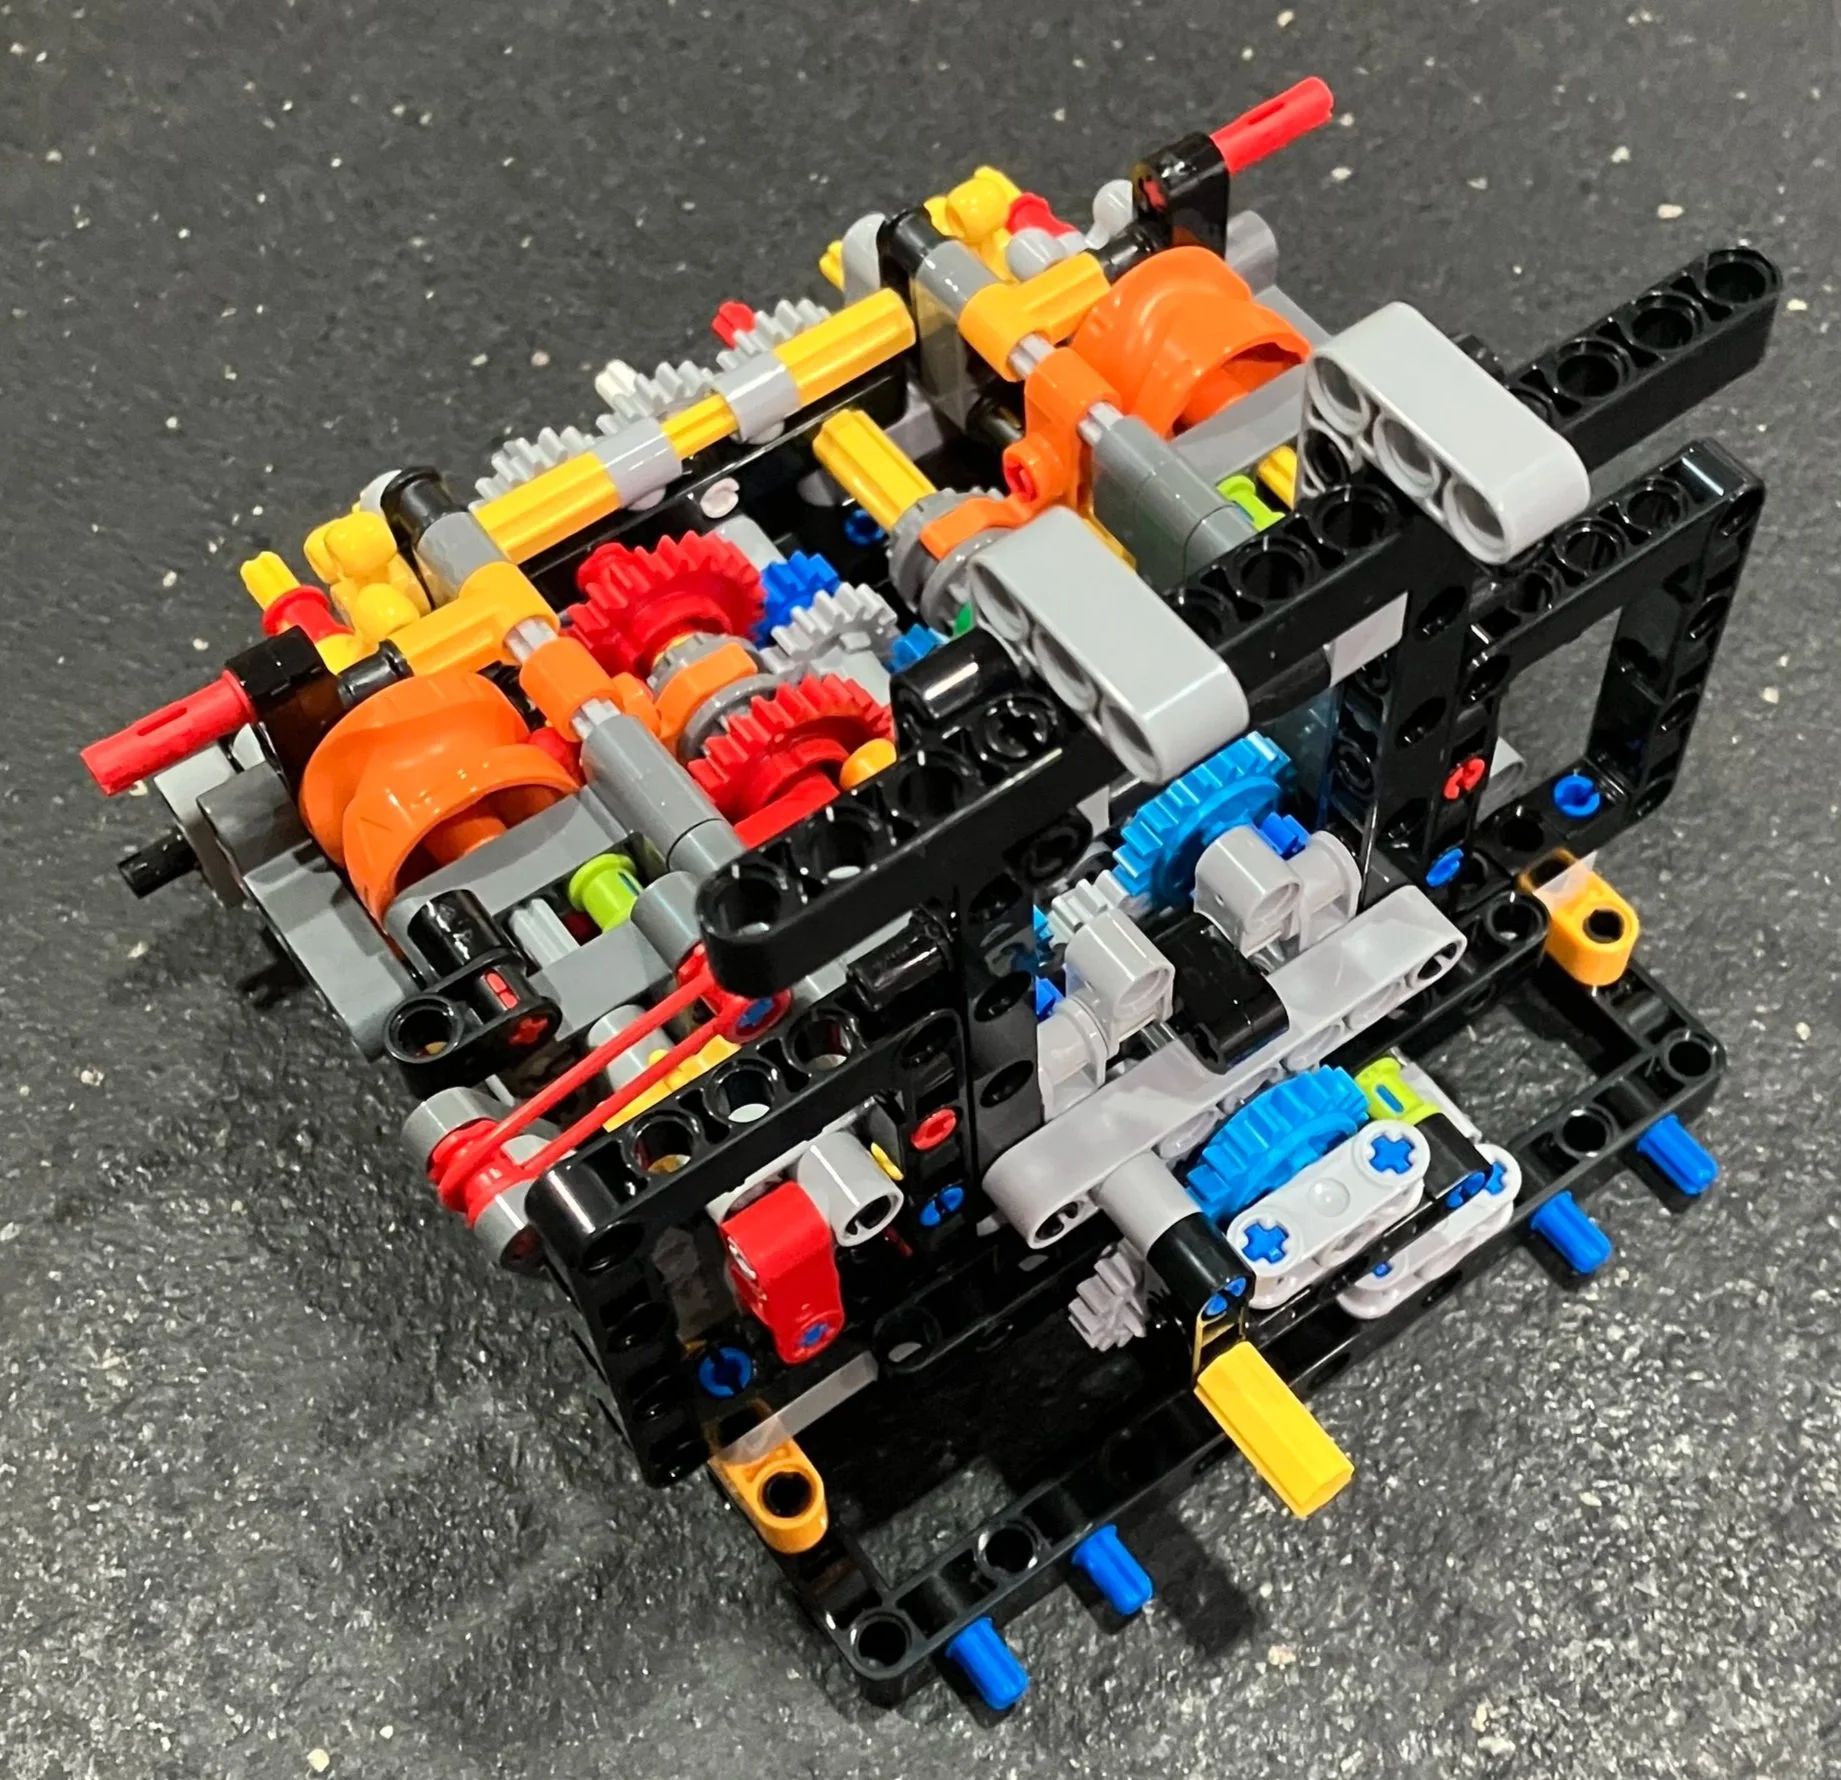
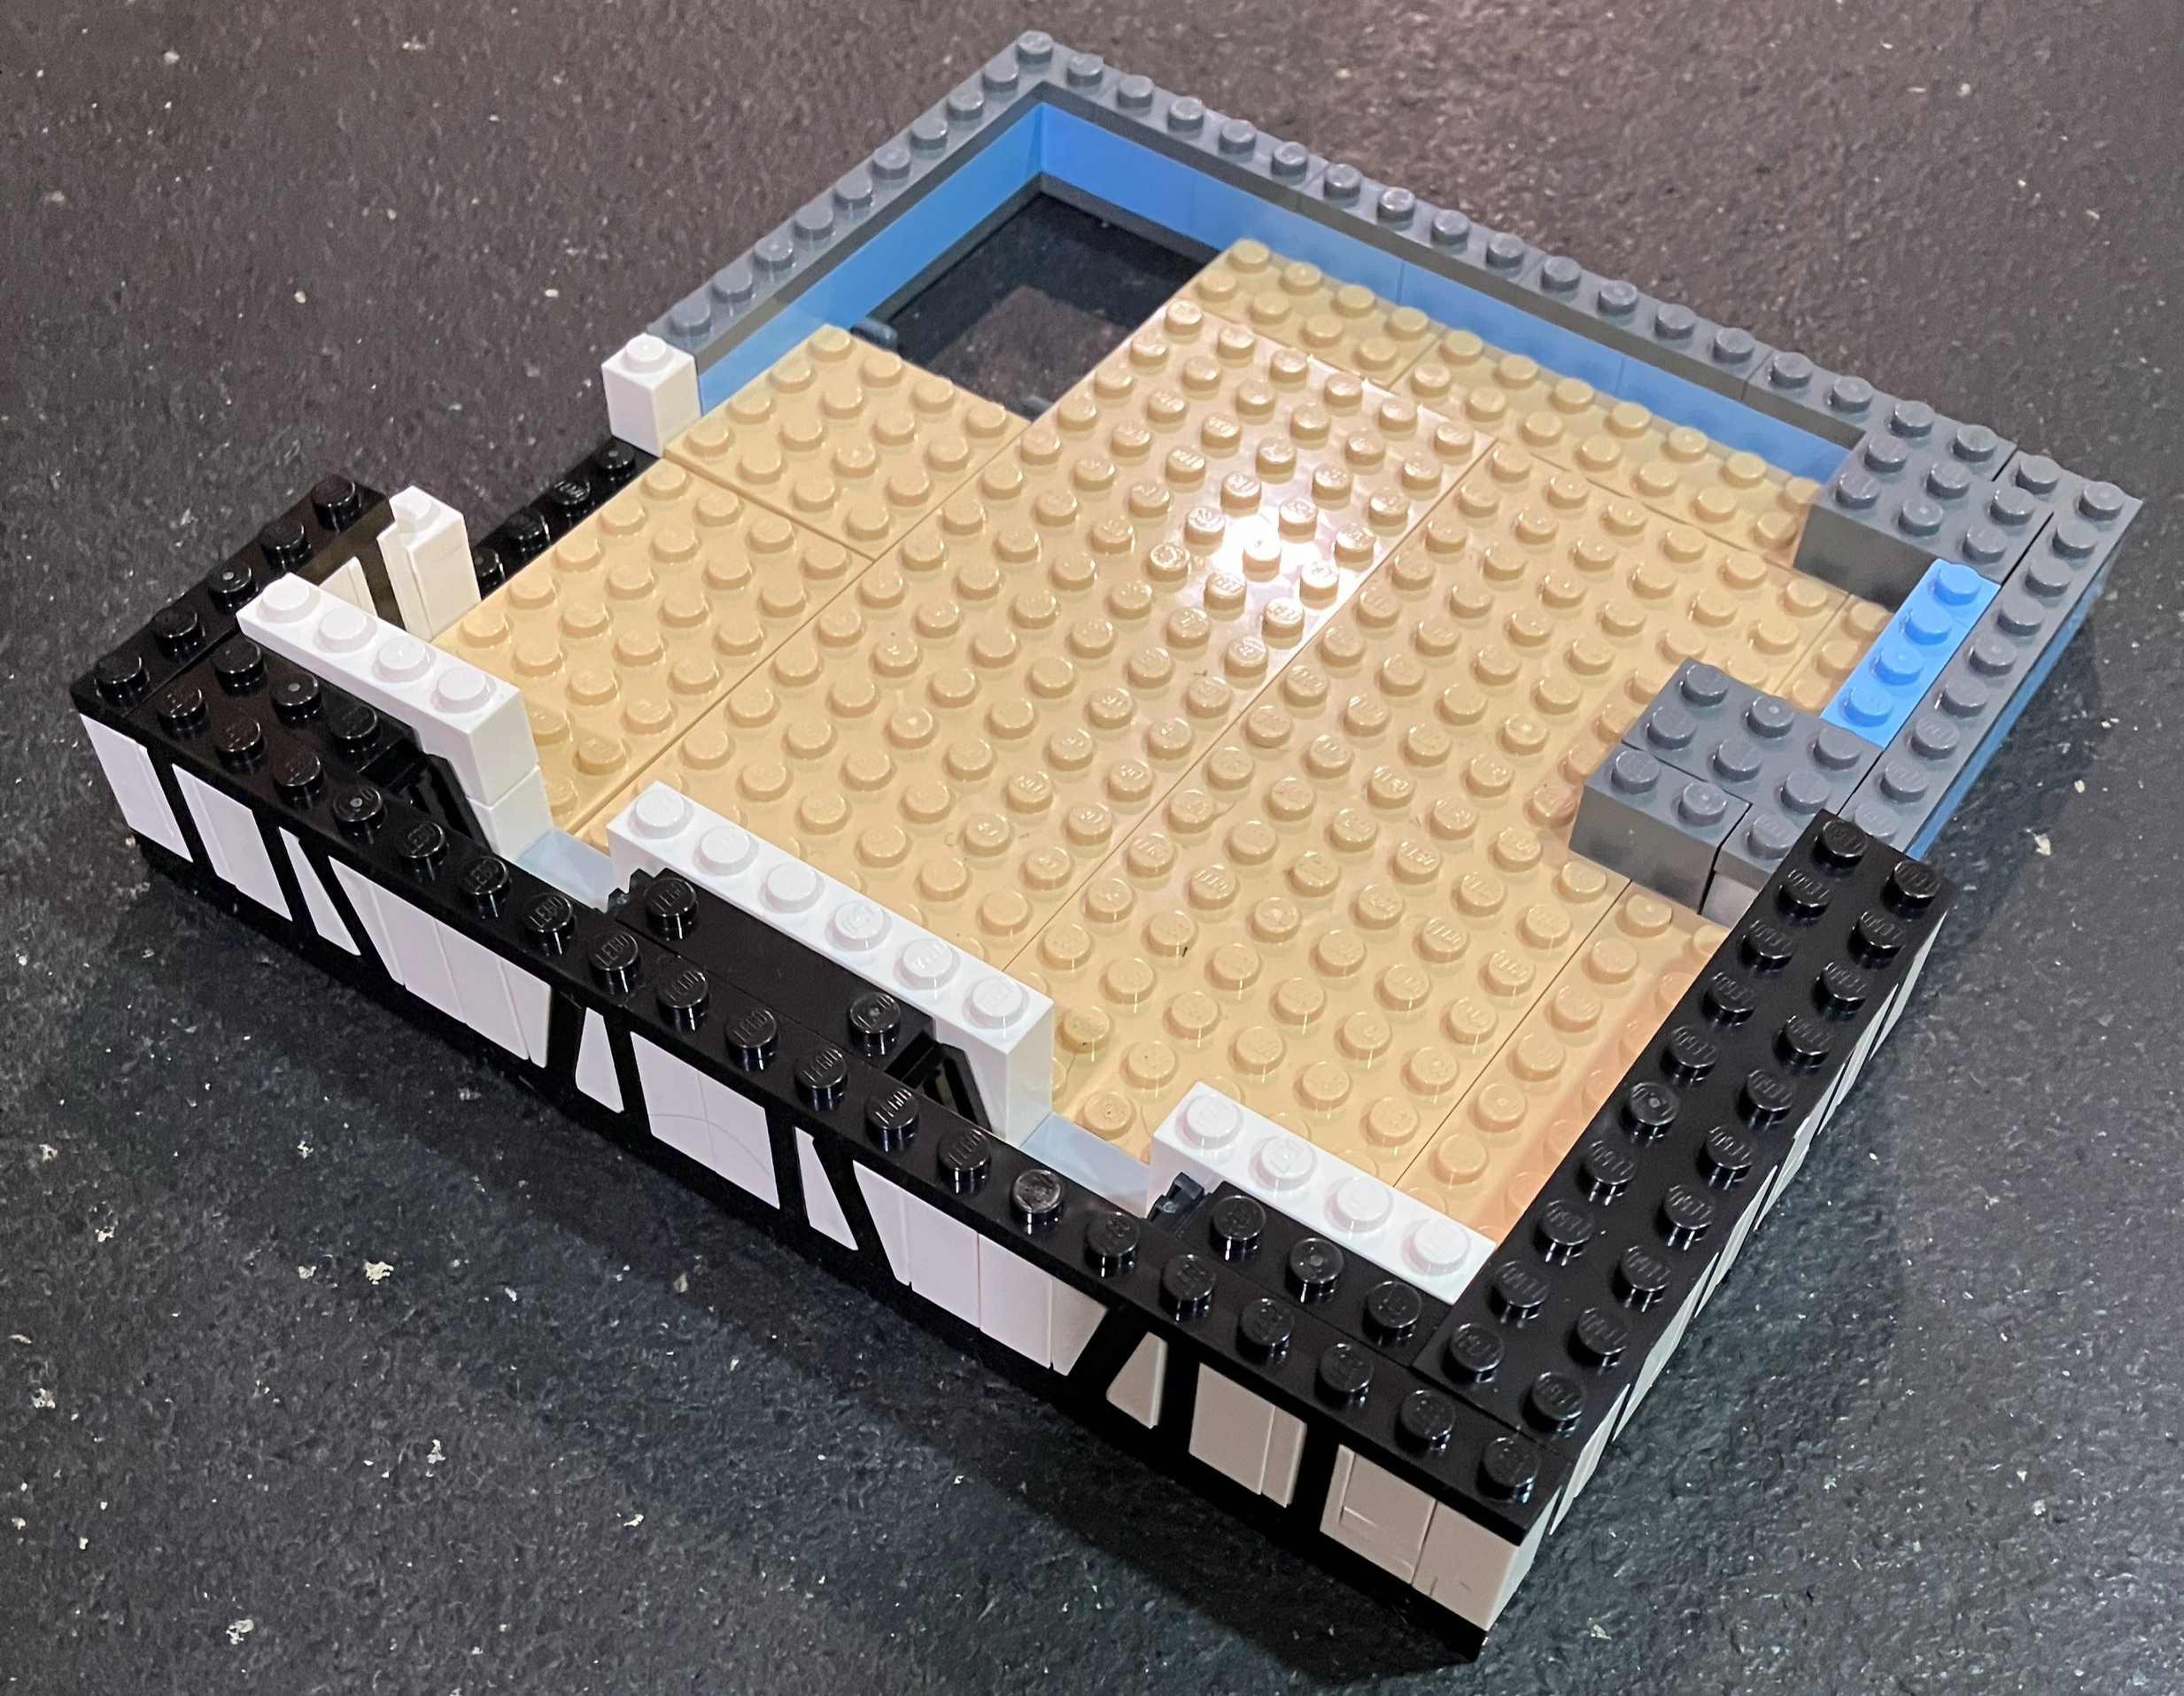
The first bag starts to build the front section of the ship which is the main control/navigation area of the ship. The front includes a space for a minifigure to sit at the controls along with an alien next to it. Immediately behind the control section is another section for a minifigure to sleep. Behind this section is what appears to be a small motor. This bag includes the first space minifigure. It comes with the space helmet and a hair piece for when the minifigure is in the spaceship and doesn’t need the helmet.
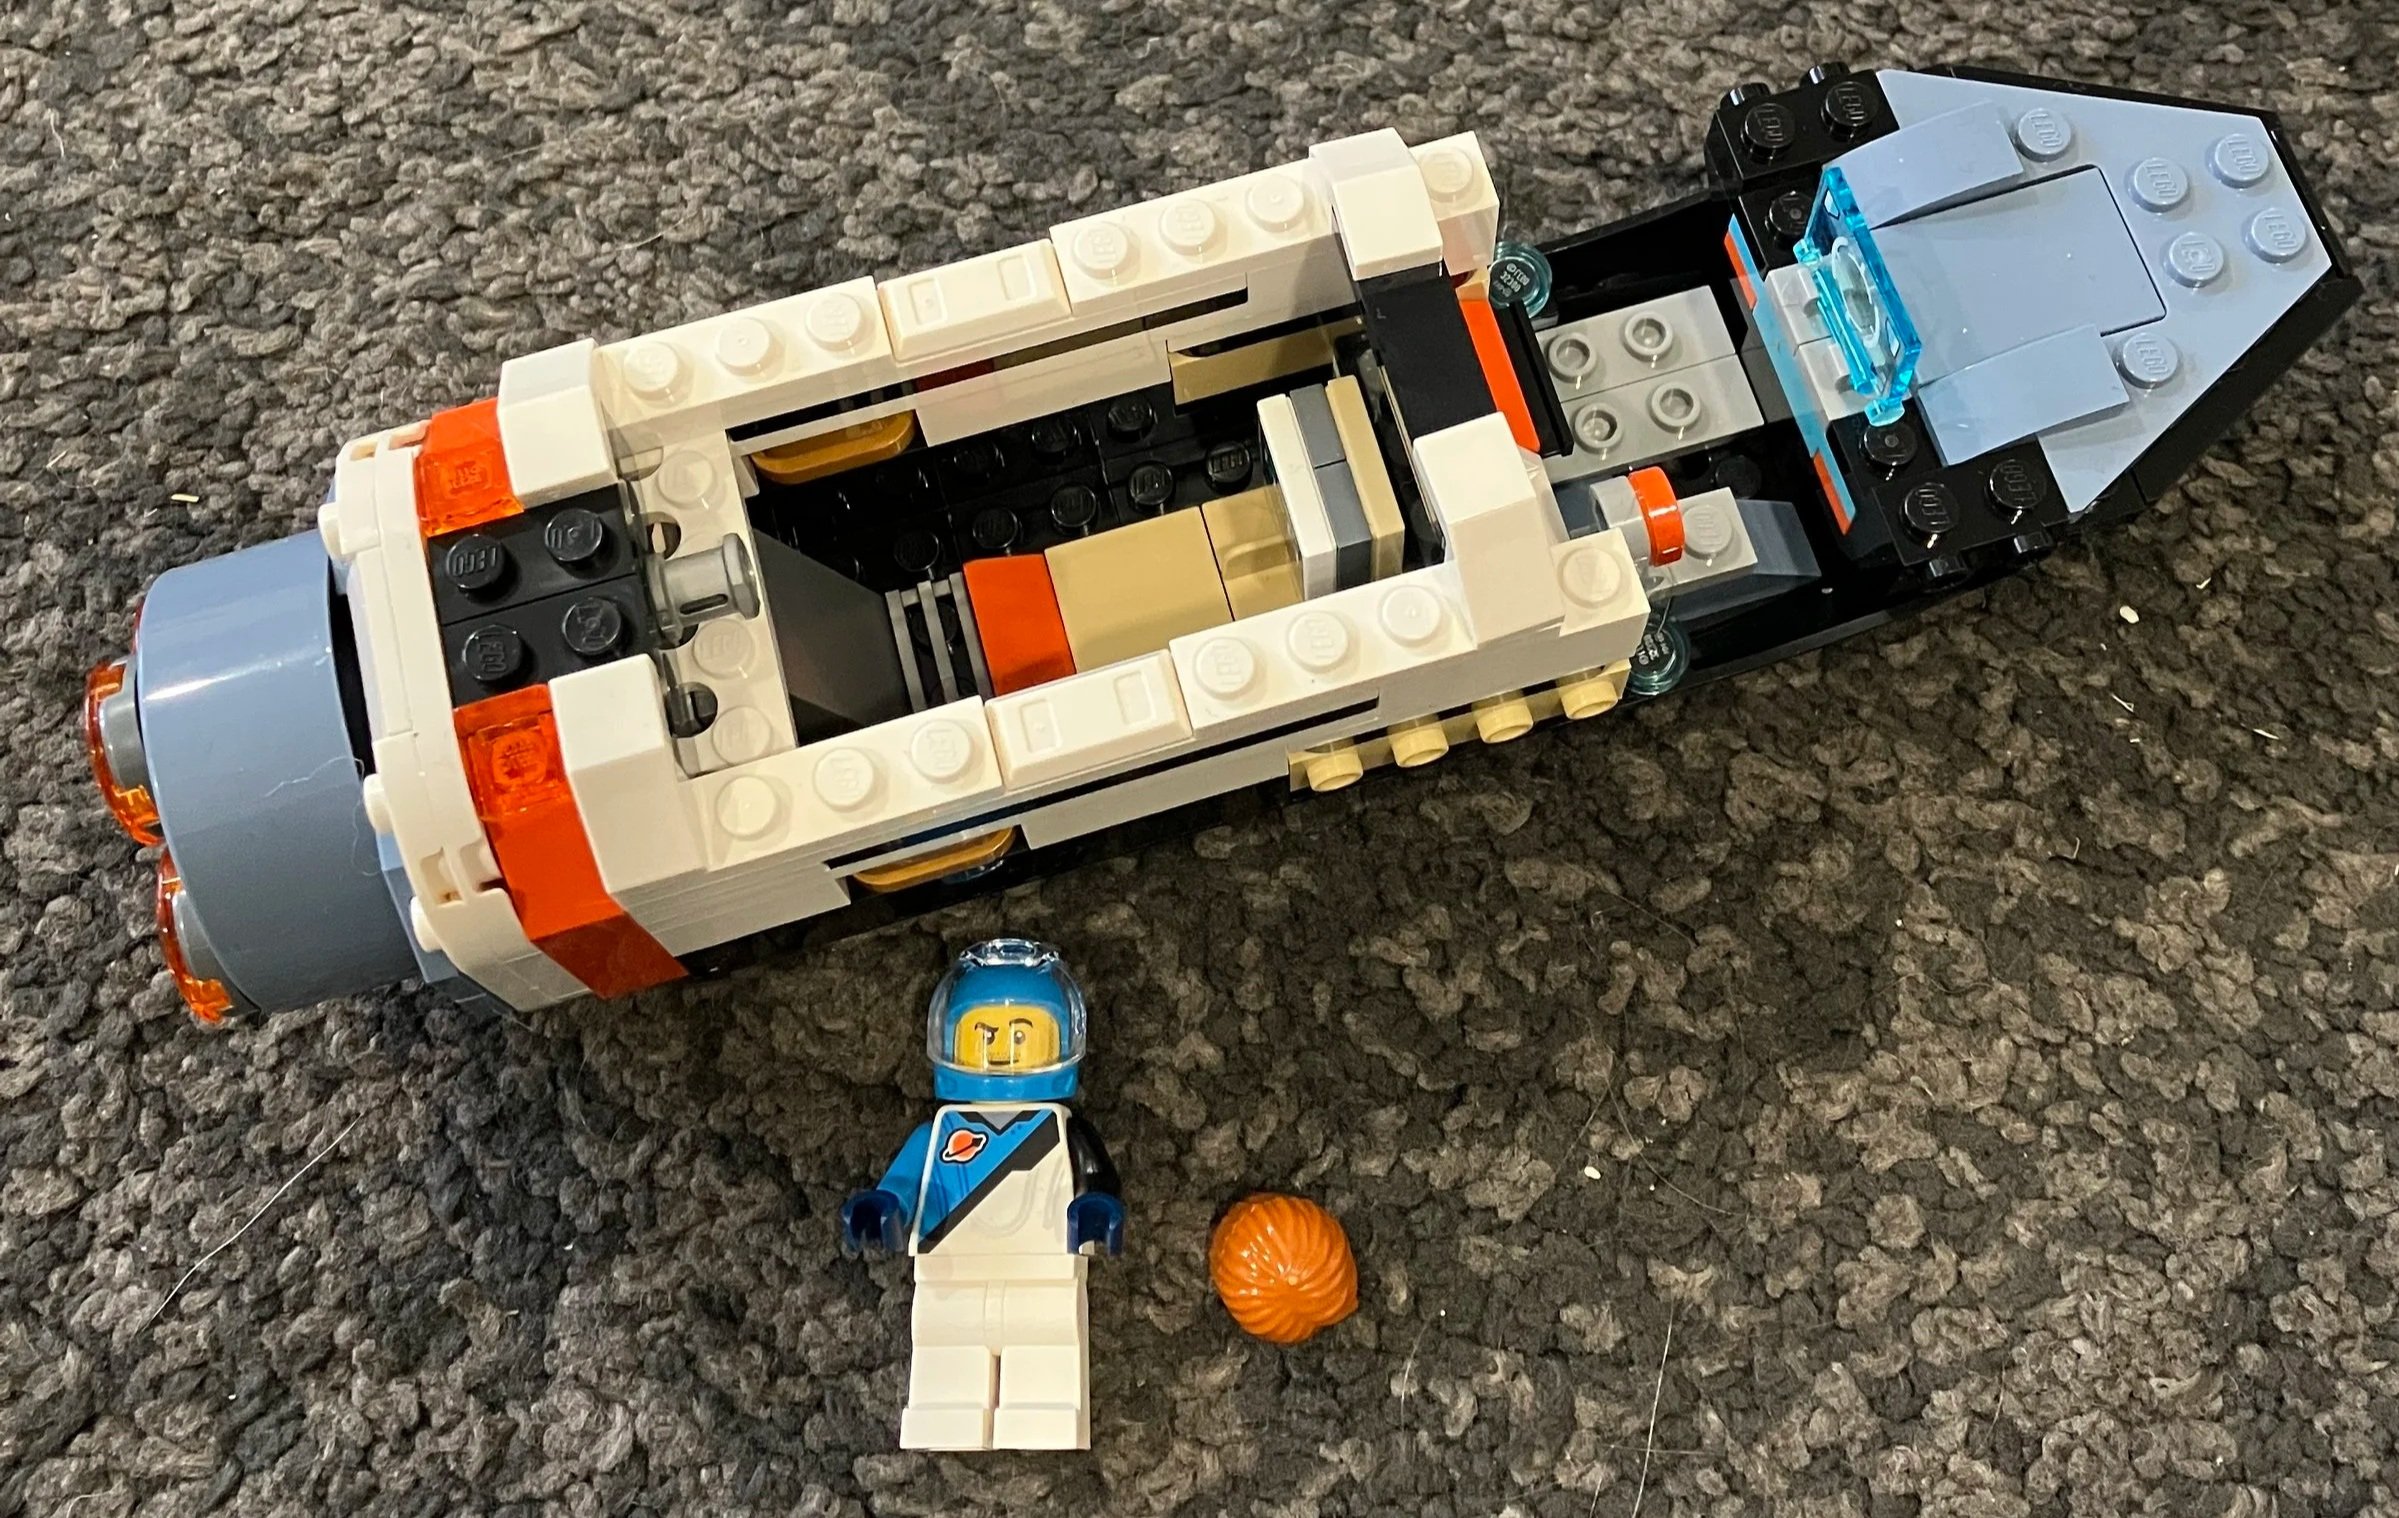
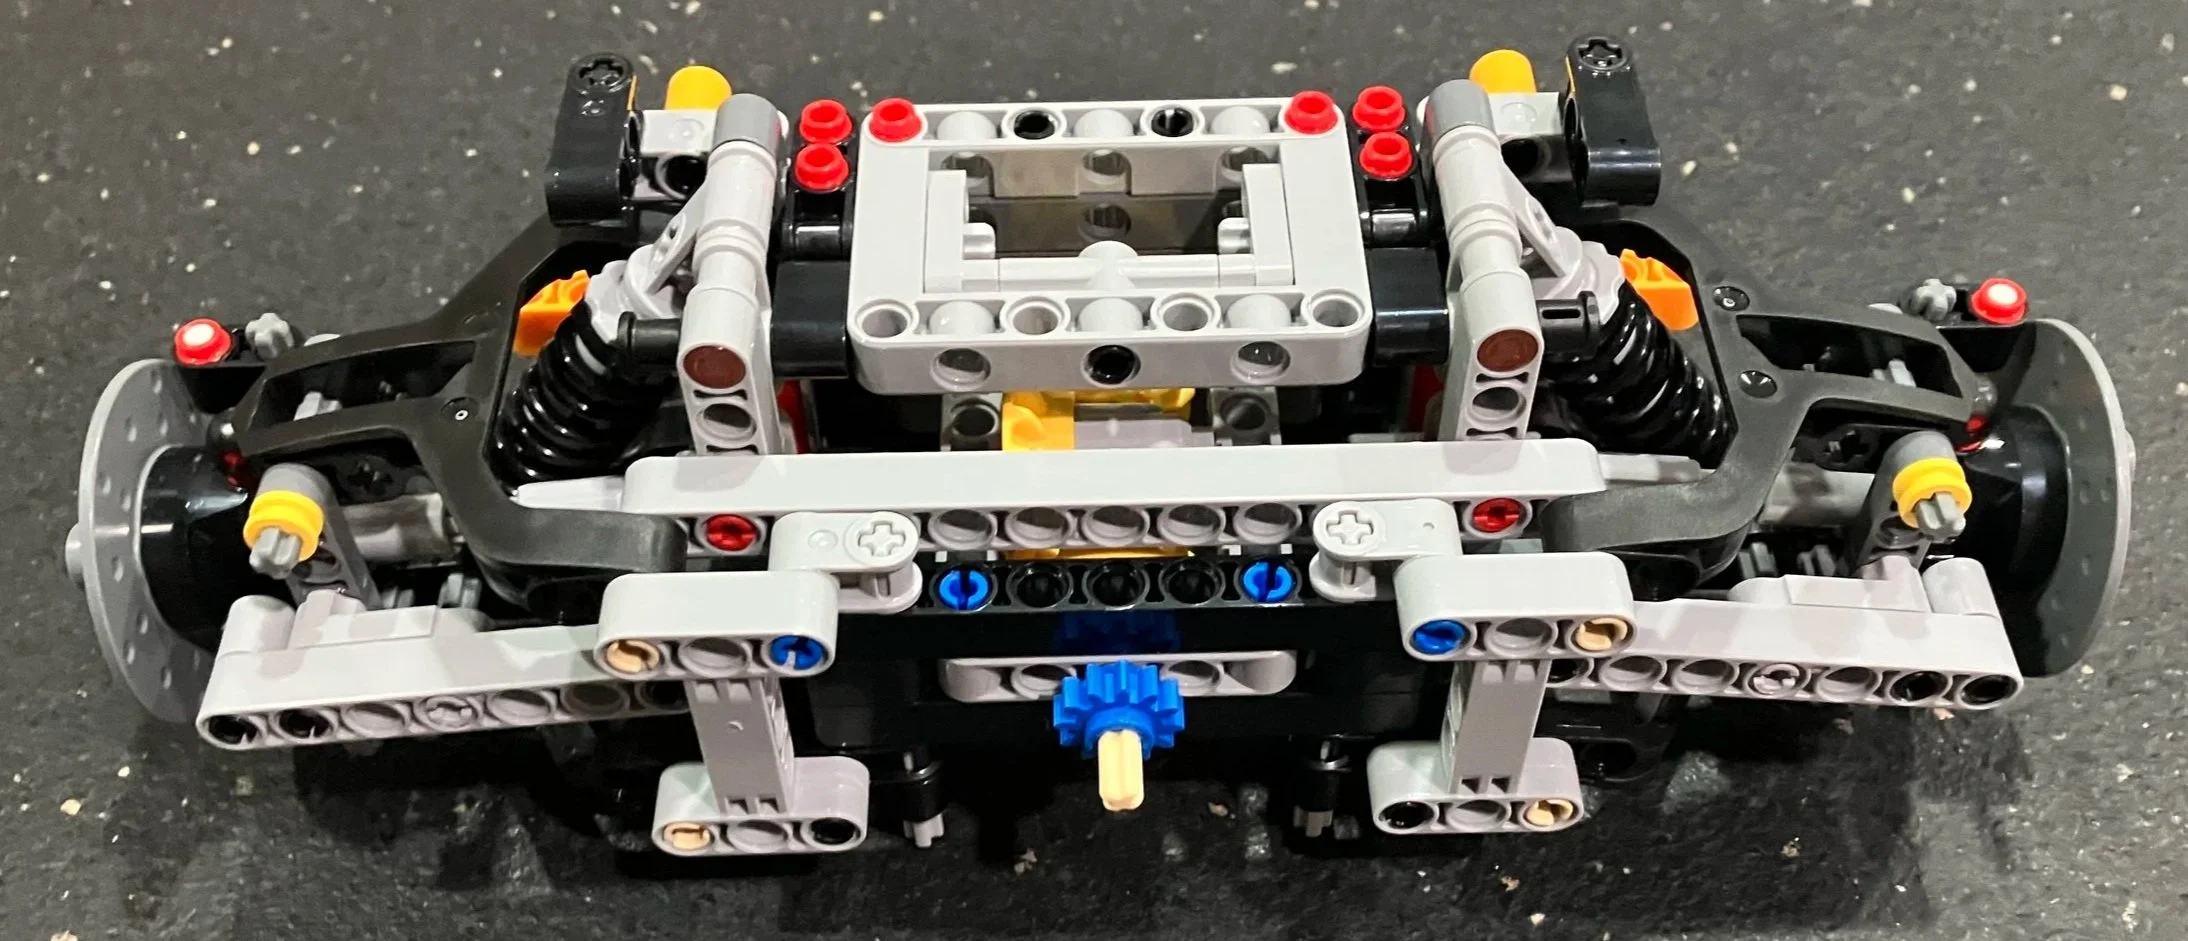
The second bag finishes the front craft of the ship. It adds the top to the ship, additional booster engines on each side, and adds a battery pack on each side. This section looks pretty similar to #60430-1: Interstellar Spaceship. It includes a female minifigure with a jet pack and hair piece and then an alien minifigure.

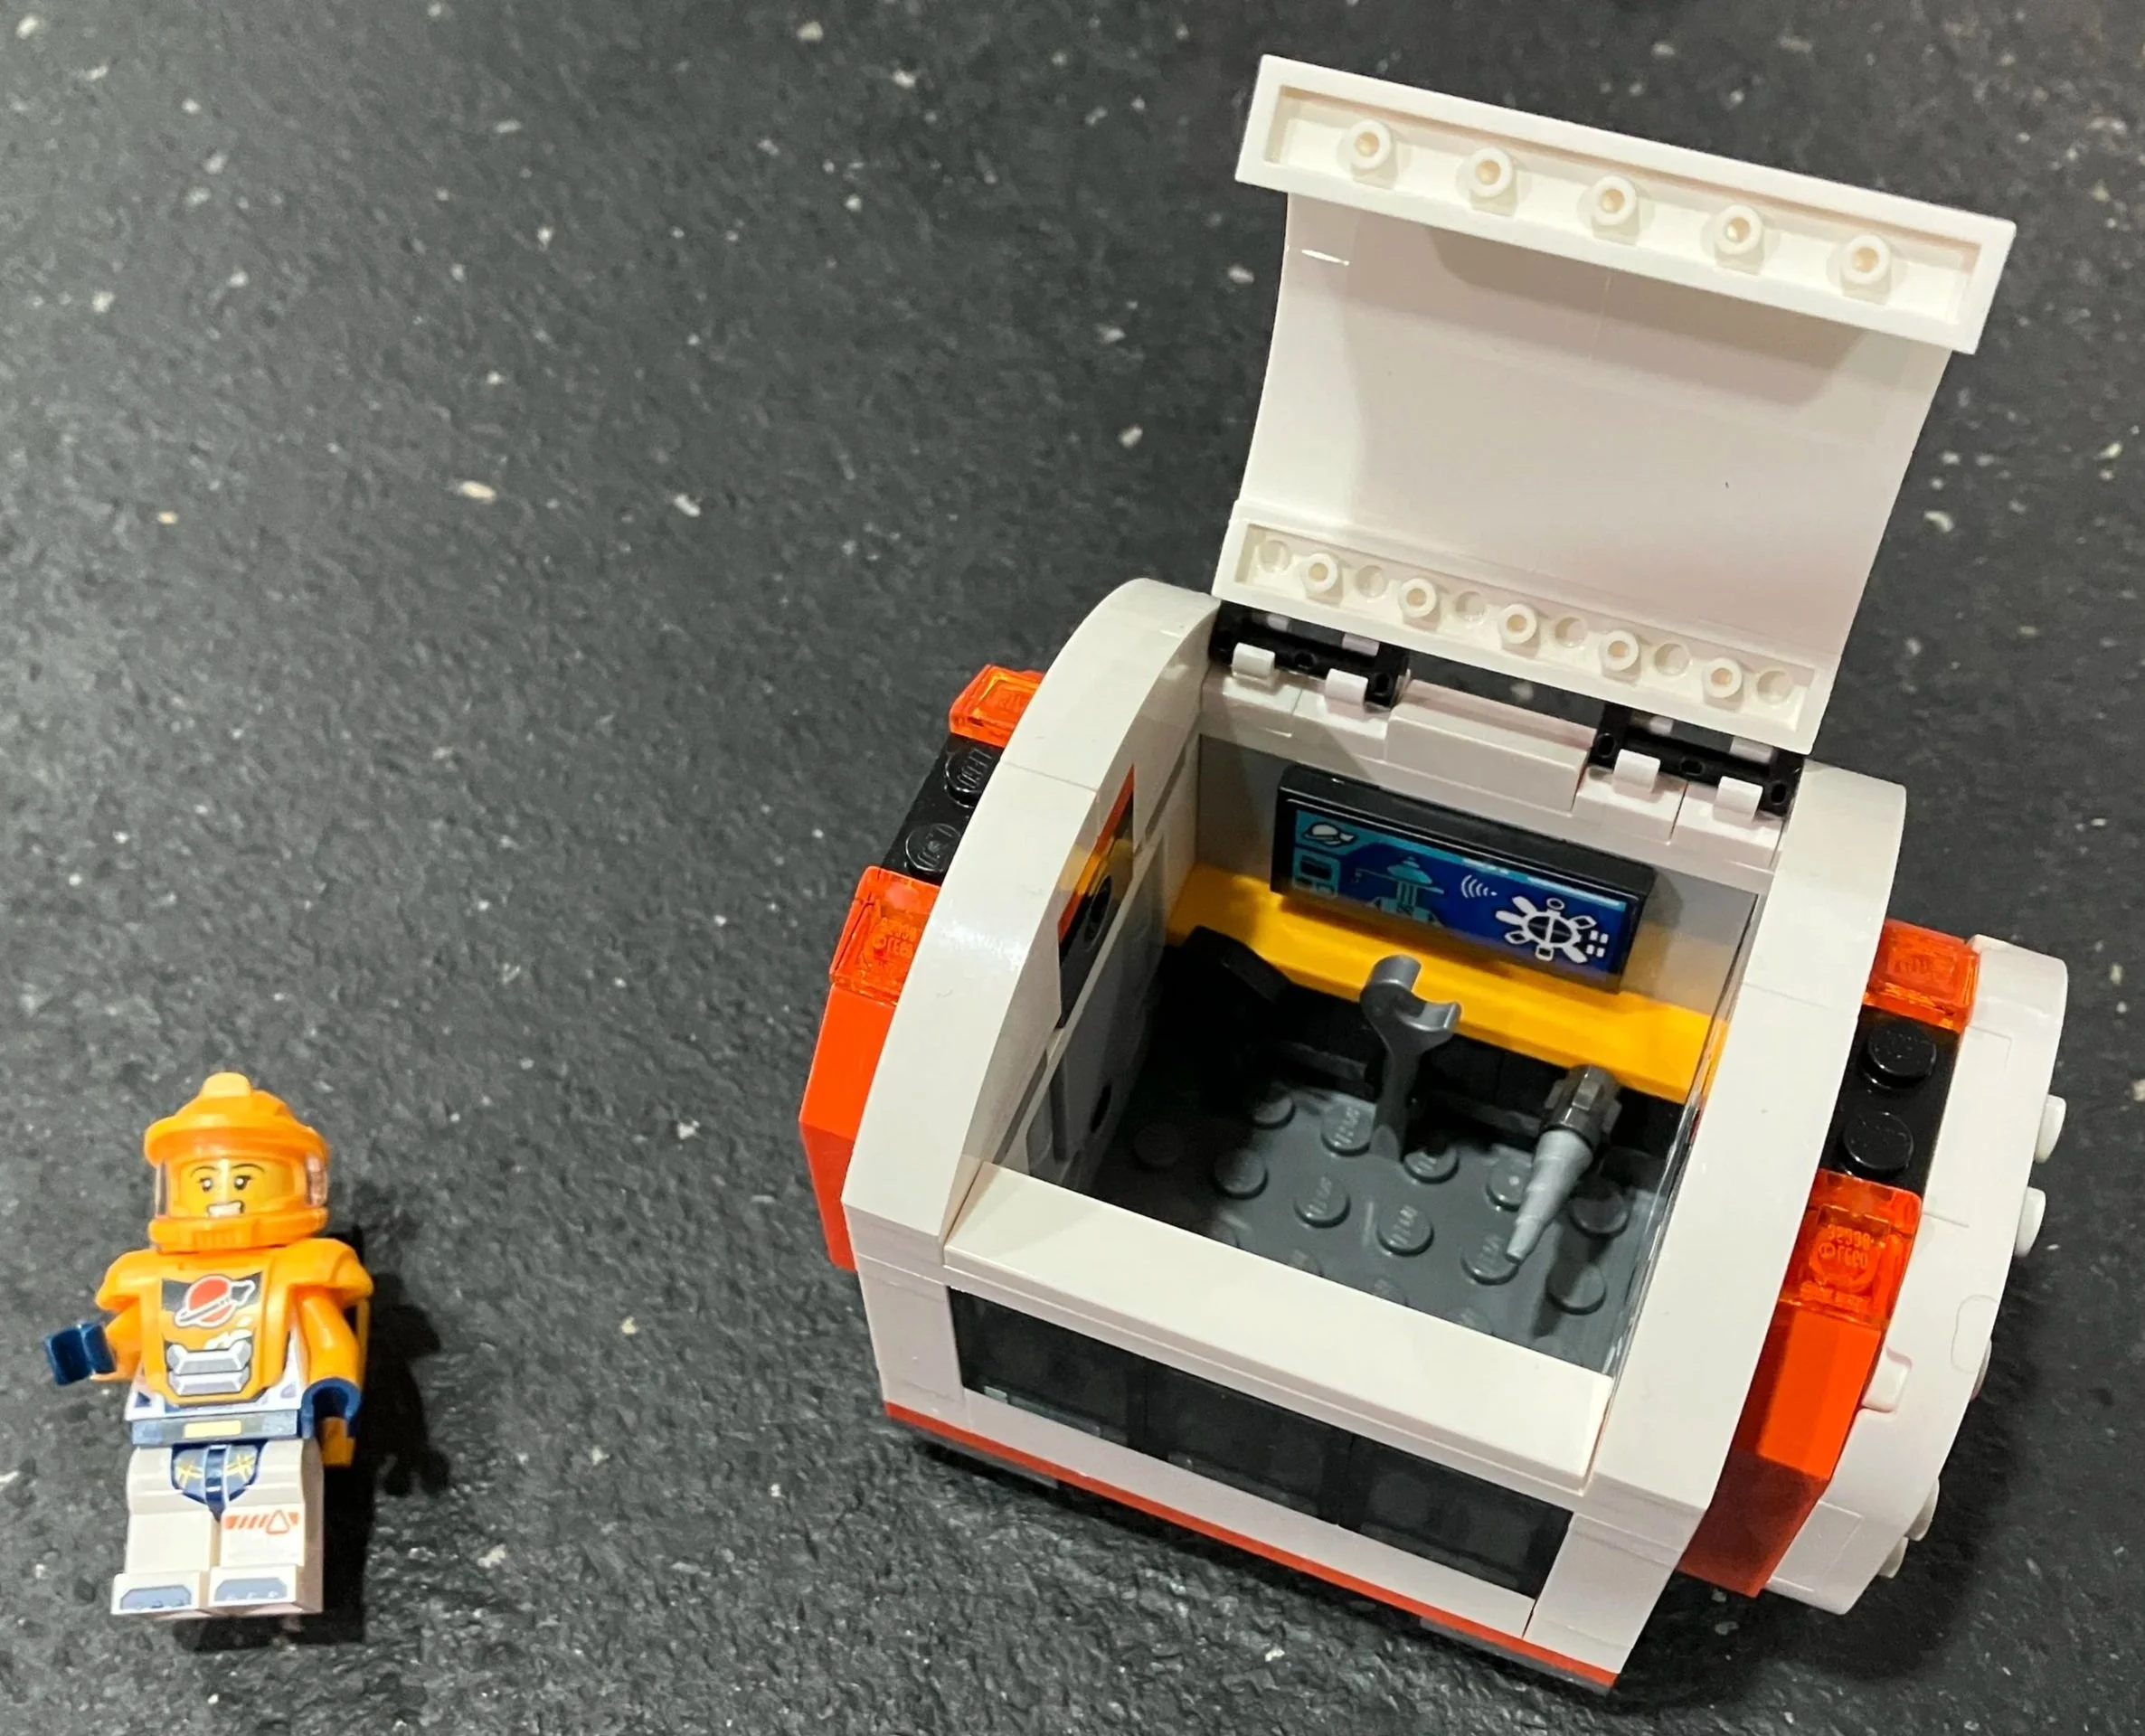
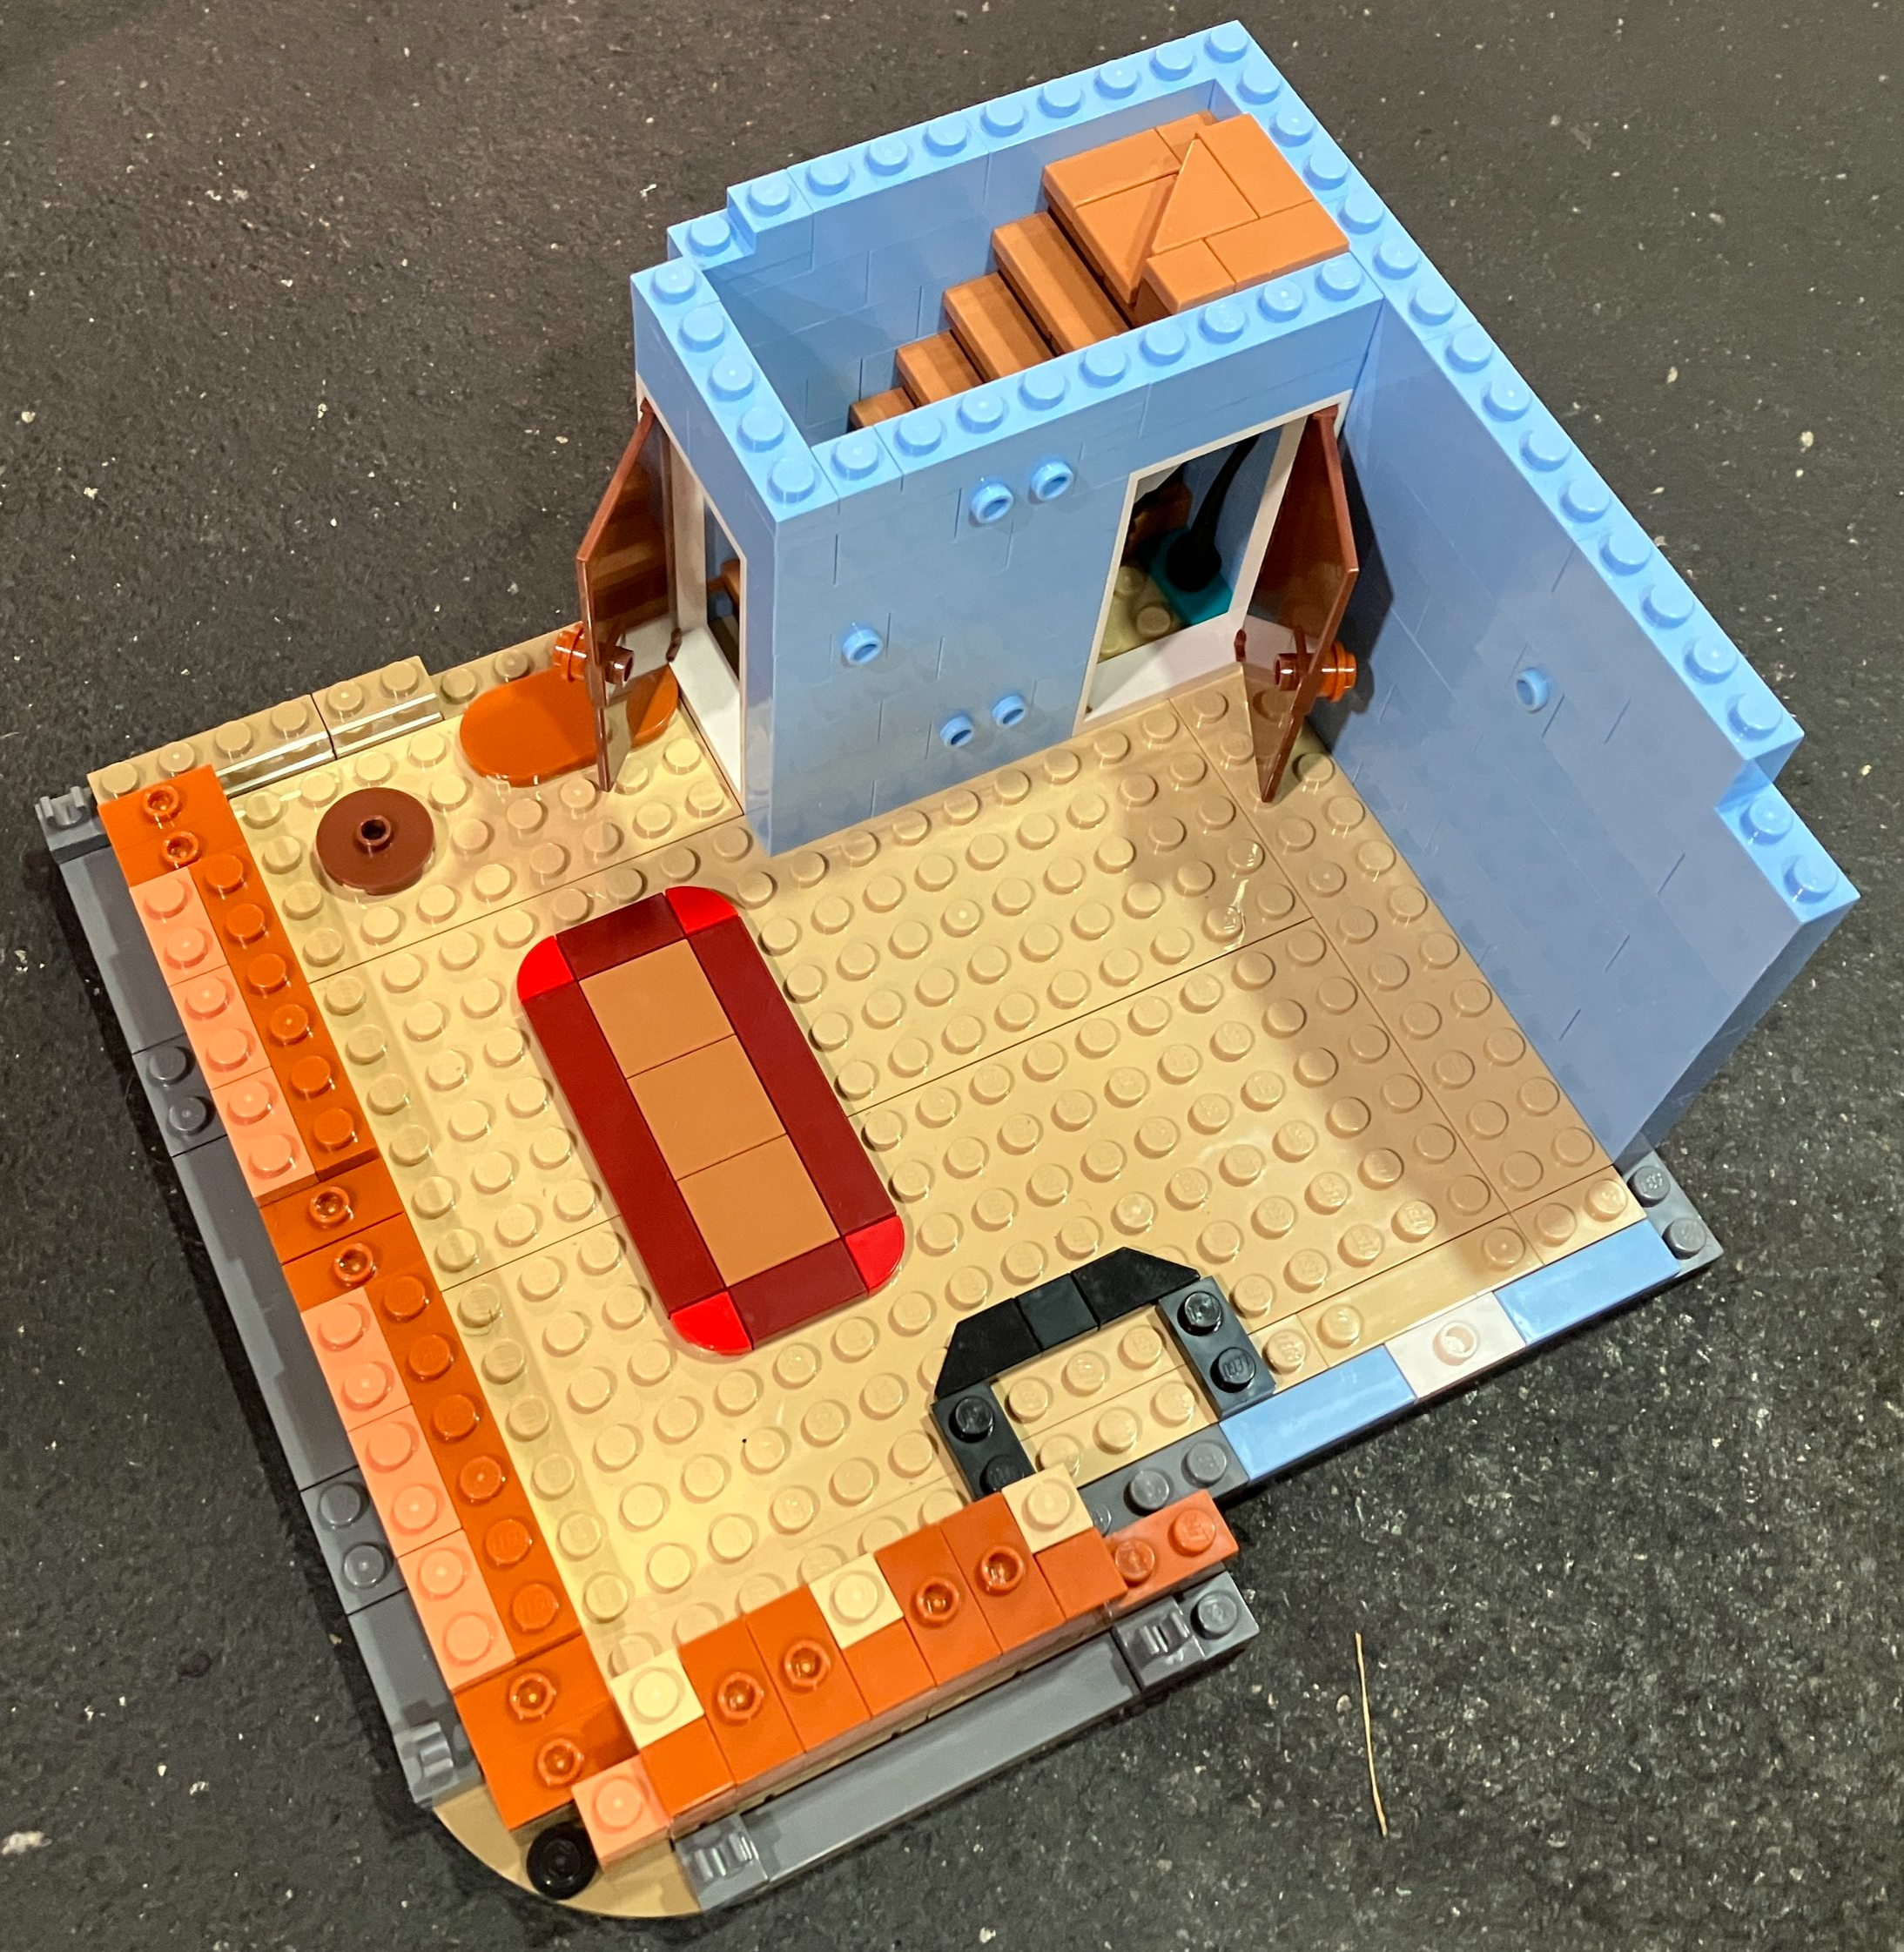
The third bag builds a modular section to go behind the front spacecraft. It is open space except for some tools. There is a jumper plate that can be used to store a robot built later. As with previous CITY Space sets, the modular attachments don’t actually have doors or connections so a minifigure can’t pass through. The play feature is that the roof opens up so you can access the module and put in minifigures and gear as desired. This bag comes with another space minifigure.
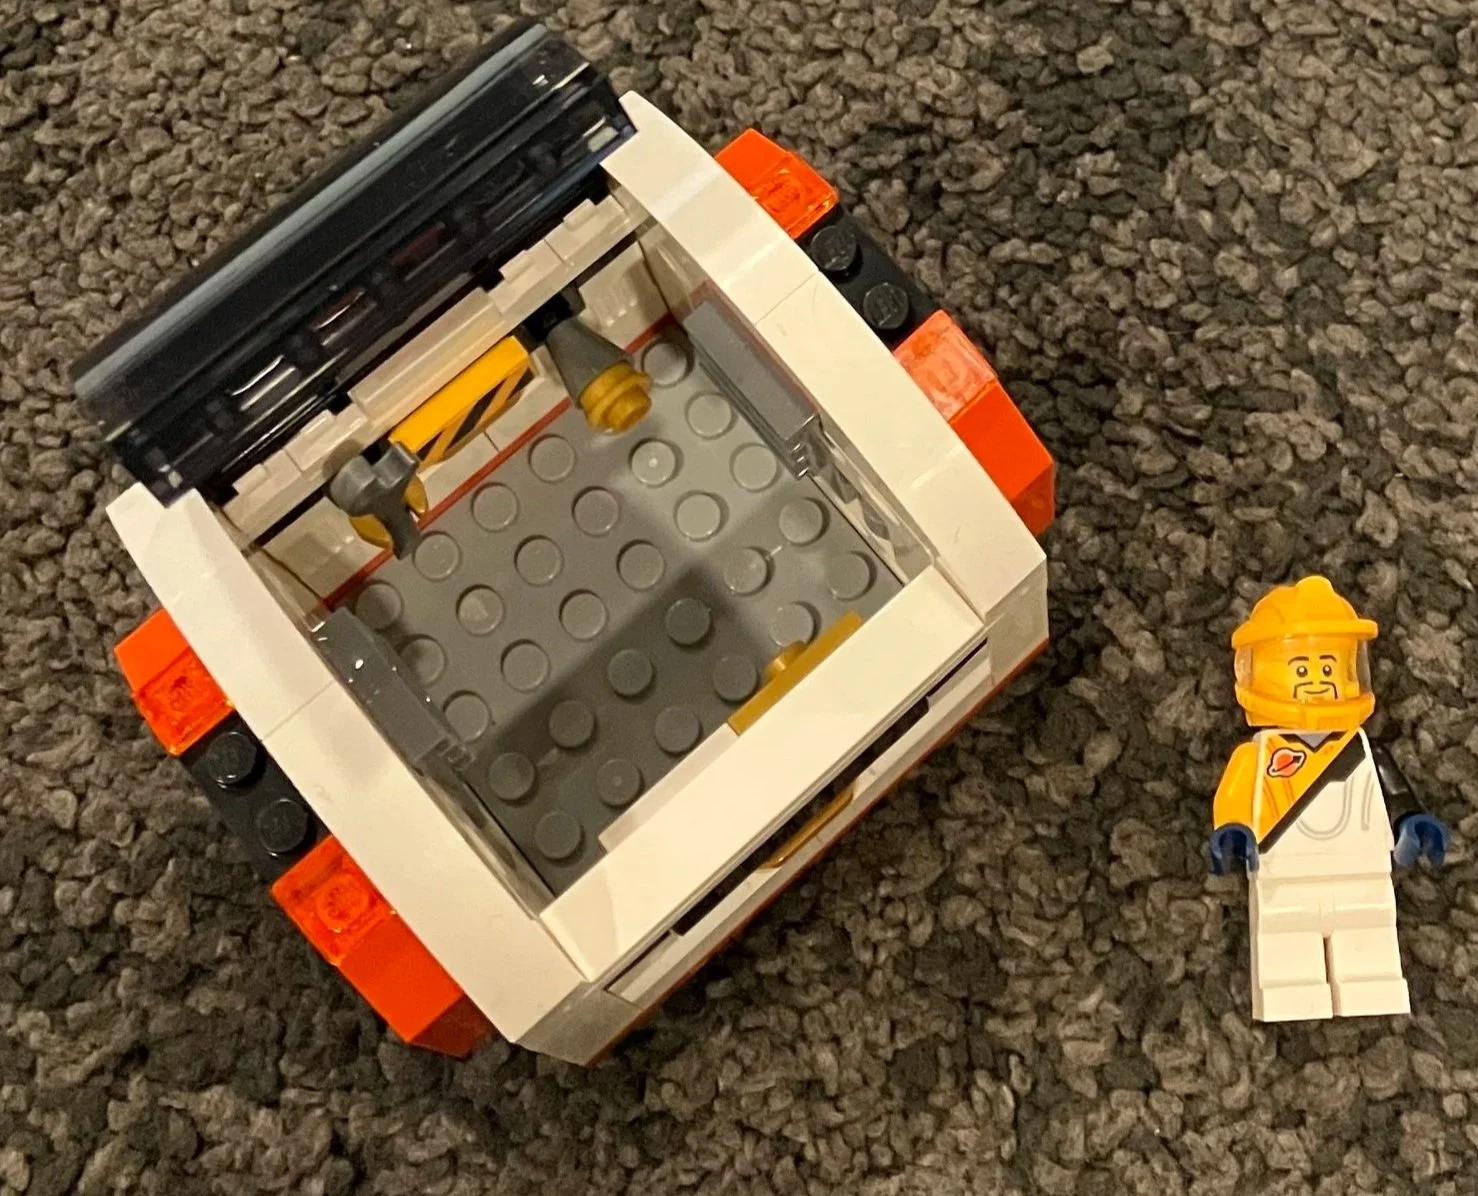
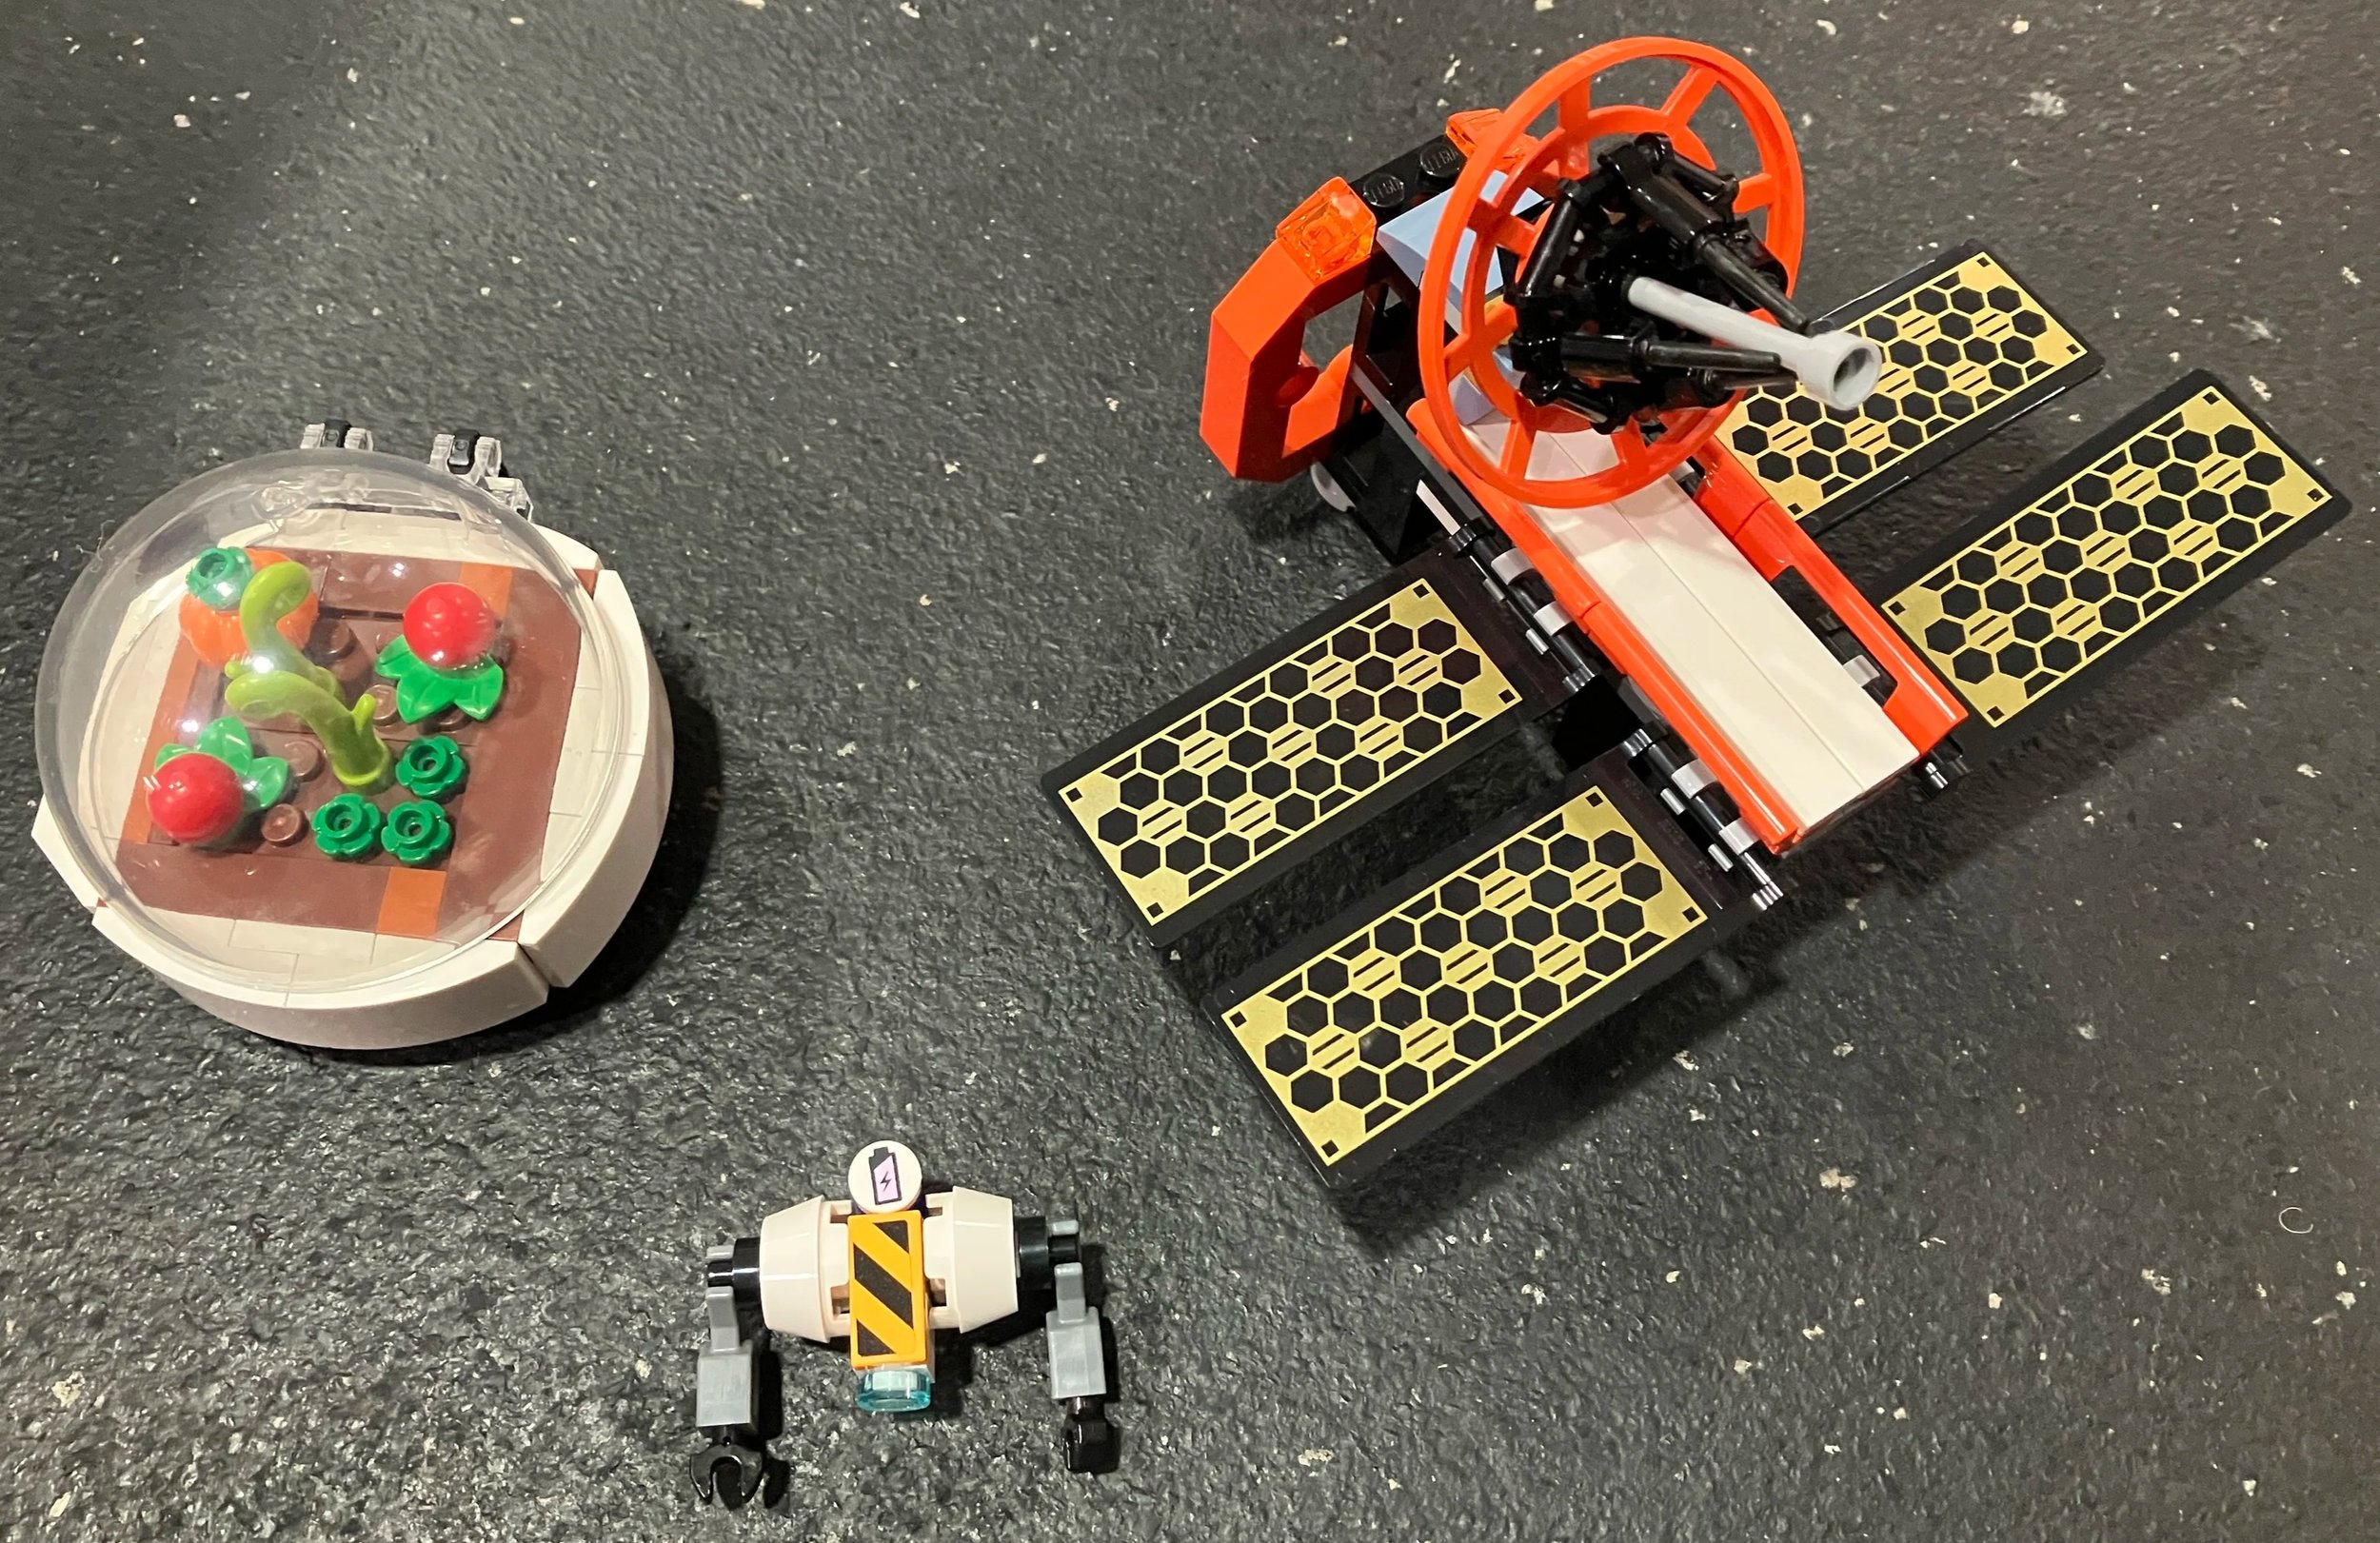
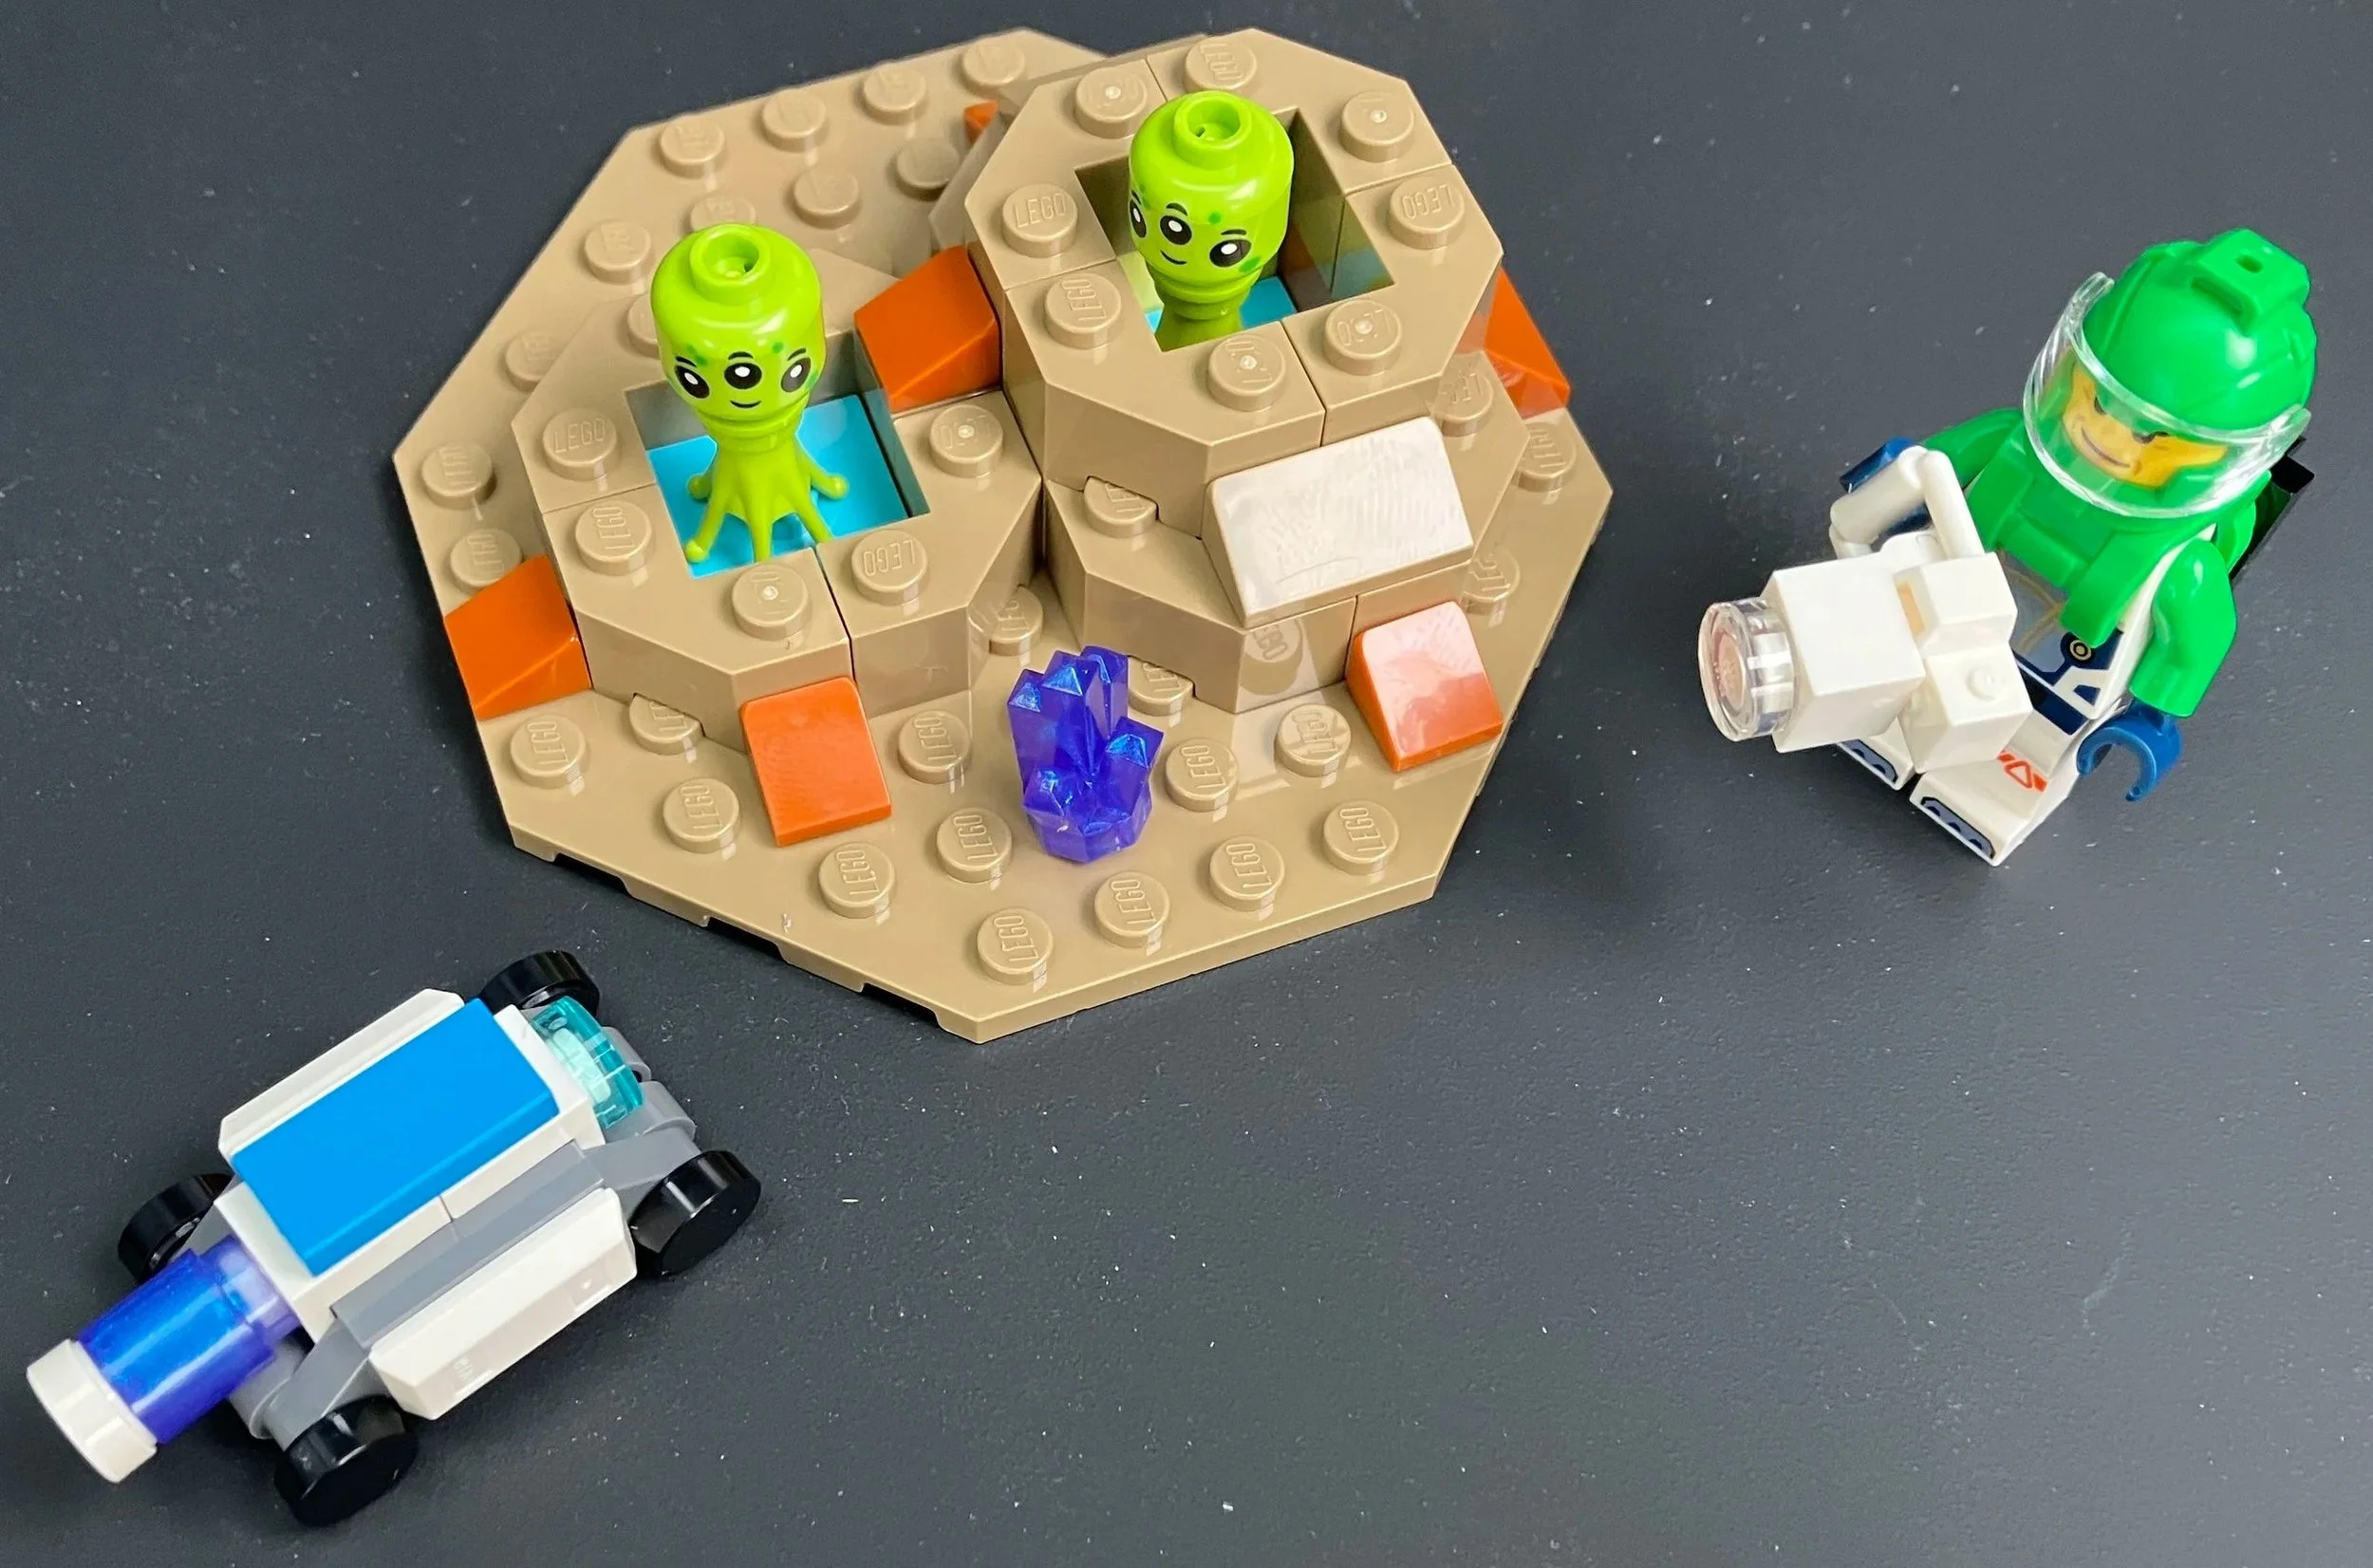
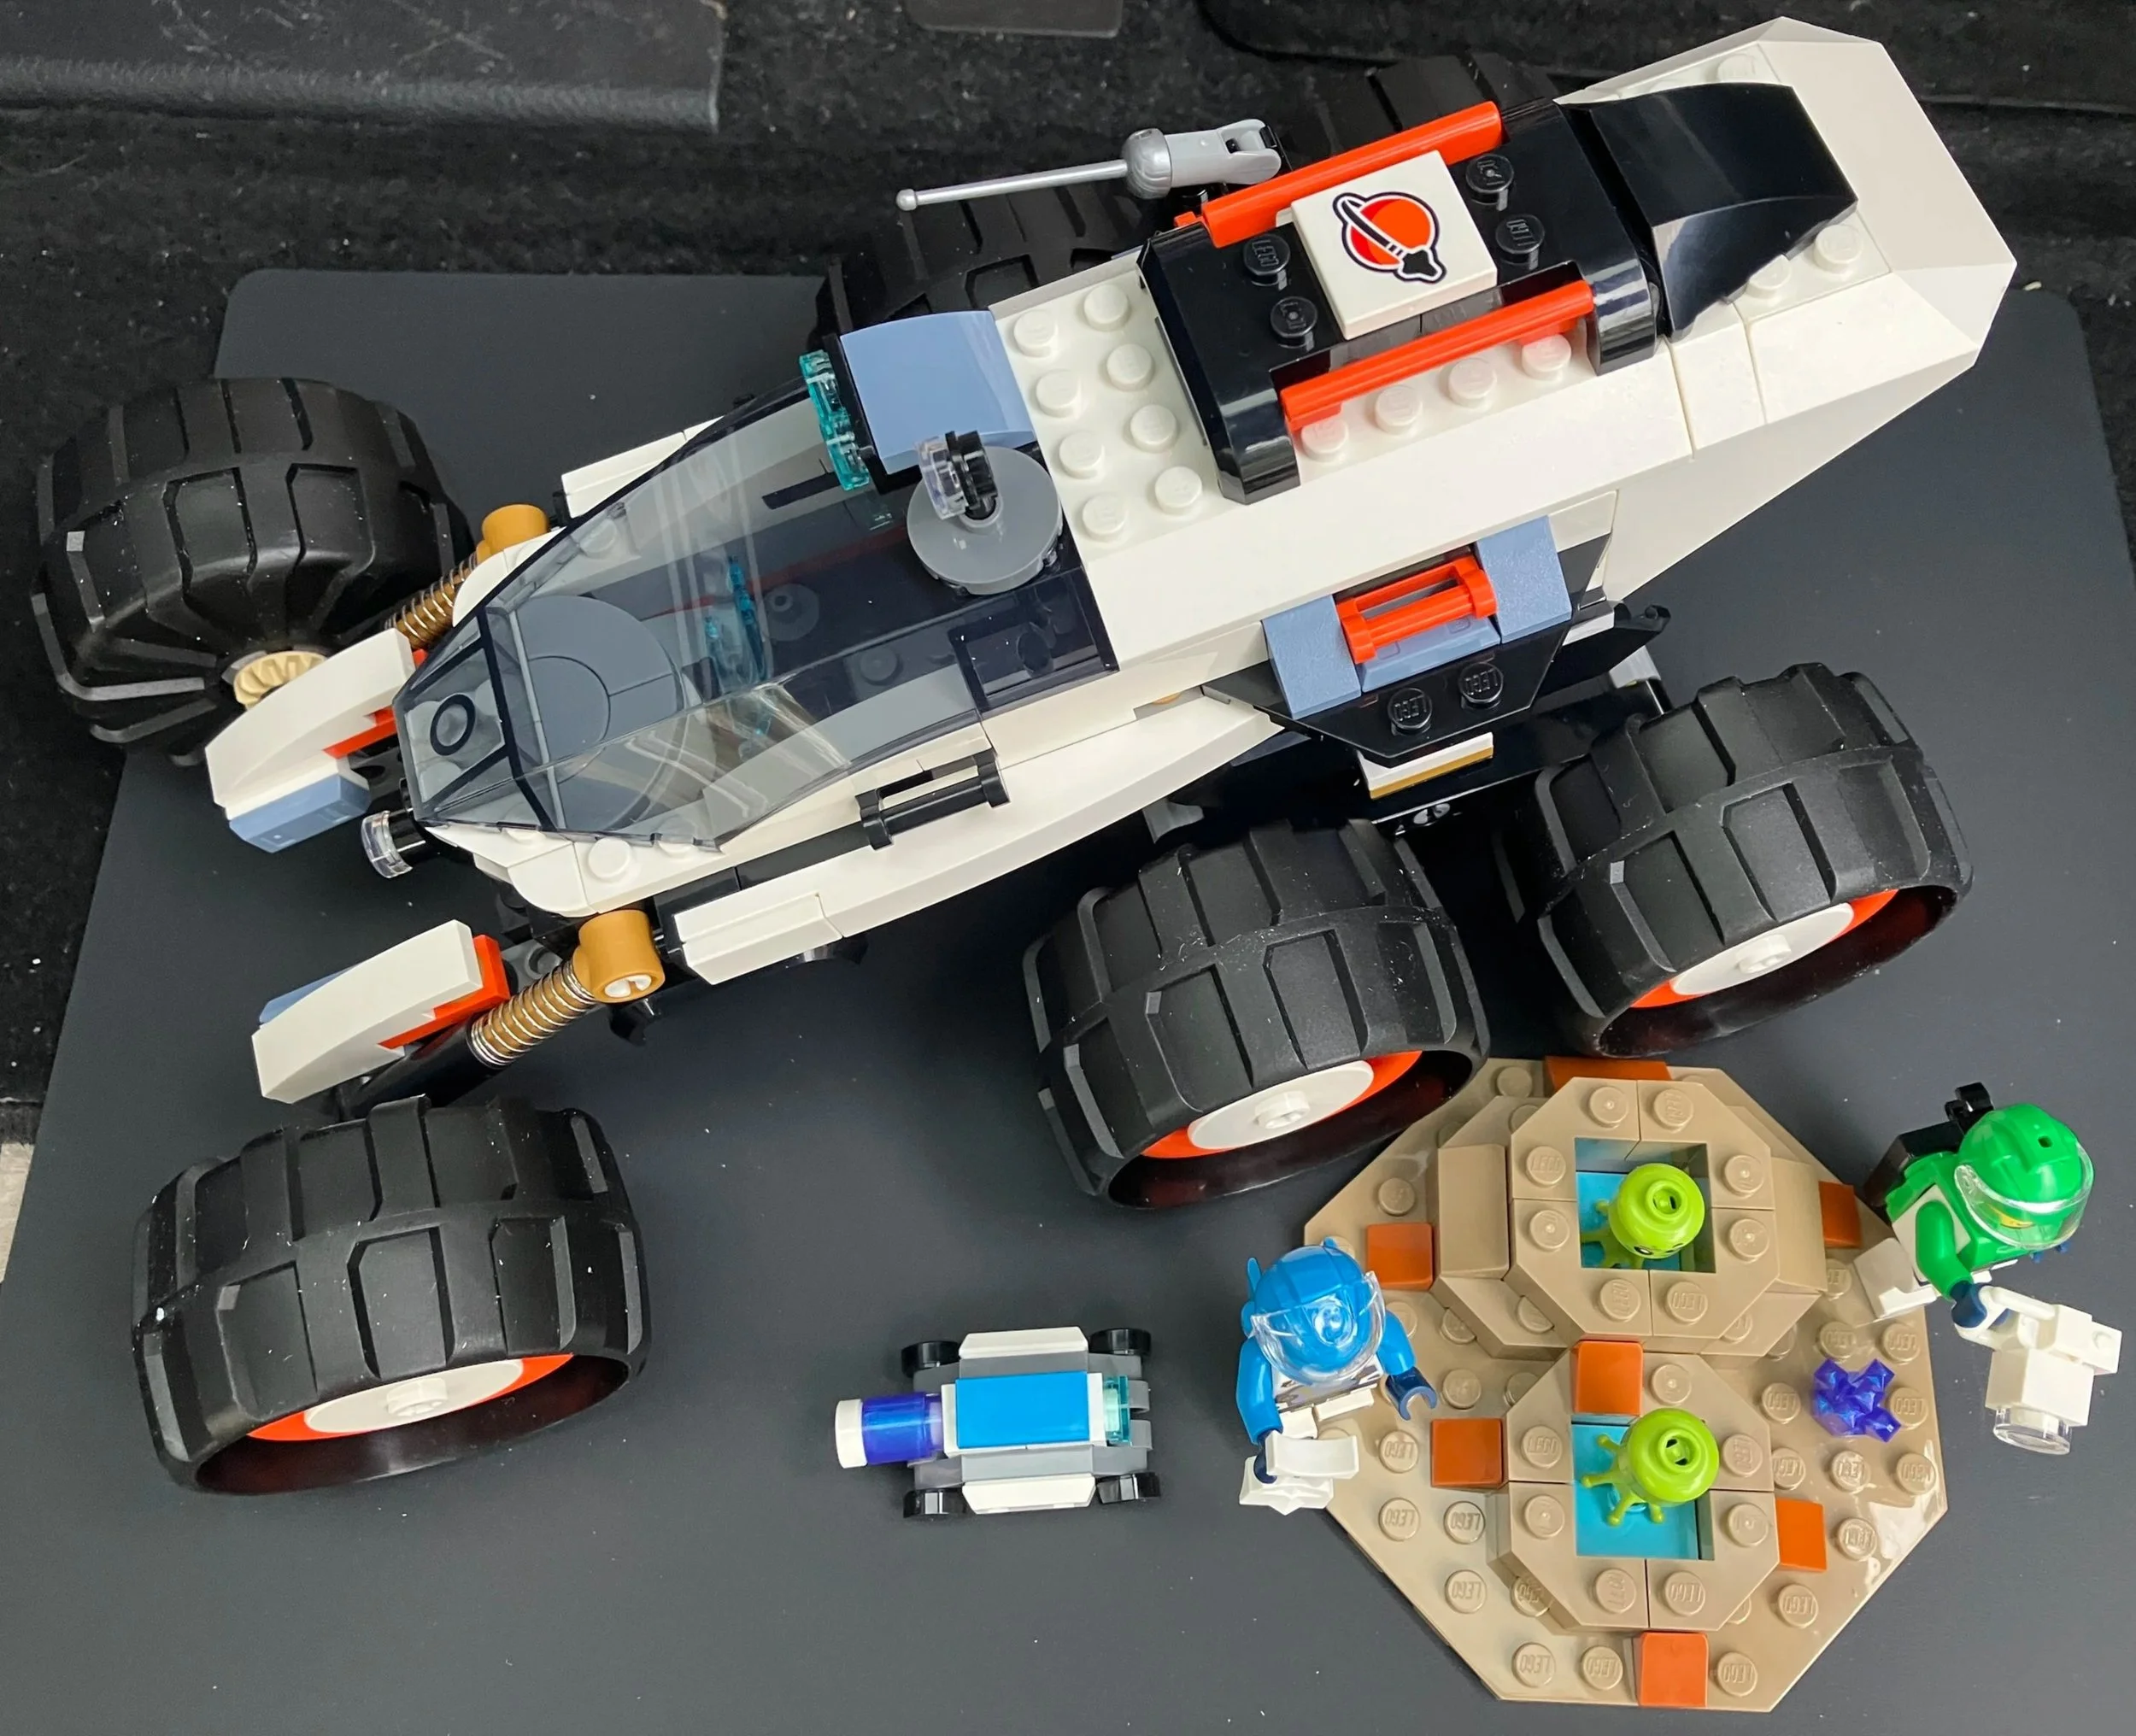
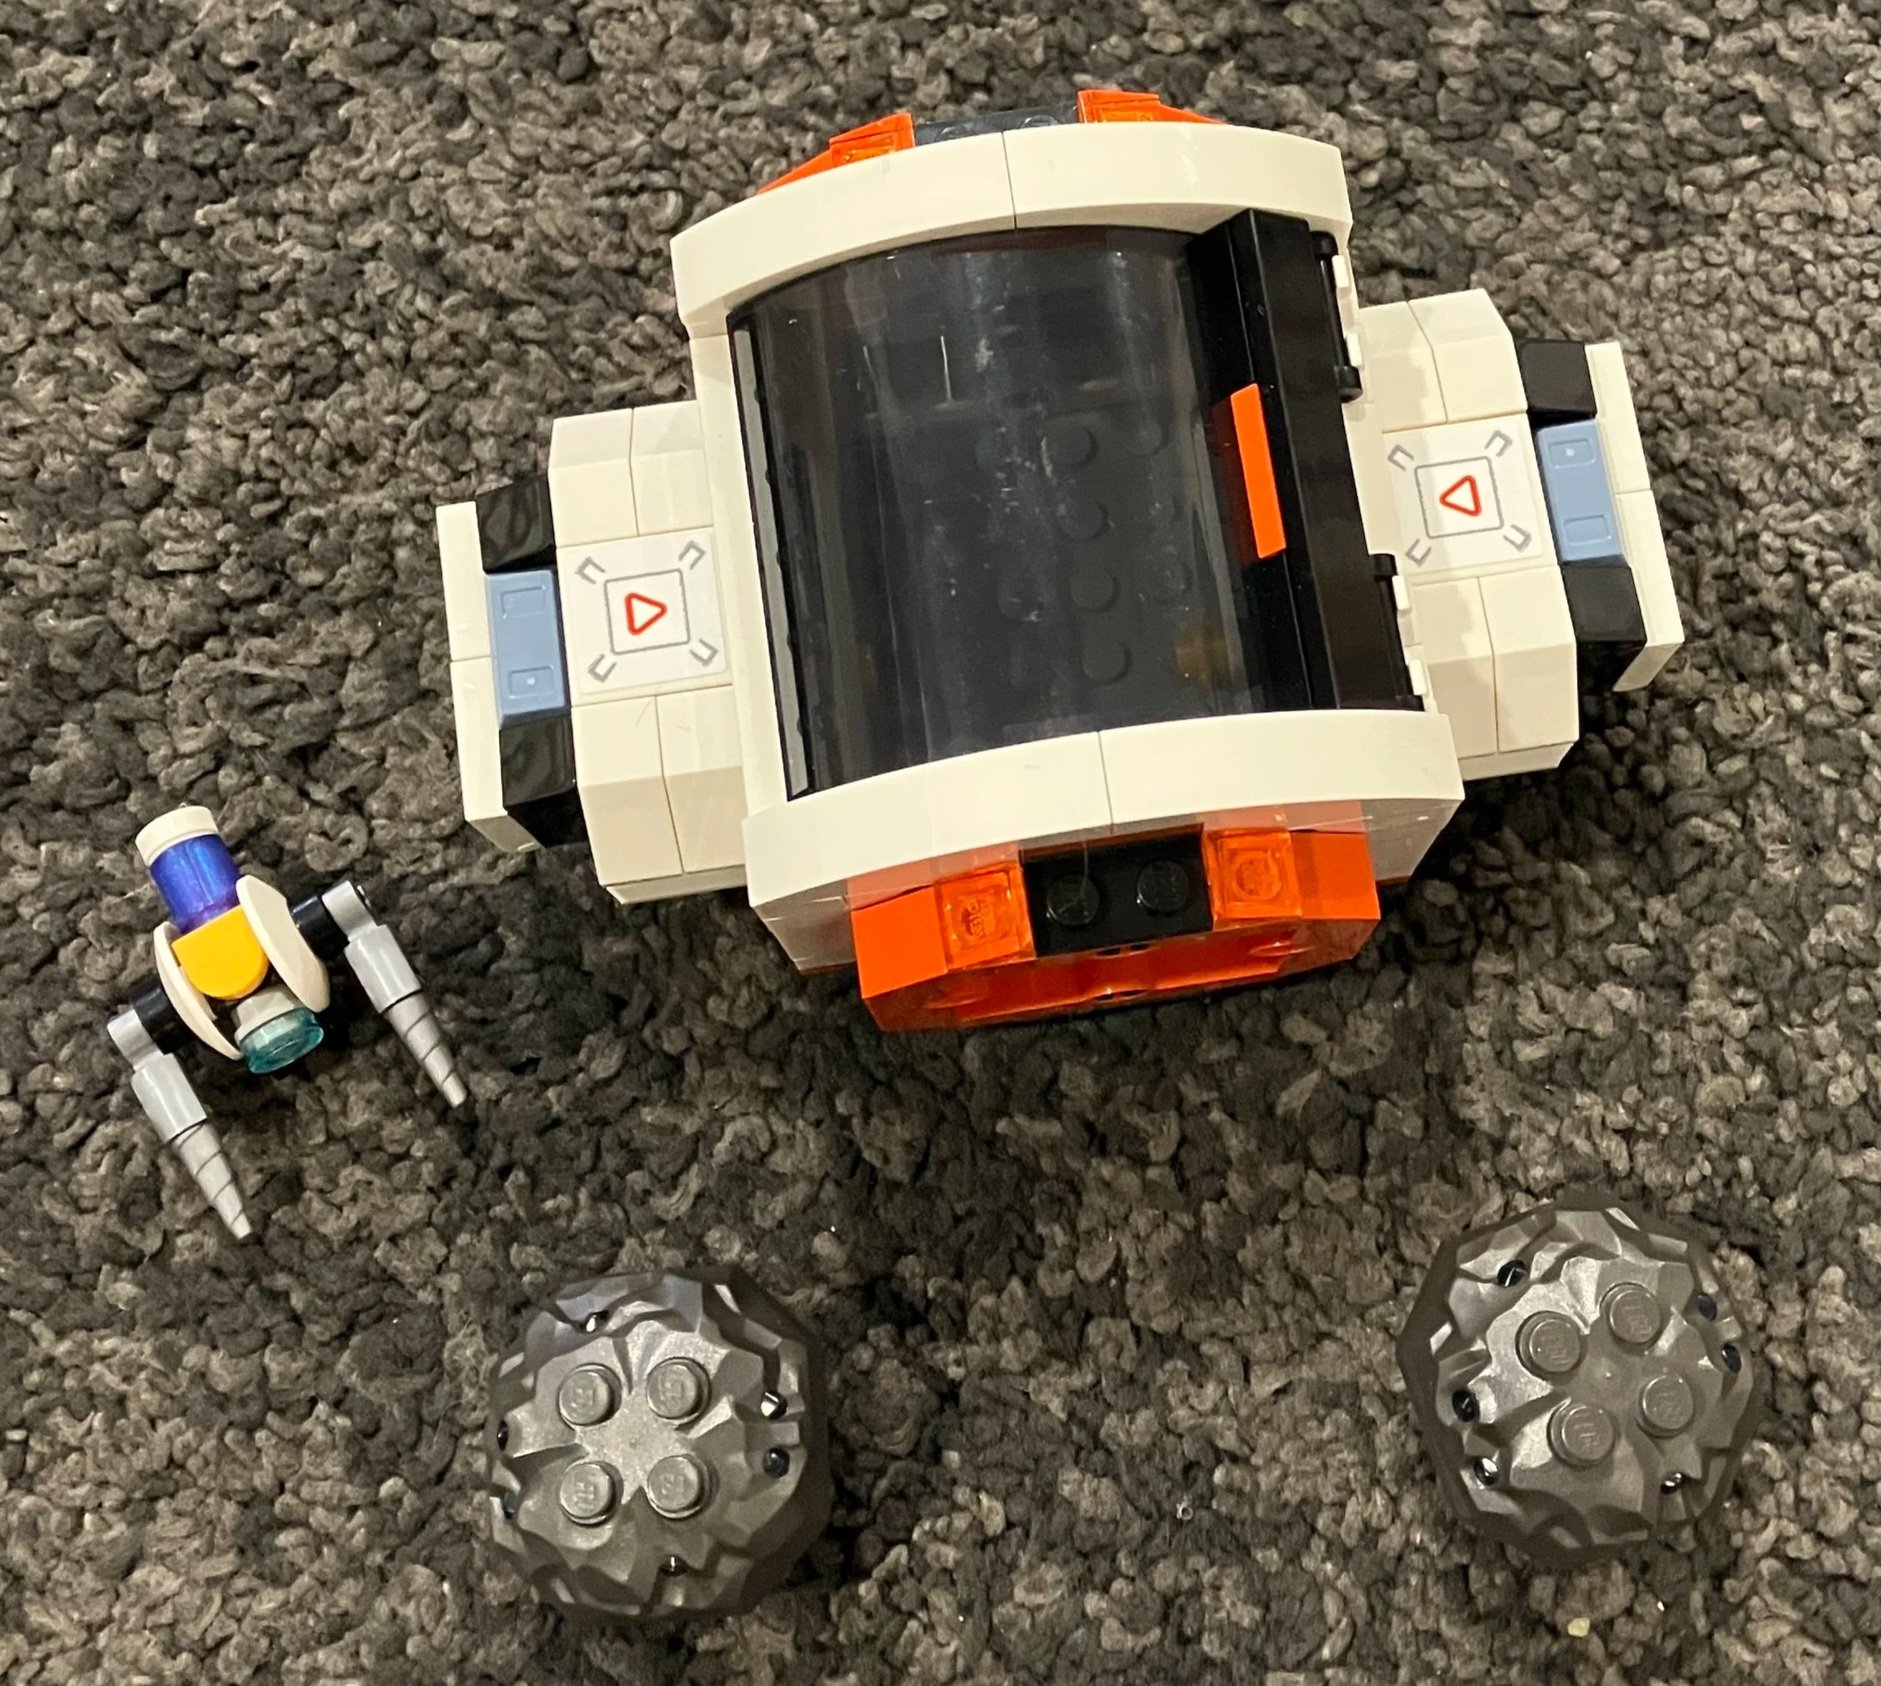
The fourth bag adds some storage containers that can attached and removed as needed. These containers contain translucent purple gem type pieces inside. It also includes two rock type pieces that open up and a small mining robot.
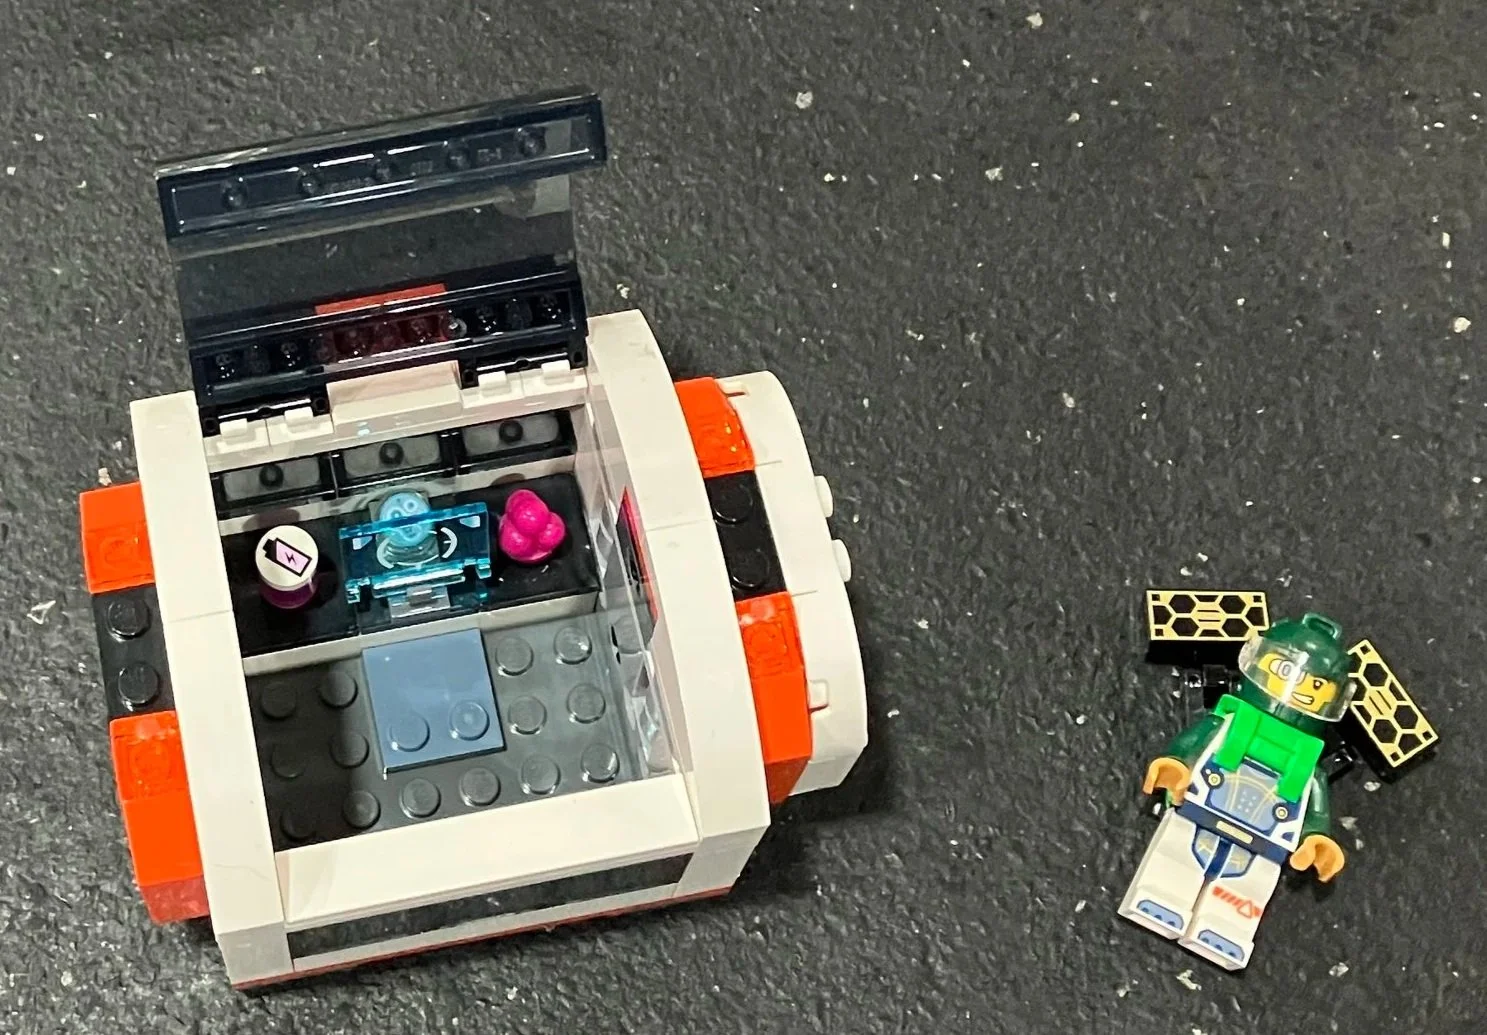
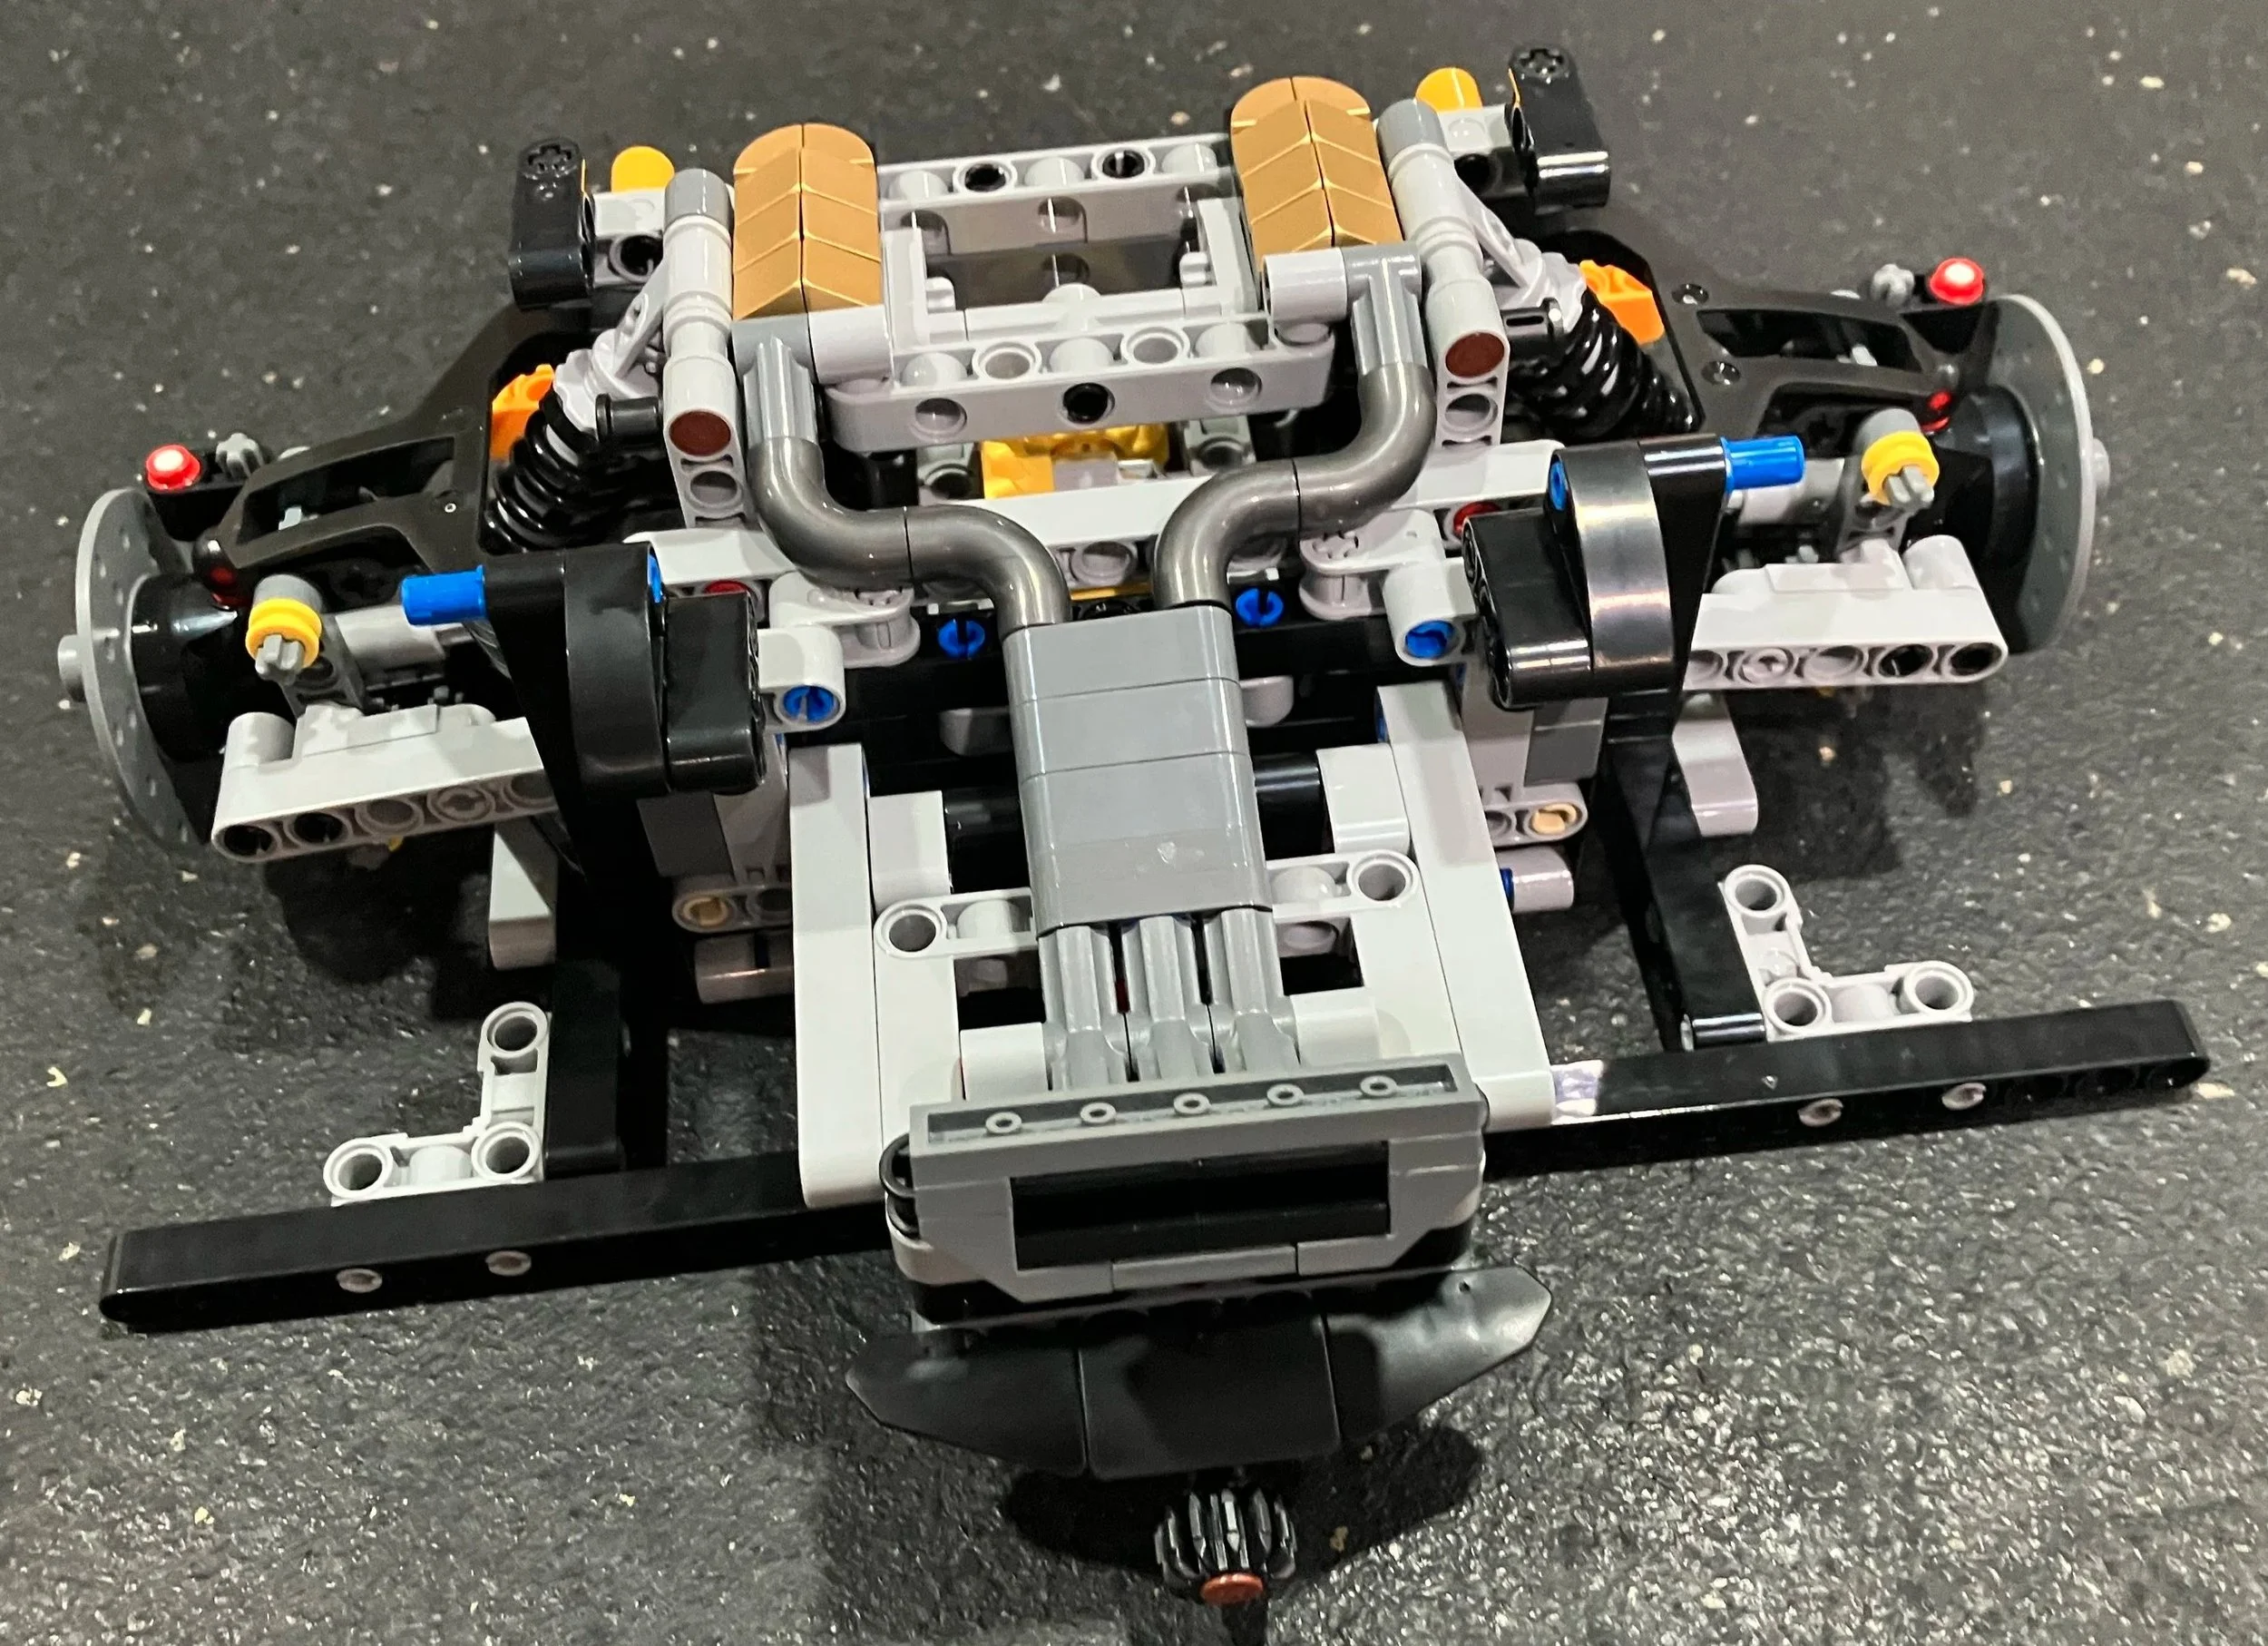
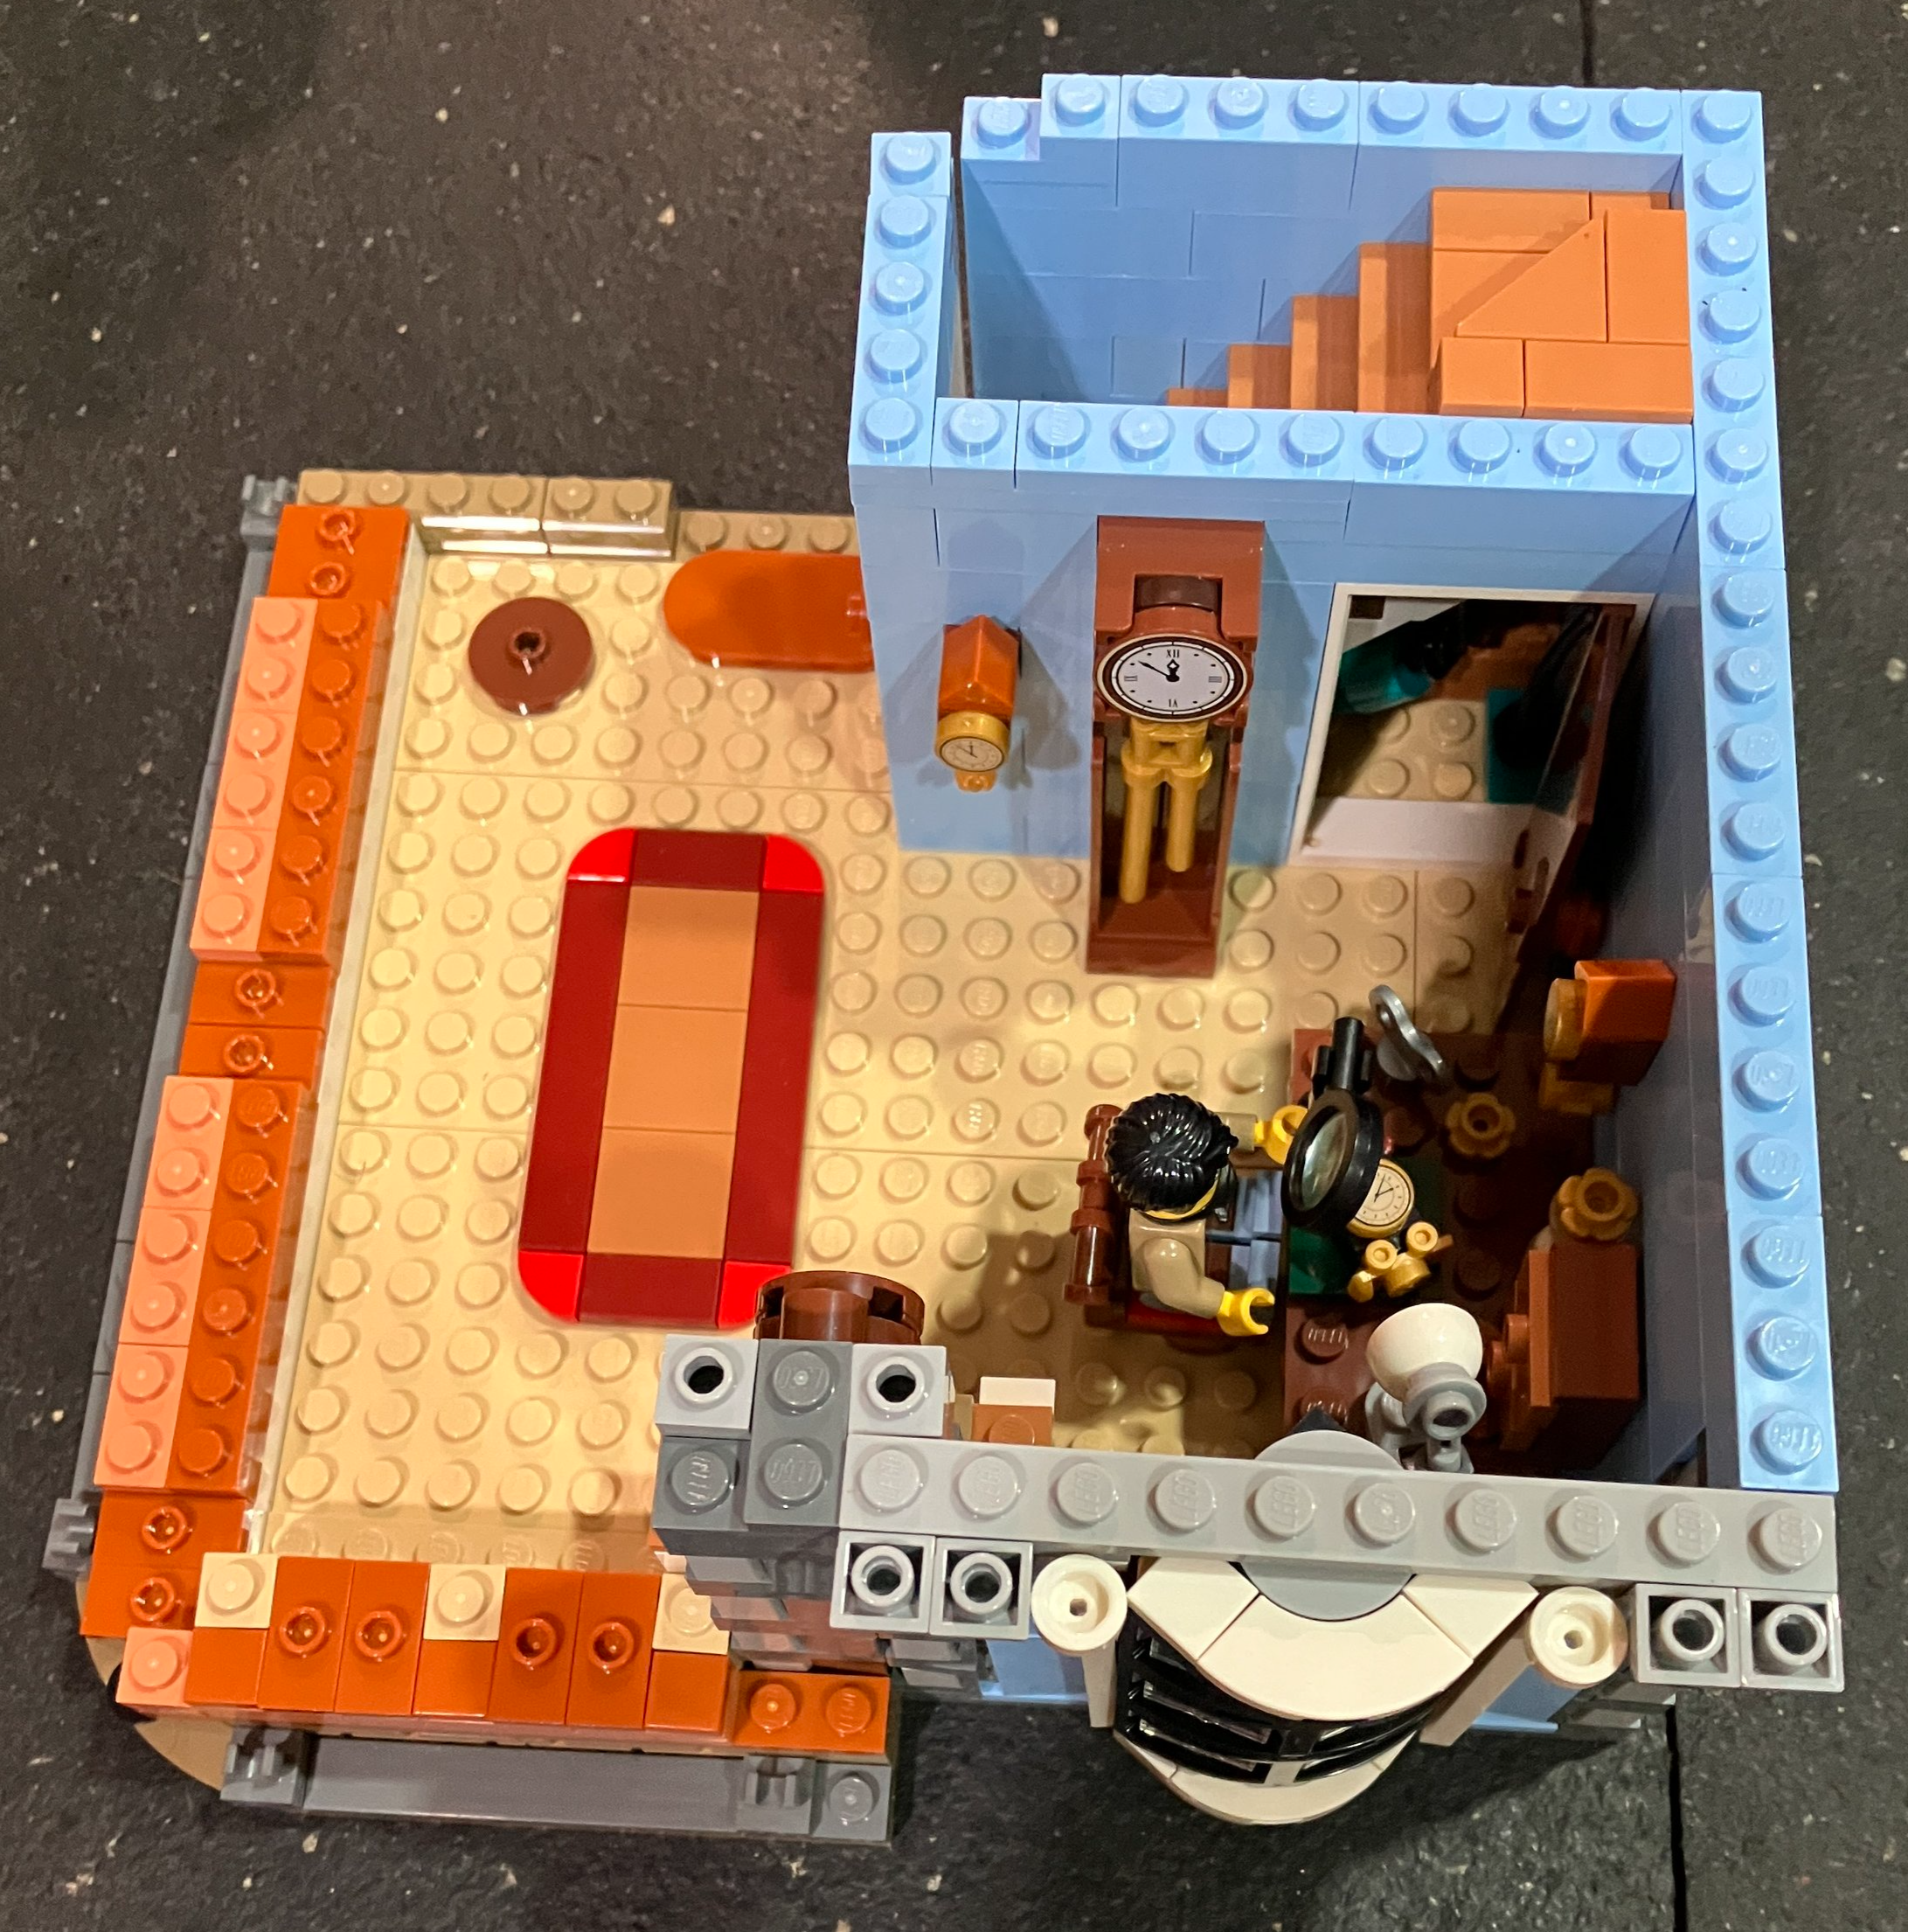
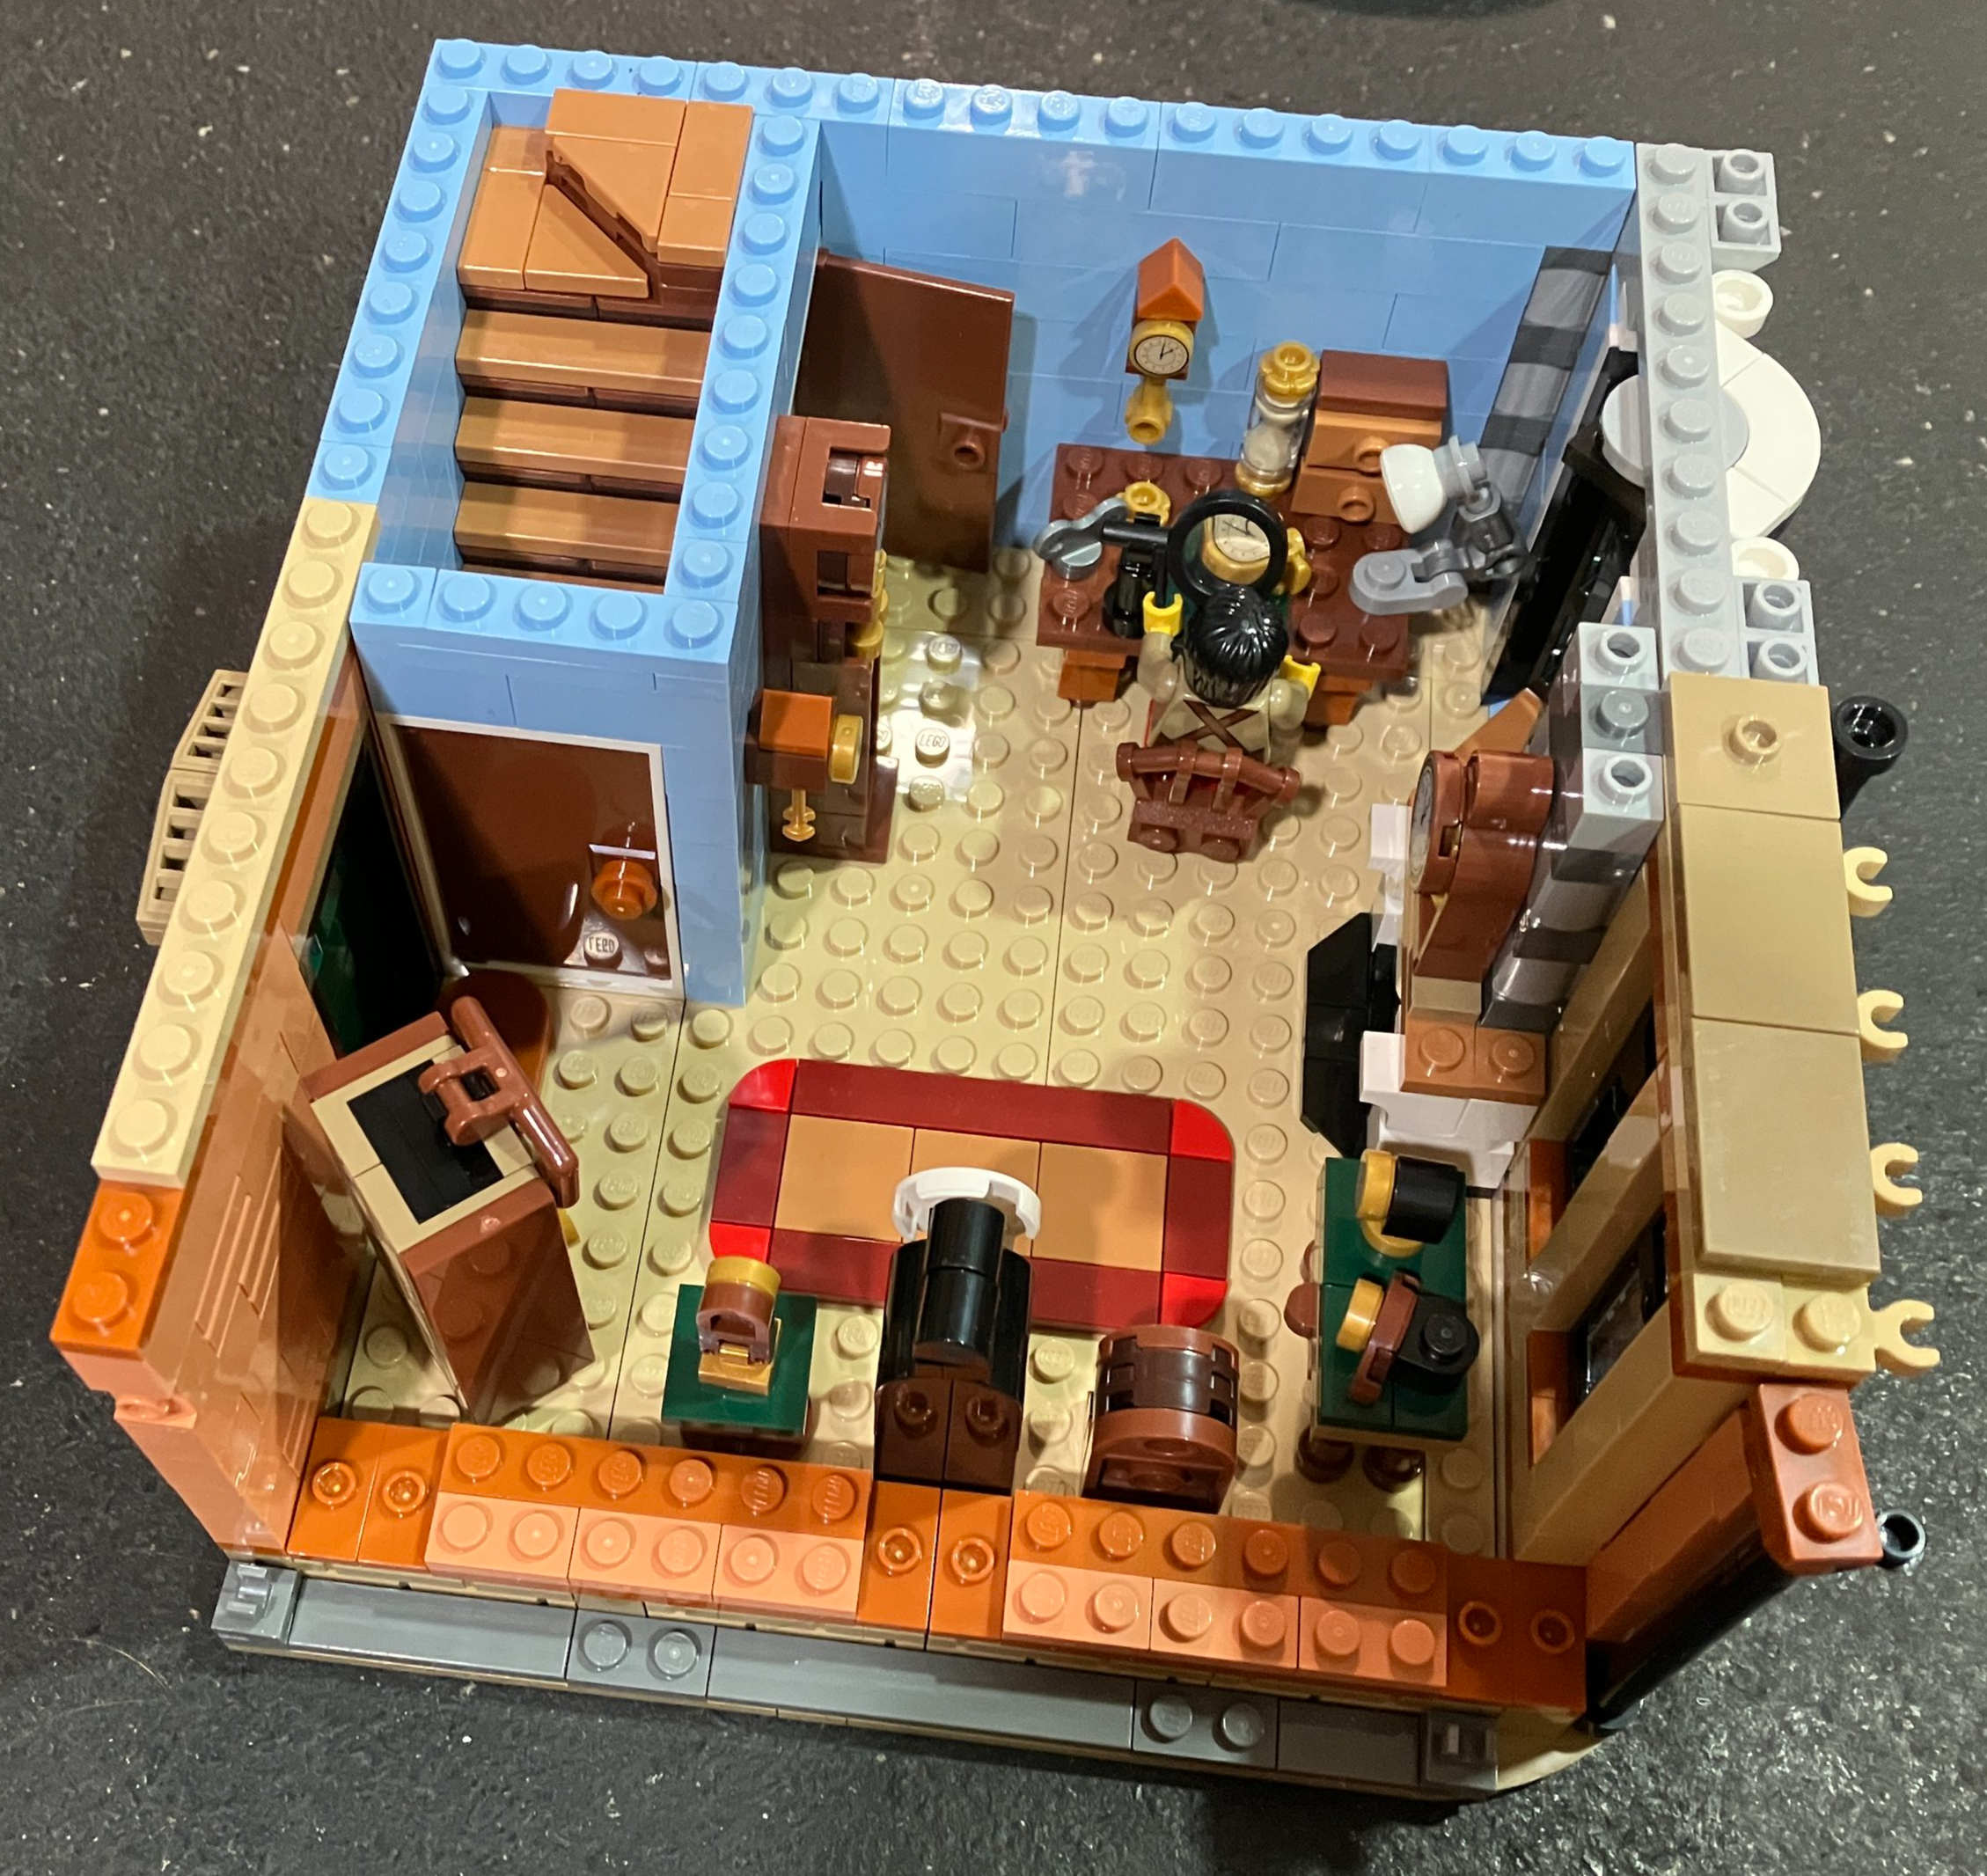
The fifth bag builds starts to build the rear section of the ship which includes a larger working section. As you can see from this build, it includes an eating area with drinks and a pizza. It also adds a medical section for treating astronauts. This section comes with a female space minifigure.
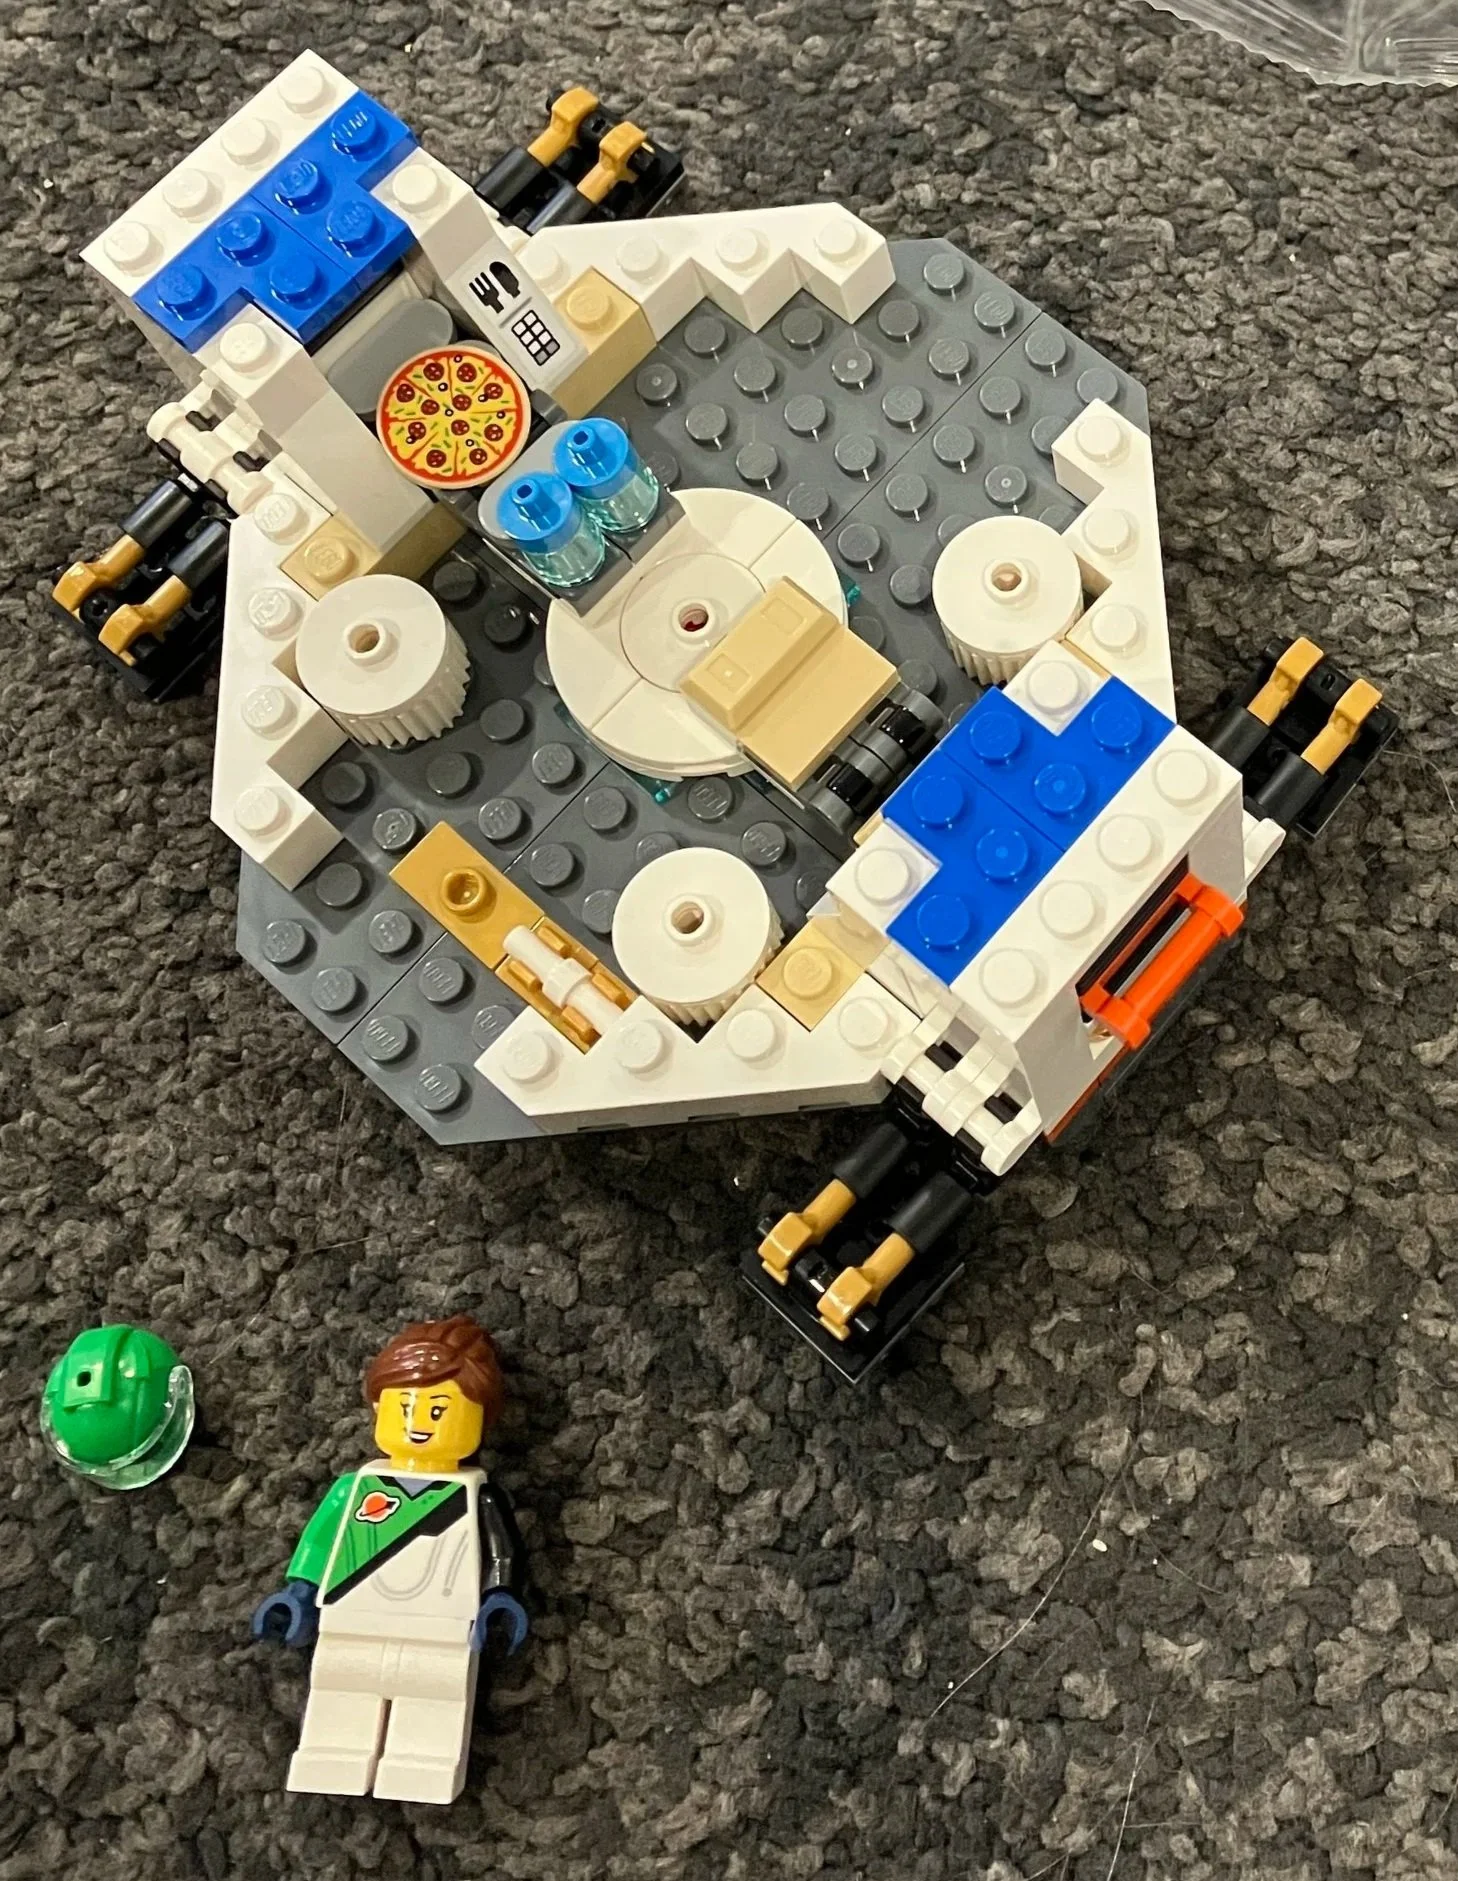
The last bag finishes the set with the eating area, a plant, and some science equipment. The trans clear/black roof section is held on by some pieces that rotate on to keep it in place.
It’s a great set if you were able to pick it up in time. Lots of play features and options to change the modules around. My kiddo had a blast swooshing it around. Sadly, it was overpriced and it was sad to see that it didn’t go on sale as often as I’d hoped.
I think the space sets were great with the ability to connect them together for play fun. It was also great to see sets across the price range from small polybags to larger sets like this one. I hope we can get more themes or subthemes like this again.
Happy building!