Set Reviews

Set Review - #10297-1: Boutique Hotel - Creator Expert/18+ - Modular Building

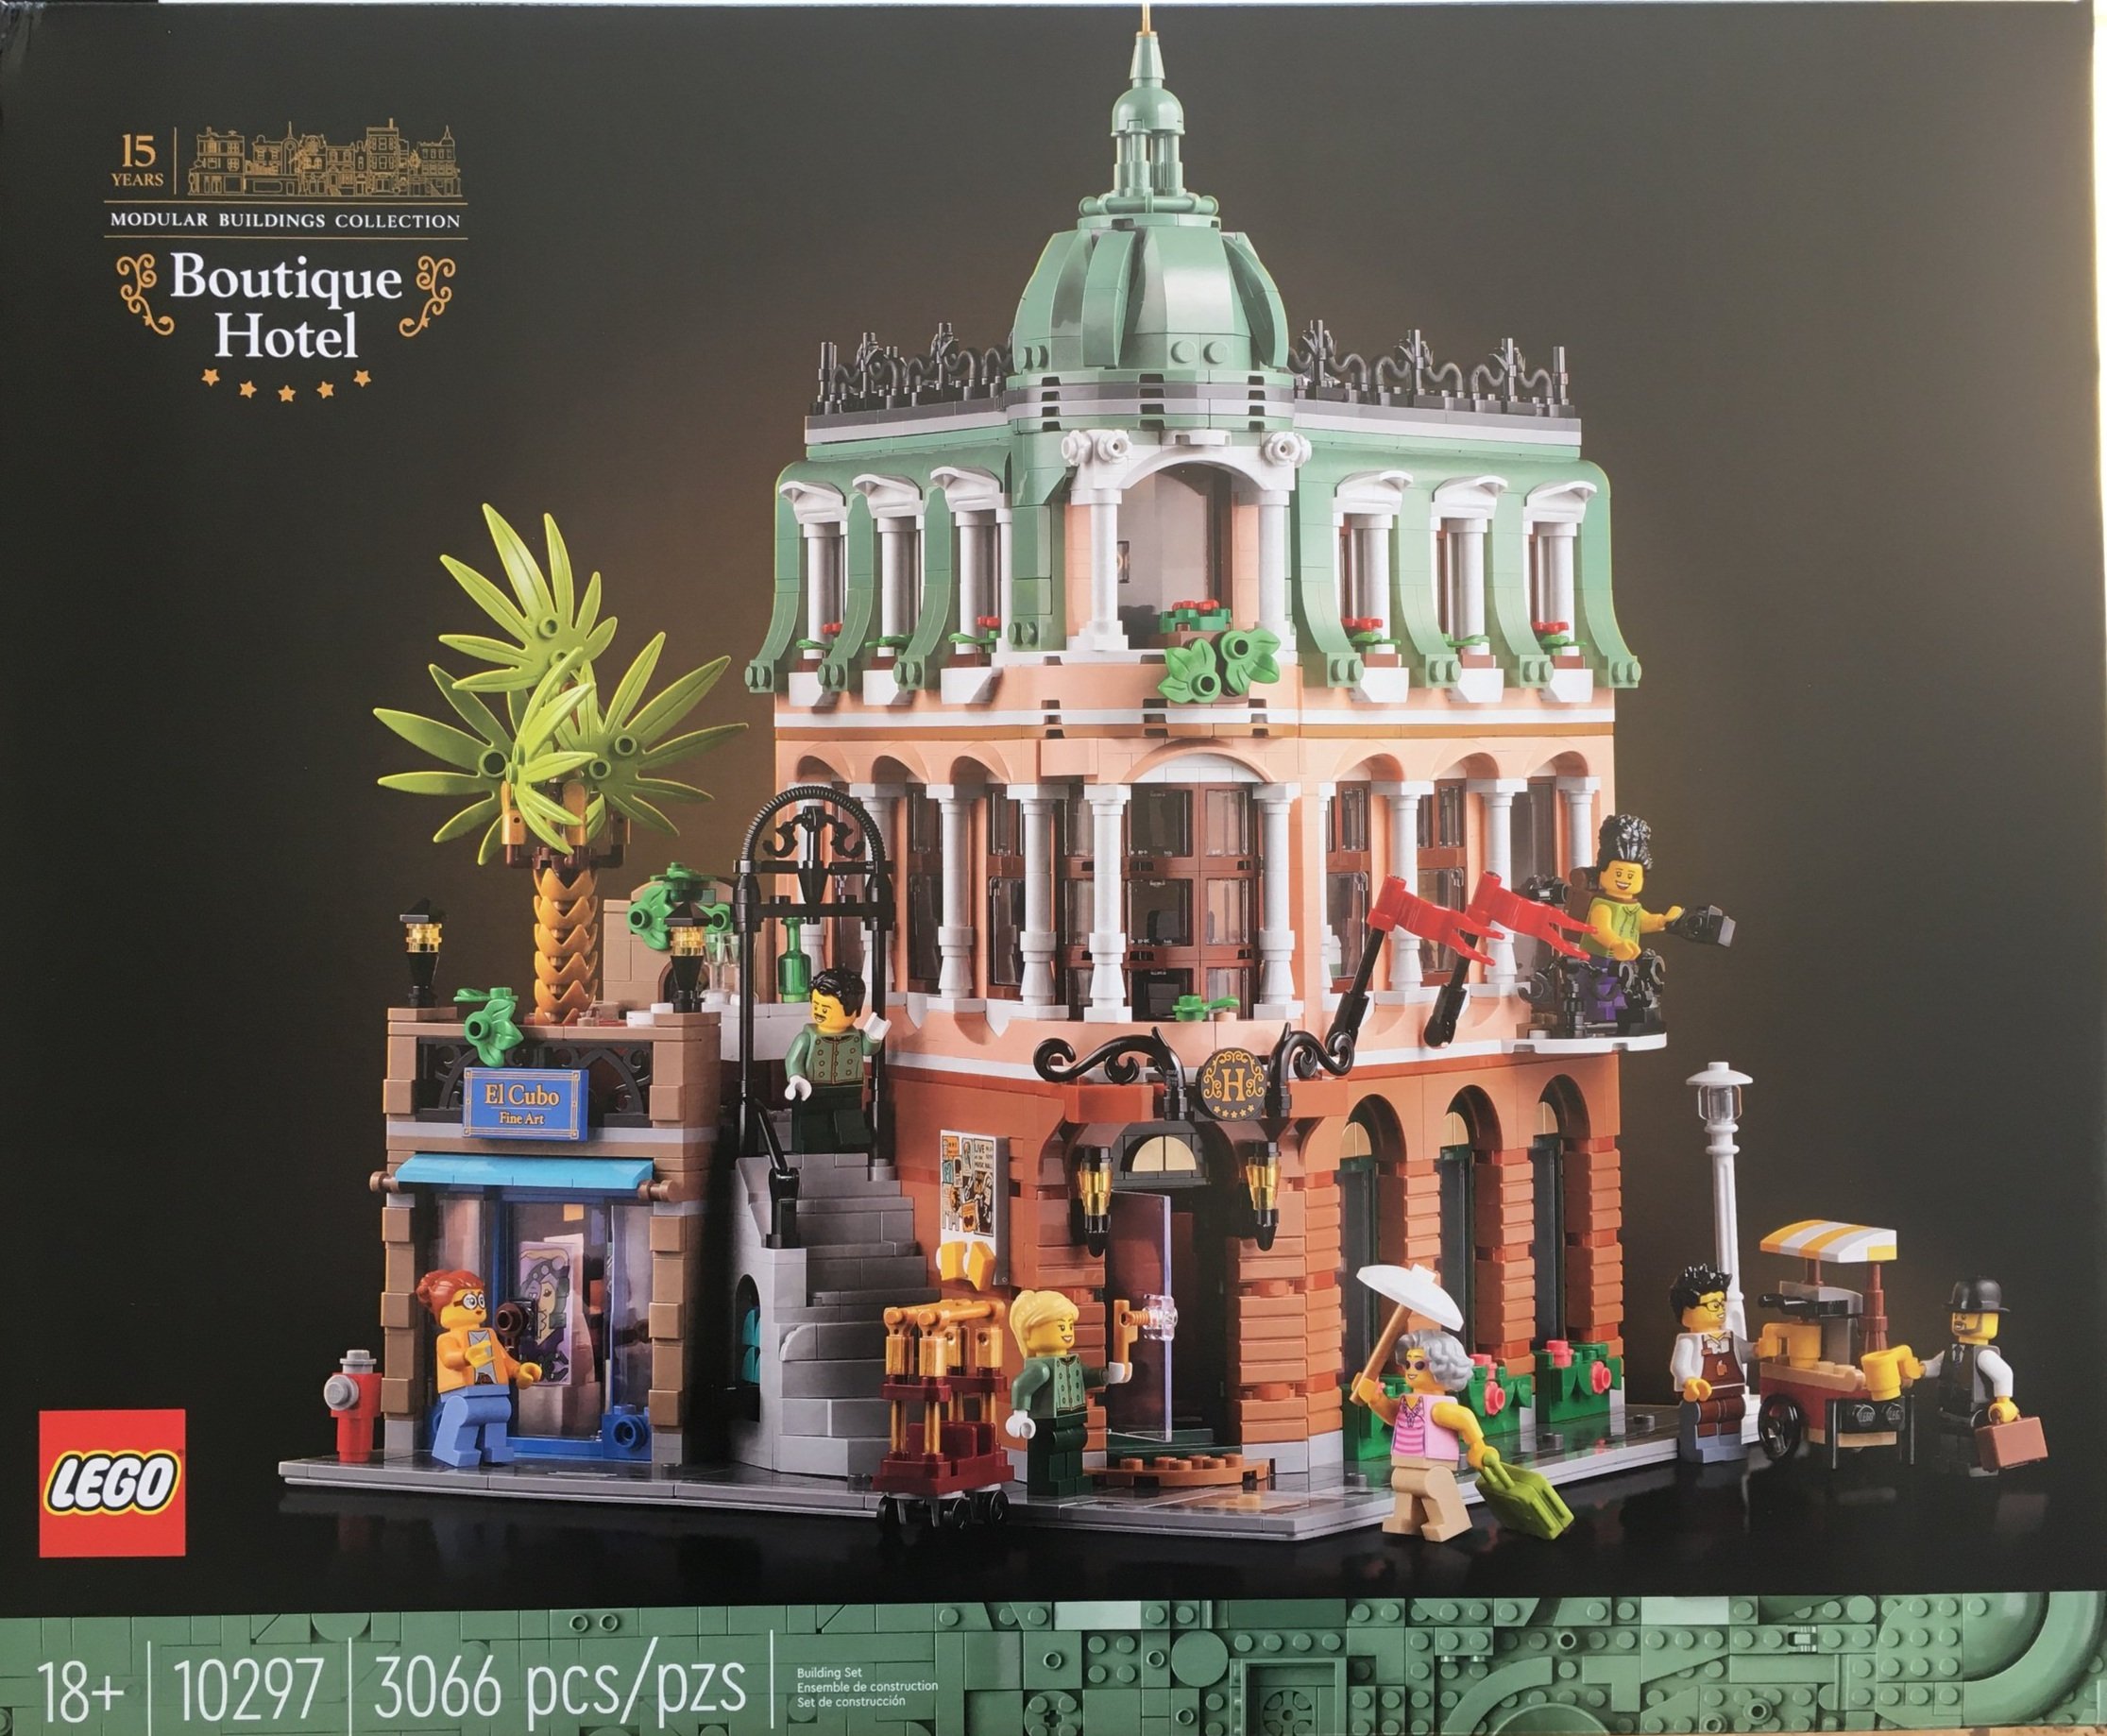
The LEGO Group successfully sucked me into the modular building fandom a long time ago and I’m always in line to get the latest version every year. This one is the 15th anniversary of modular buildings called #10297-1: Boutique Hotel. It was released in the US on 2 January 2022. It retails for $199.99 and contains 3,066 pieces. This works out to $0.065 per piece which isn’t too bad. To be fair, a lot of the pieces are smaller so maybe it’s not a huge win, but I can’t complain.

The box has the 18+ branding on the front and is black. The full set is shown with all of the minifigures. There’s a logo for the Boutique Hotel and then the mention of the 15th anniversary. The back shows a few details, the dimensions of the set, and how the set assembles together. It also shows it next to #10278-1: Police Station and #10270-1: Book Shop.

The set contains 20 parts bags… or at least that’s what I can count in the picture I took. They are all numbered. It also contains a 32x32 baseplate colored gray. The instruction book is wrapped.

The instructions have a few pages on the design and the designer as well as a picture of the designers who have contributed to the theme over the years. Also throughout the book are little tidbits about various pieces used, references to other modular buildings, and other fun facts.

The first bag starts with adding the basic layout to the base plate. This is usually lots of tiles and there are no exceptions here. The first bag comes with a female hotel worker.

The second bag builds up the first floor with tiling on the inside in a fun pattern. It also starts the stairs and then adds a dumpster outside with a white croissant in reference to #10243-1: Parisian Cafe. This bag contains a male minifigure who works at the hotel and you build a small luggage cart.

Bag three builds up more of the first floor with steps in the hotel and the check-in desk. The check-in desk has a fun telephone, some flowers, and then actual keys for the rooms. The back of the wall for the check in desk has some art work for the art gallery behind the hotel.

Bag four adds a couch in the lobby of the hotel and then builds up the art gallery. You put in a desk and then a few pieces of art to include a brick version of the Creator Expert logo. You also construct the stairs to the cafe above the art gallery. Bag 4 comes with a female minifigure who works at the art gallery.

I really appreciate the use of angles and how this set isn’t just the standard building with 90 degree angles.

Bags five and six wrap up the first floor. The biggest section of the build is the front façade of the hotel with doors, windows, some texture to the outside, some plants, and the curved arches. Inside, you finish up the stairwell to include a handrail. On the outside, you add a lamp post.

Bags seven and eight start on the second floor which is all hotel rooms. Bag seven builds the base with plates and then starts on walls. I like the peach color which you don’t see too often. Bag eight adds in windows, furniture, and stairs to the next floor. One of the rooms comes with a typewriter which is very similar to #21327-1: Typewriter.

The ninth bag wraps up the second floor. It also comes with a male minifigure with a suit case. The arches over the windows look good along with some of the columns. The one room has a balcony with some decorative fencing made of brick handcuffs.

Bag ten adds a small cafe above the art gallery called “El Cubo.” It has a few tables and then a bar with some glasses and bottles. This section also has a larger palm tree made up of some fun pieces and then an entrance similar to the Market Street modular building.

Bag eleven starts the third floor with the floor plates, some wall sections, and the start of a bathroom.

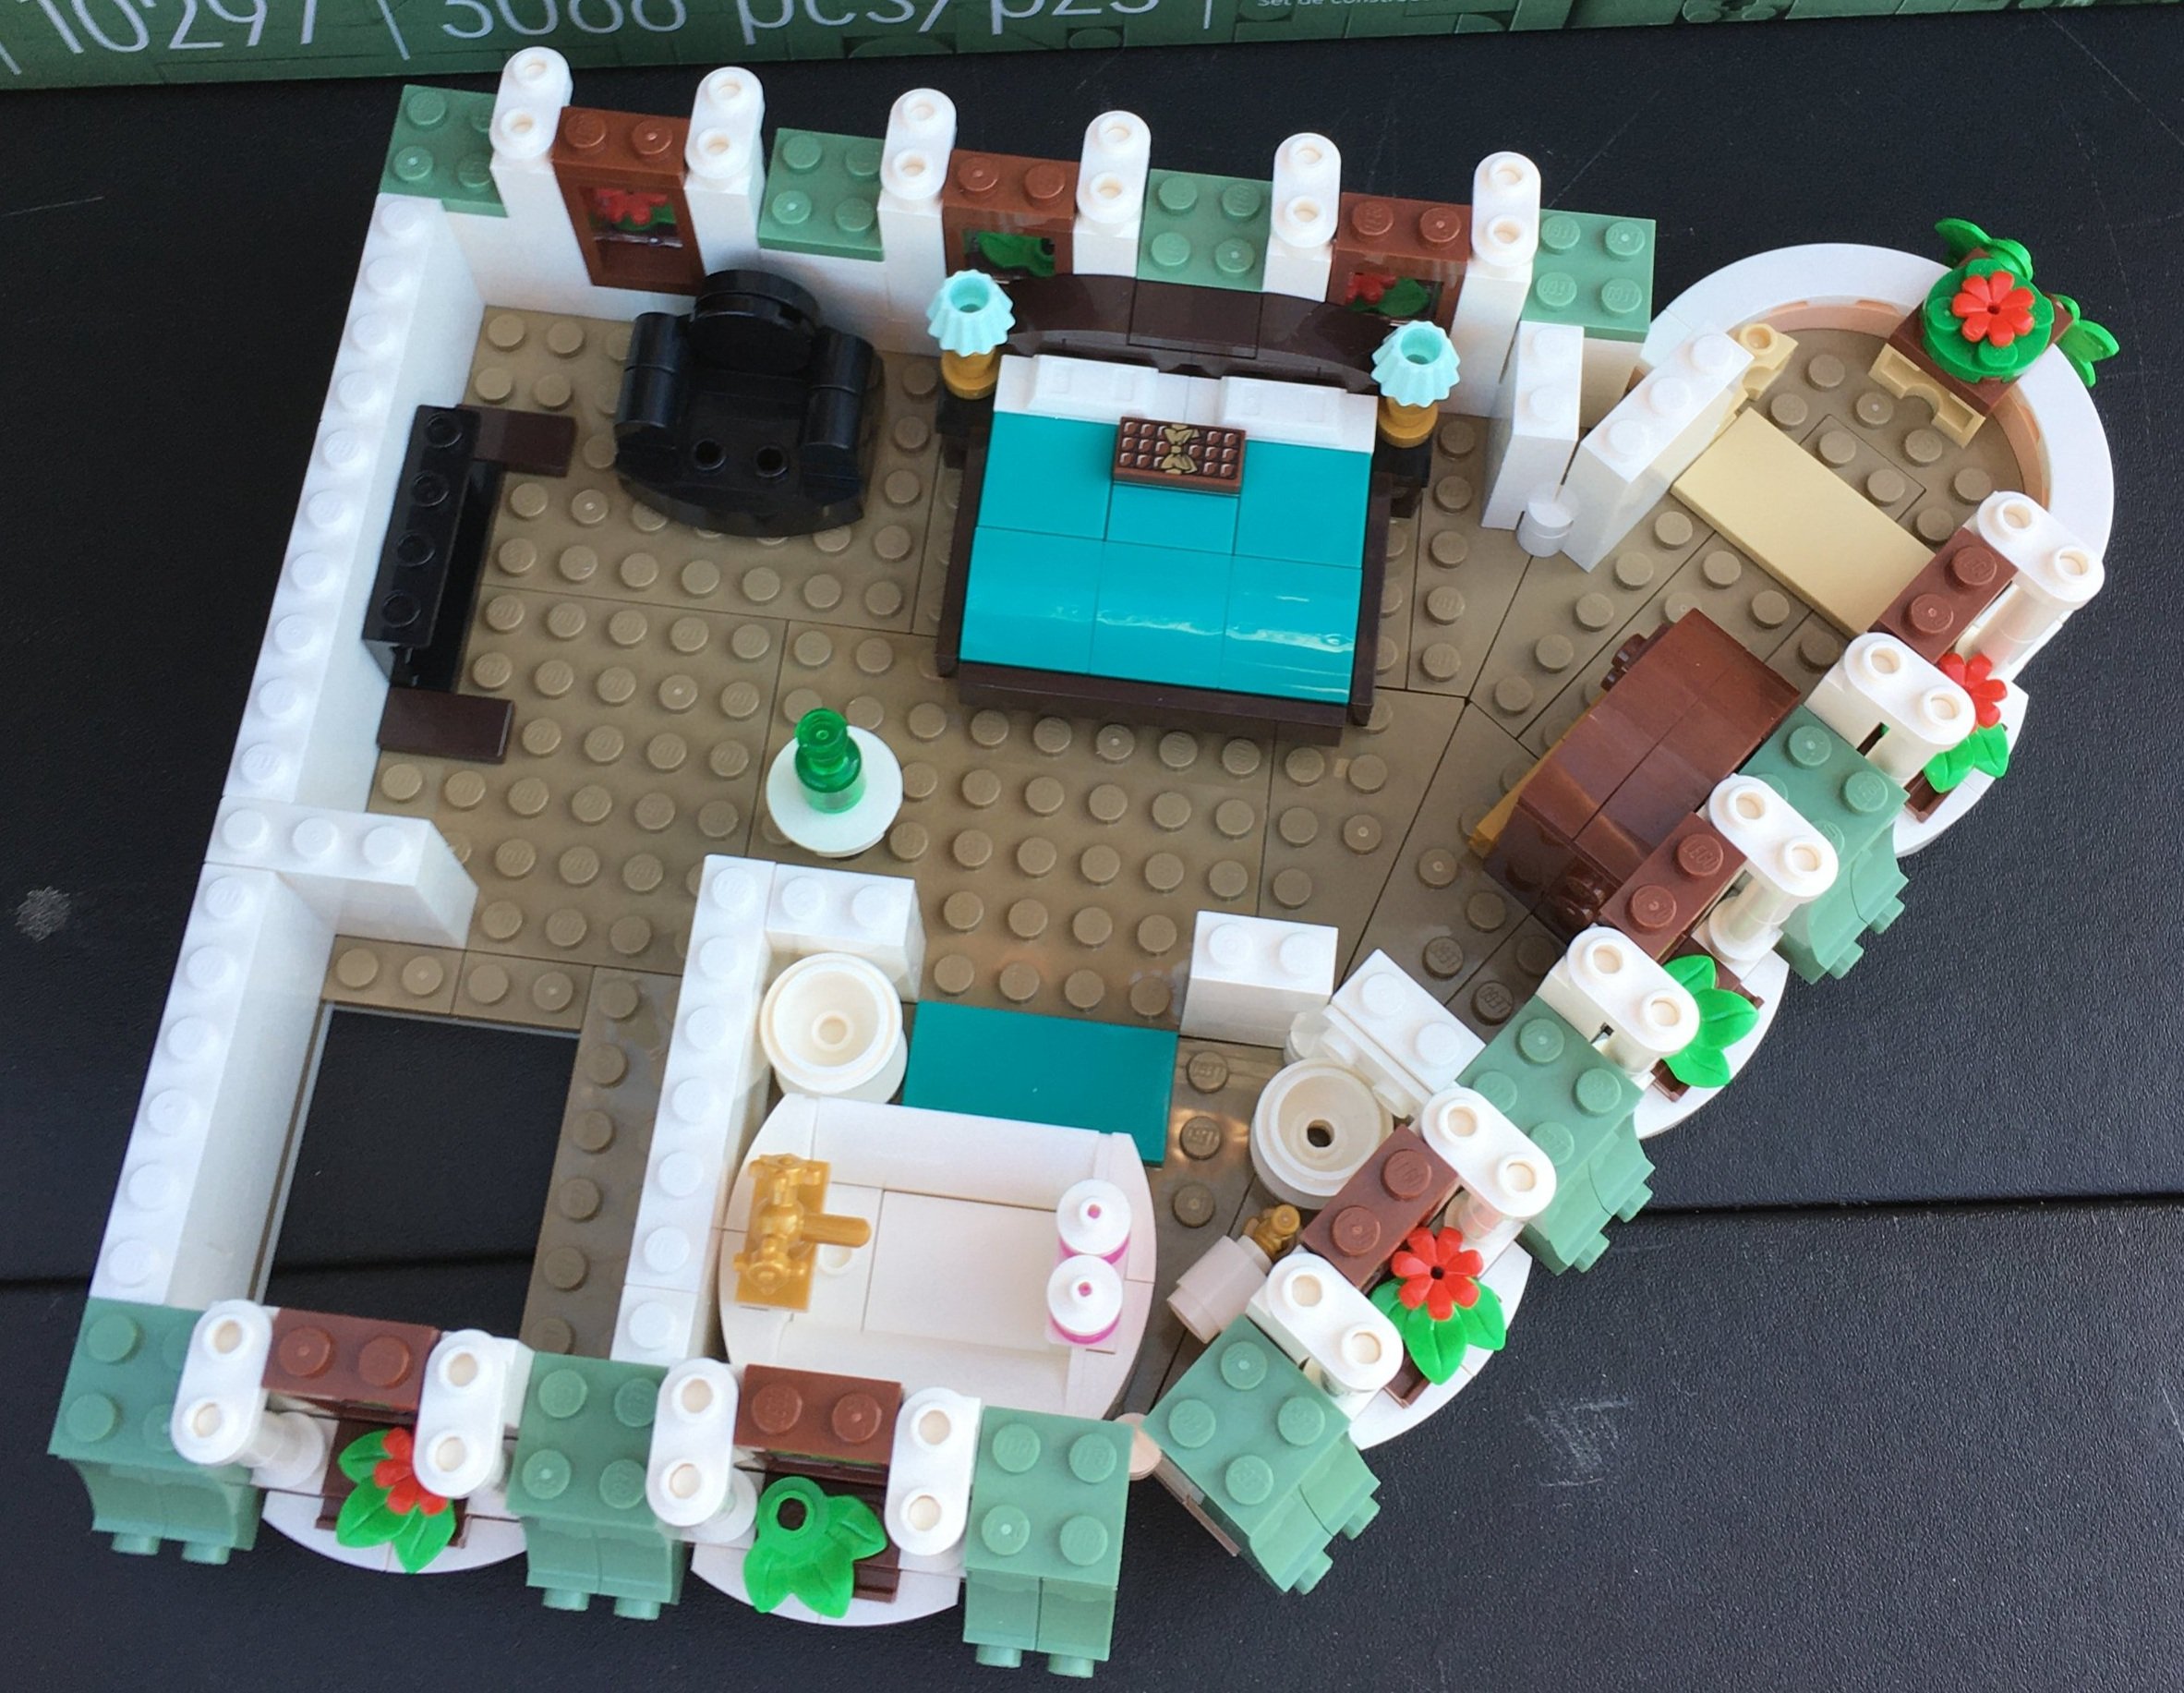
Bags 12 and 13 finish up the third floor. There’s a large bed, a chair, an old fashioned TV, and a wardrobe in the main bedroom. The bathroom has a sink, toilet, and tub. The windows all have some greenery and a few have flowers.

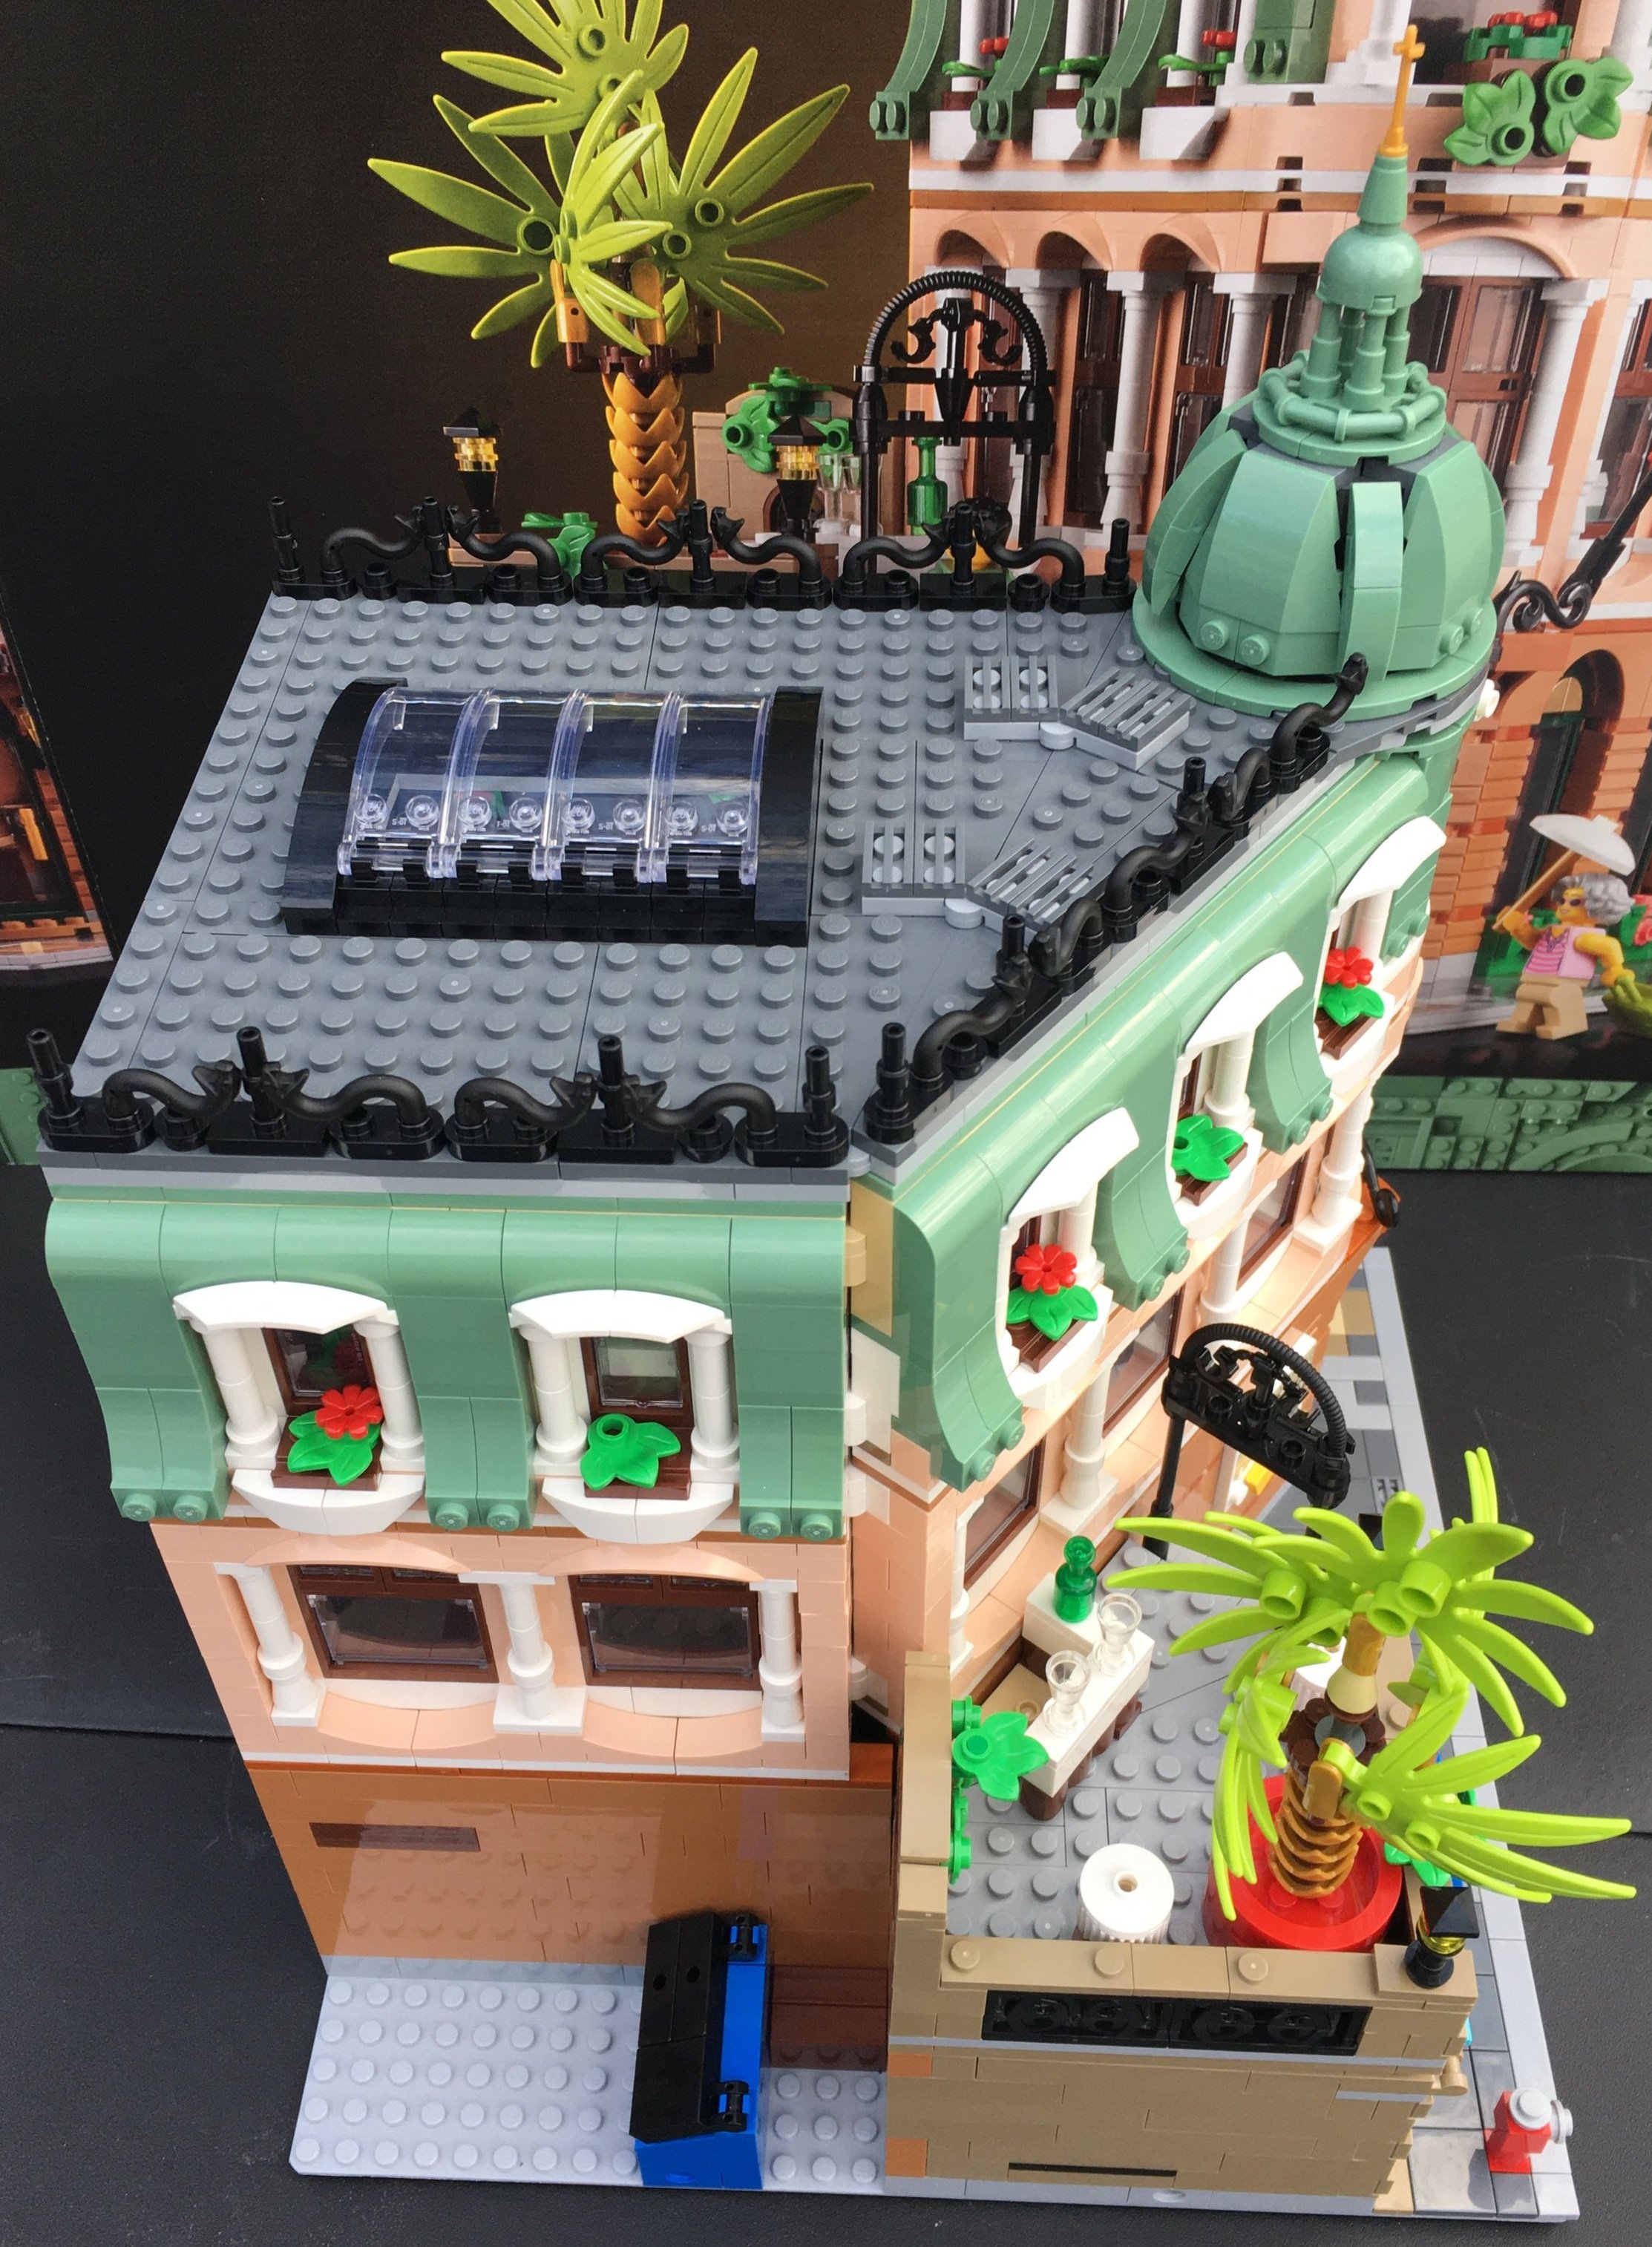
Bag 14 is the final bag and builds the roof along with the rounded point at the top. The large skylight is done with simple wind screens, but it looks good.

It also includes a small coffee cart and a coffee seller minifigure.

There was an error in my set with this bag. For the roof, I was supposed to get a light gray 1x2x2 plate corner. Instead, I was given a 1x2 light gray plate with slide. I replaced the part with a part from my collection, but it has been a while since I’ve seen an error in a set. Has anyone else had this issue?

Here are the minifigures. I’m glad that LEGO decided to get away from the traditional two dots and a smile to the faces with expressions. I think it’s a good mix here. A few have dual expressions.

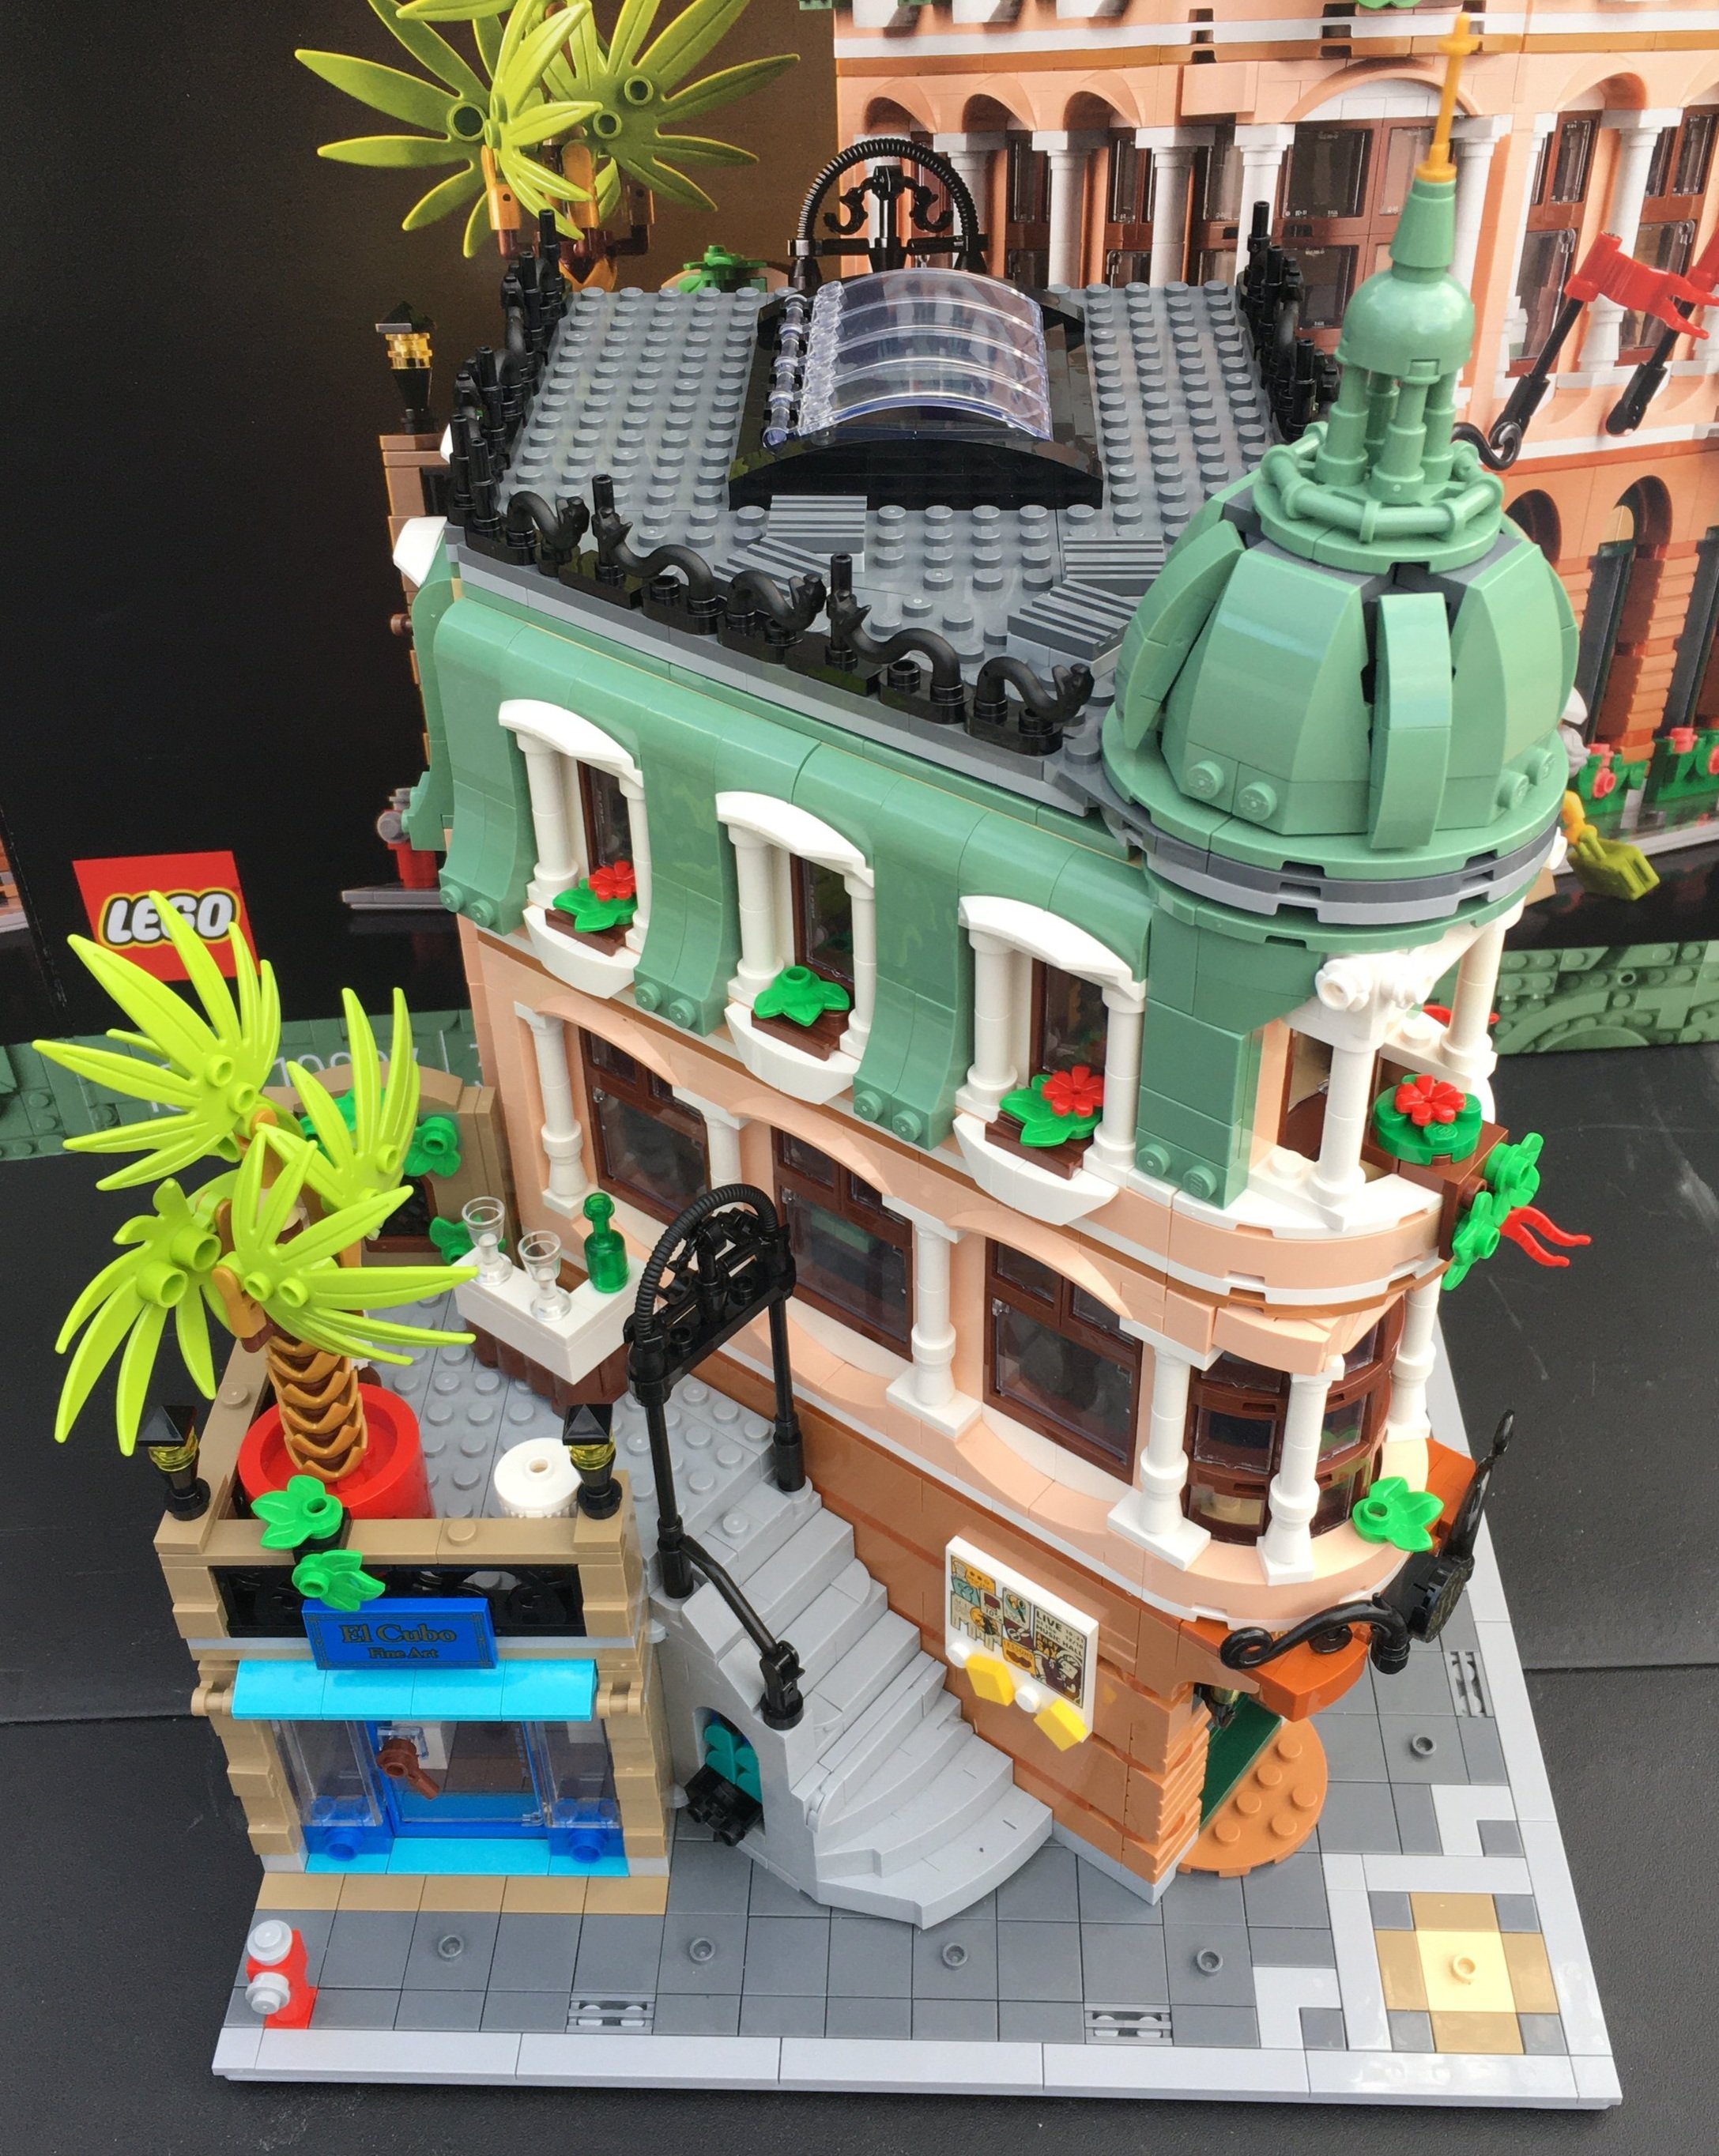
Here is the final set from all the sides. I’m a big fan of this one. I like the building at different angles instead of the 90 degree angles. The colors are fun as well and there are a lot of great pieces. Well done design team!

The price continues to creep up on these sets with them being $200 now, but thankfully, the part count goes up. A lot of the parts are smaller though. I recommend waiting for opportunities to get double VIP points or a fun gift with purchase before diving in. You should be able to get this one for a few more years (hopefully) so there shouldn’t be a rush to get this one.

Happy building!

Set Review - #80108-1: Lunar New Year Traditions - Chinese Festival Special Edition

Here is the second of two Chinese Festival Special Edition sets for 2022. This one is the lower priced set with it retailing for $79.99 in the US. It was released at the same time as #80109-1: Lunar New Year Ice Festival which was 10 January 2022. This set contains 1,066 pieces so the price per piece is $0.075 per piece.

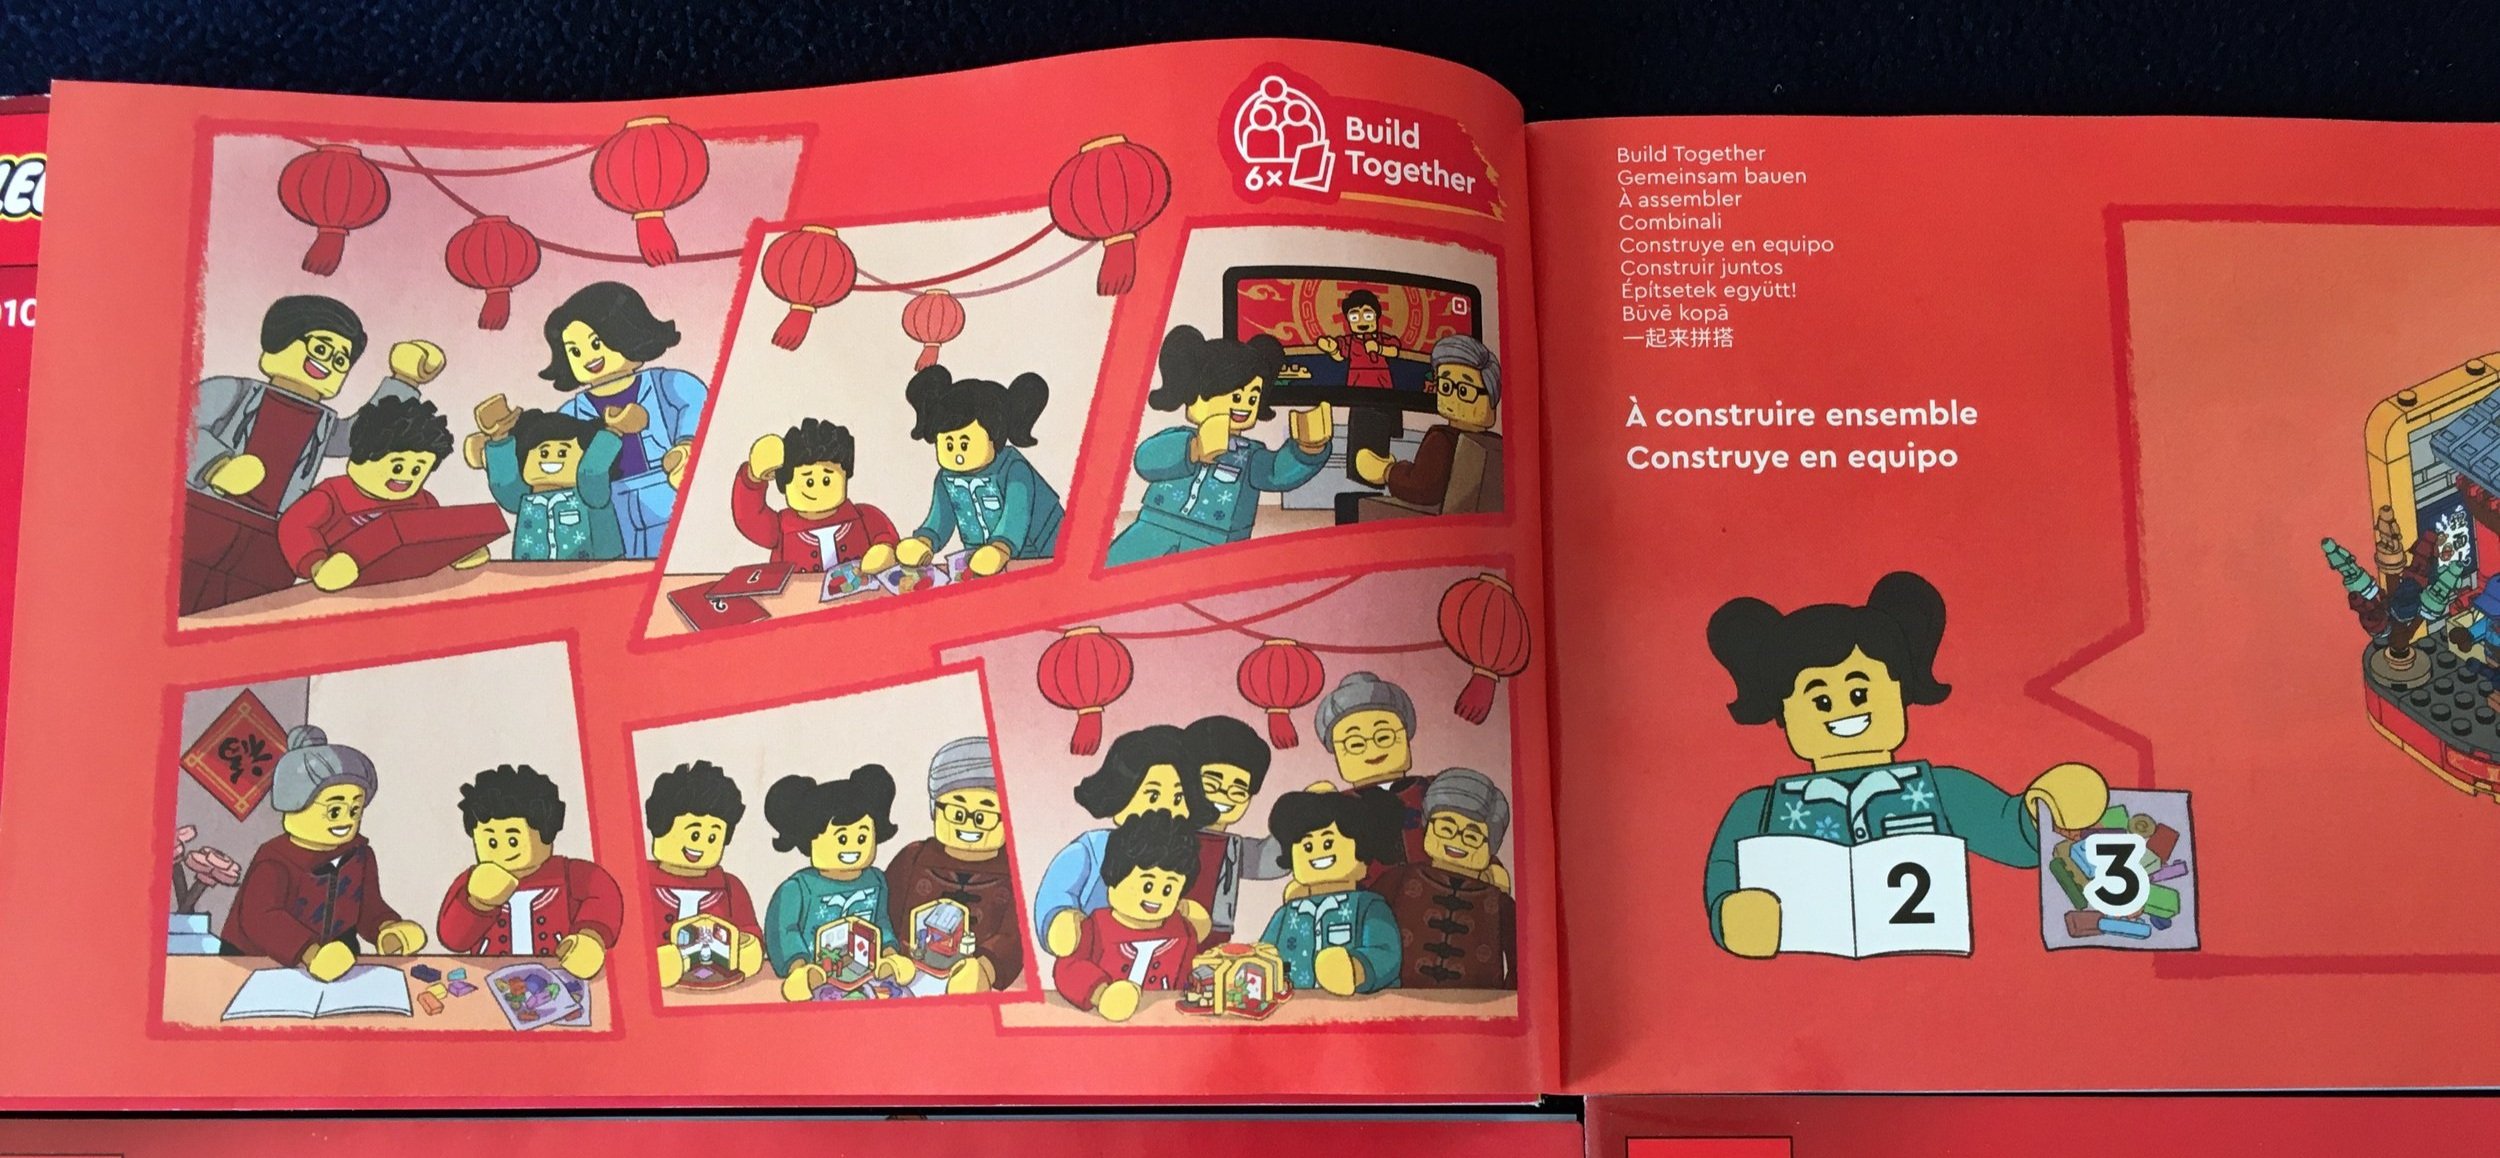
This set has branding for “Build Together” and it says 6X on the front of the box. The set is designed so that you can build it with others. There are multiple instruction booklets which apply specific numbered bags. I tested it out and did this build with my kids. My 4 year old and I as a team and then my 8 year old going solo. My NLS originally was supposed to join us, but found excuses not to.

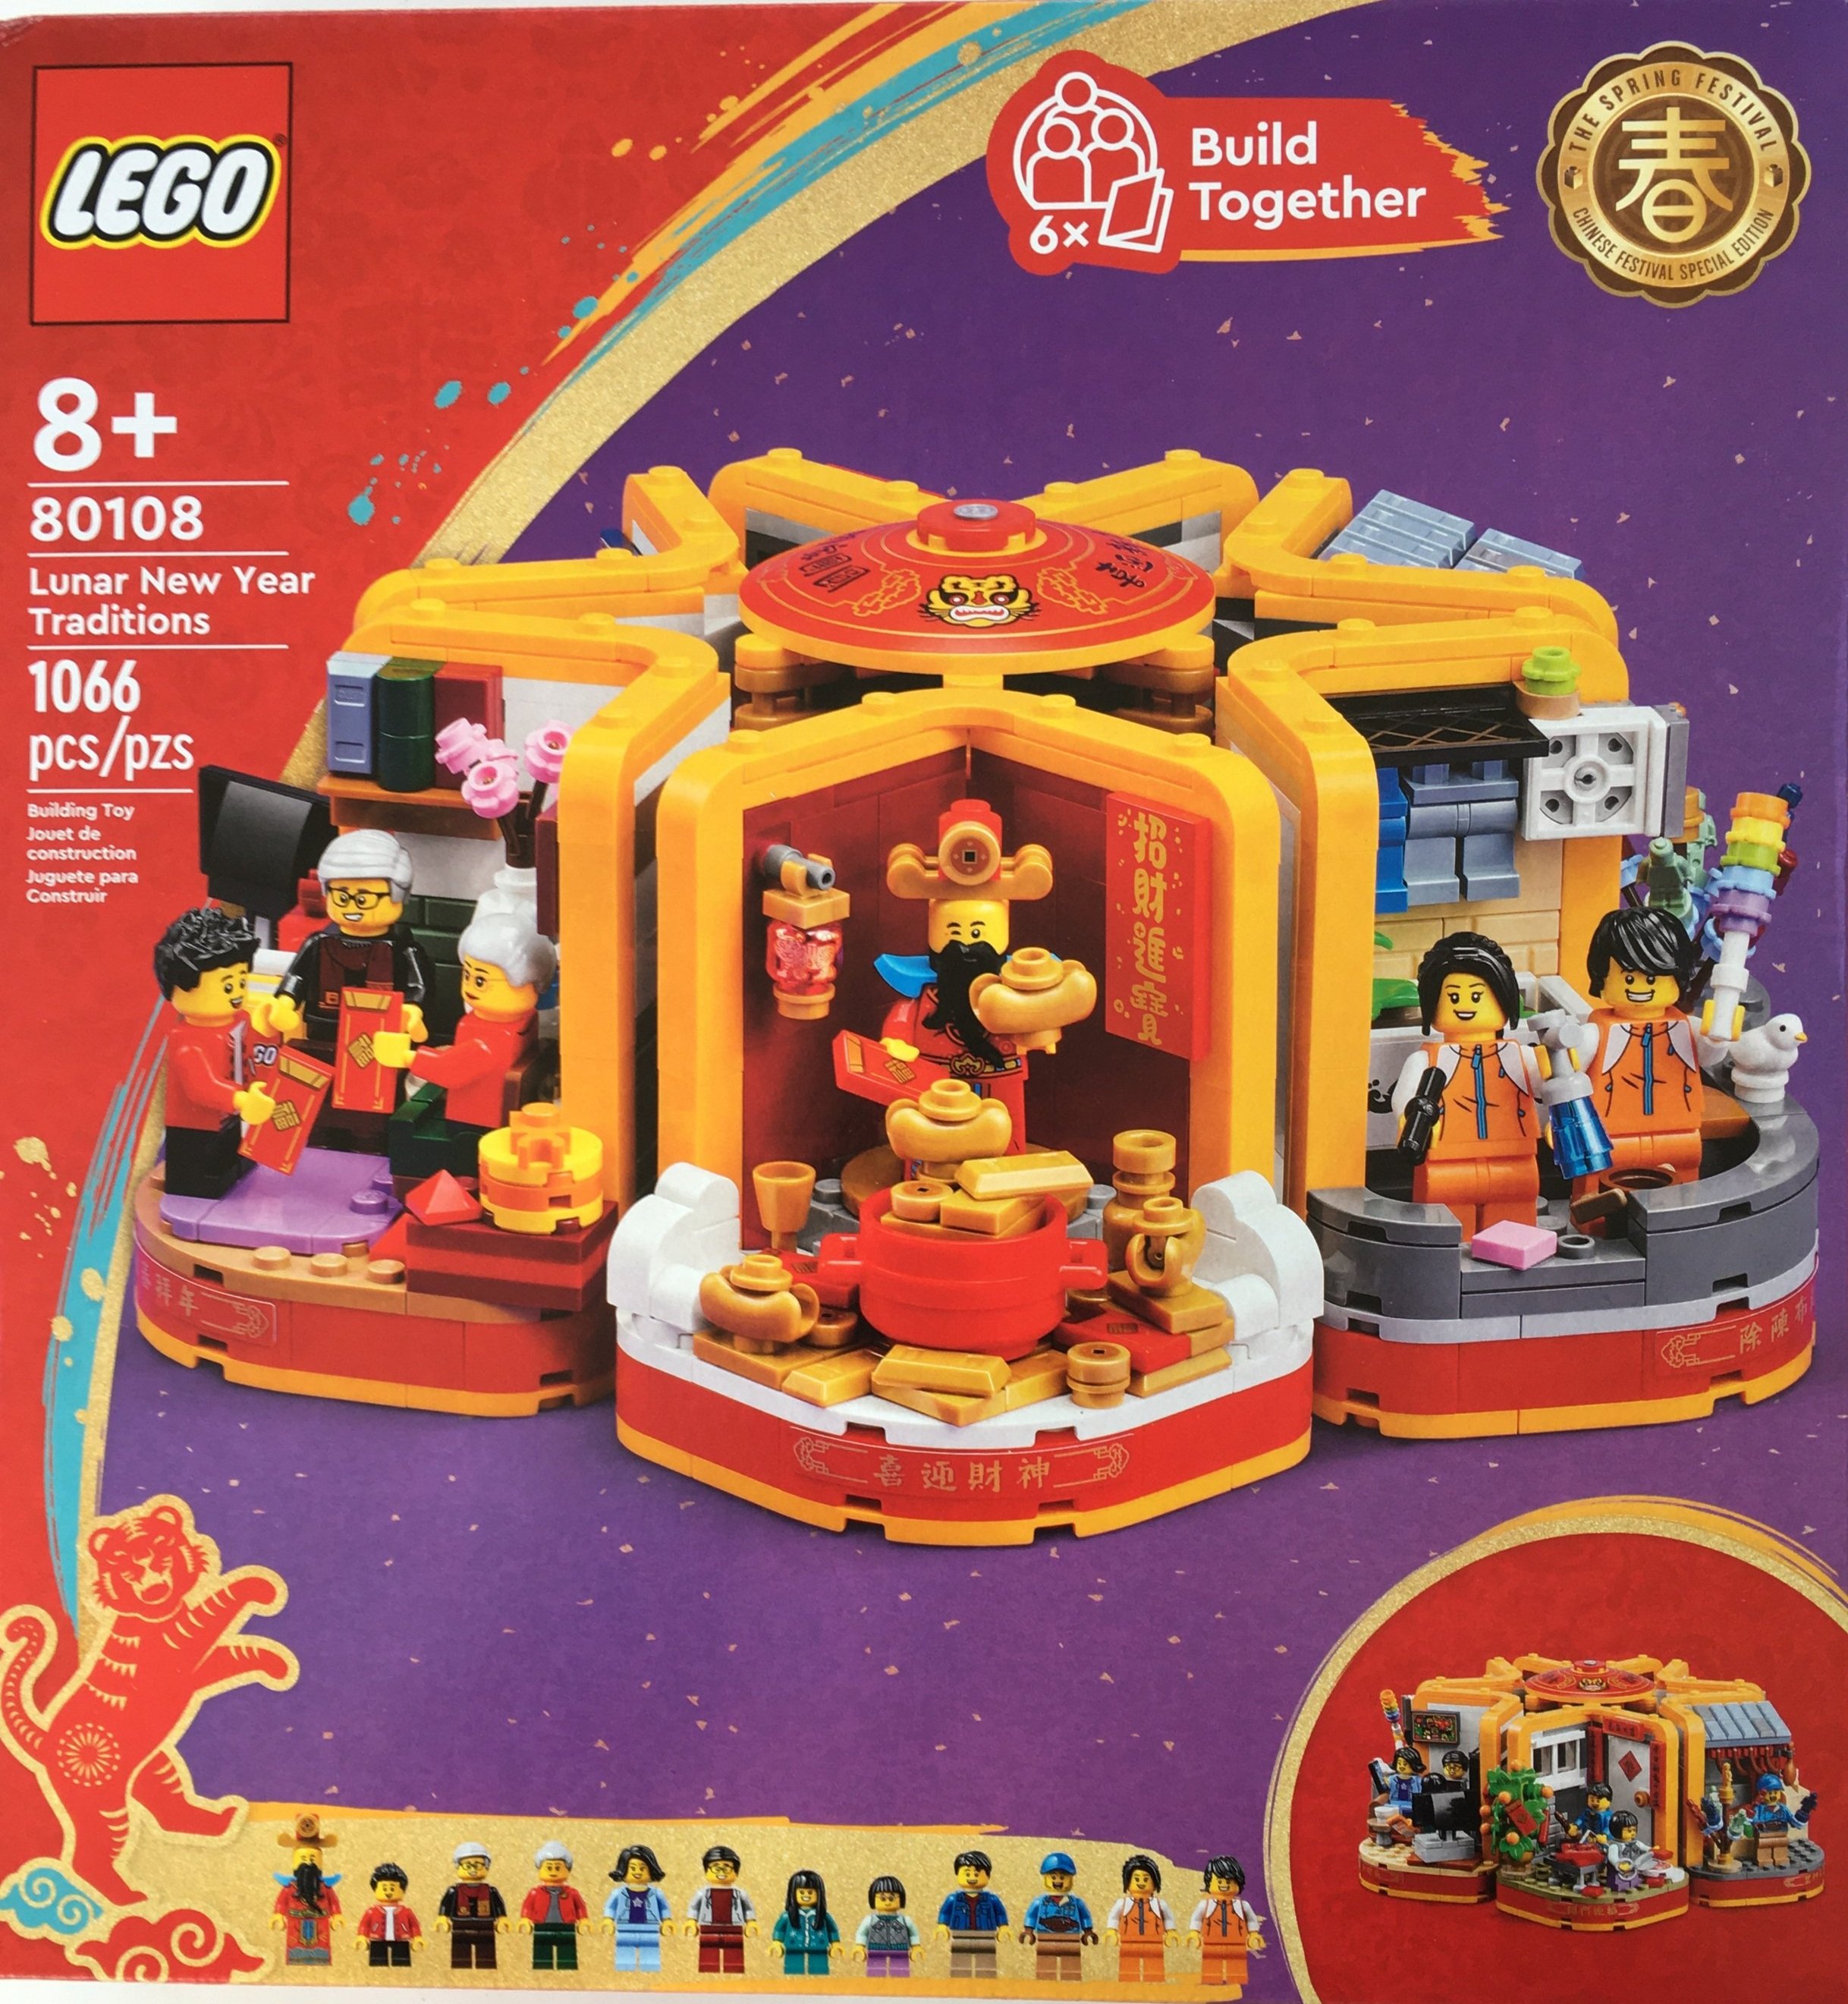
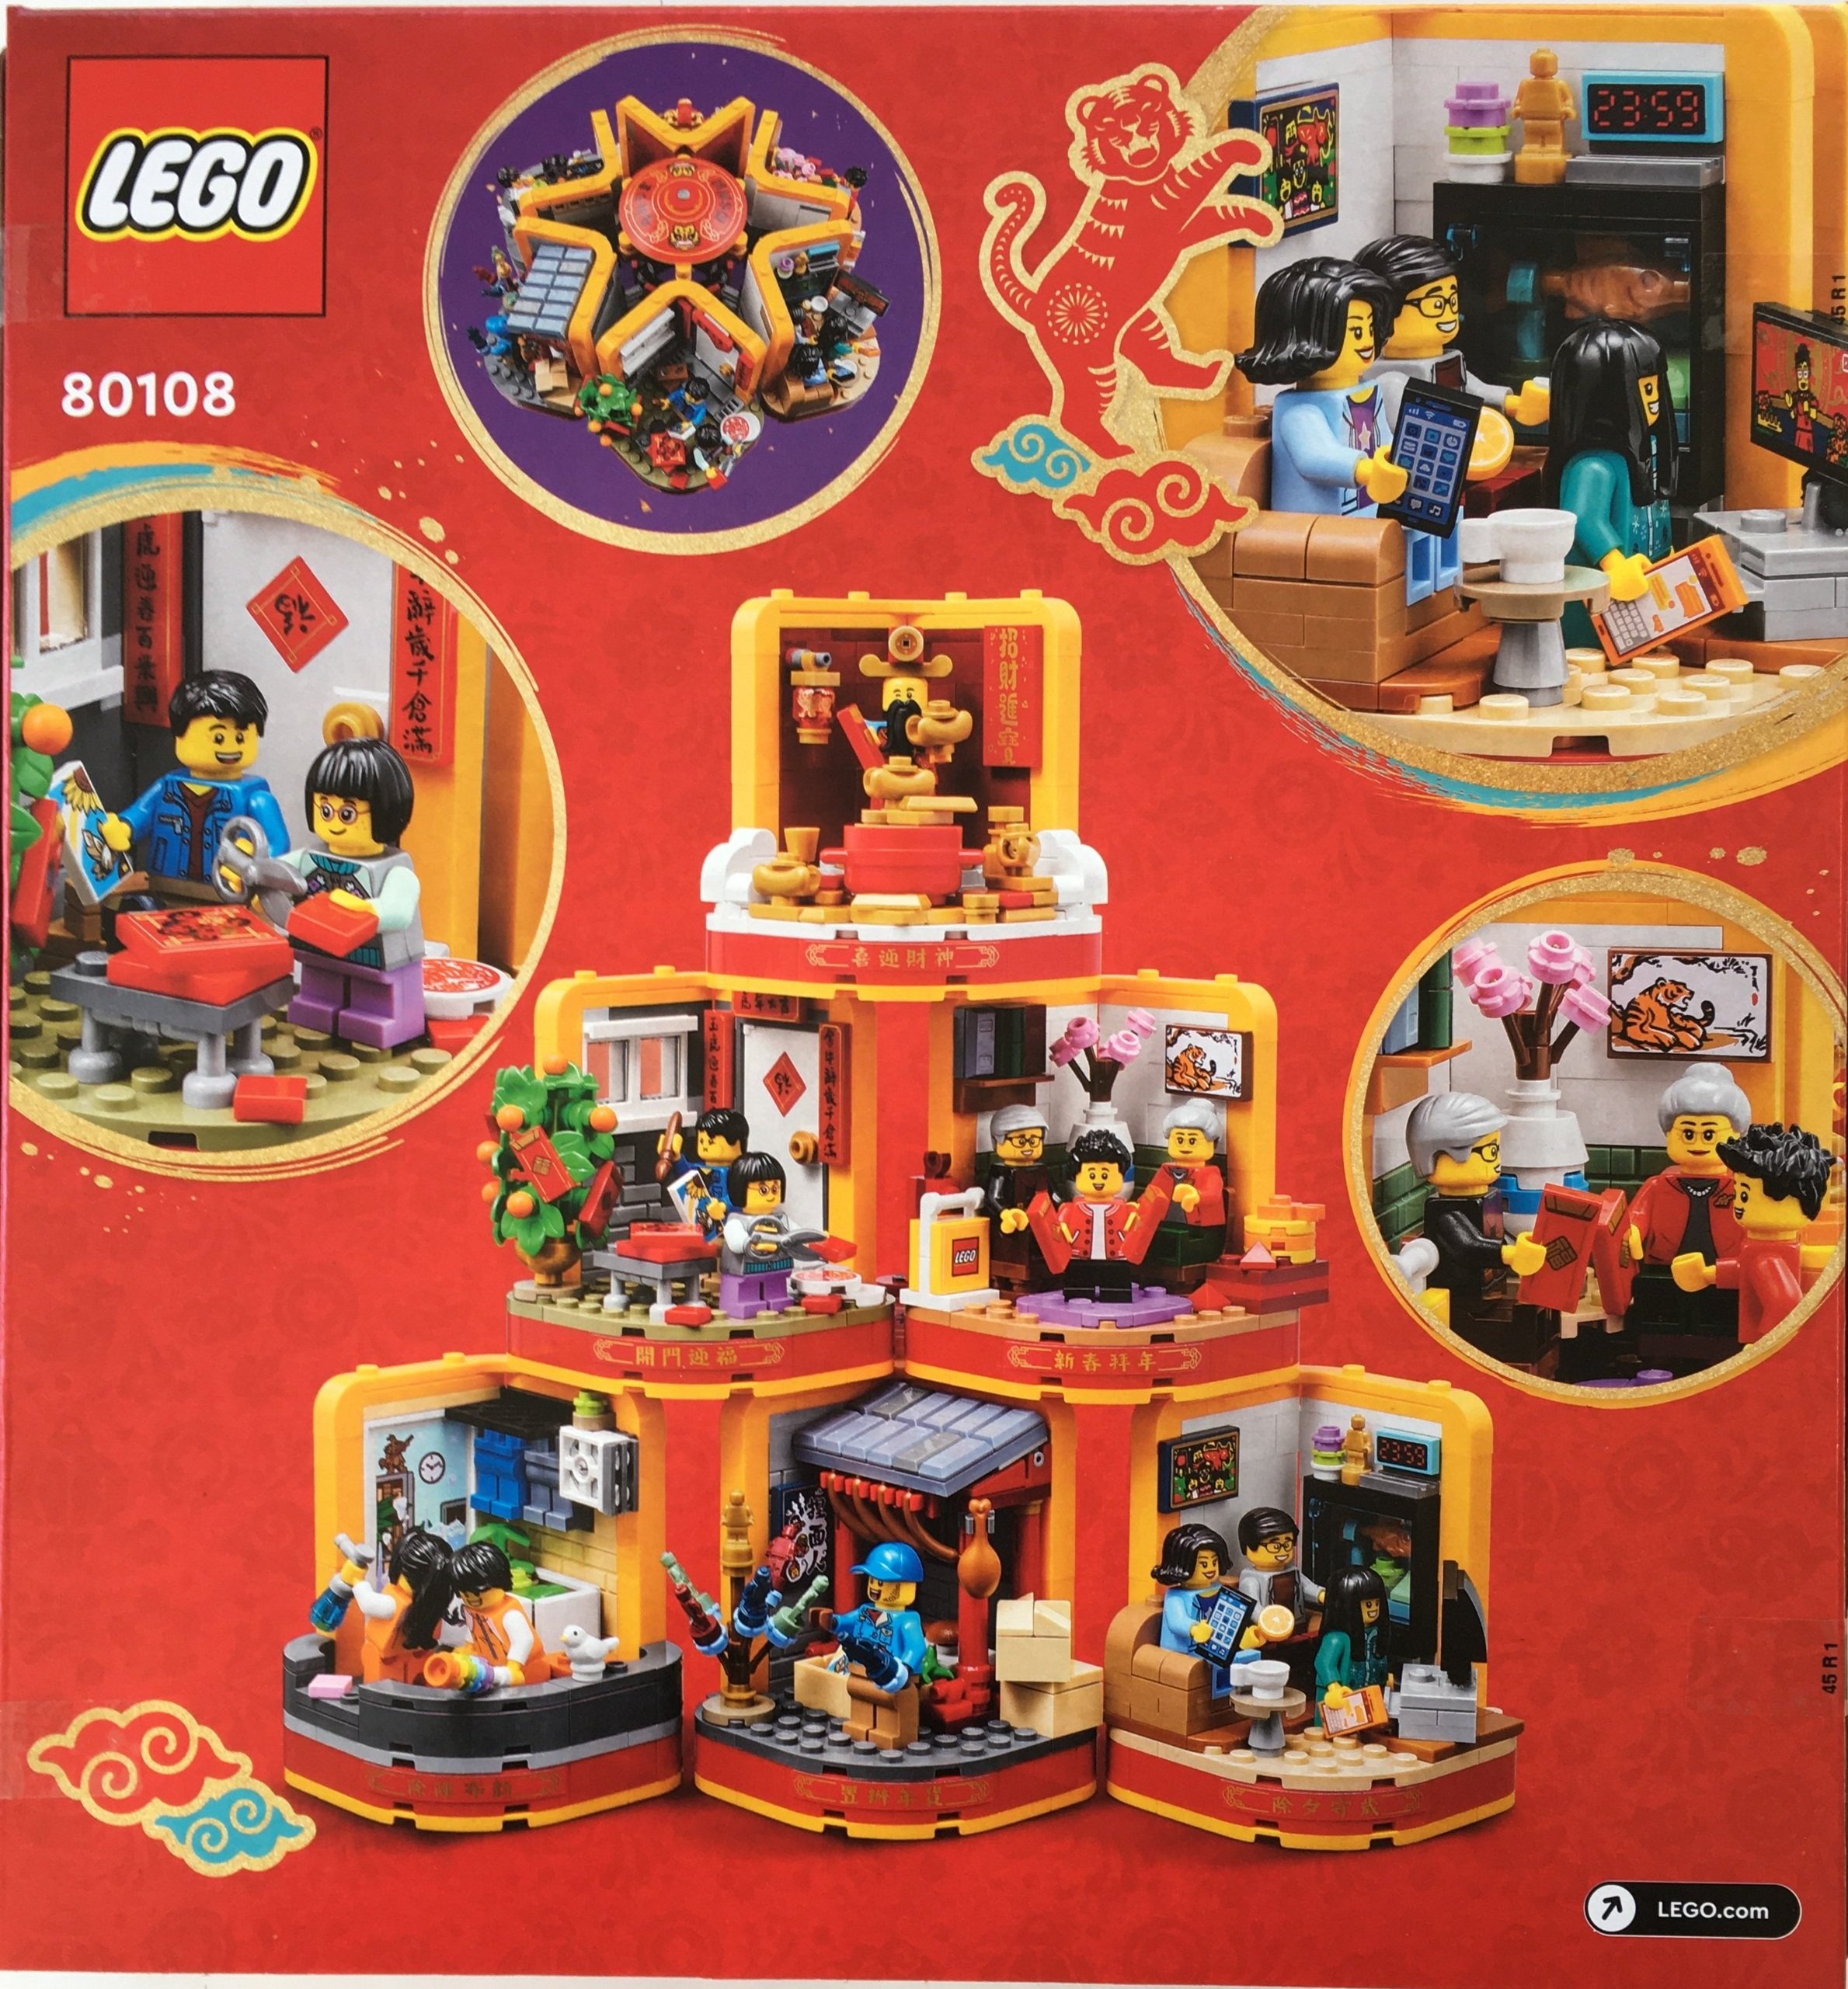
The front of the box also has the Chinese Festival Special Edition logo, a picture of the set and then all of the 12 minifigures included in the set. The back of the box shows that you can display the set rounded or stacked on top of each other. It also gives a few details of some of the individual builds.

This set includes seven numbered parts bags. The instructions are wrapped in a bag with the stickers.

There are six instruction booklets so you can split up the build as desired. One slight challenge is that the instruction booklets don’t match up with the bag numbers. So instruction booklet one uses bags one and two. Then after that instruction booklet two uses bag three. The bags and booklets continue the disconnect throughout. Not a big deal, but make sure you pay attention to it when building.

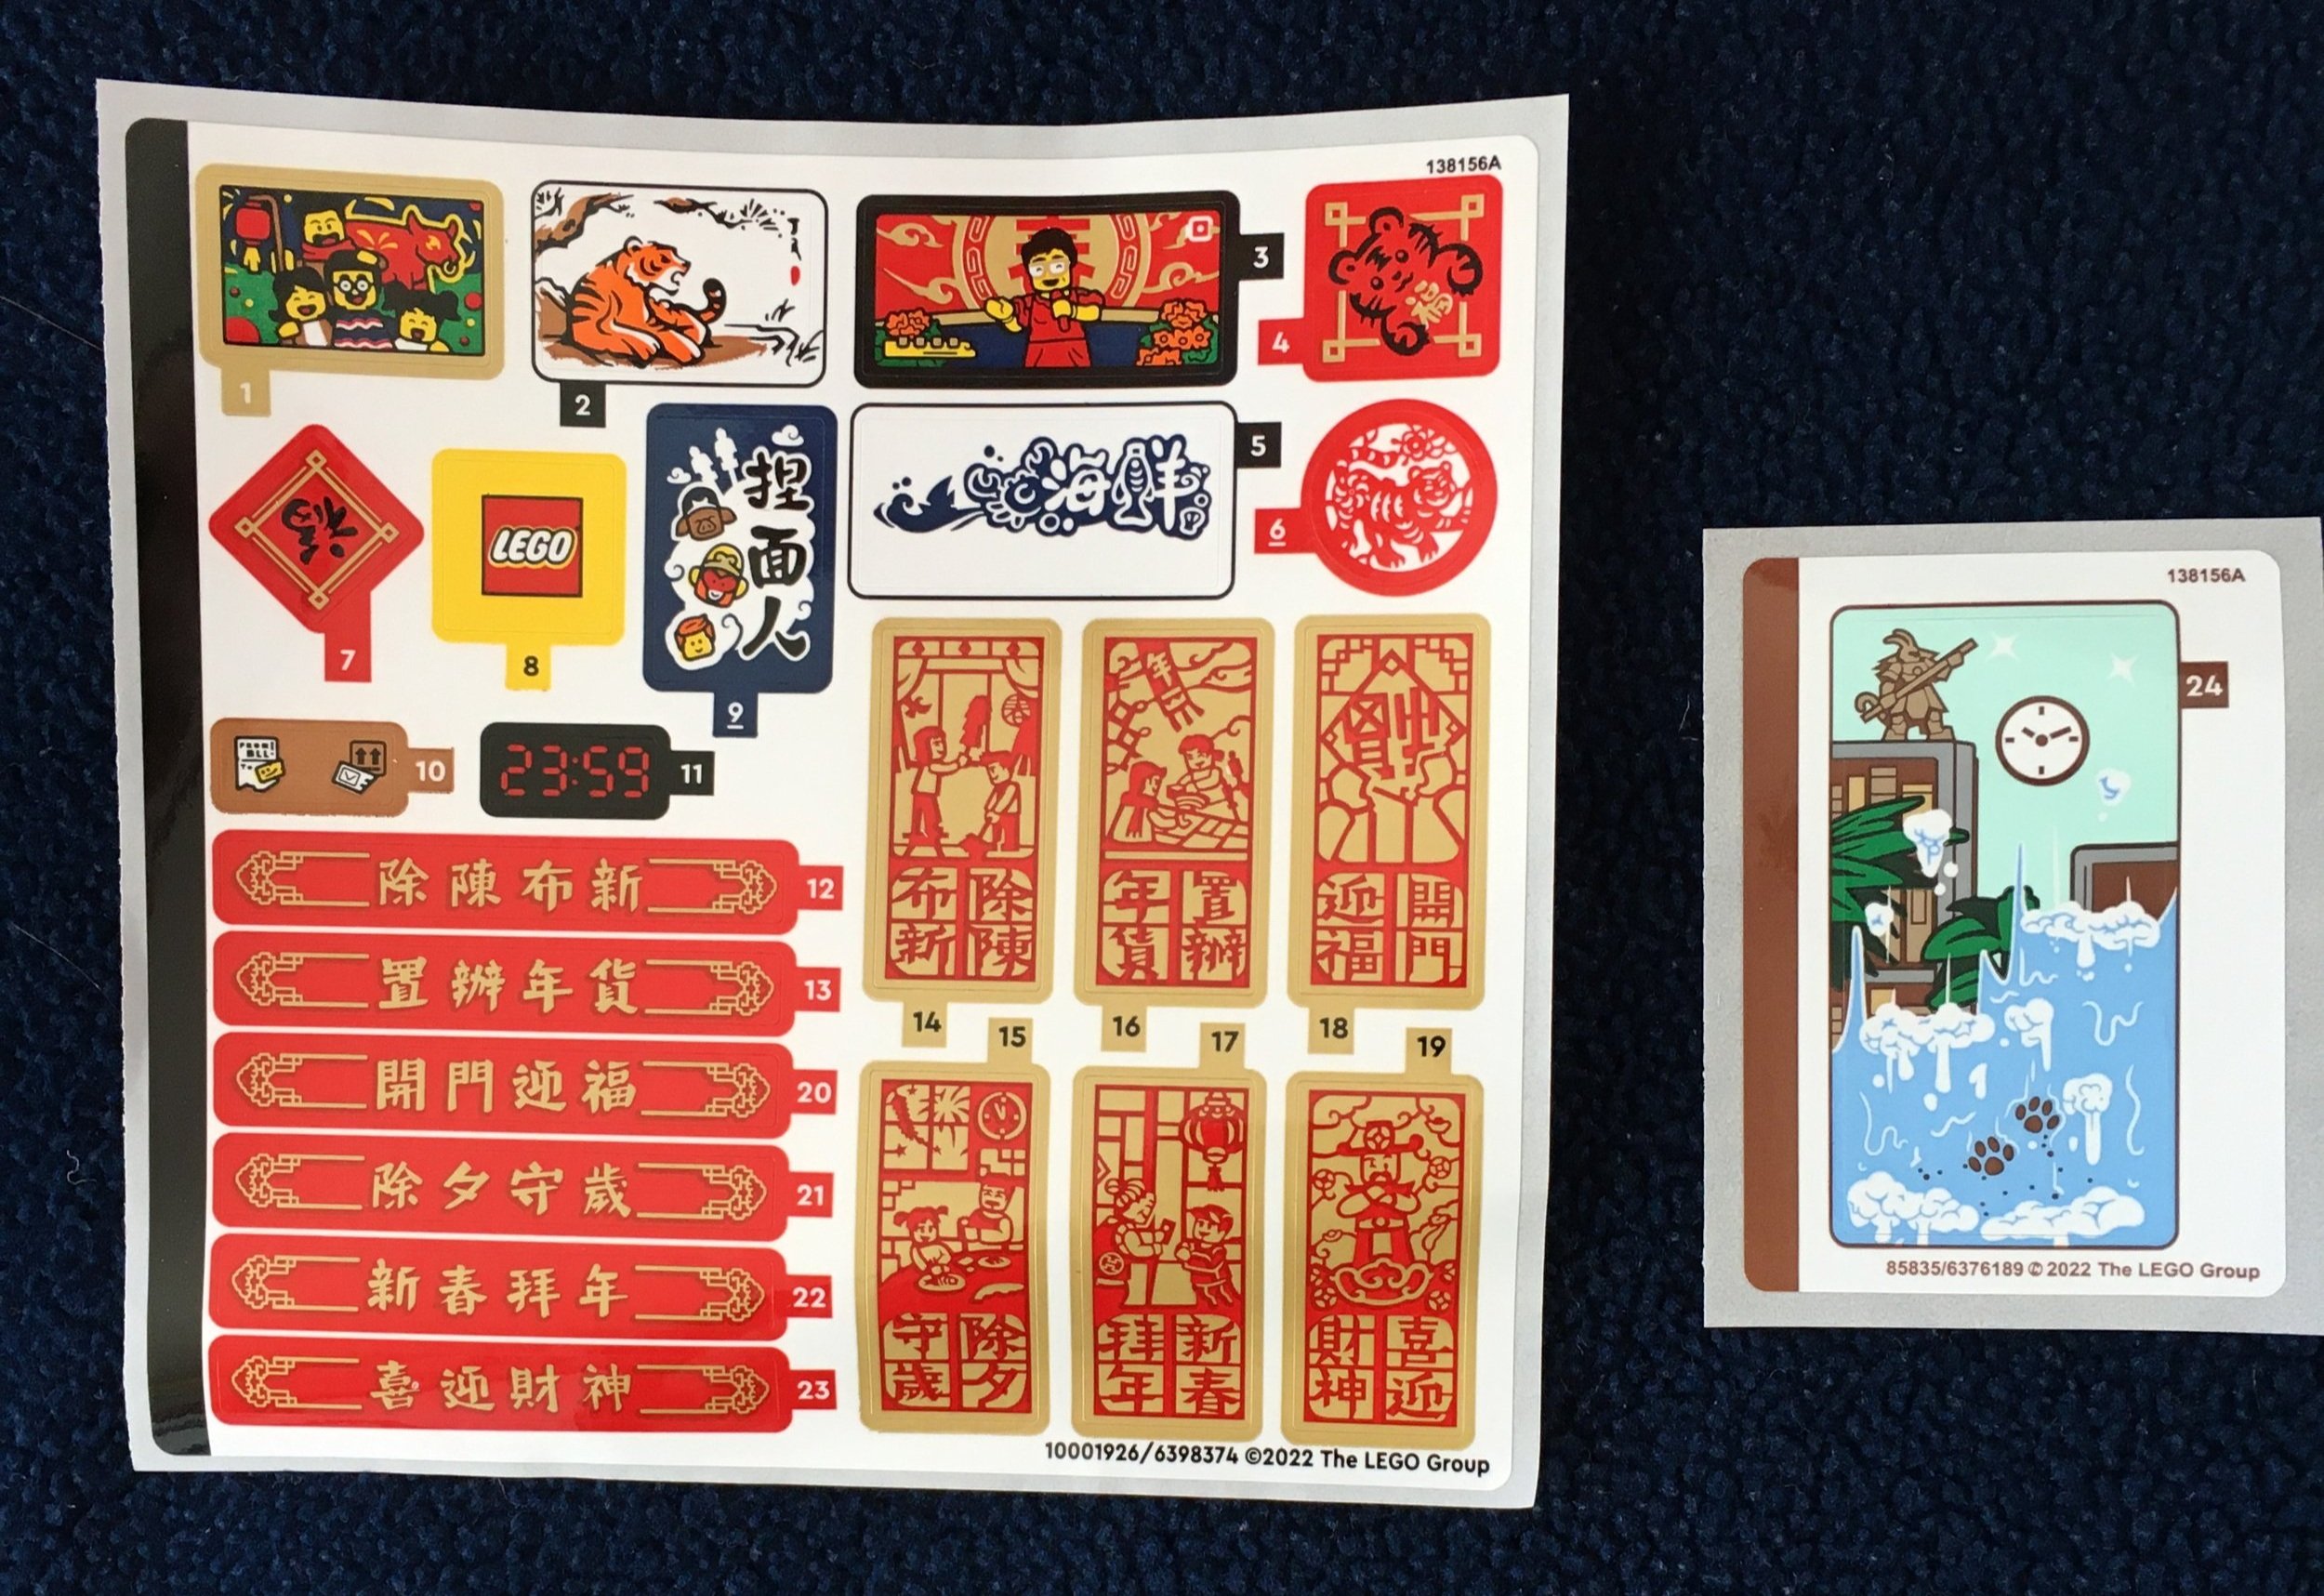
Here are the stickers. There are a bunch. I learned that my 7 year old is really good at putting stickers on LEGO sets. I might have to keep that in mind for future builds.

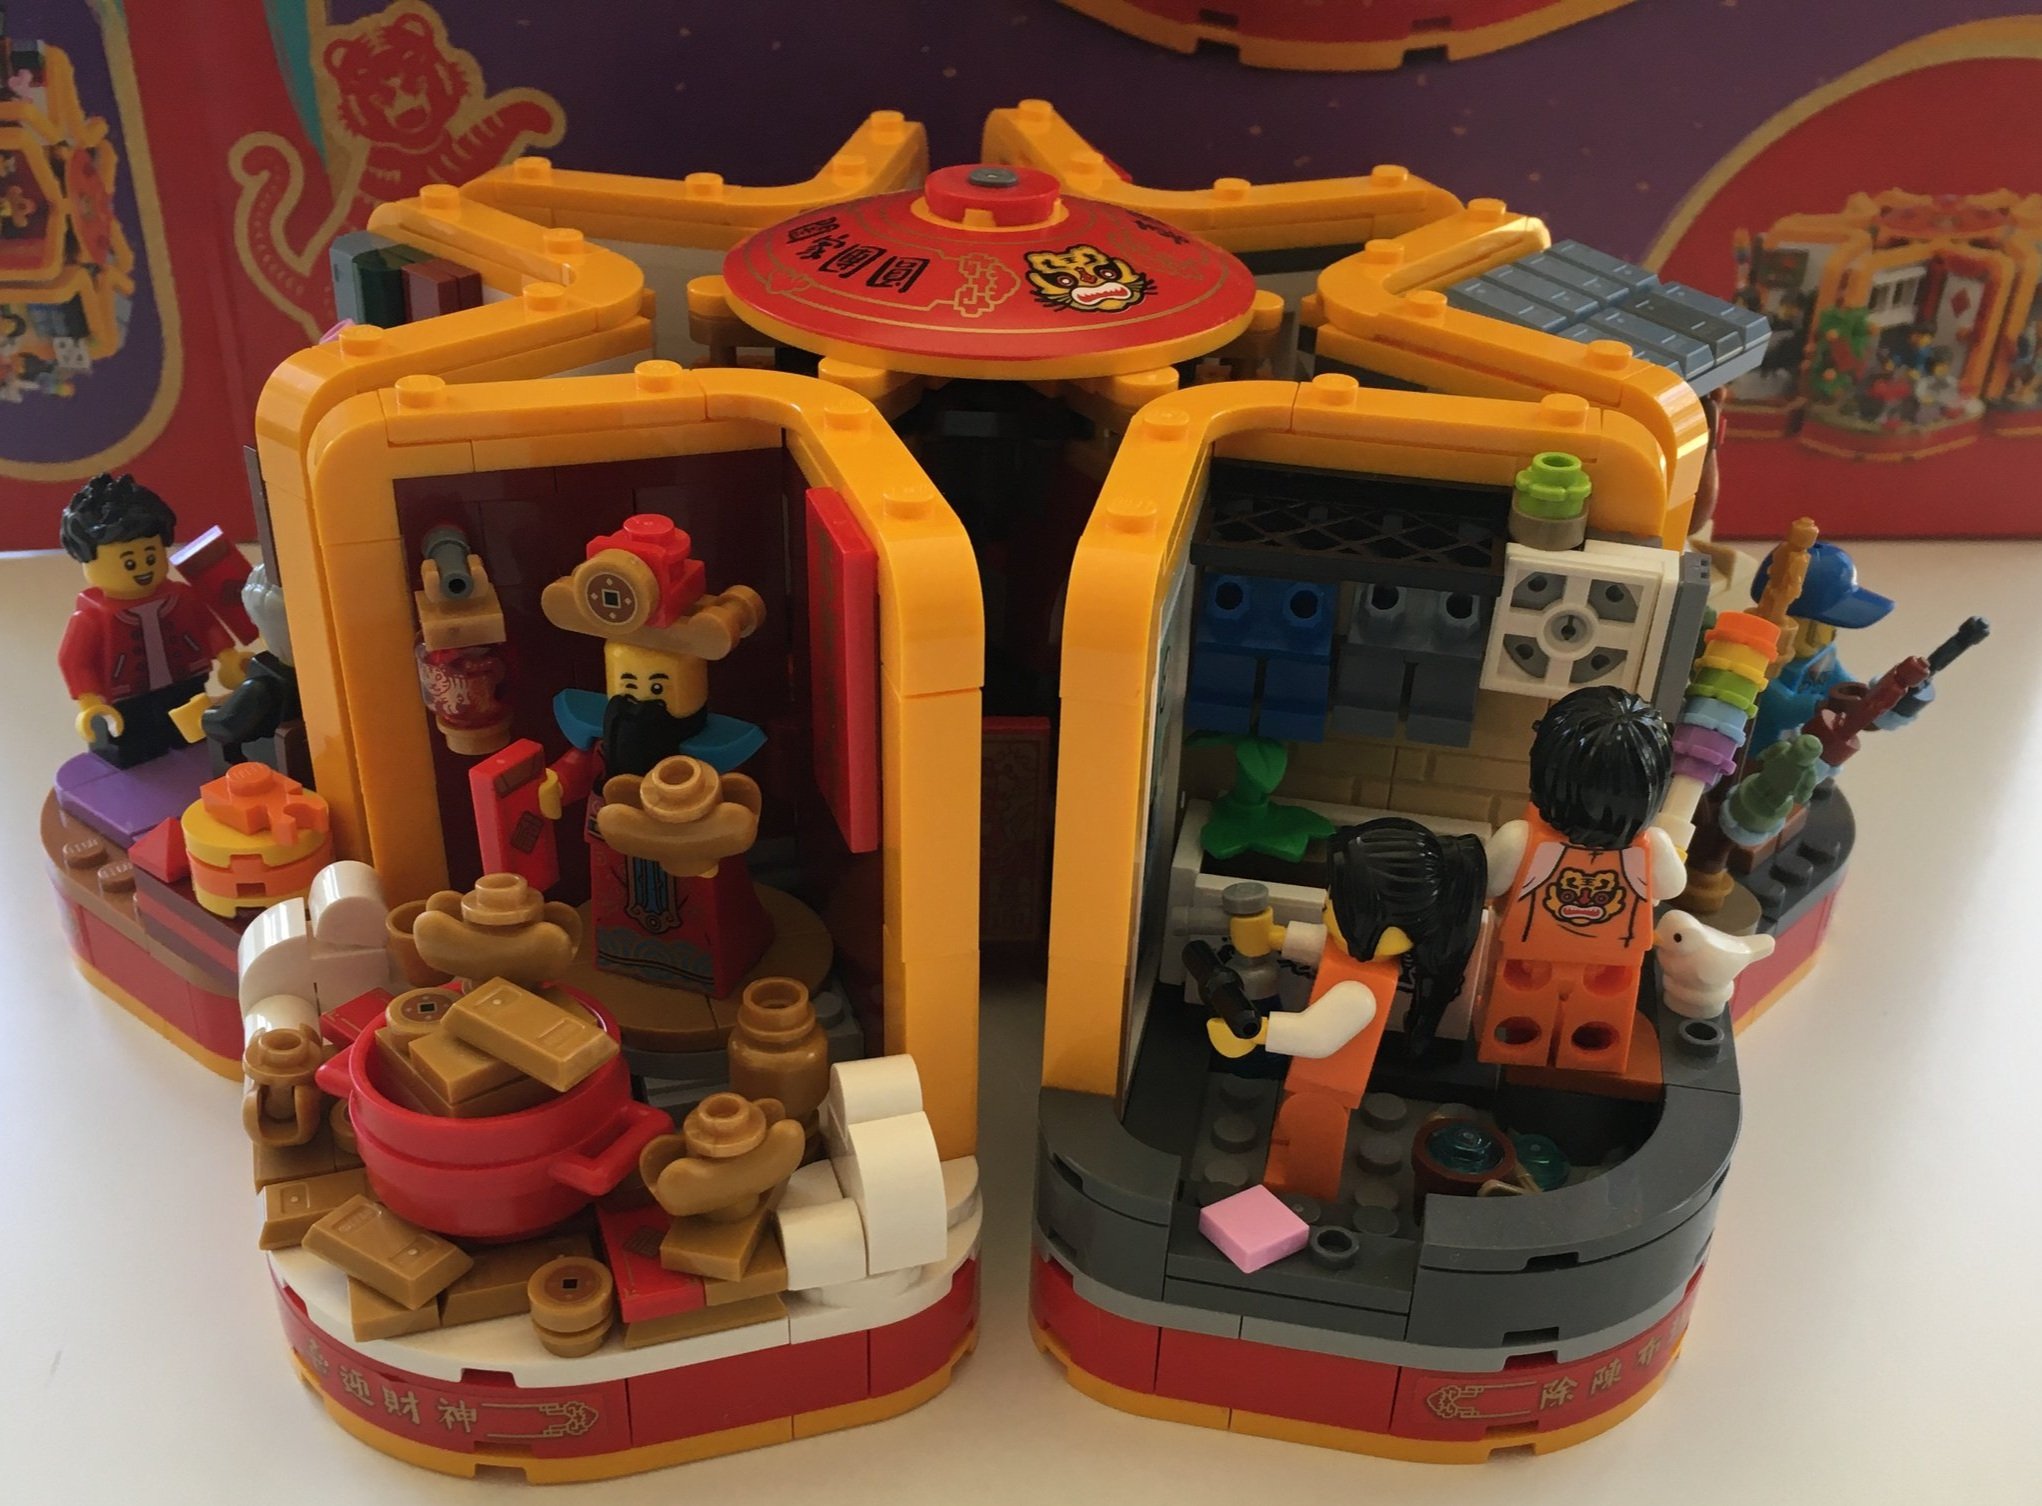
Bag one builds the first vignette. It has two minifigures cleaning a store that sells pants. There are some fun details in this one to include a small bird, the sticker shows where the window is still being cleaned, and the minifigure pants hanging on the wall.

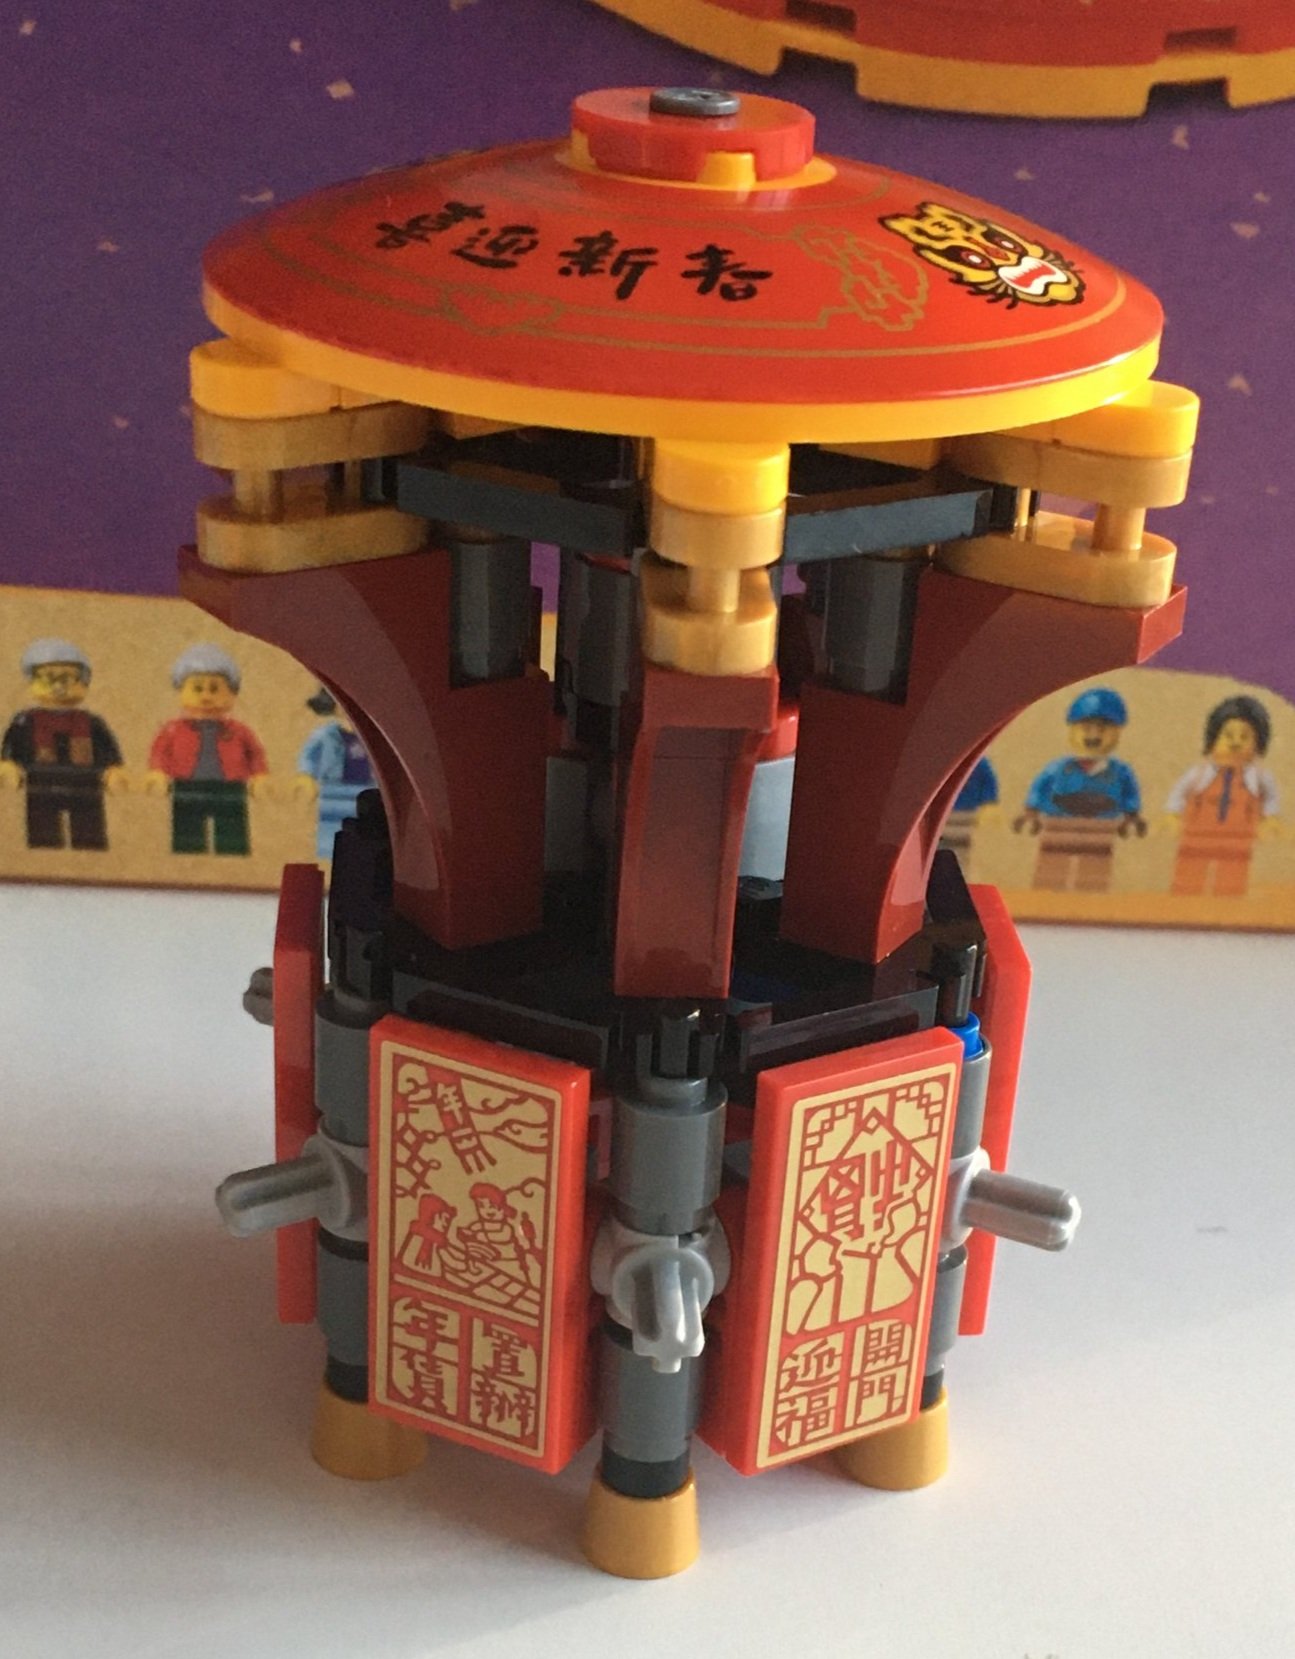
The second bag builds the piece that holds each of the vignettes together if you want to put them in a circle. Each side has a 2x4 tile with a picture depicting the scene. The top round dish piece is all printed and looks pretty good.

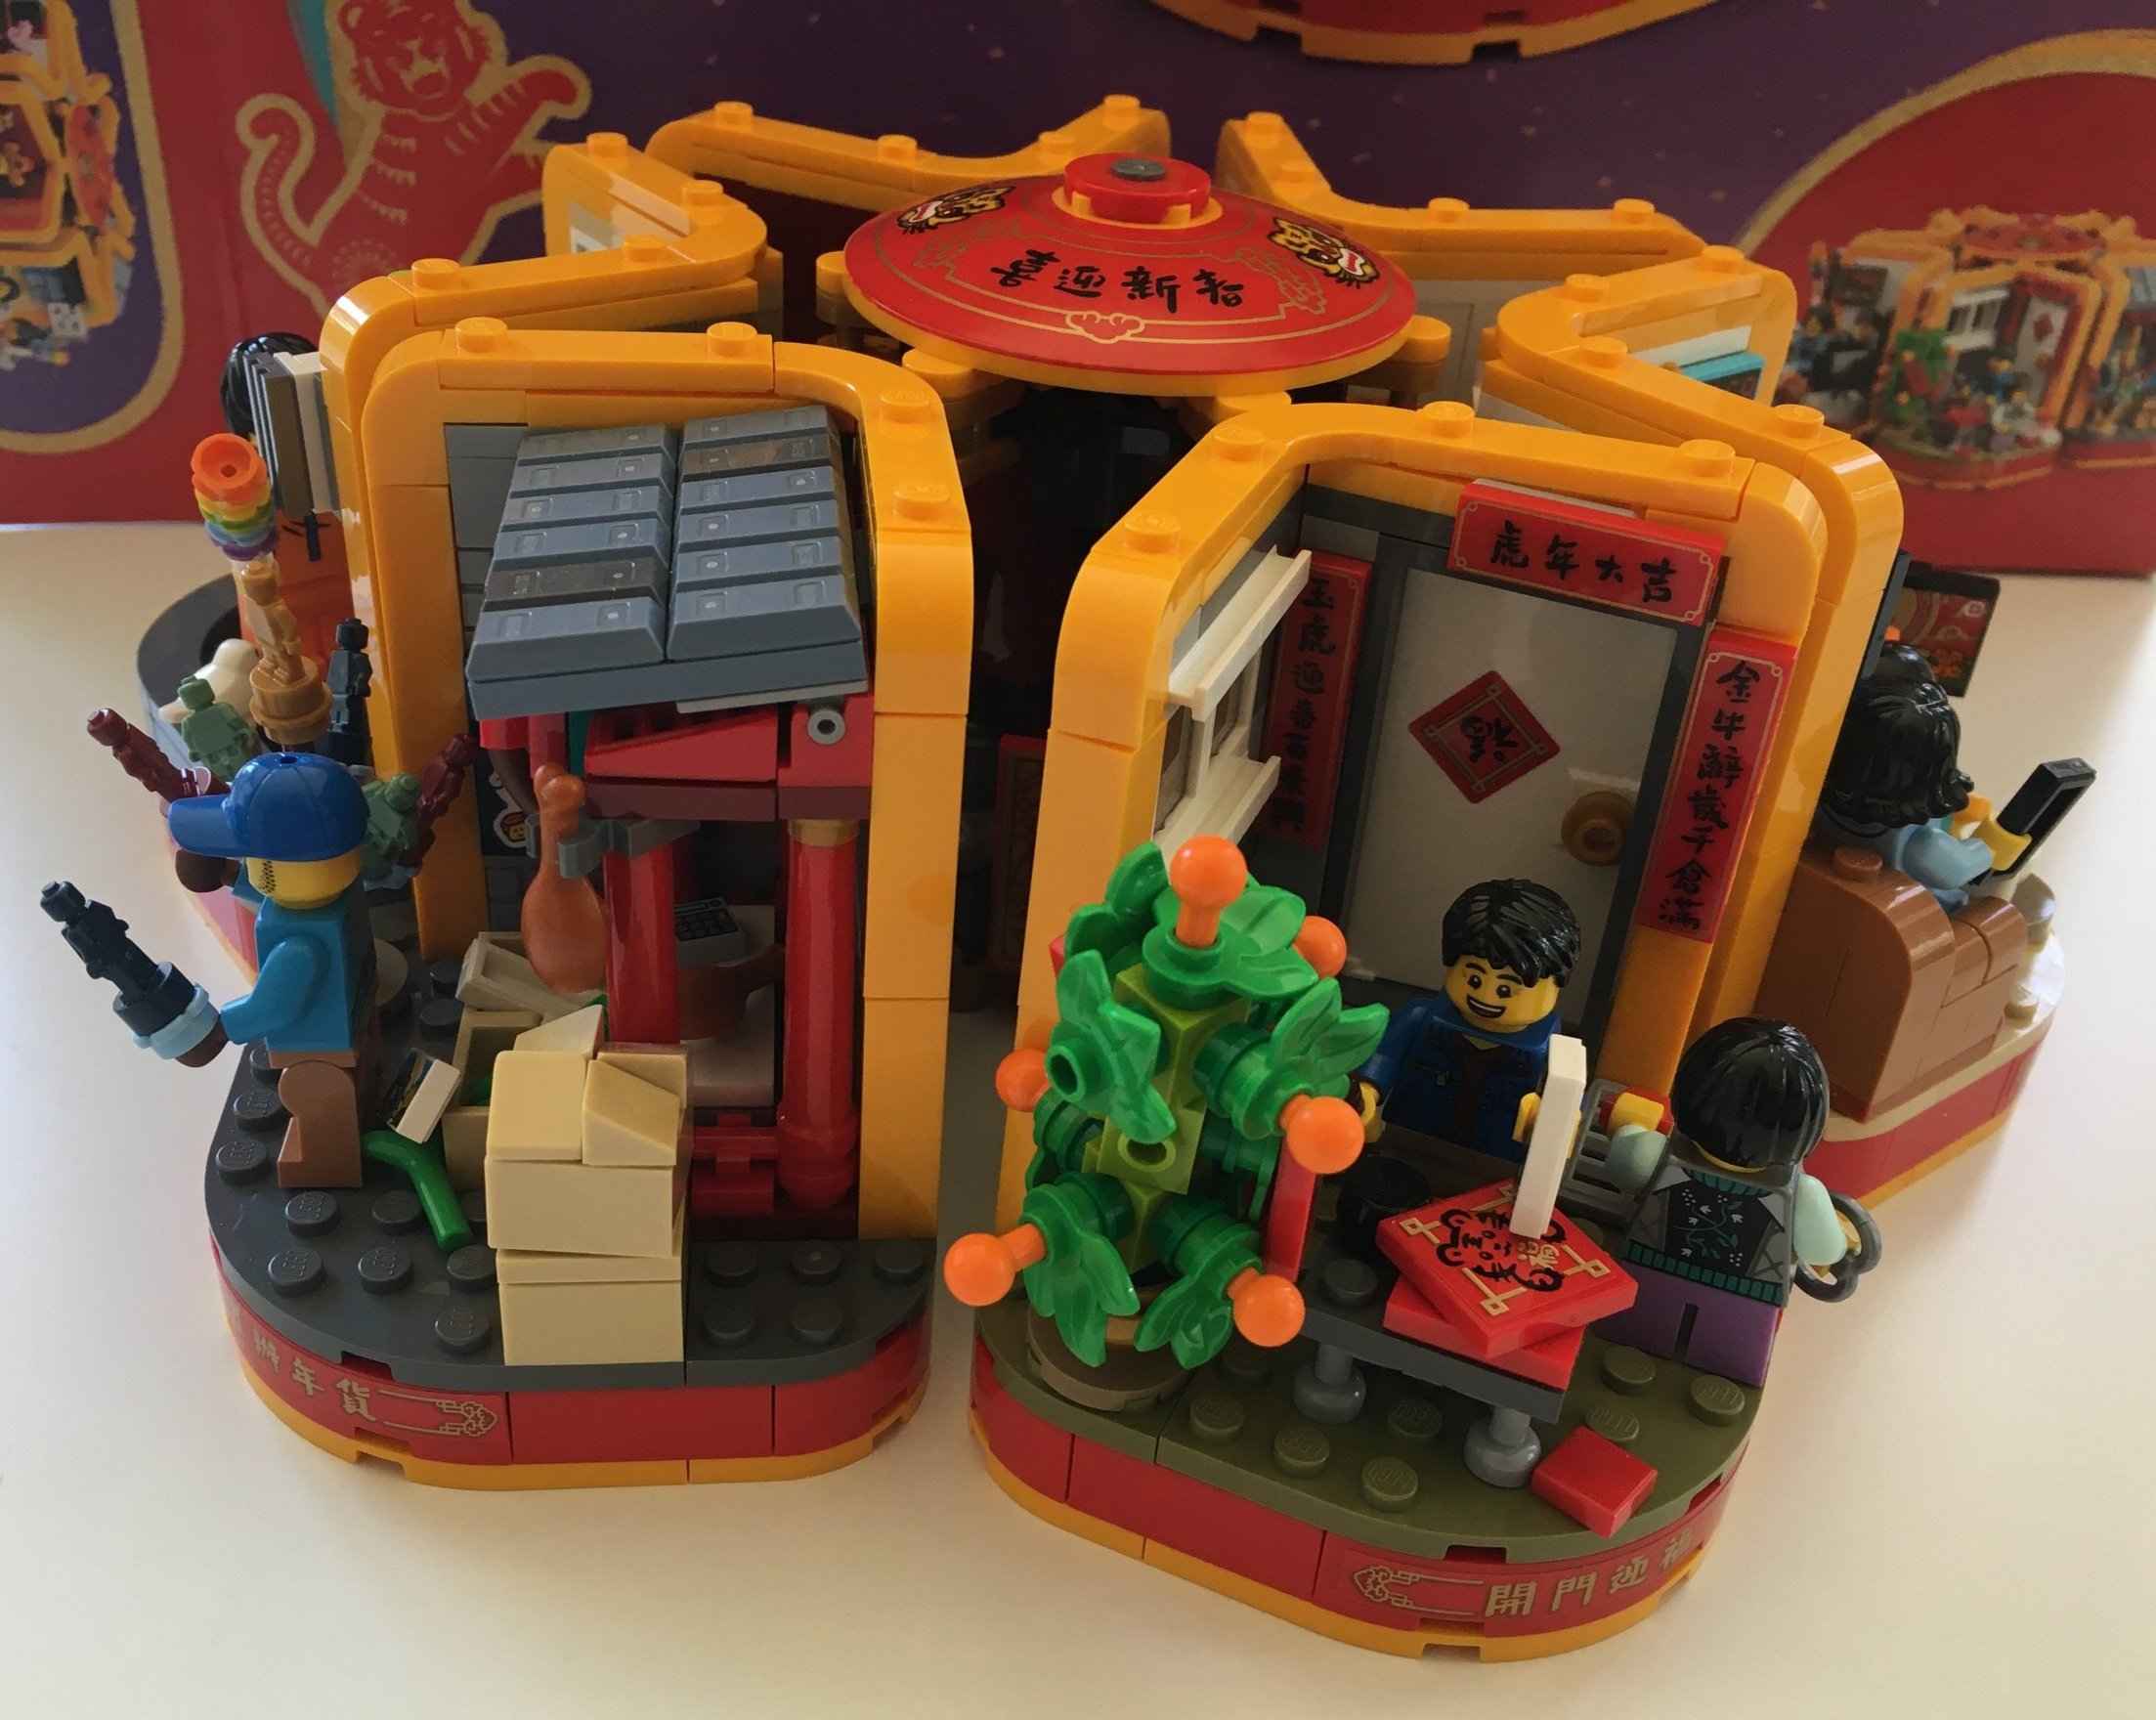
The third bag has a vendor selling various items. There are some chicken drum sticks, some sausages, some green… um… not sure what they are, and then the little minifigures. There are a few boxes on the side with some extra inventory. The use of the textured tiles for the roof area is a nice touch here. I also like the different colored tiny minifigures.

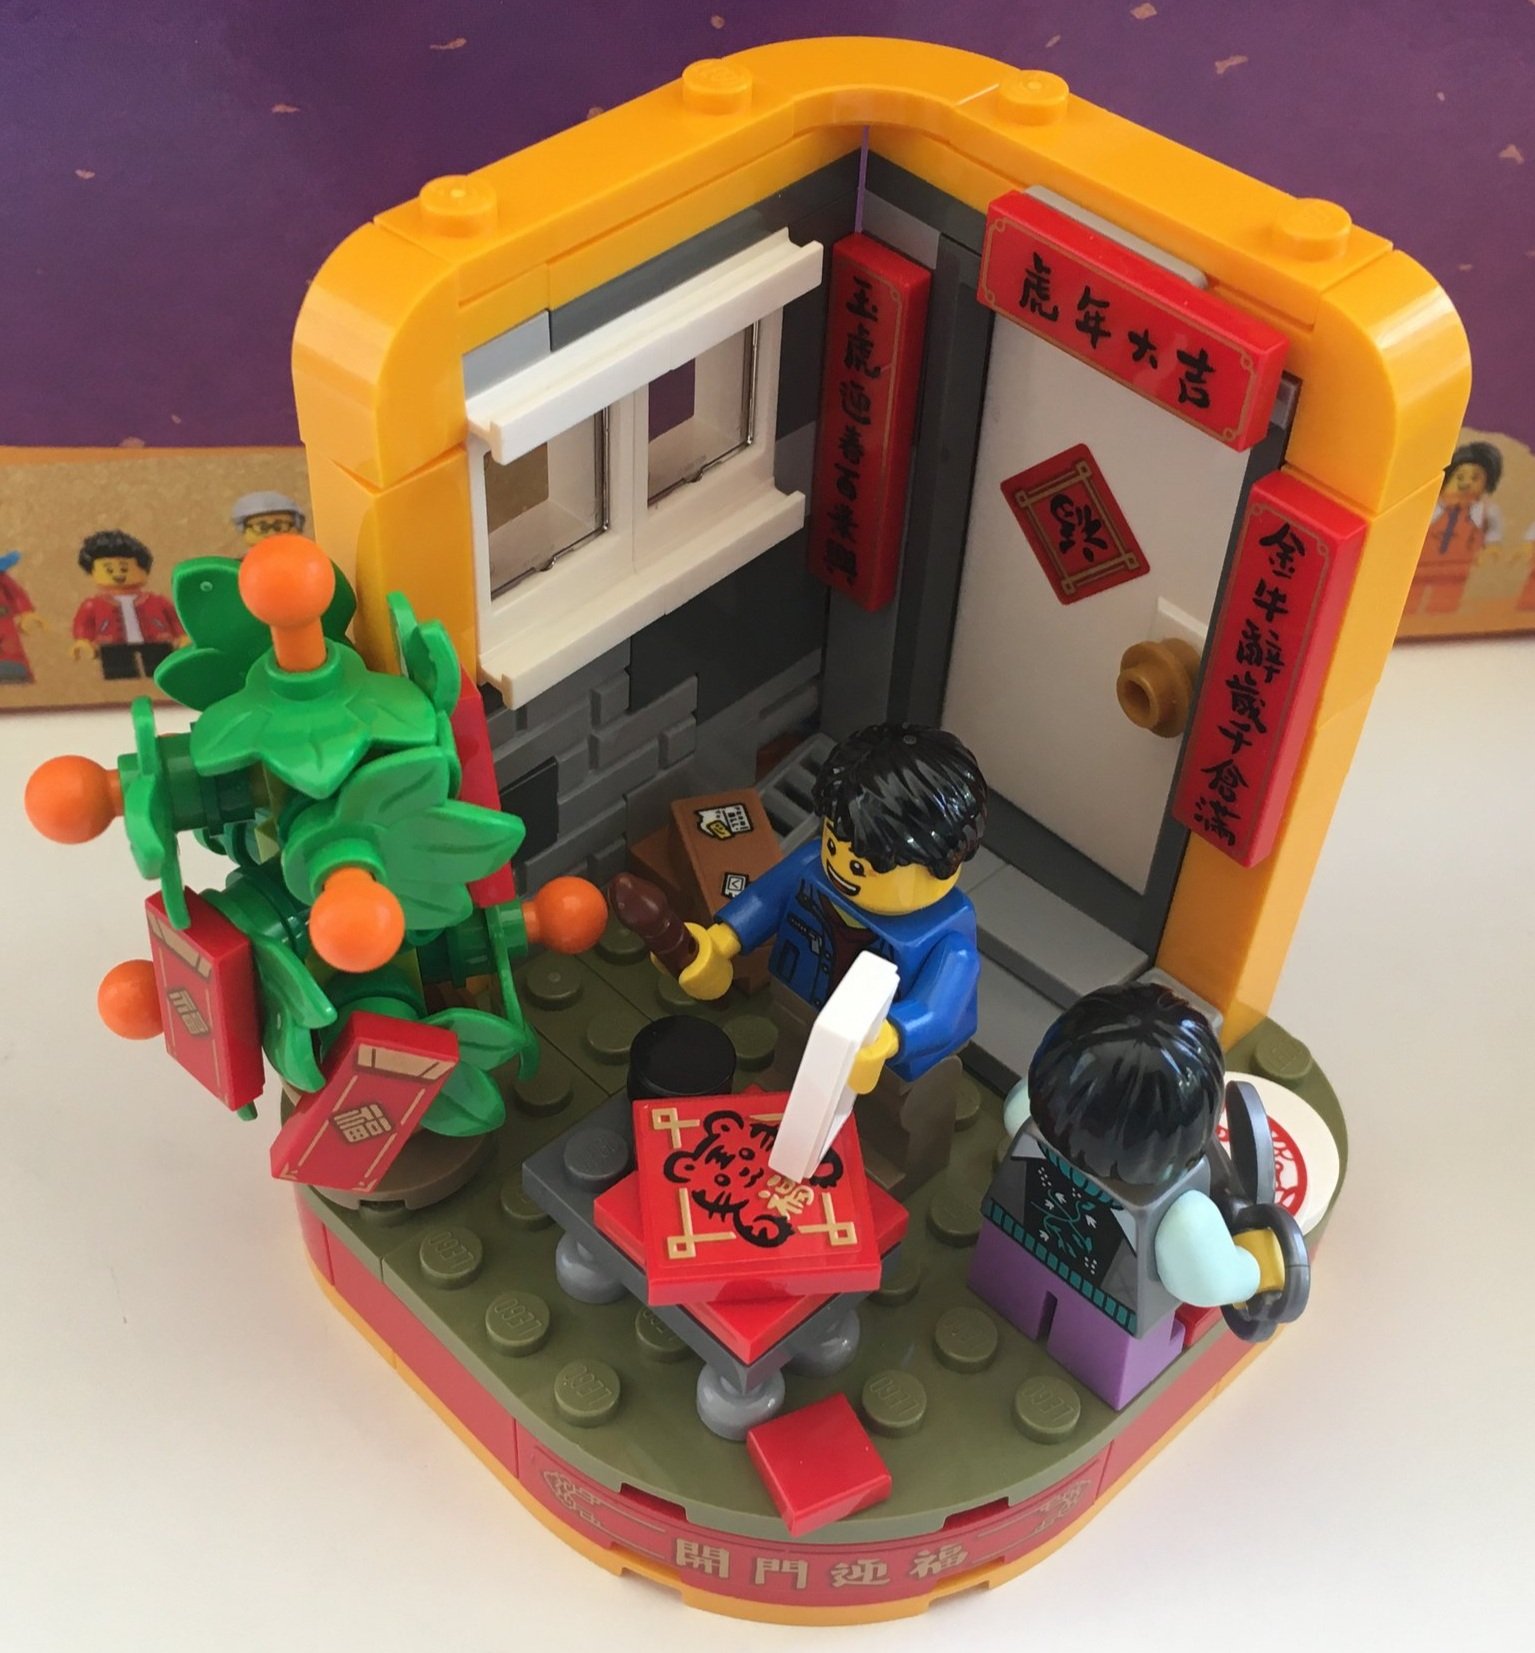
Next up are two minifigures putting up decorations and an orange/tangerine tree. While I think it’s a fun scene, I think LEGO is missing an opportunity to educate the world. What do the various signs say? What are the different traditions? The instructions could have a short little statement on each scene and translations of the various signs and stickers. At least that’s my opinion.

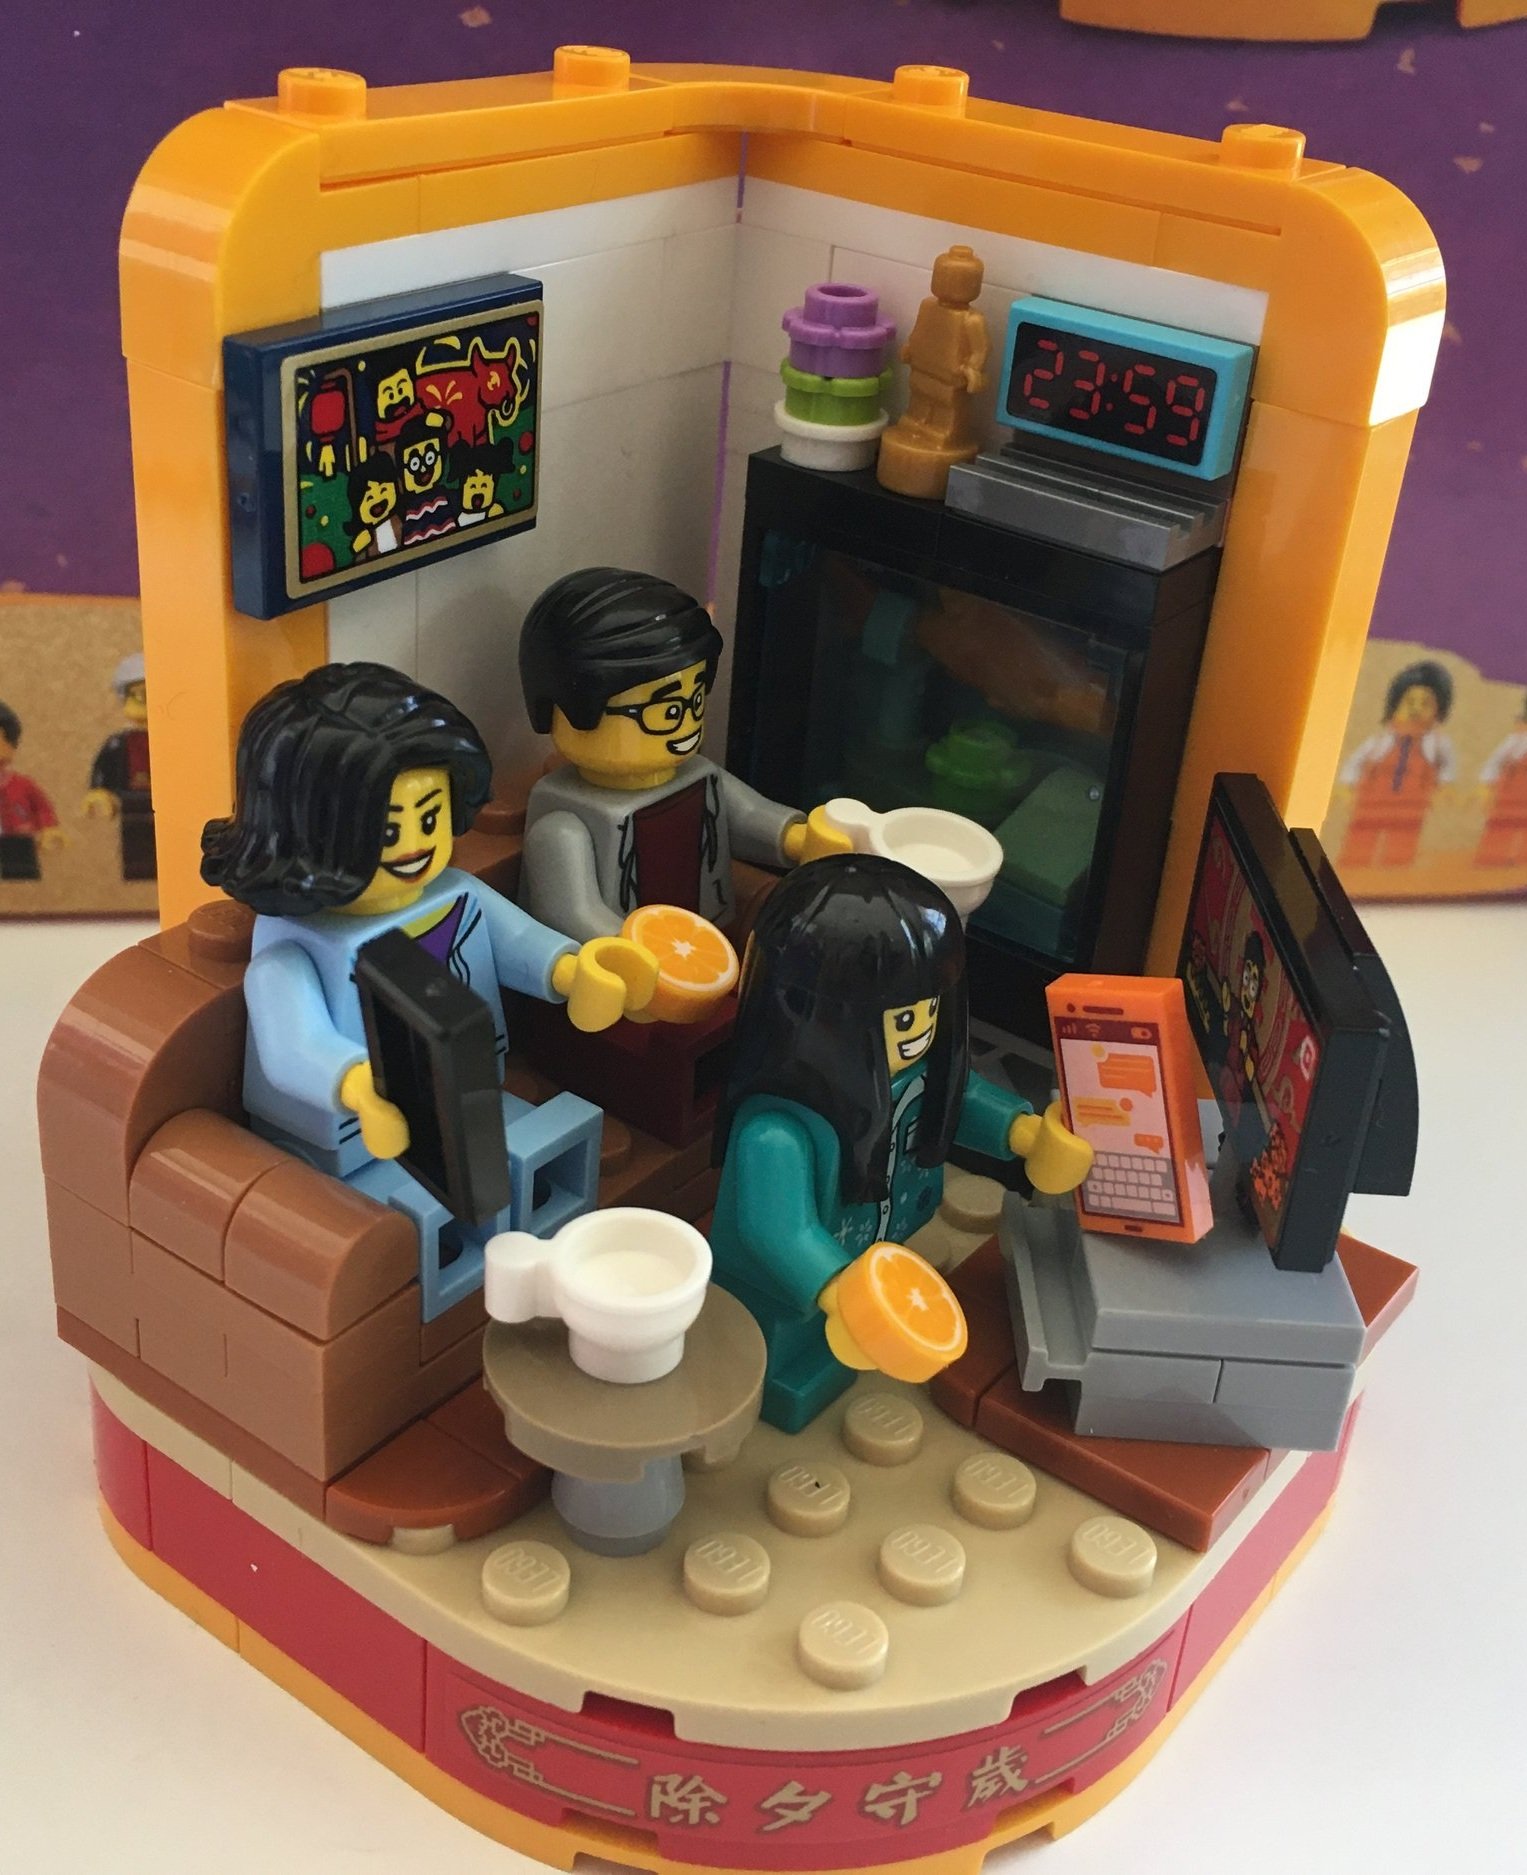
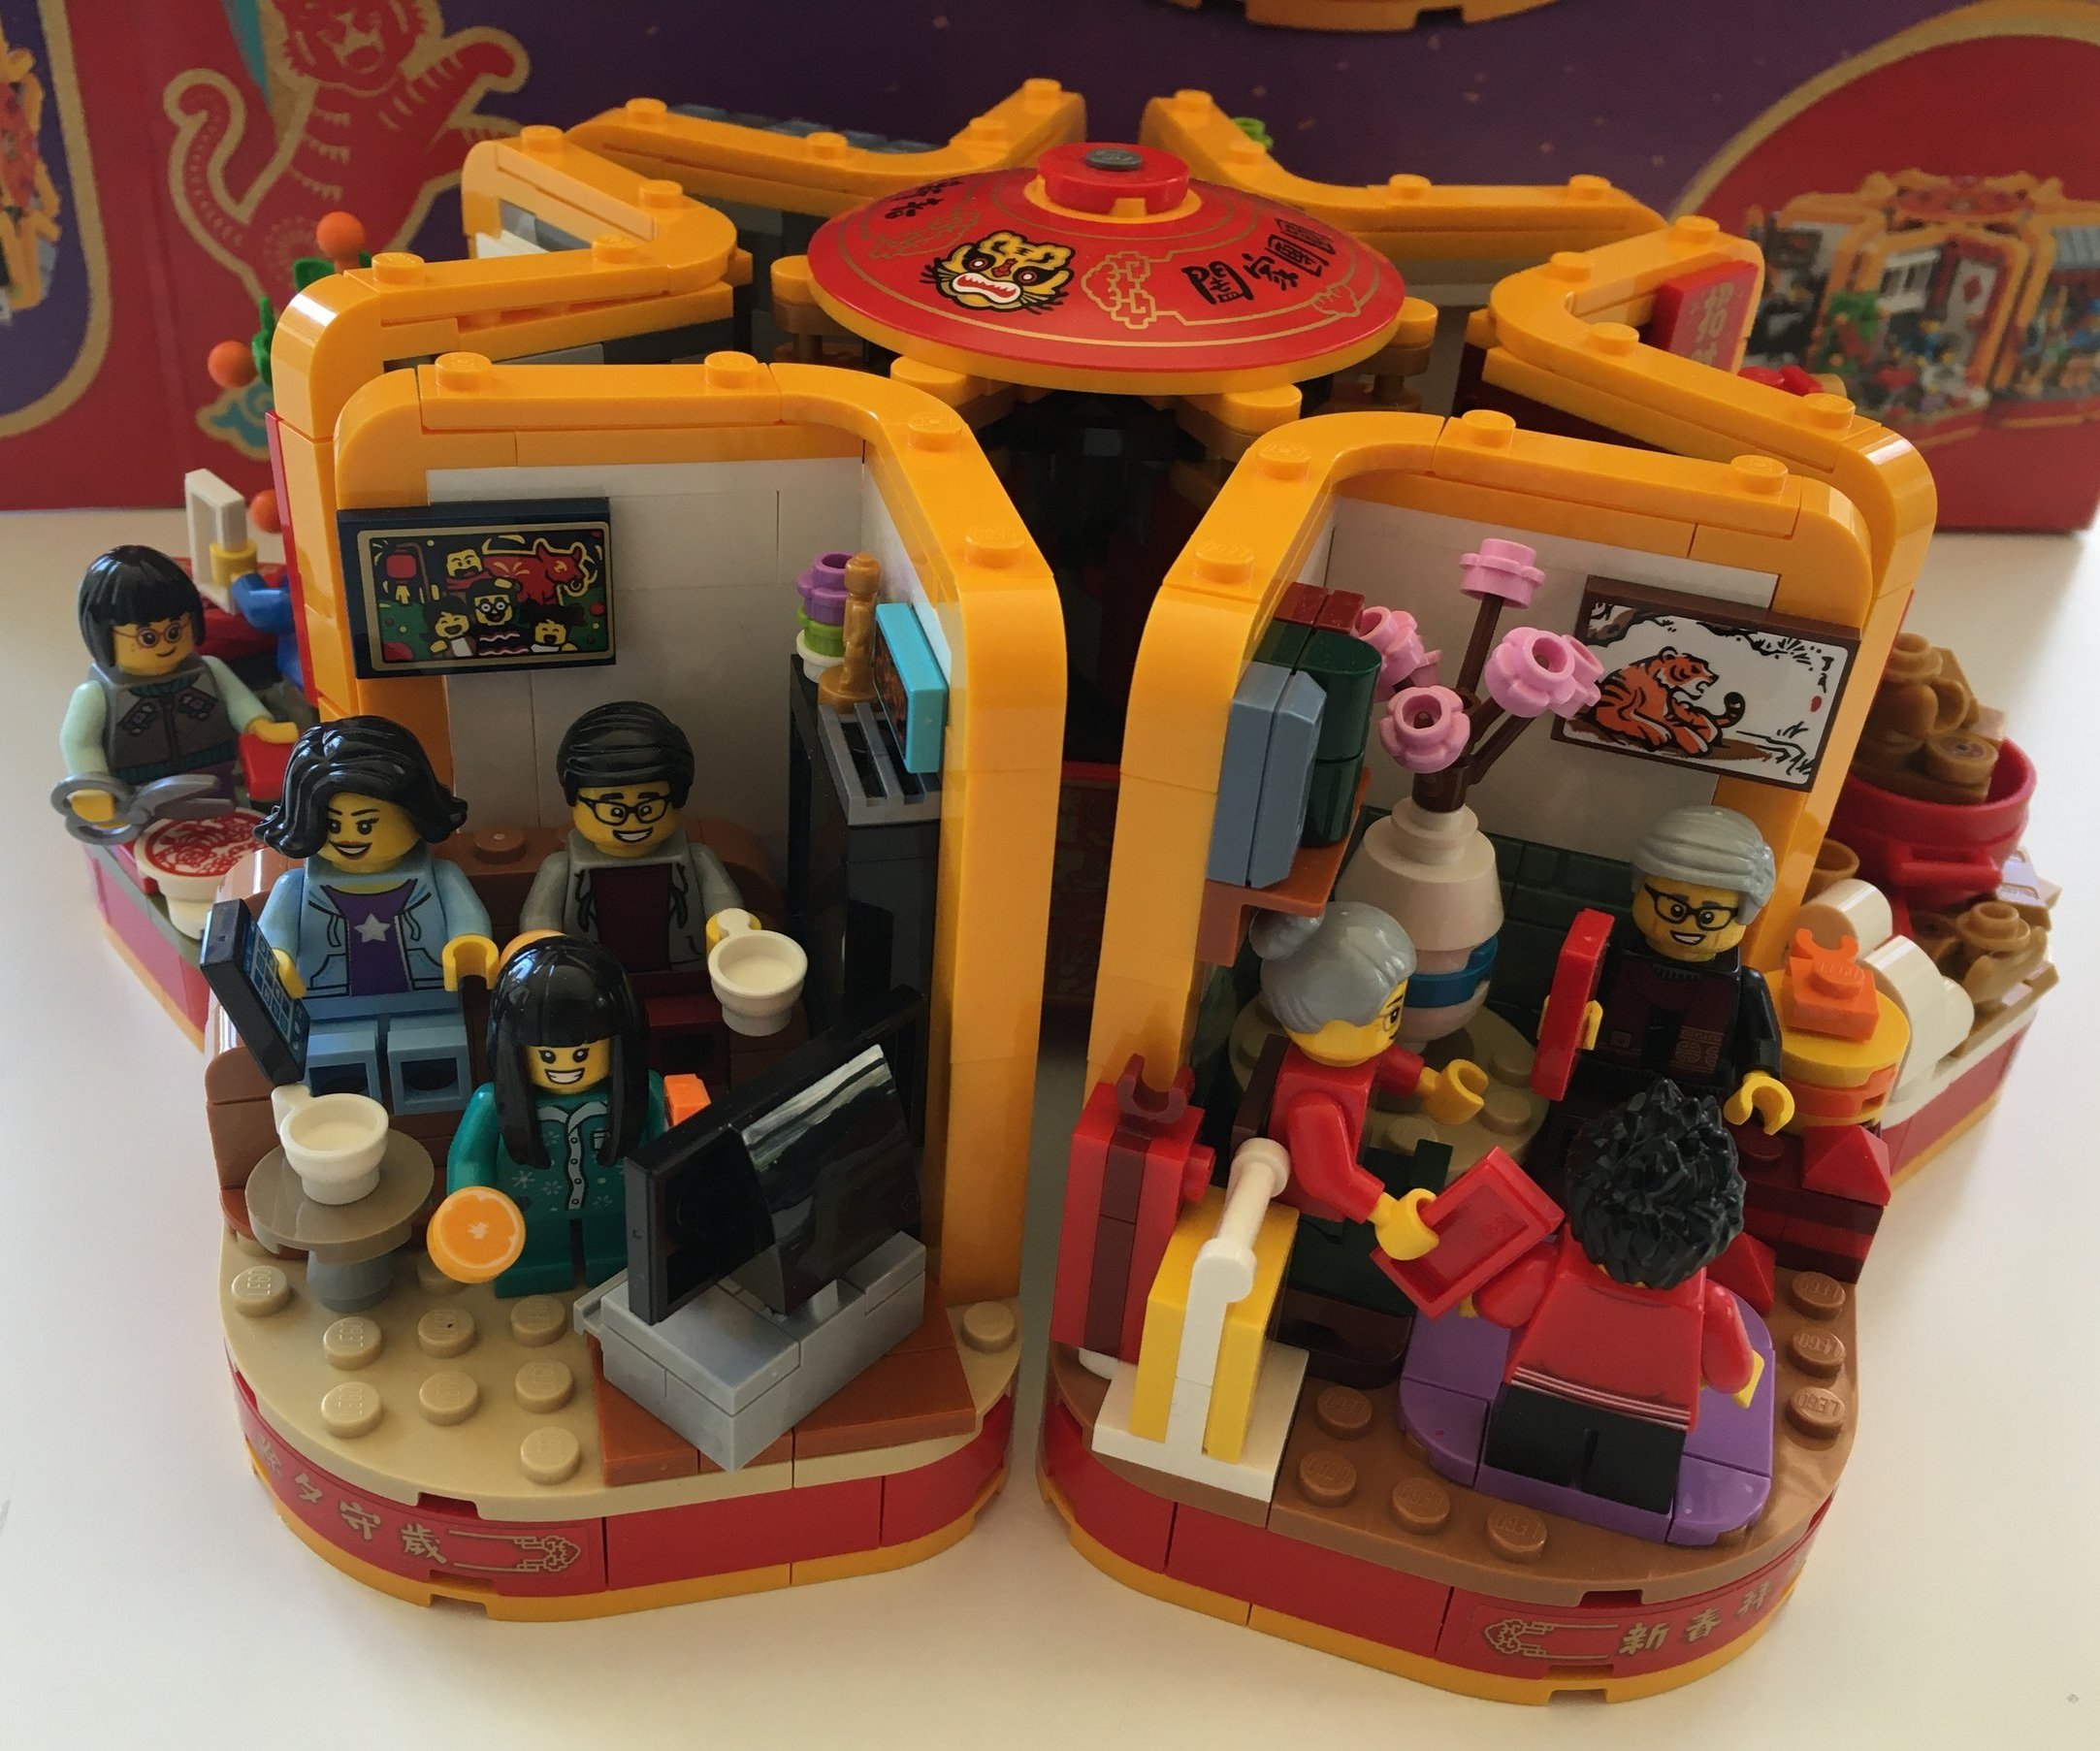
The fifth build has two adult minifigures and a girl watching television right before midnight. The scene is pretty fun with a clock on the wall telling the time and the scene on the TV screen. This bag comes with two smartphone tiles because we are incapable of watching TV without being on our phones at the same time. Also, there are some cups for tea perhaps and some cookies or orange slices. Not sure which they are.

One wall has a fish tank with a brick fish inside. The other wall has a sticker photo taken at 2021’s #80107-1: Spring Lantern Festival. This is a fun reference to a previous set.

The sixth build is of two grandparents giving their grandchild some gifts. From my knowledge, the red 1x2 tile is supposed to be an envelope with money in it. The scene has some fun decorations to include a picture of a tiger on the wall, a flower in a vase, a bookshelf on the wall, and then all the gifts. The best gift is obviously the LEGO bag on the floor. Or maybe it’s not a gift and the grandparents bought it for themselves.

The last build is of a minifigure surrounded by a pot of gold. I’m sure there is some symbolism and once again it would have been great if LEGO shared some of the story in the instructions. The little gold hot dog bun type pieces are fun. You also get a bunch of gold bars and coins which could be useful for MOC builders.

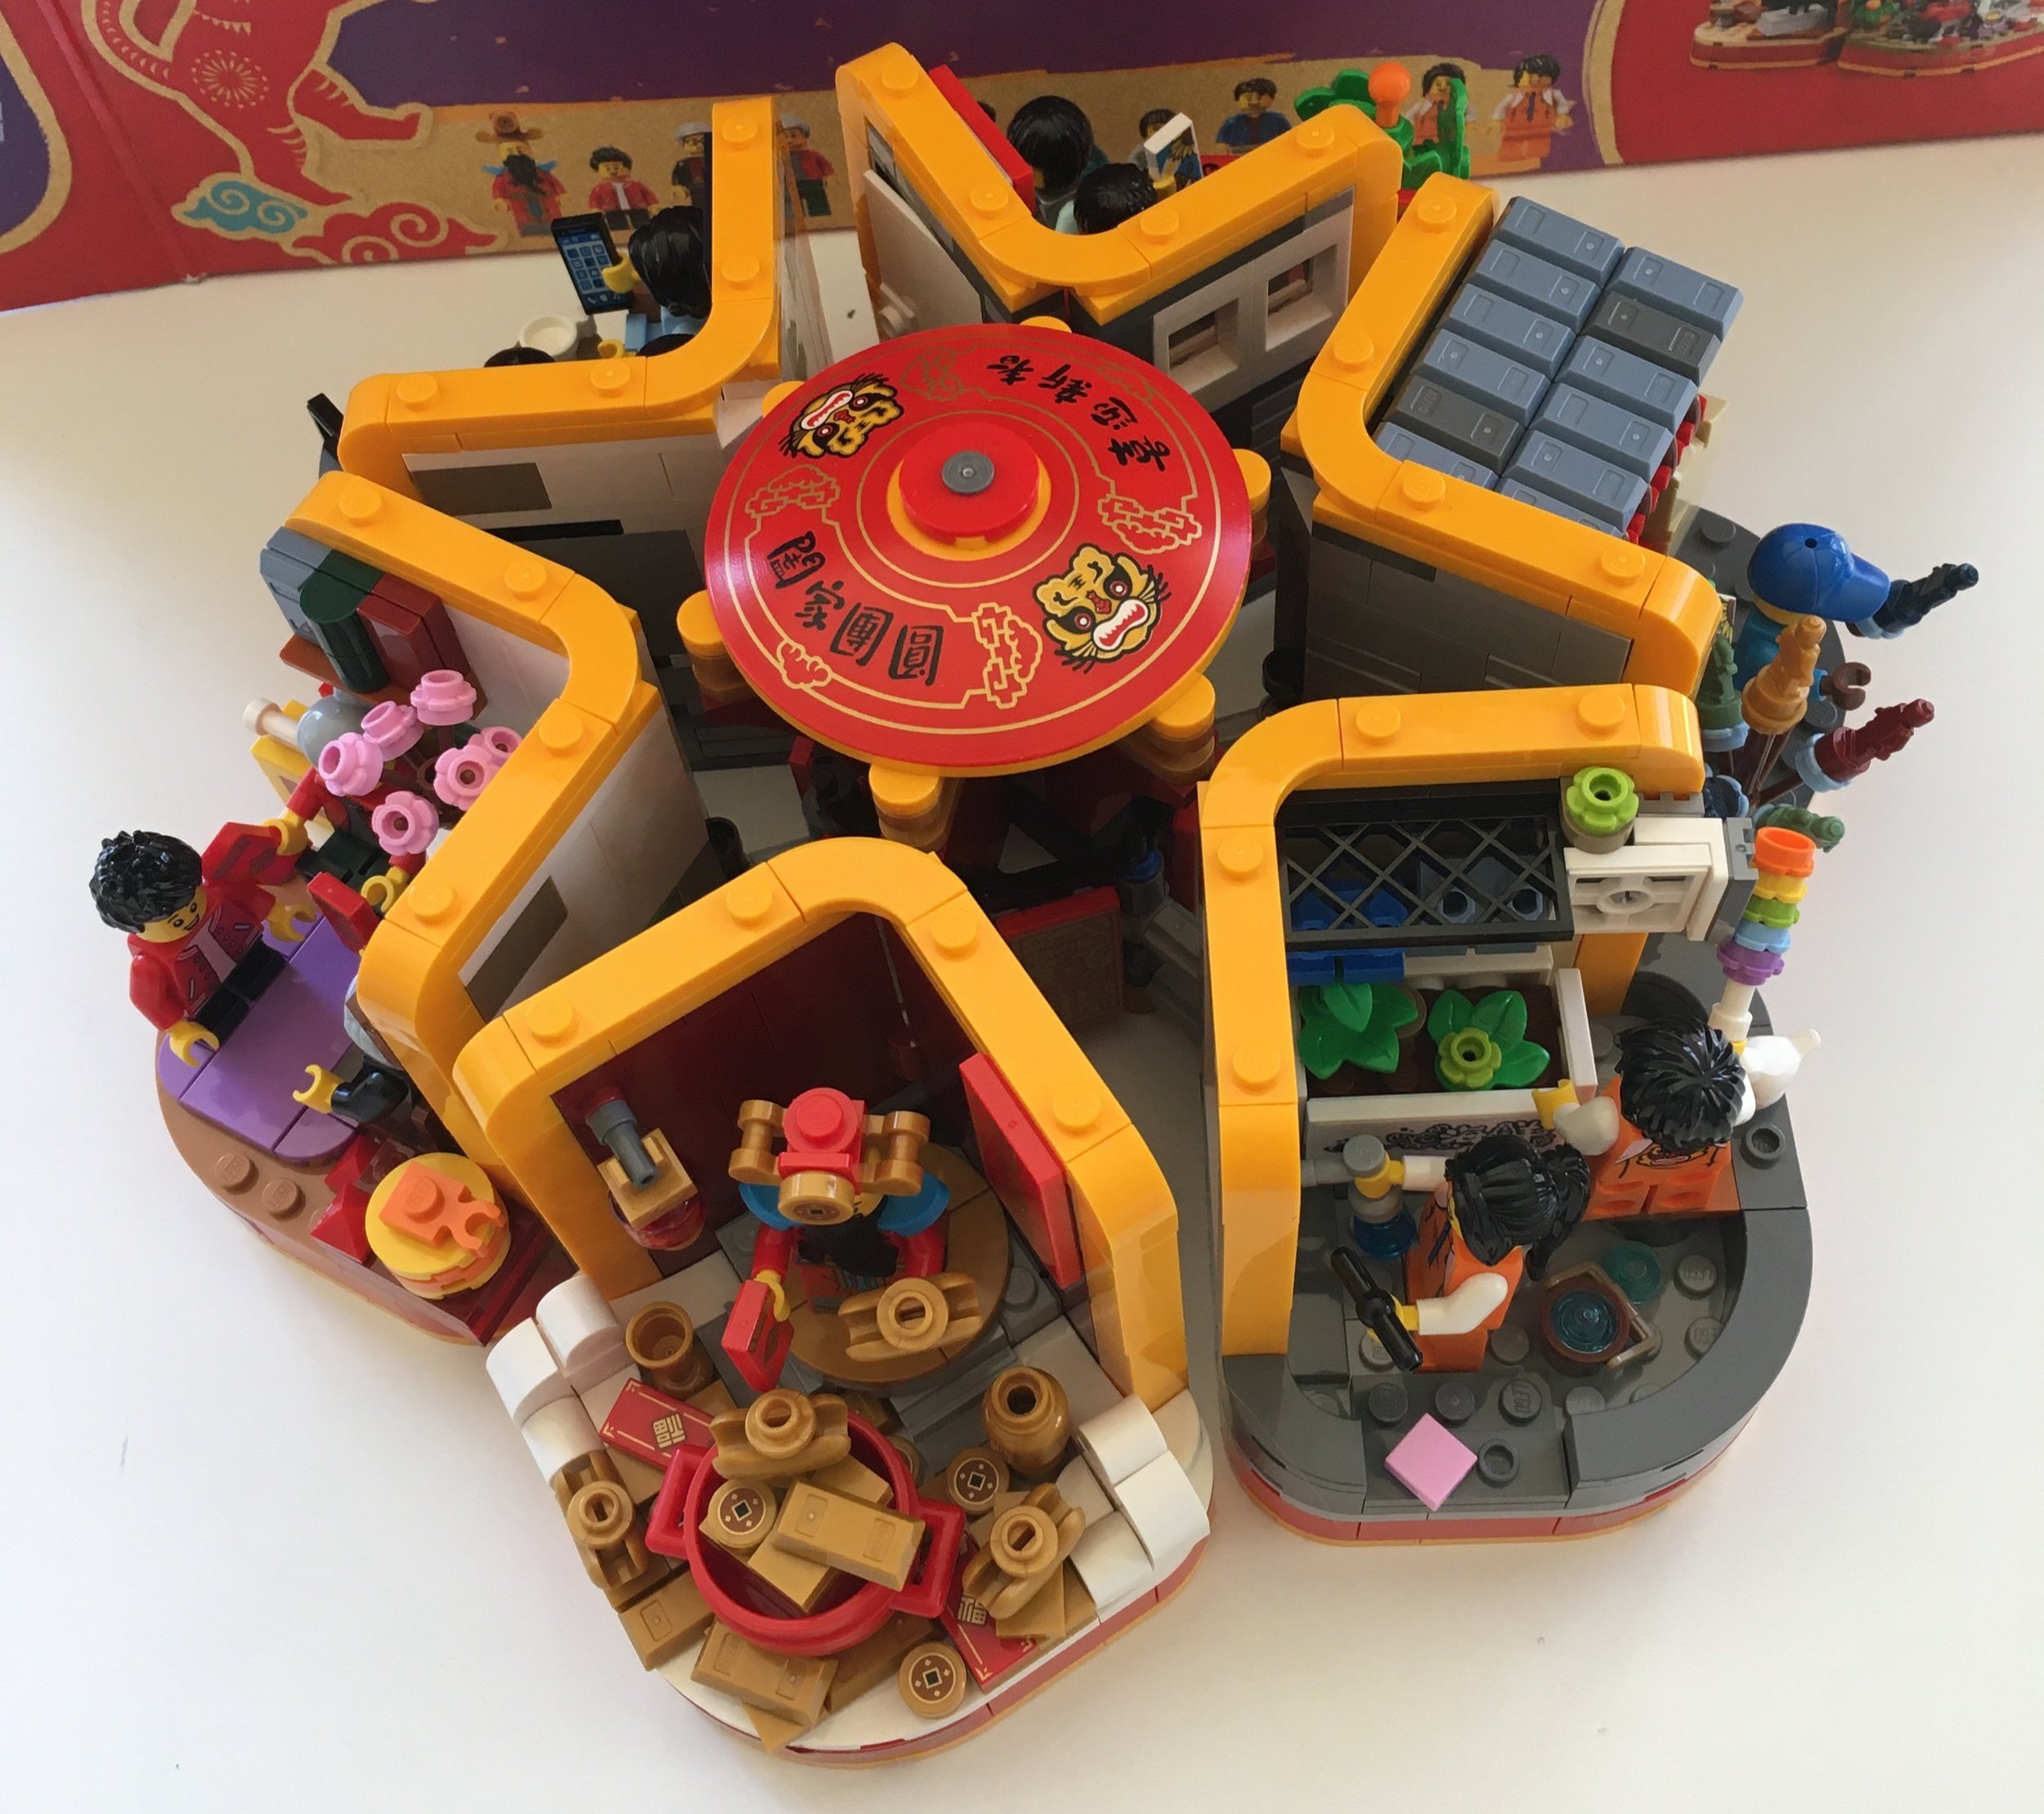
Here is what the set looks like all connected together using the assembly built with bag two. You can spin it around to see each side as desired. The pieces connect pretty easily and can be removed easily, but they don’t just fall out when you try to move the set.

Here are pictures of the set with different views. I tried to line them up with the pictures on the 2x4 tiles so hopefully I came close.

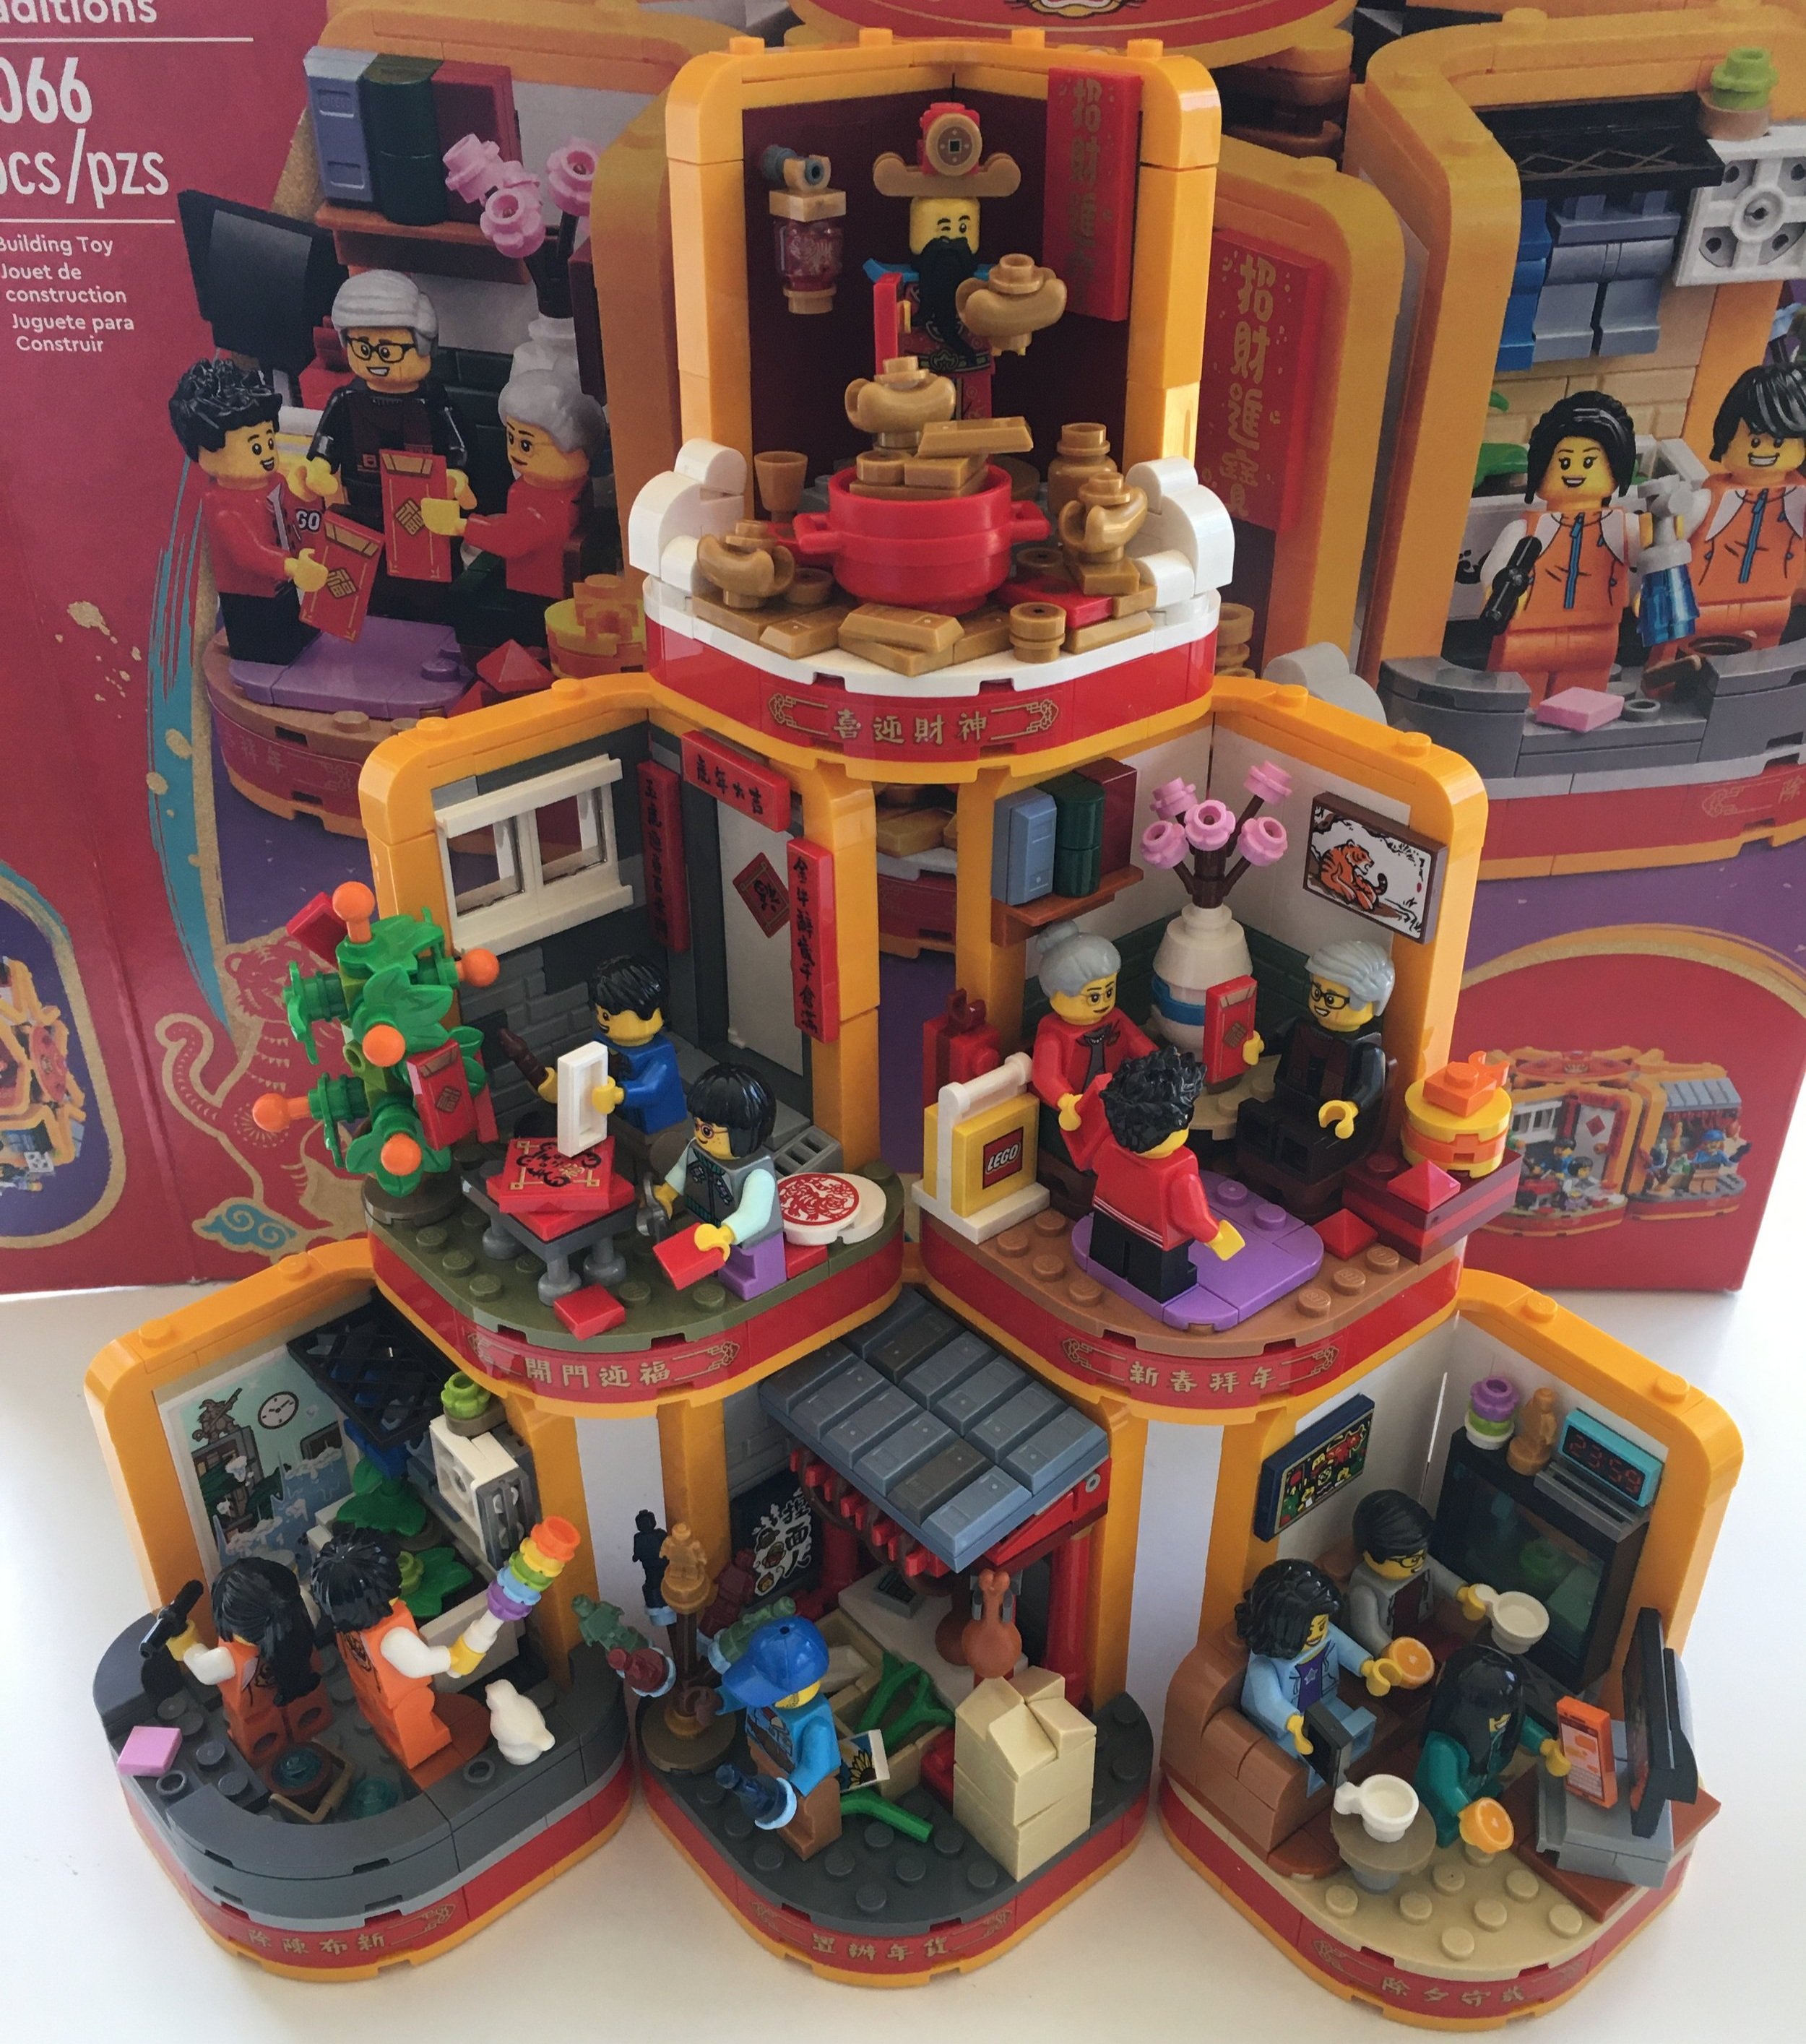
Here’s what it looks like when stacked. There are no instructions to guide you and I didn’t line them up correctly the first few tries so don’t feel bad if it doesn’t look pretty like the example on the set box right away. I prefer this version better as you can see all the vignettes at once.

As mentioned, I built this set with my kids. It actually worked out pretty good to do it this way and we had fun assembling it together and seeing how the different vignettes connect together. My 8 year old did great on her own and my 4 year old did fine working with me so I can endorse the “build together” strategy.

Overall, it’s a fun set with some cool vignettes that I have no idea what they mean. The build can get slightly repetitive with some minor differences between each vignette, but it wasn’t overly boring. This also opens up a chance for you to create your own vignettes using this design or to add your own. For the price it wasn’t too bad, but it does feel rather small for $80. You do get a lot of minifigures though so no complaints there.

What are your thoughts on this one? Has LEGO exhausted the Chinese Festival sets? Should the line continue?

Happy building!

Set Review - #21327-1: Typewriter - Ideas

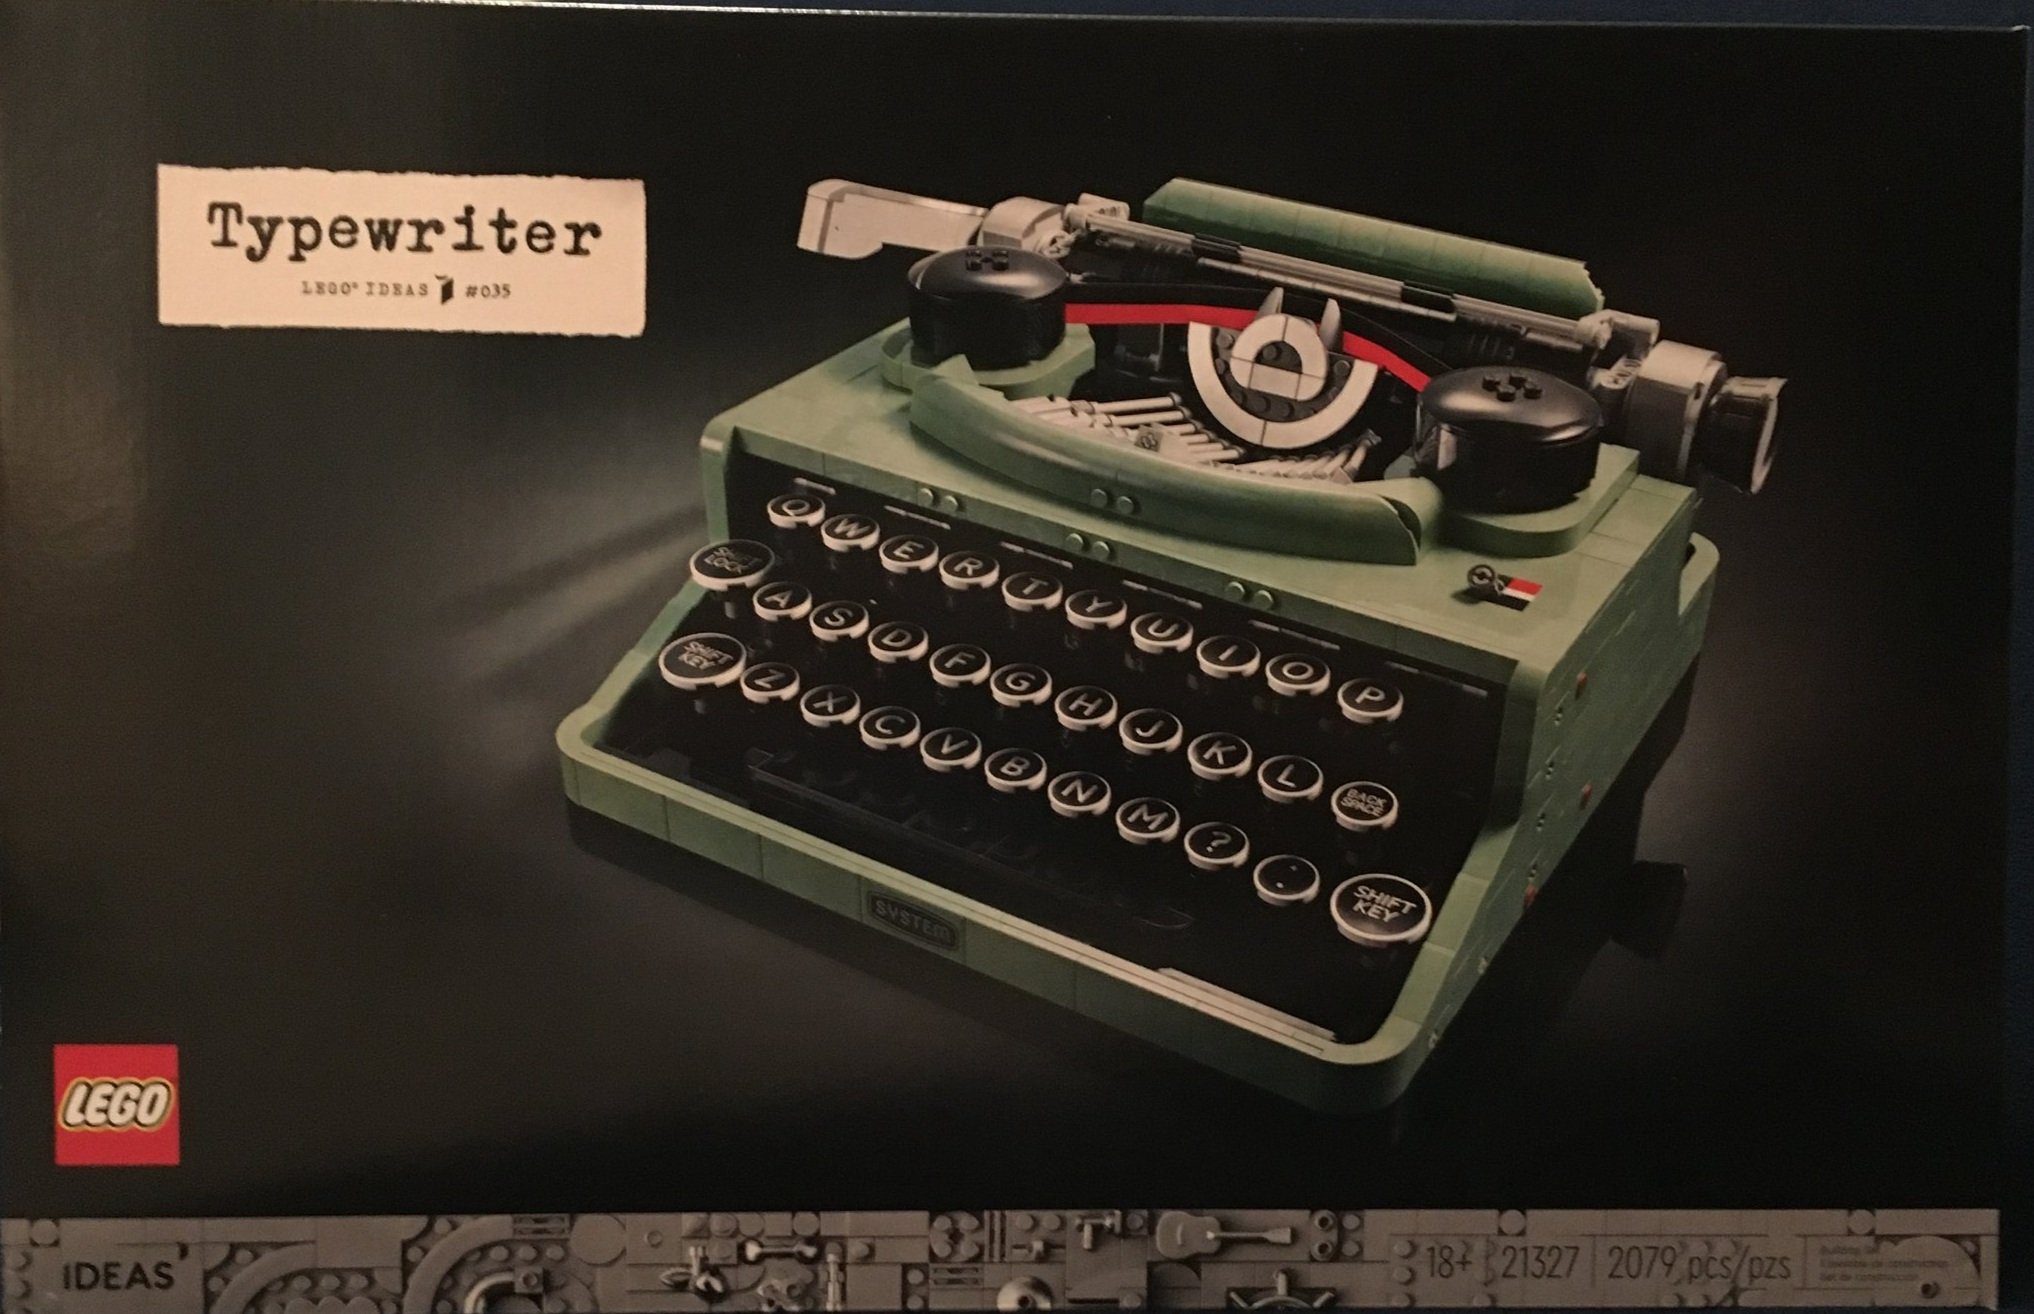
#21327-1: Typewriter is the 35th Ideas set to come out to date. This one was released on 17 June 2021. I’ve actually had this one for a few months, but my NLS wanted to build it with me. It took us longer to put it together since she doesn’t dedicate as much of her time to building as I do.

If you’ve been looking for this on Shop @ Home, it’s been sold out since Christmas time 2021 (as of the time of this post). The retail price is $199.99 in the US and with 2,079 pieces it works out to $0.096 per piece.

The box is pretty stylish. The front shows the full set with the 18+ branding. The back shows some of the features of the set along with dimensions. If you do a quick look, it looks pretty realistic. A relative came to visit, saw the finished set, and asked my NLS where we got the typewriter from. My NLS responded “from LEGO.”

The box contains 19 parts bags. 18 of the bags are numbered while one has some larger parts. The instructions come wrapped along with the booklet of paper with a letter to attach to the typewriter available in multiple languages.

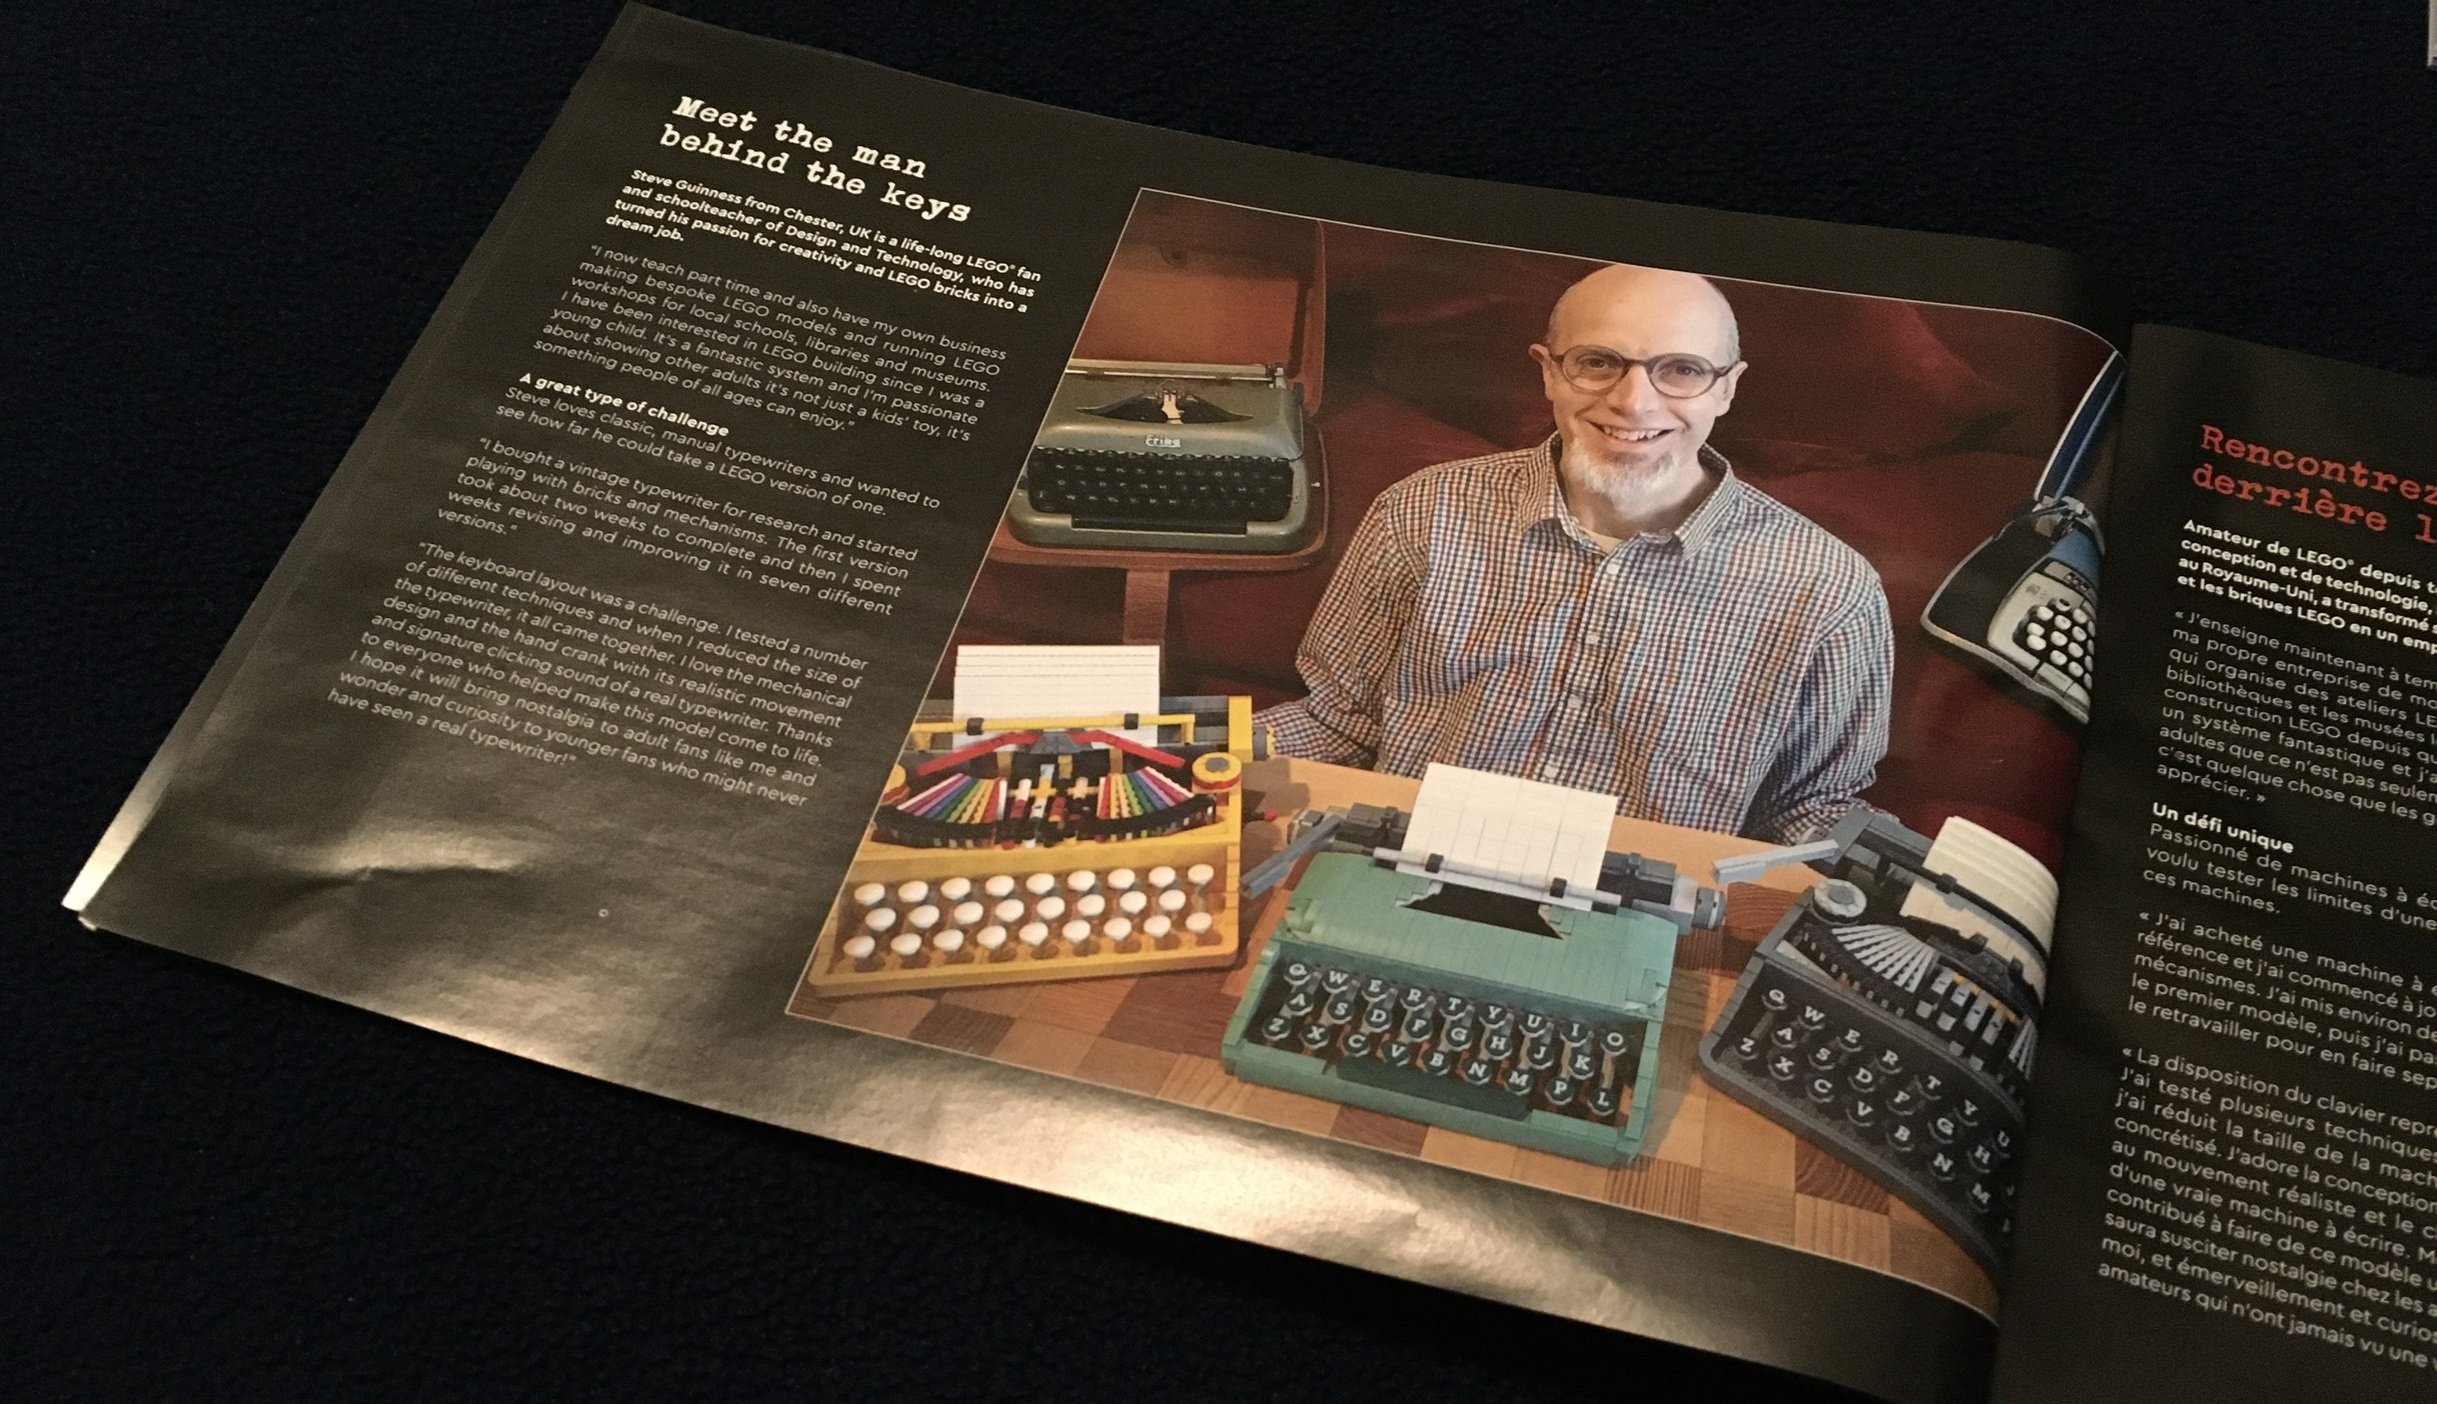
The instruction booklet includes some information about the fan designer and LEGO designers.

The set comes with only two stickers. They are chrome so I guess it would be hard to print them on bricks like this. Two isn’t bad so I can’t complain too much.

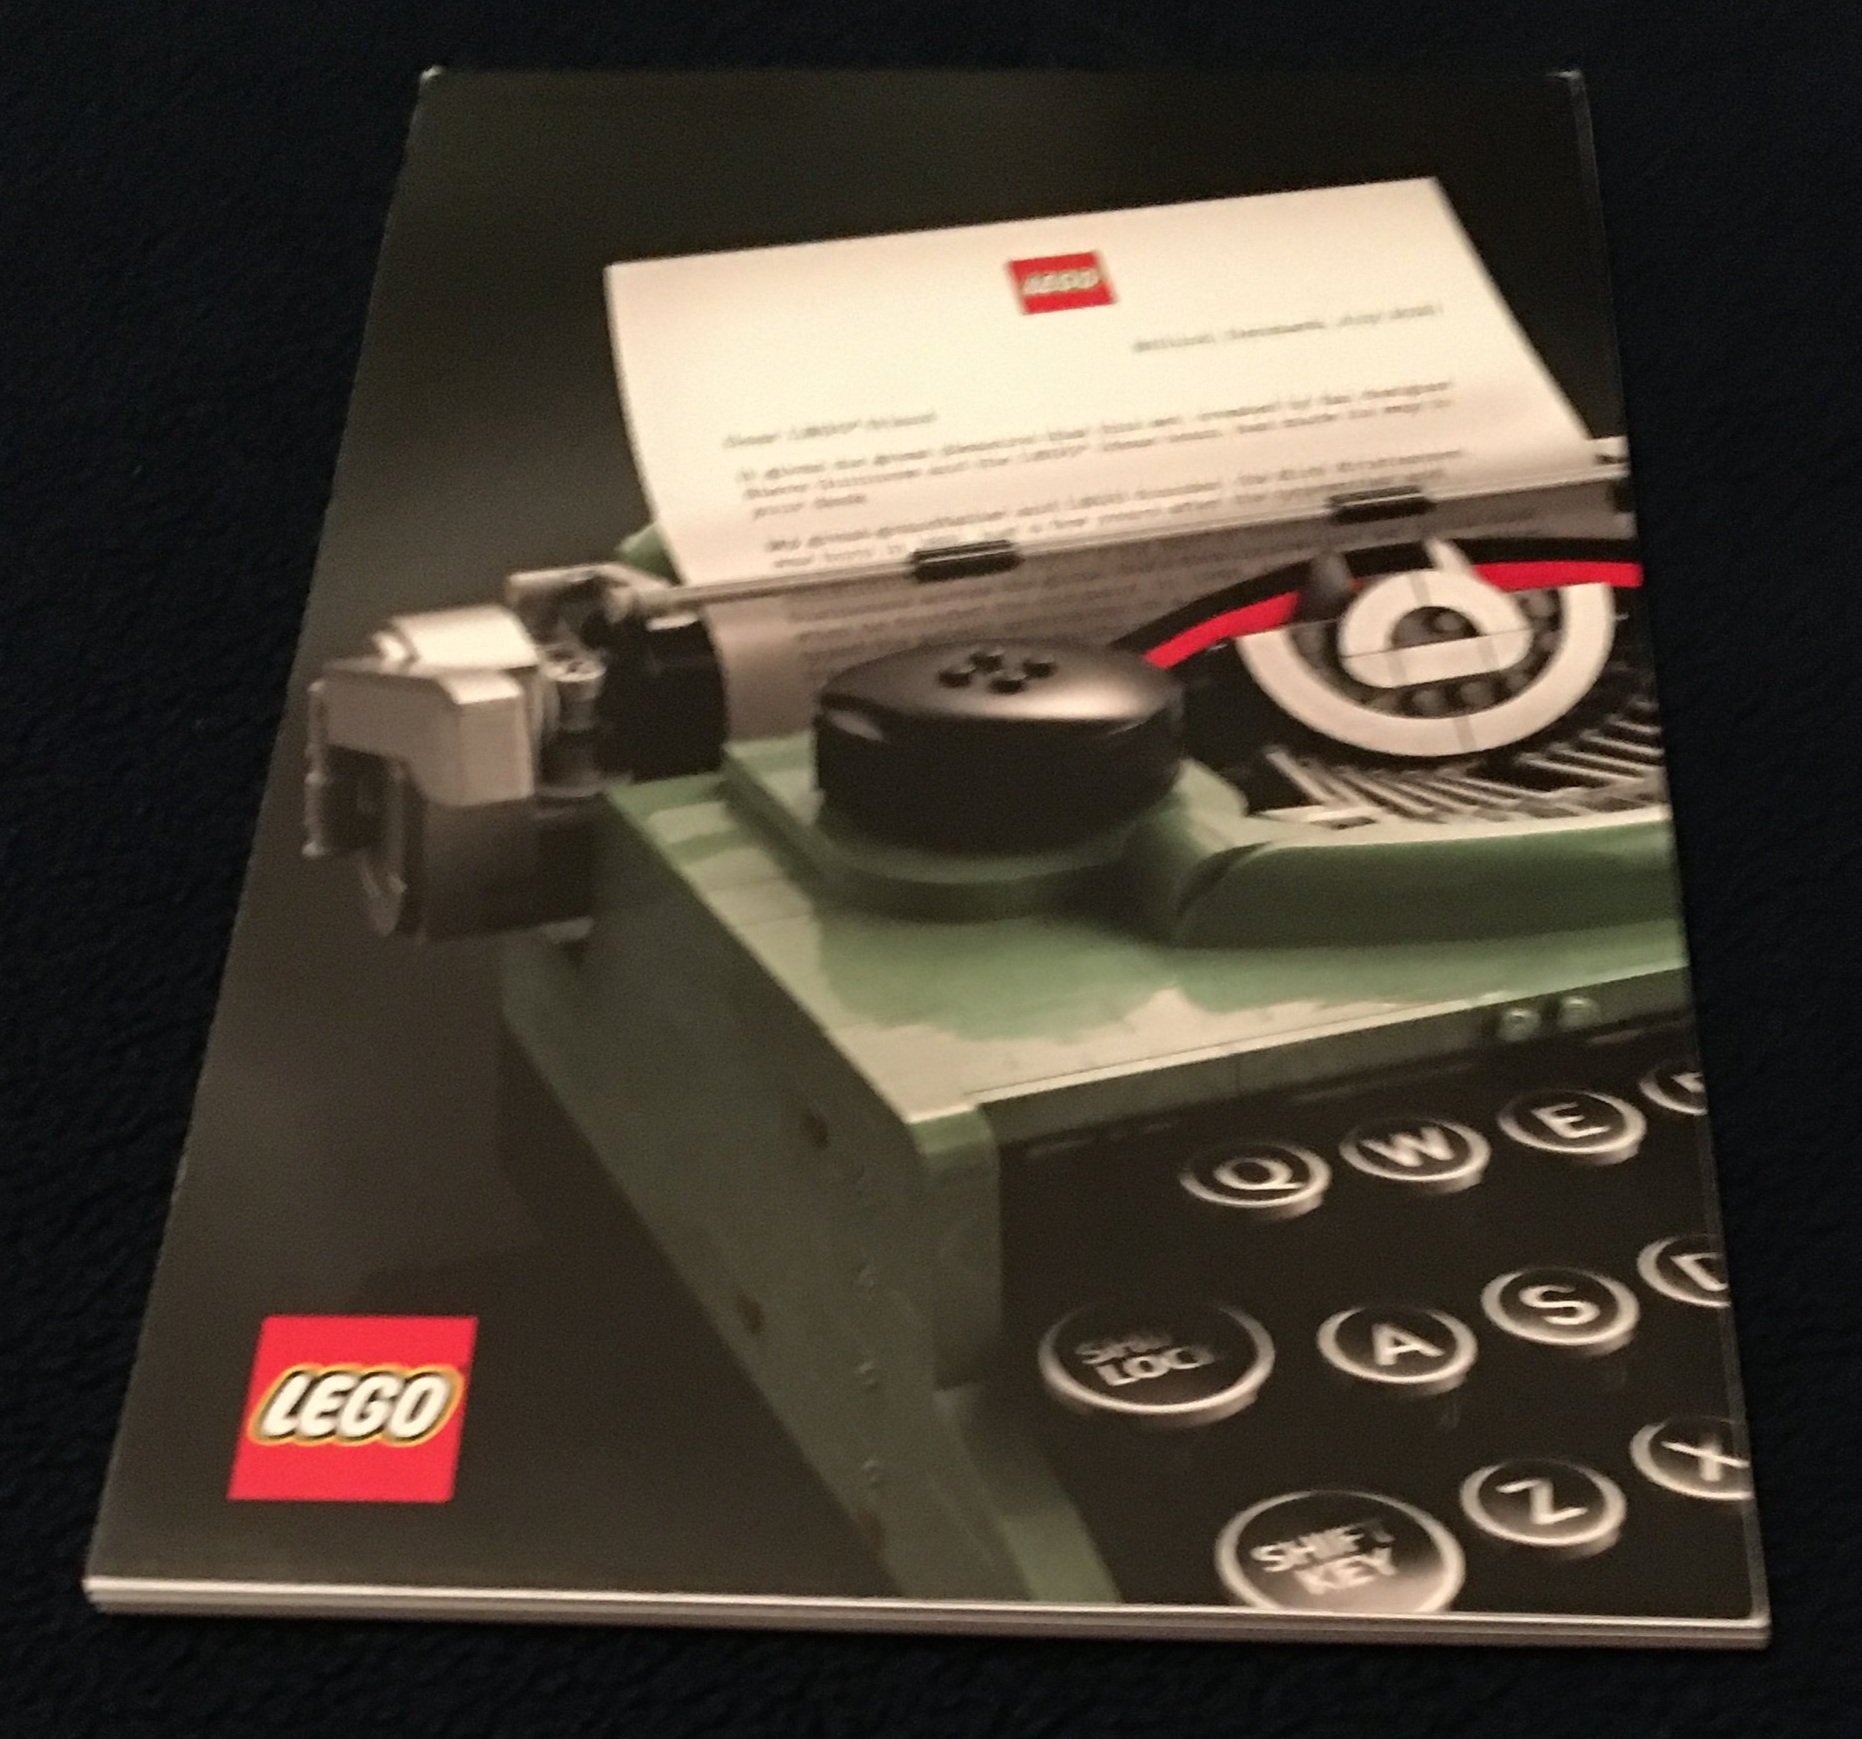
The letter you can add to your typewriter comes in a booklet where you can tear out the letter you want. It comes in more languages than I was expecting.

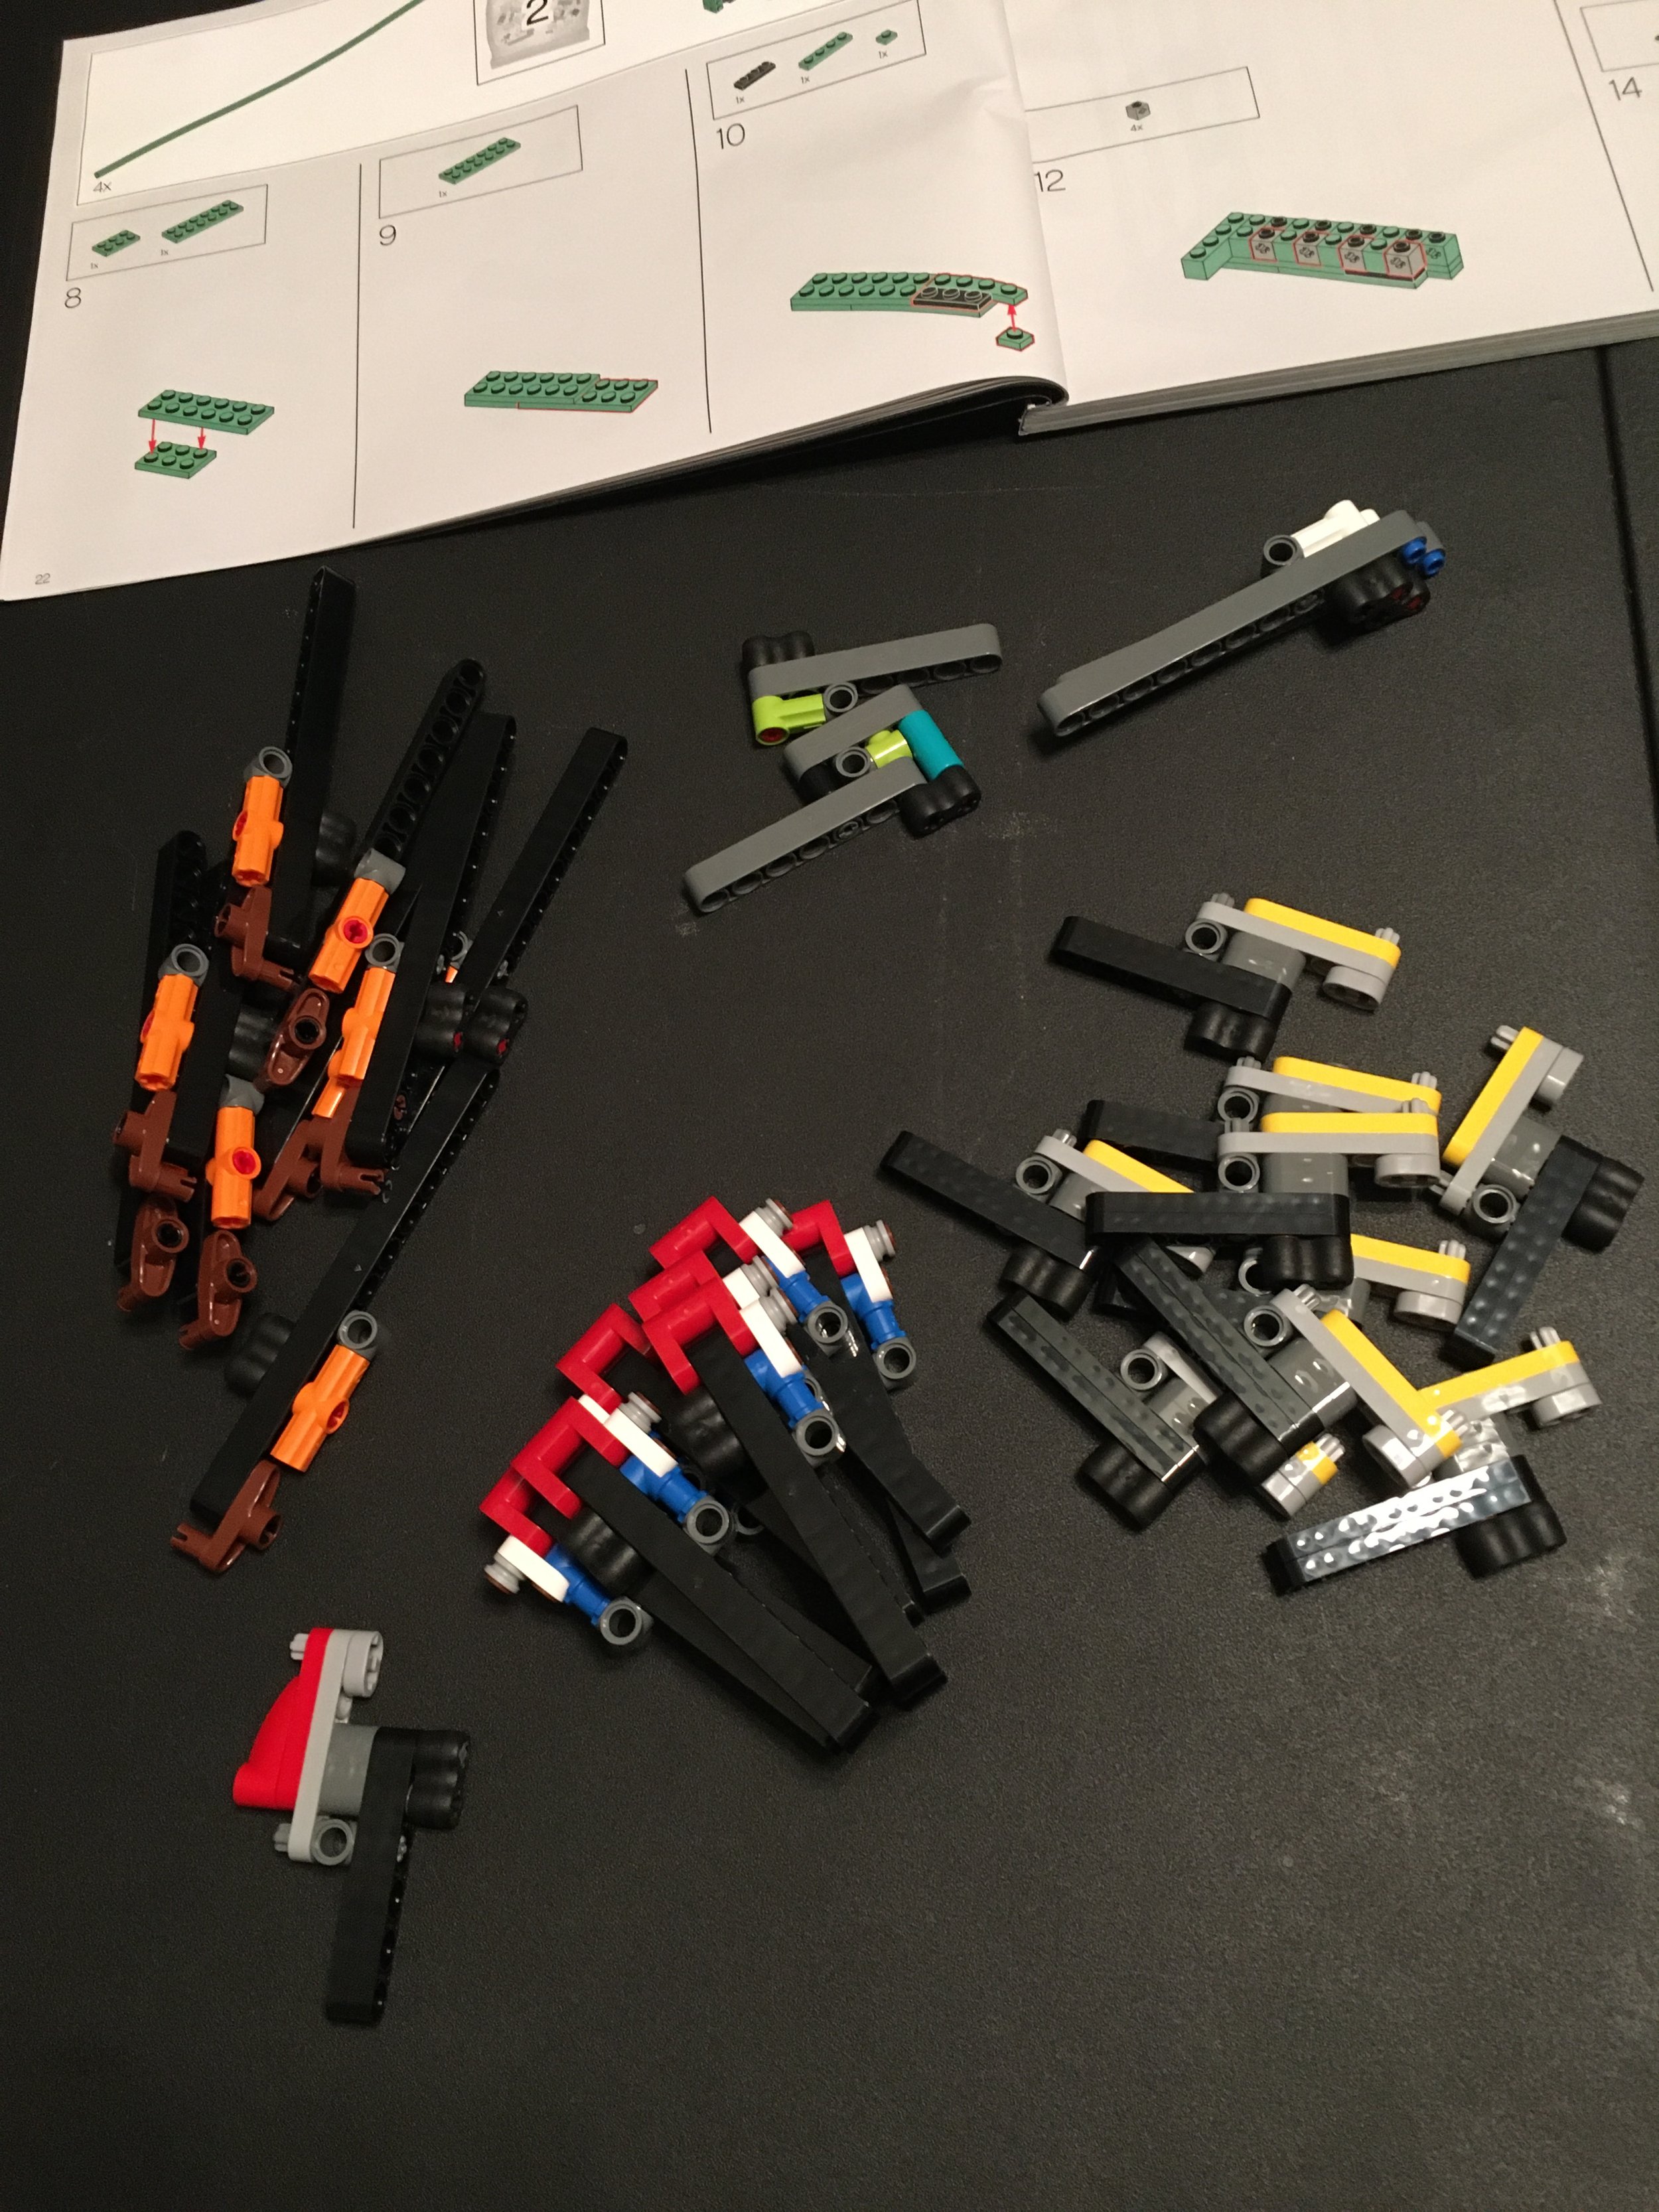
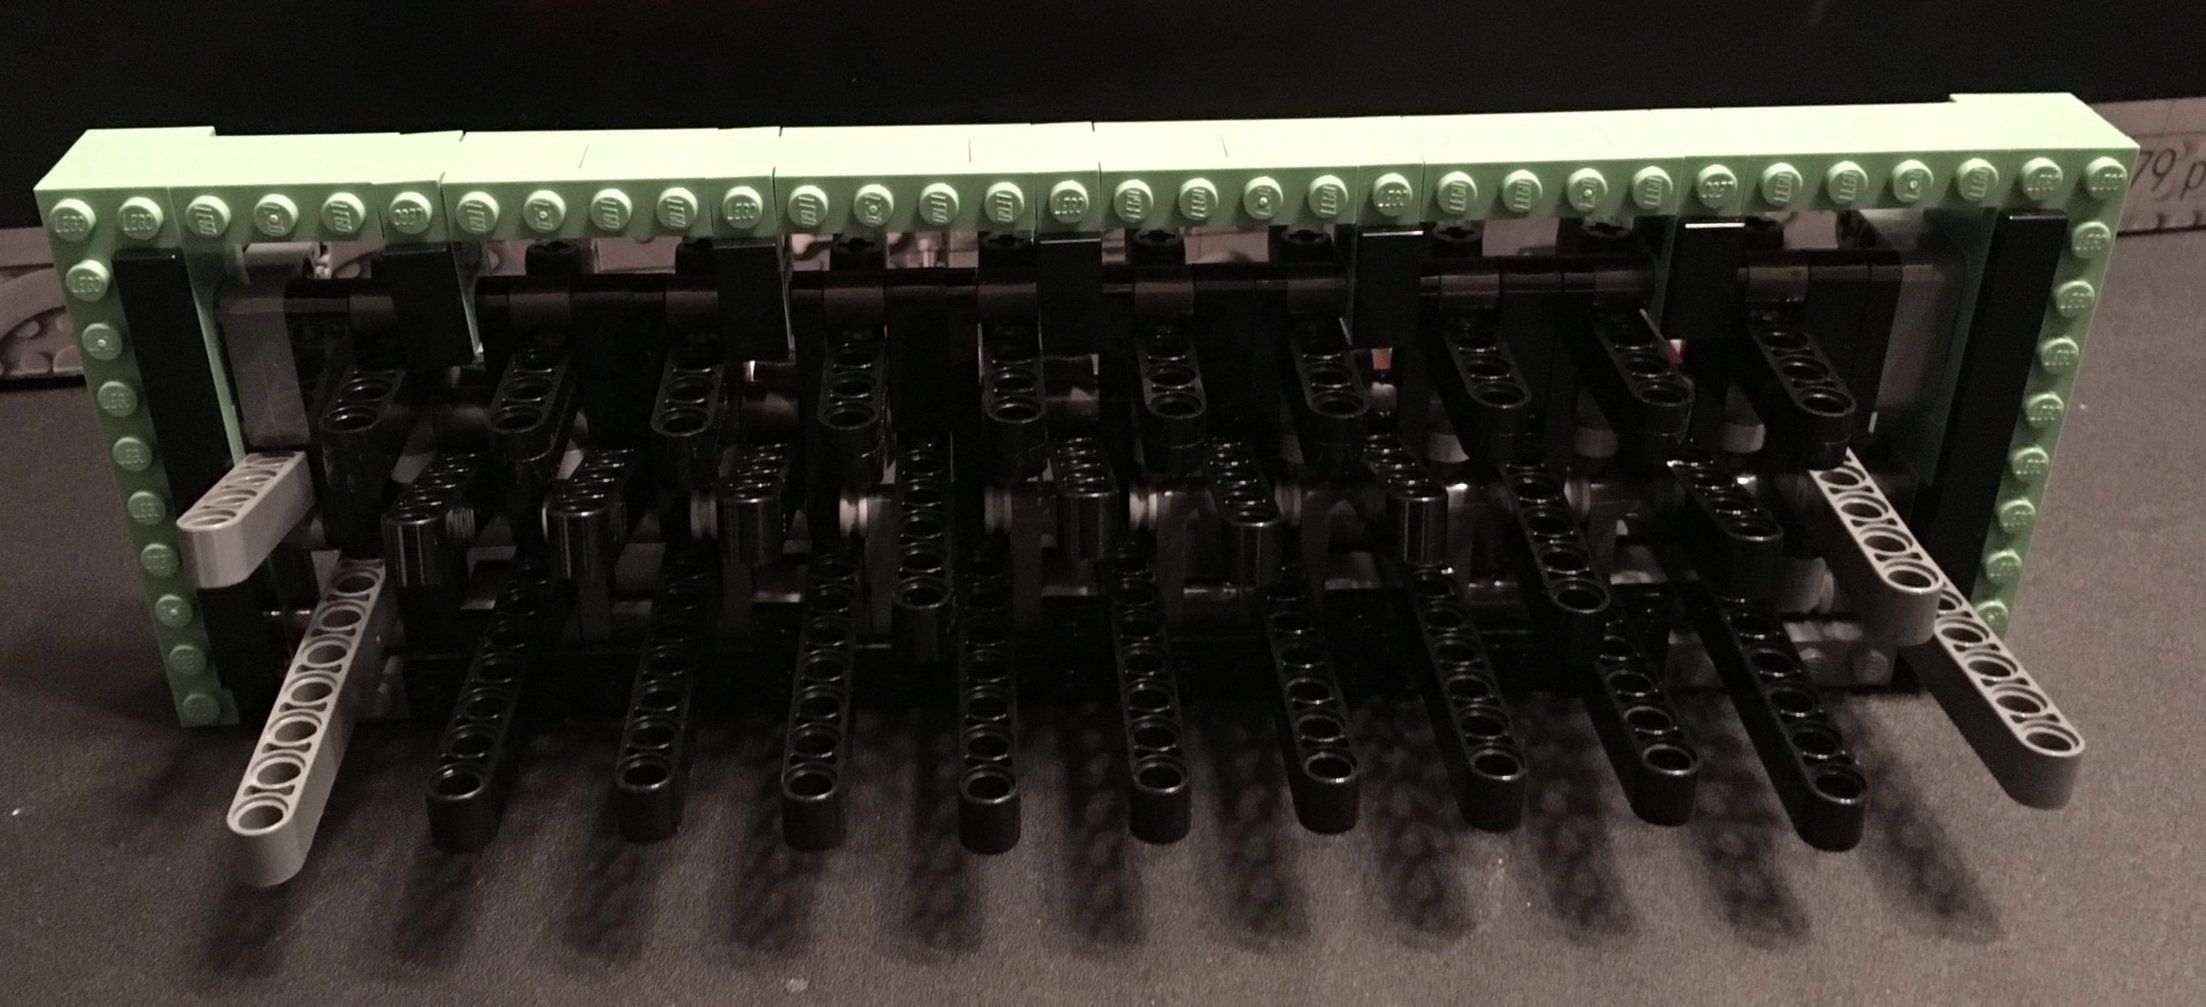
The first set of bags builds some Technic hardware. A word of warning for this set, if you don’t like Technic builds, you won’t like this set. It has a lot of Technic pieces to build the mechanical functionality. My NLS was not familiar with Technic builds and found it very challenging. Often she passed those sections off to me. If you are used to System builds, then Technic builds can get challenging, but I didn’t think it was too bad. You just have to pay attention to where various pins go.

For the second set of bags, you attach all of those Technic builds from bag 1 together using long Technic axles that are similar to the long axles from #10280-1: Flower Bouquet. This part isn’t too challenging, but you really need to focus on the build and where you are putting each part.

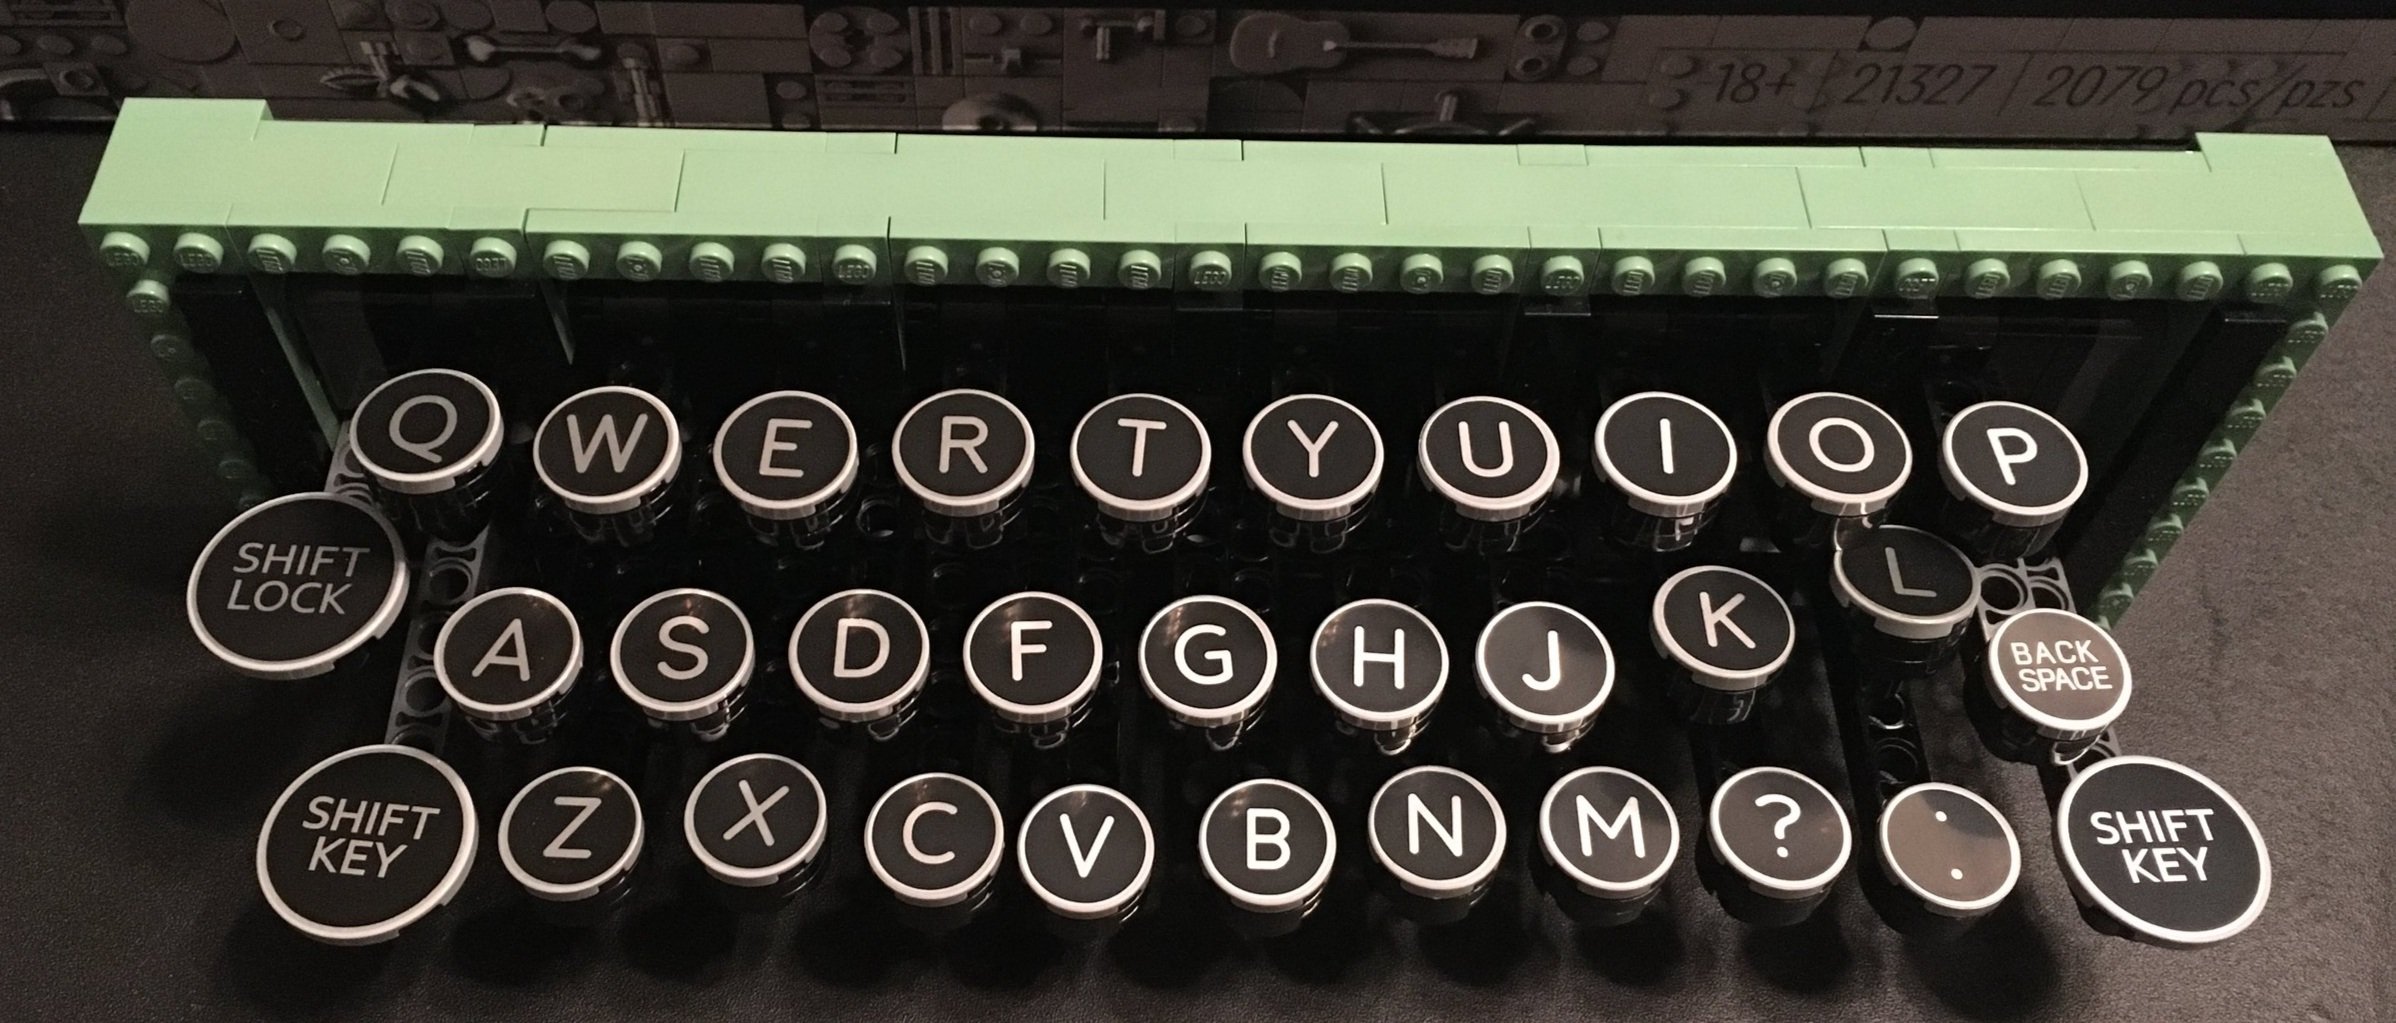
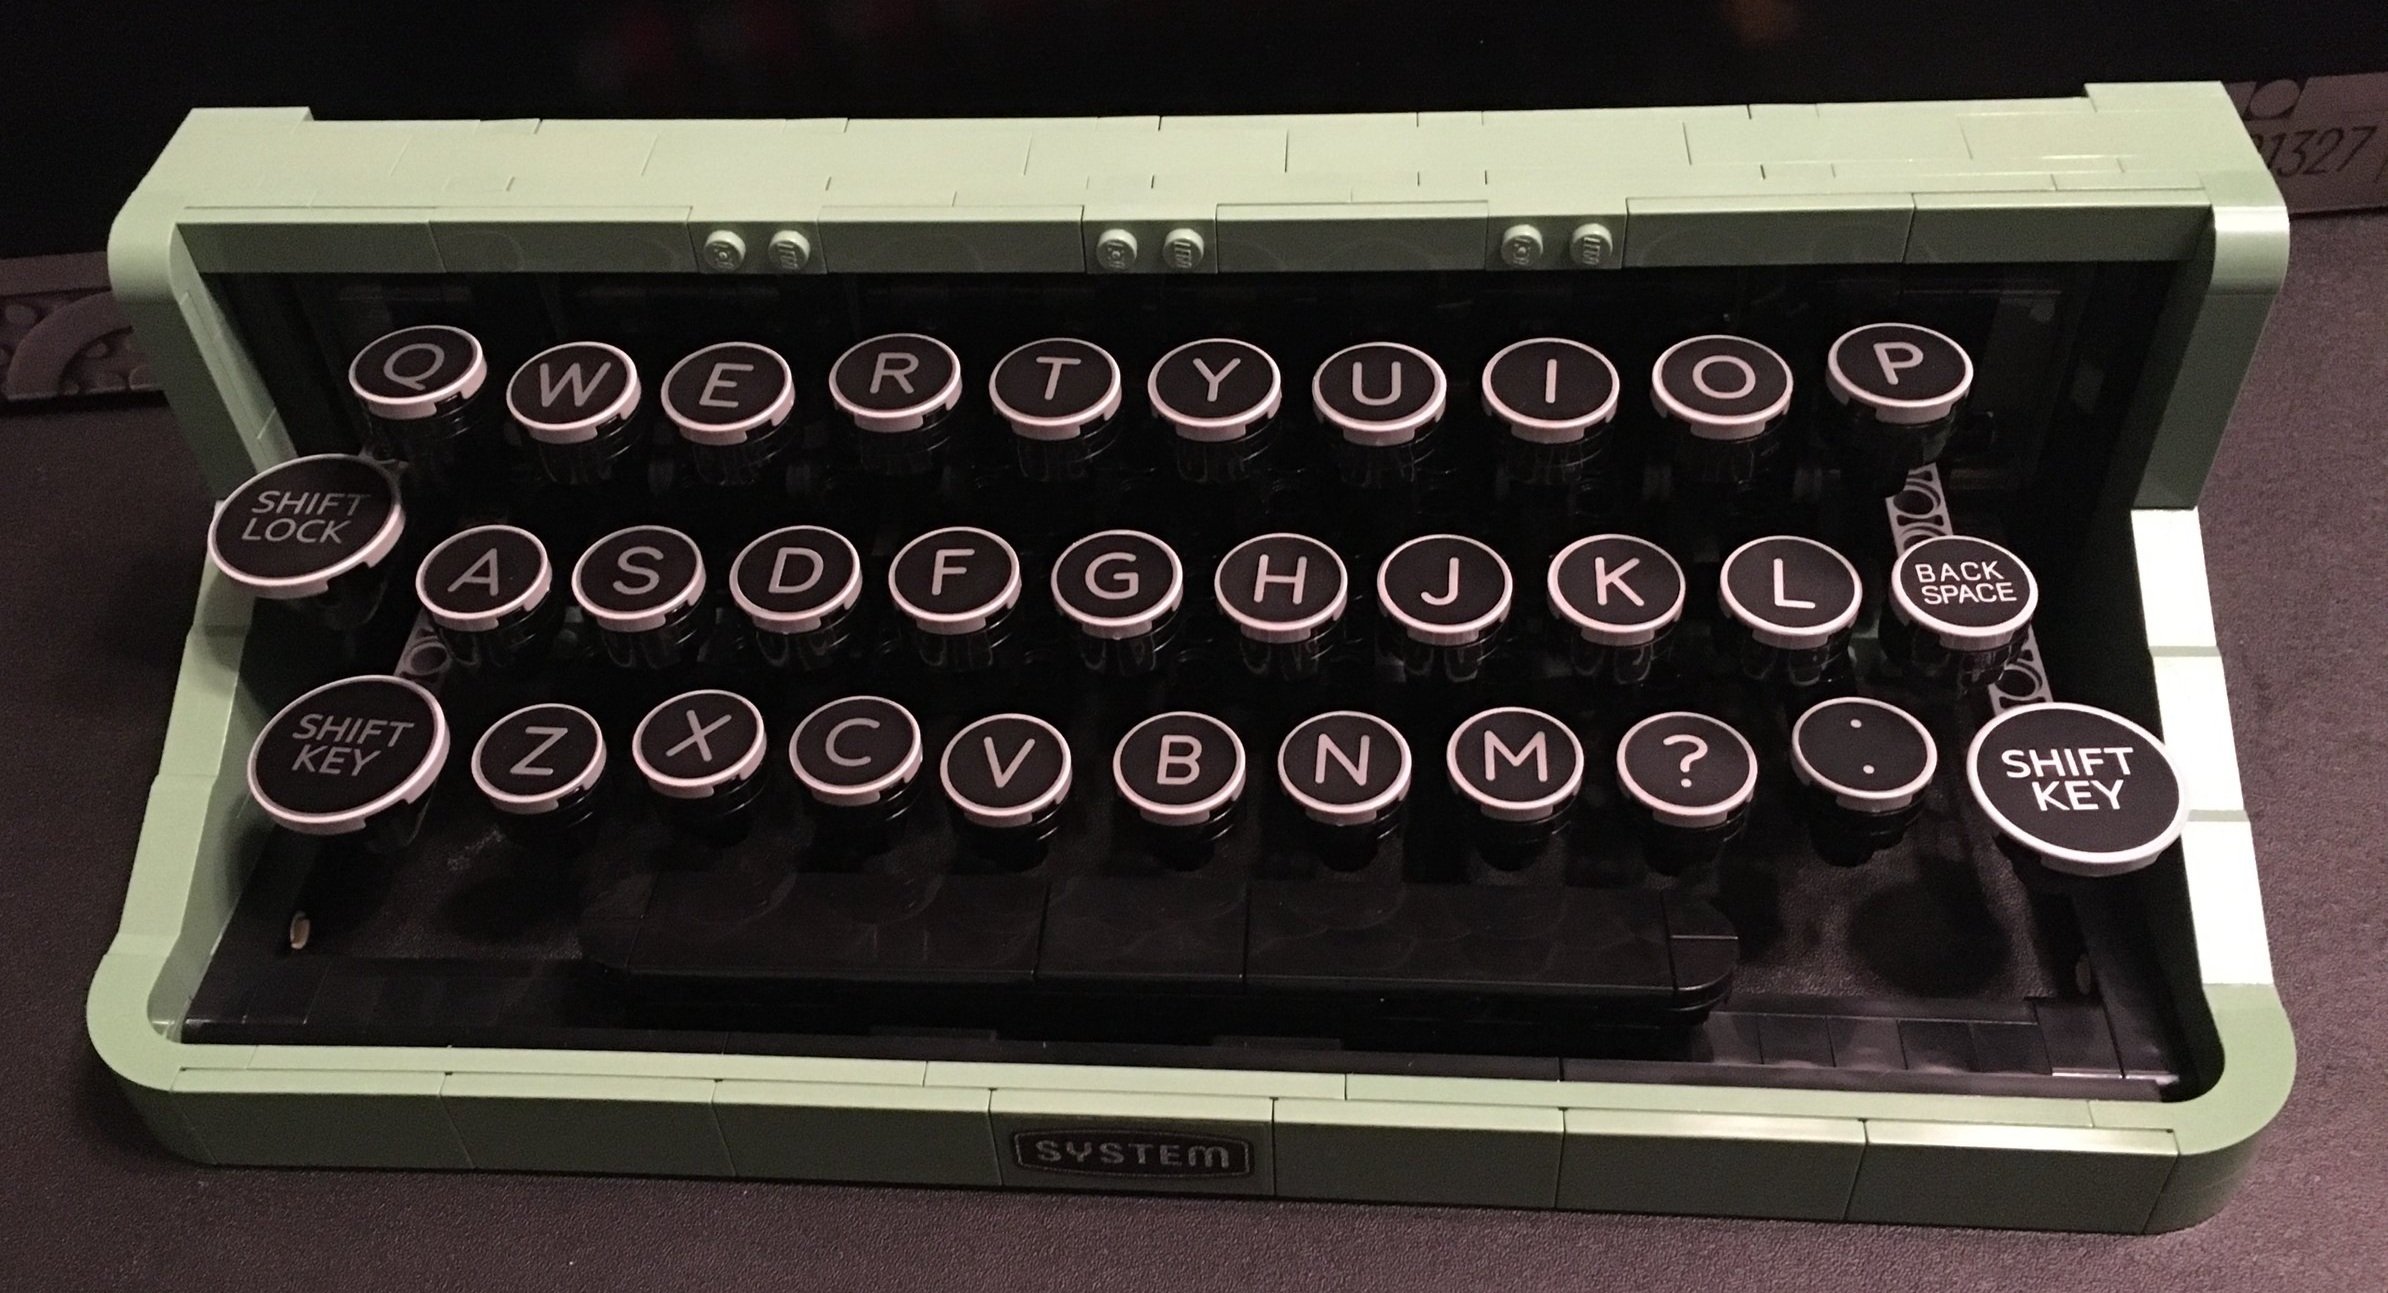
The third bag adds the keys to make the keyboard. Thankfully, these are all printed and they look great since I didn’t have to put stickers on each one. Also, here’s your chance to set up the keyboard the way you want to. I used the standard QWERTY keyboard from the instructions, but you can use what you want and change it fairly easily.

The fourth set of bags adds some of the sand green bricks around the keyboard to build up the outer covering.

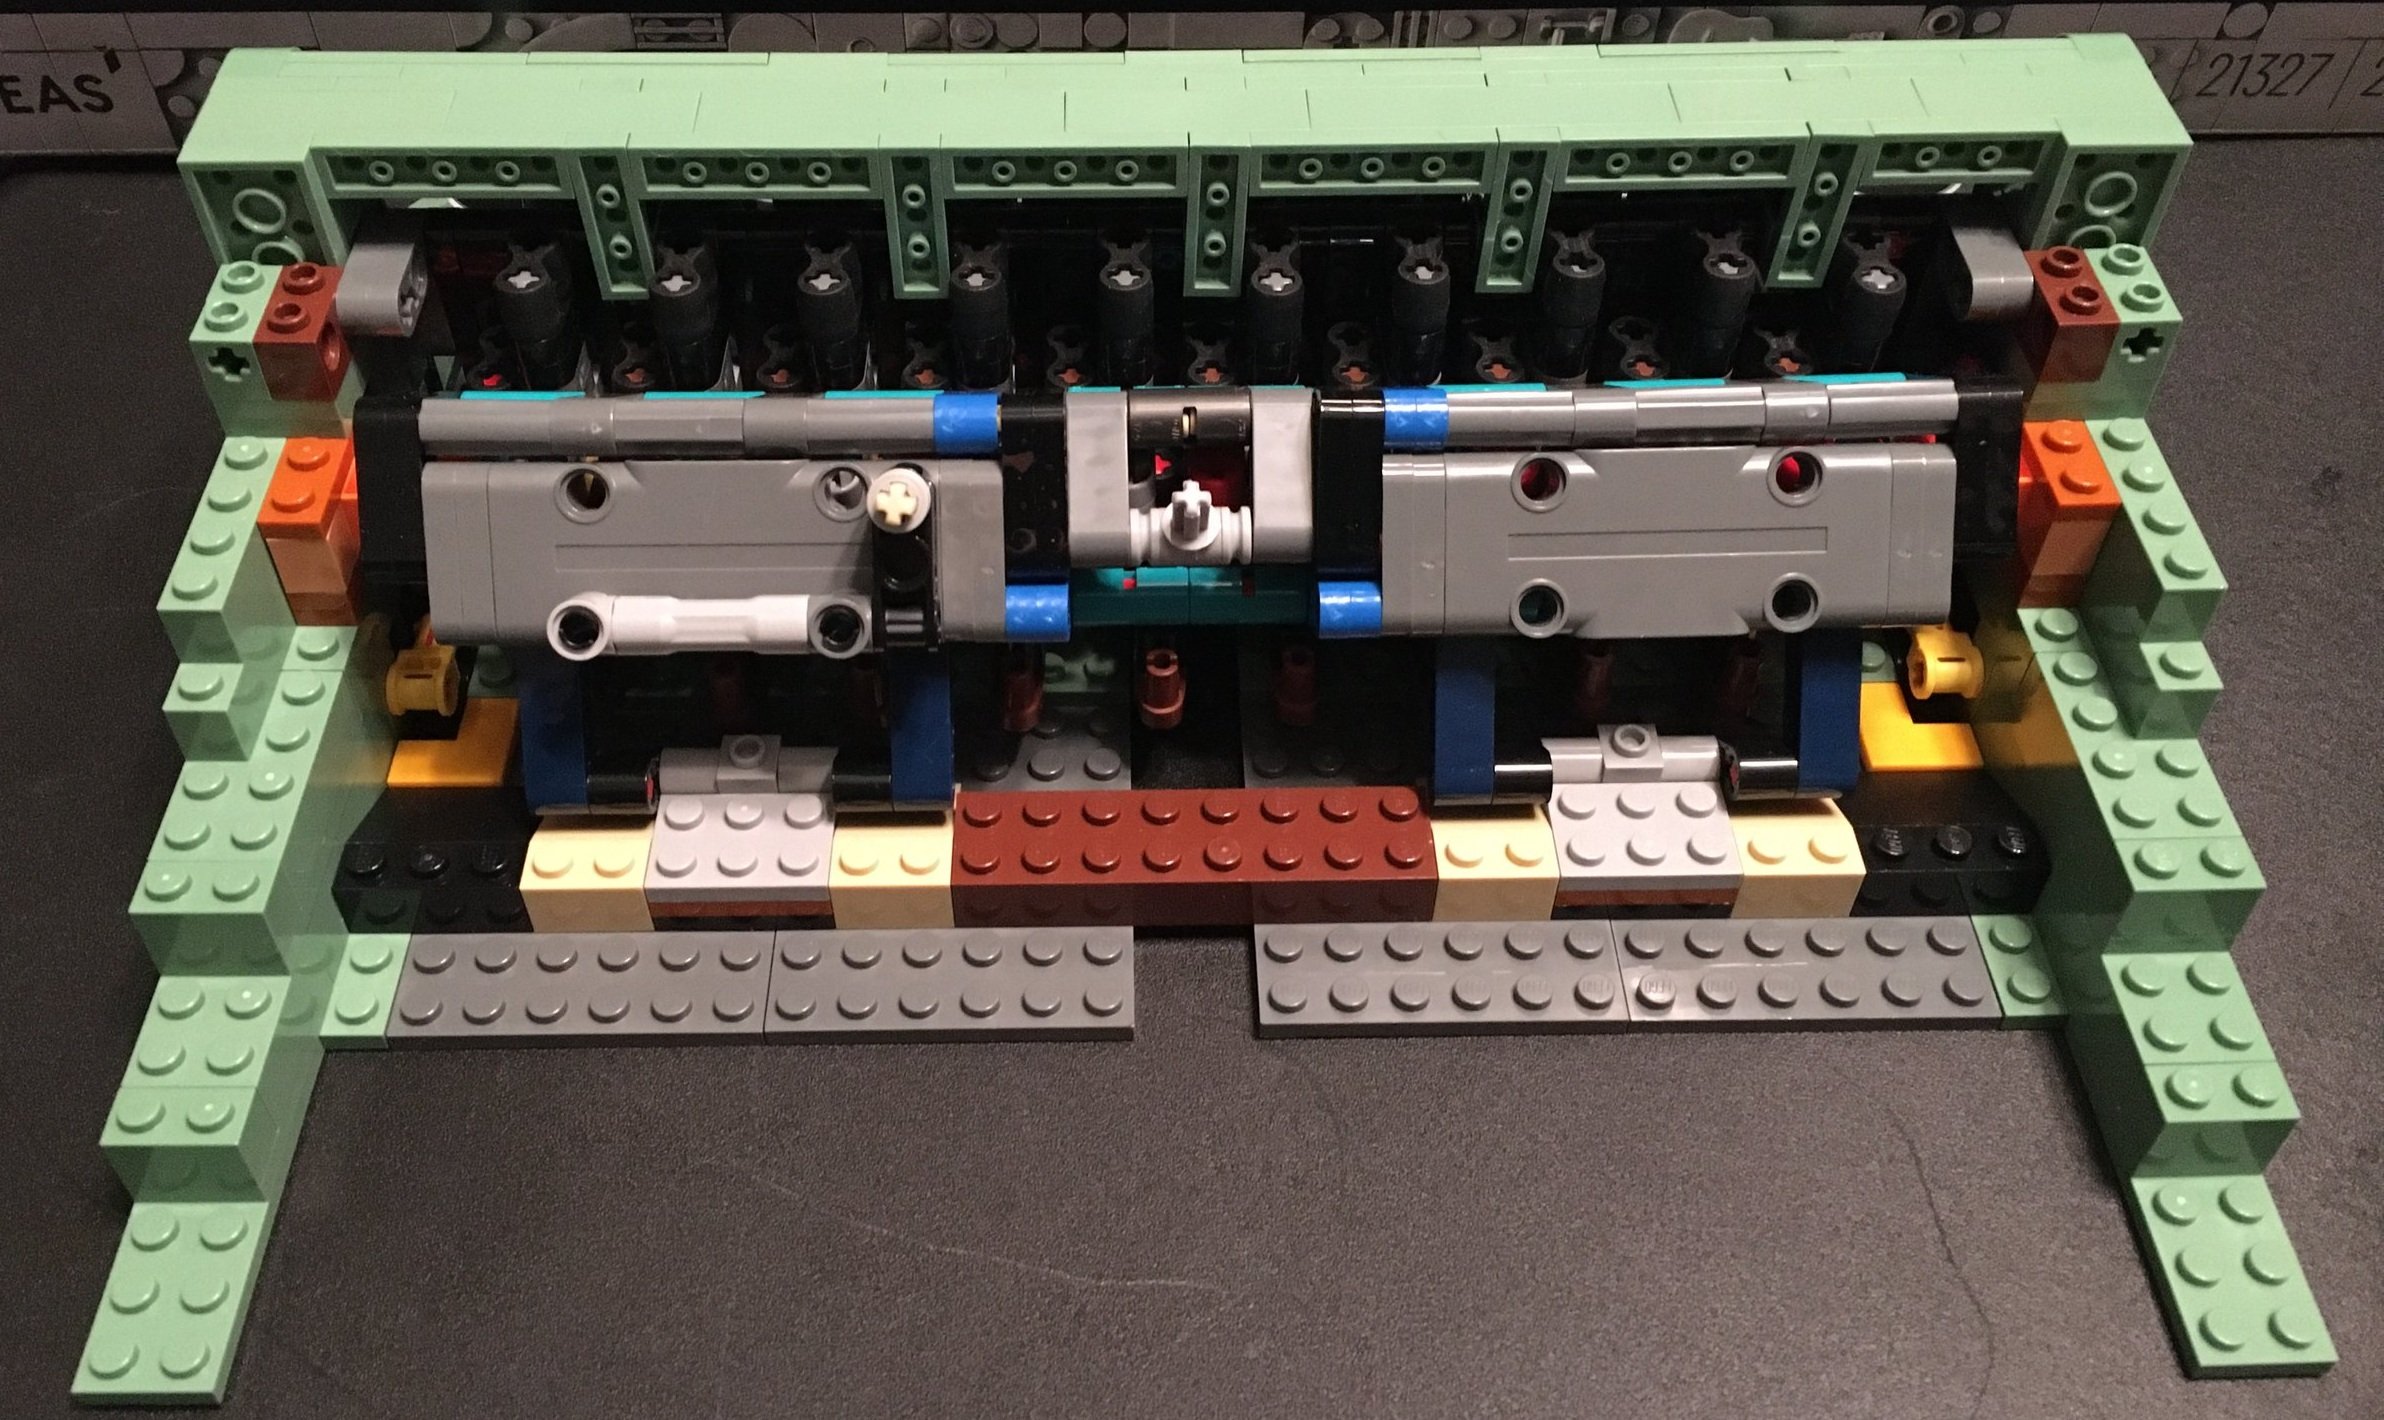
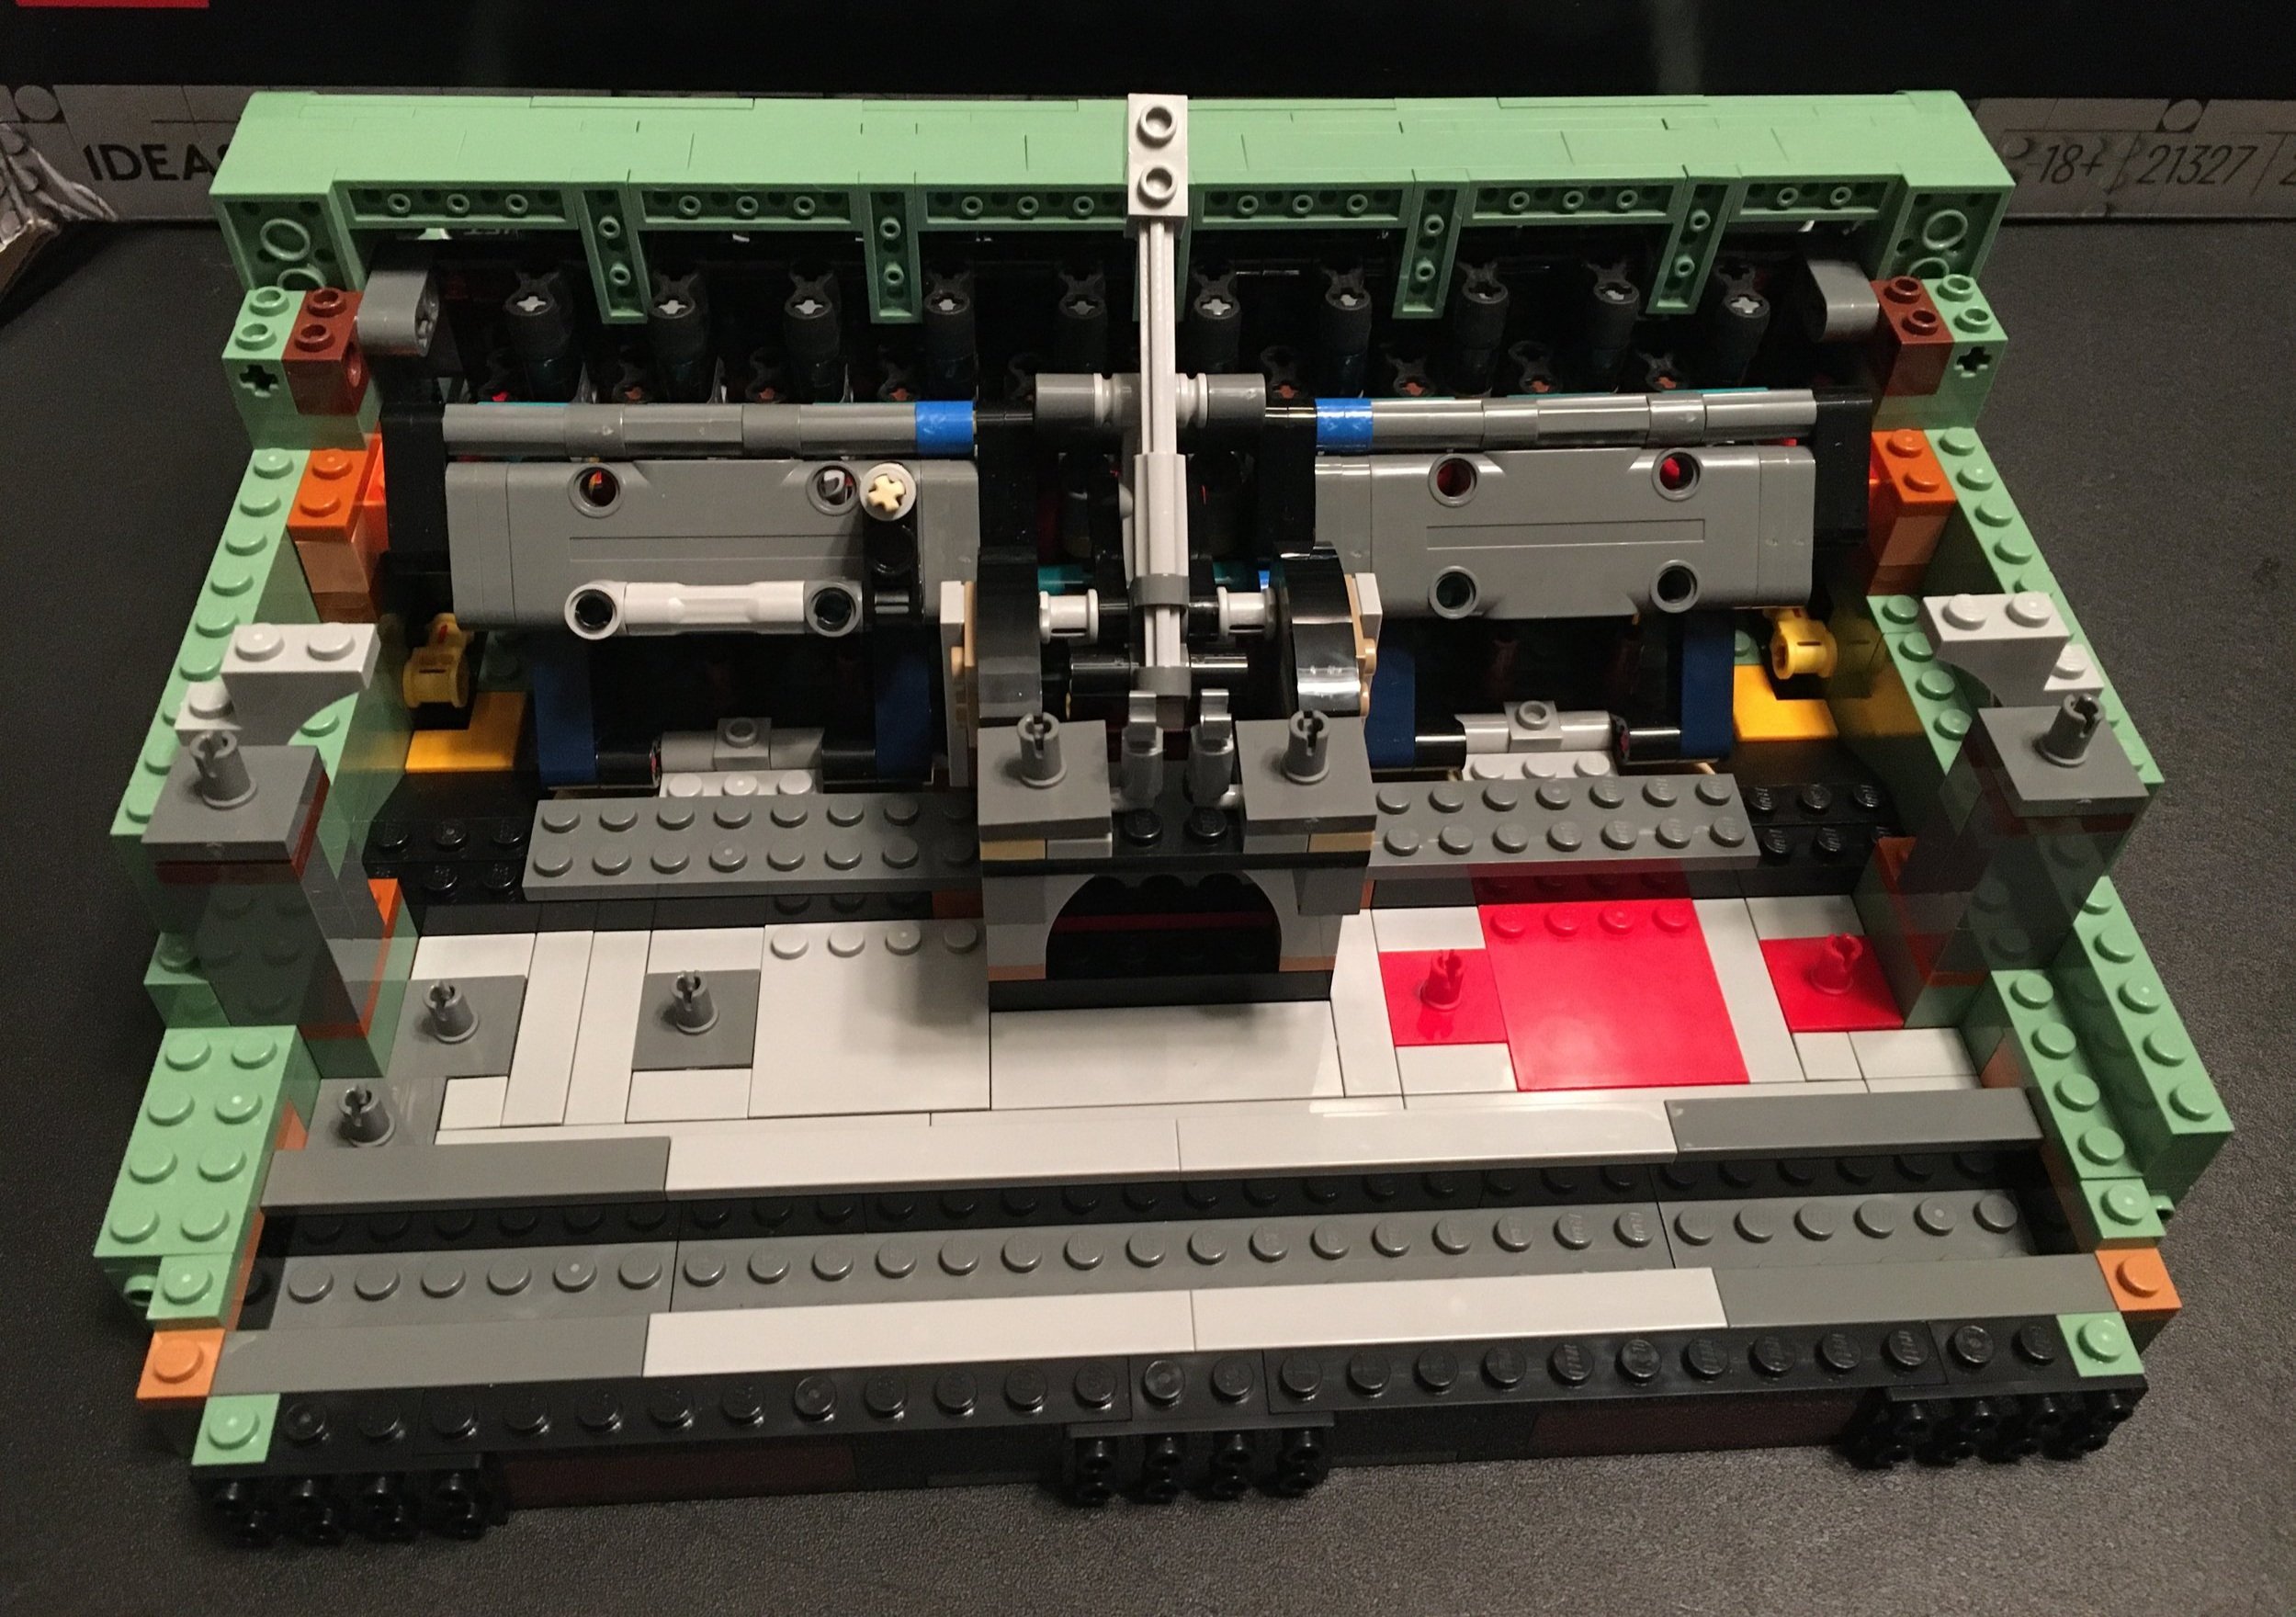
Next up you build more of the back of the typewriter and more of the Technic functionality. I made a mistake somewhere in here. I’m not sure if it shows on this picture or not. Thankfully it was an easy fix, but I didn’t realize it until I hit a key and the typewriter didn’t function as it should.

The sixth bag adds in more of the back along with the main hammer that moves when you press a key. Some of the fan media postings I have seen on this set mentions that the same hammer moves no matter what key you press and how they didn’t like that. I say, that would be hard to do with LEGO and the scale of the set so I can’t complain. I’m good with the one hammer moving. If you don’t like it, figure out how to re-mechanize it given the space constraints on your own.

The seventh bag adds more of the sand green case and then starts to build the section that will end up holding the paper. This part got a bit complicated with all the gears you need to add.

Onto bag eight… You cover up all that hard work you did connecting Technic pieces together. The more I look at it, the more I like the choice of color. The brick work on the top looks good with with the curved pieces in front of the spot where the type hammer piece is located. Also a few studs are showing so you still know it’s LEGO, but not a ton where it doesn’t look like a typewriter.

You also add in the switch that allows you to switch from black to red ink. The functionality doesn’t actually work, but the detail is there.

The ninth bag starts to assemble the section that holds the paper. The shiny chrome sticker really pops here and looks good on the sand green.

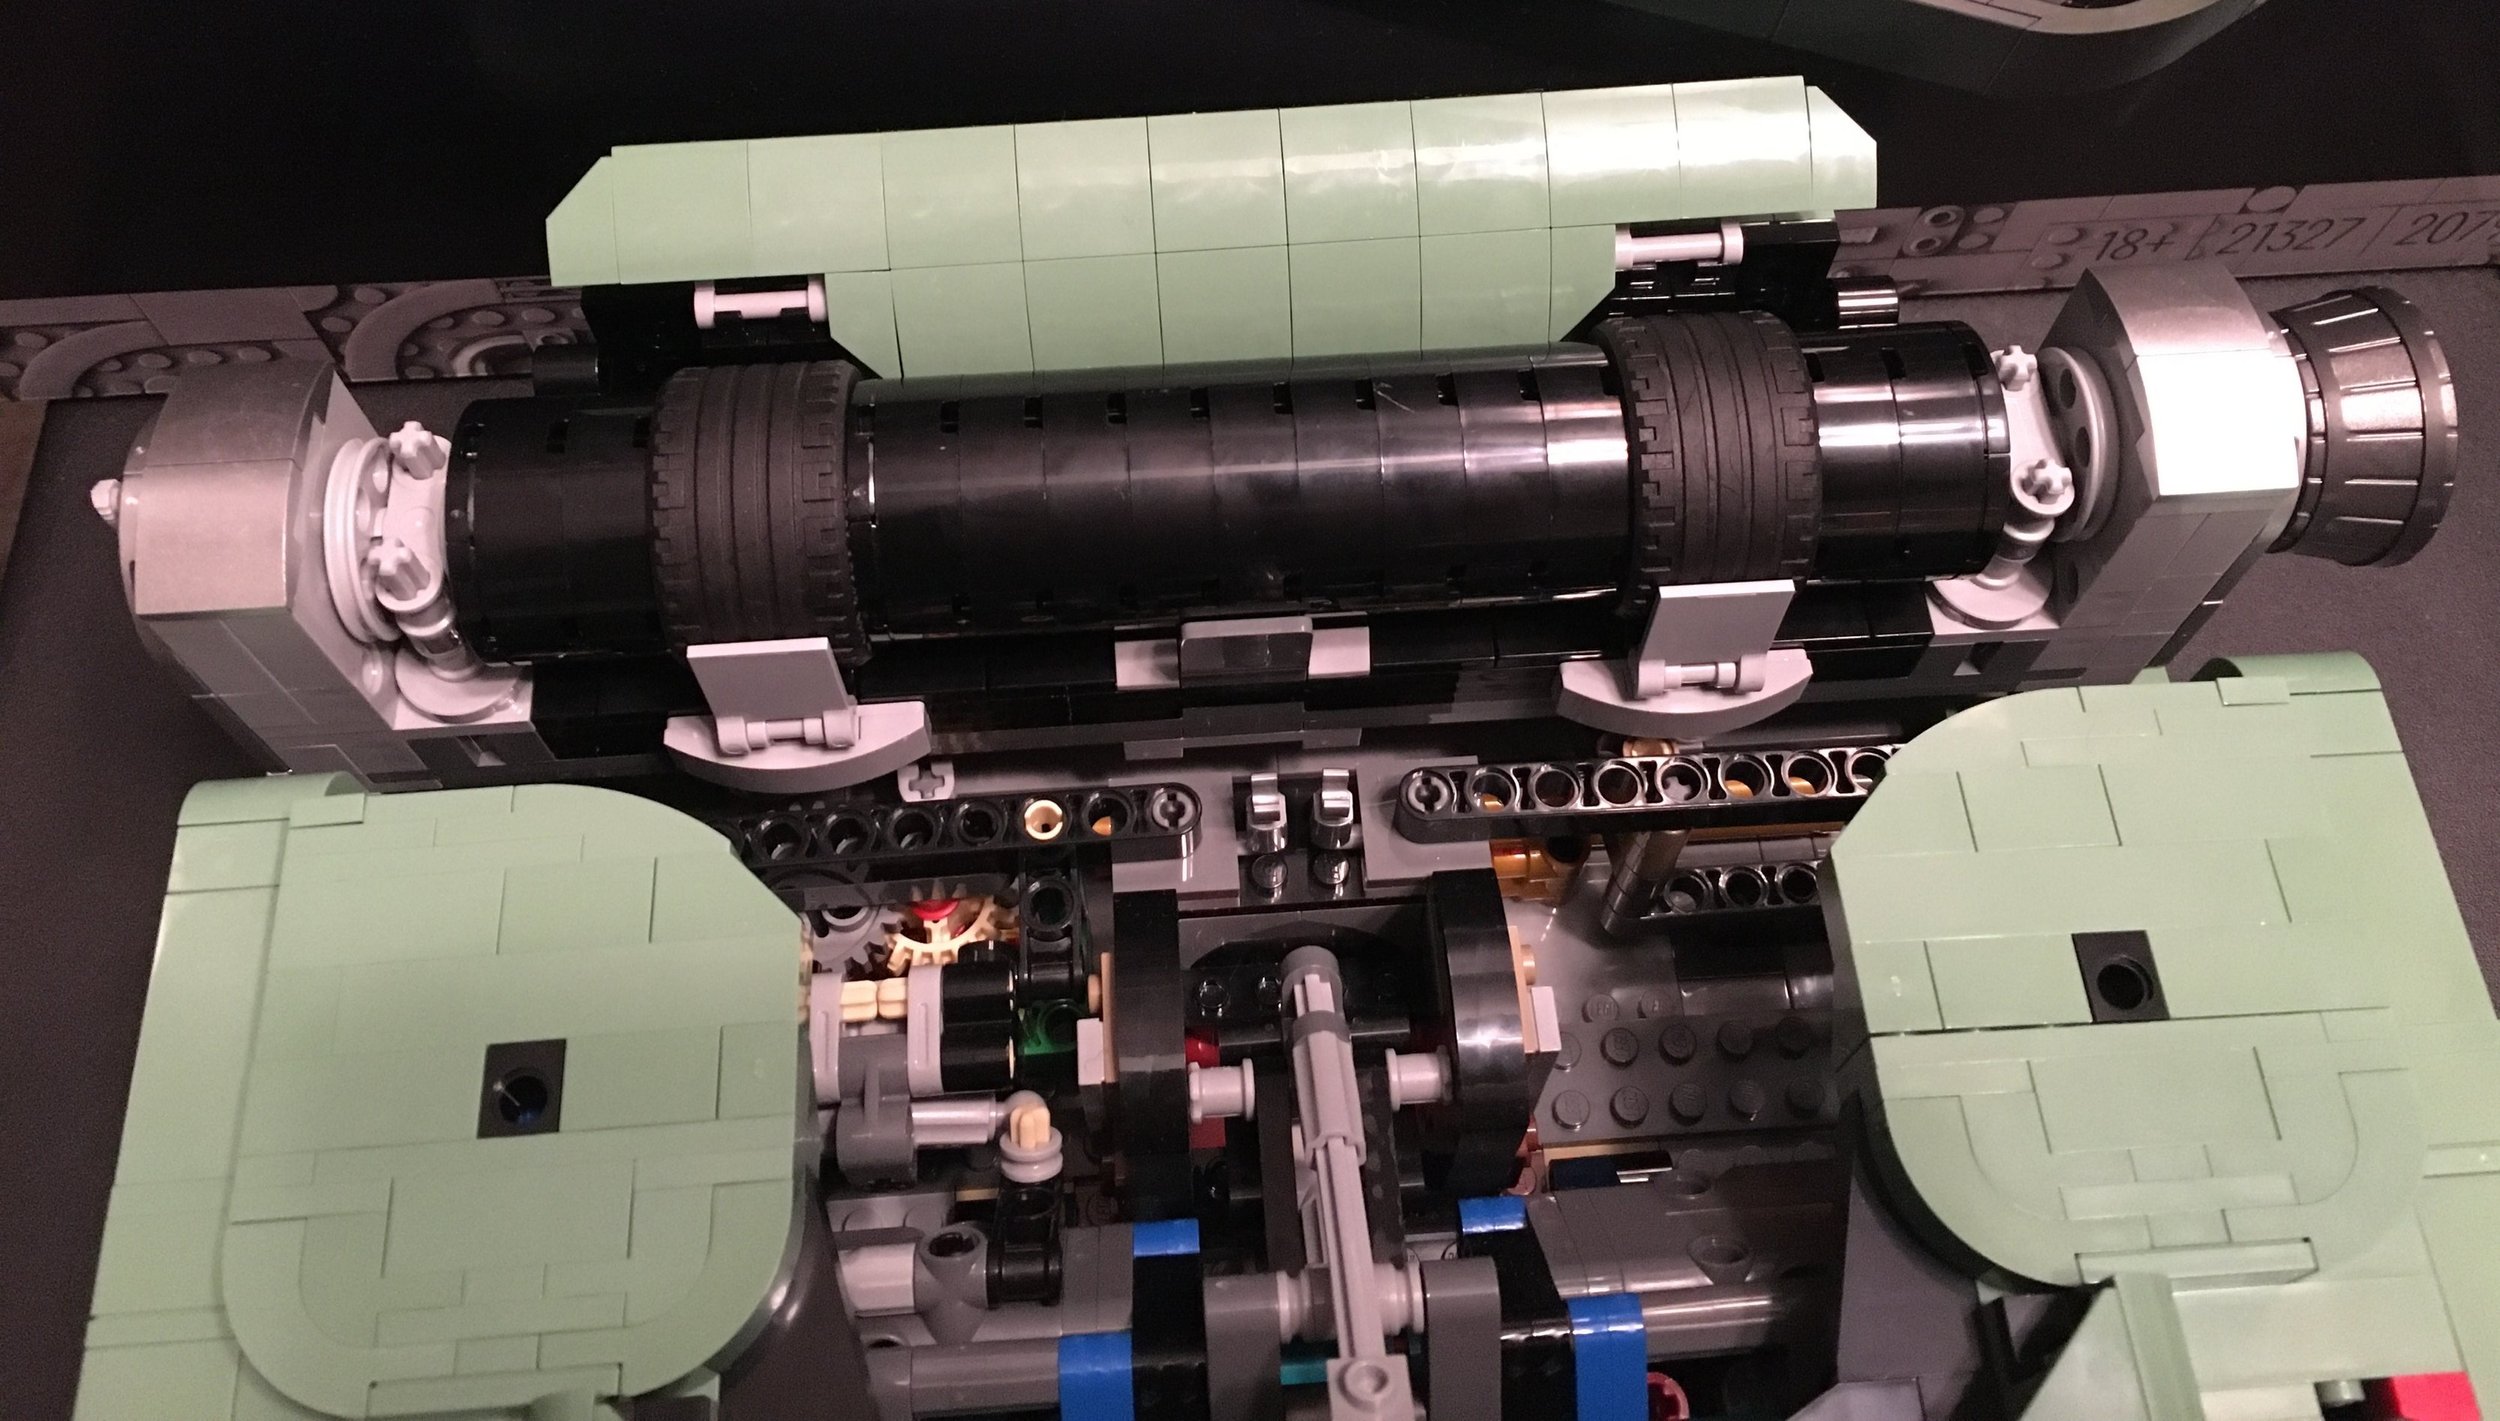
Bag 10 finishes the paper holder up and you attach it to the typewriter. The tires are an awesome touch and then the barrel half on the end is cool. There are a bunch of silver pieces and tiles for those of you who build MOCs who weren’t excited about all the sand green pieces.

In case you haven’t seen any other reviews, this section will move when you “type.” Once you hit the end, you can then push it back so you can type another row. It’s impressive that they were able to figure out how to make the typewriter function using Technic and System pieces.

#11 wraps everything up. You add in a handle for the paper holder. The instructions warn you that it is not strong enough to actually function like the real thing. You need to push it at the base of the handle and not at the top edge where it will just snap off. You also add in the ink ribbon and the rolls where the ink goes. Finally, you add in some additional hammers which help to make the typewriter look realistic, but don’t actually function.

Wow! This set is impressive. I enjoyed the build. The mix of Technic pieces to add functionality along with System pieces for detail make this set a winner. There are a lot of great pieces if you intend to tear this down for a MOC and not a ton of stickers. The set is on the expensive end at $200, but I thought it was worth it. Definitely look for sales at some of the retailers or use VIP points through LEGO stores or Shop @ Home if you want a discount. I highly recommend this one and hope we get more in the Ideas line or other lines similar to this one.

Happy building!

Set Review: #80109-1: Lunar New Year Ice Festival - Chinese Festival Special Edition

LEGO started the Chinese Festival Special Edition sets for everyone back in 2019 (it actually started sooner, but that was only for Asia). The theme continued in 2022 with two more sets. #80109-1: Lunar New Year Ice Festival was released on 10 January 2022 in the US. It is one of two sets. The theme has had a smaller set around $80 each and then a larger set around $120 each. This one retails in the US for $119.99 and contains 1,519 pieces. That works out to $0.079 per piece which isn’t too bad.

This one is a big scene with a lot of minifigures. You get a full 13 in this set. It’s a great play set, but unlike #80107-1, it has many fewer pieces. It also doesn’t use Technic pins to hook into others which is disappointing to me, but isn’t a hard challenge to fix if you want to link this up to another set.

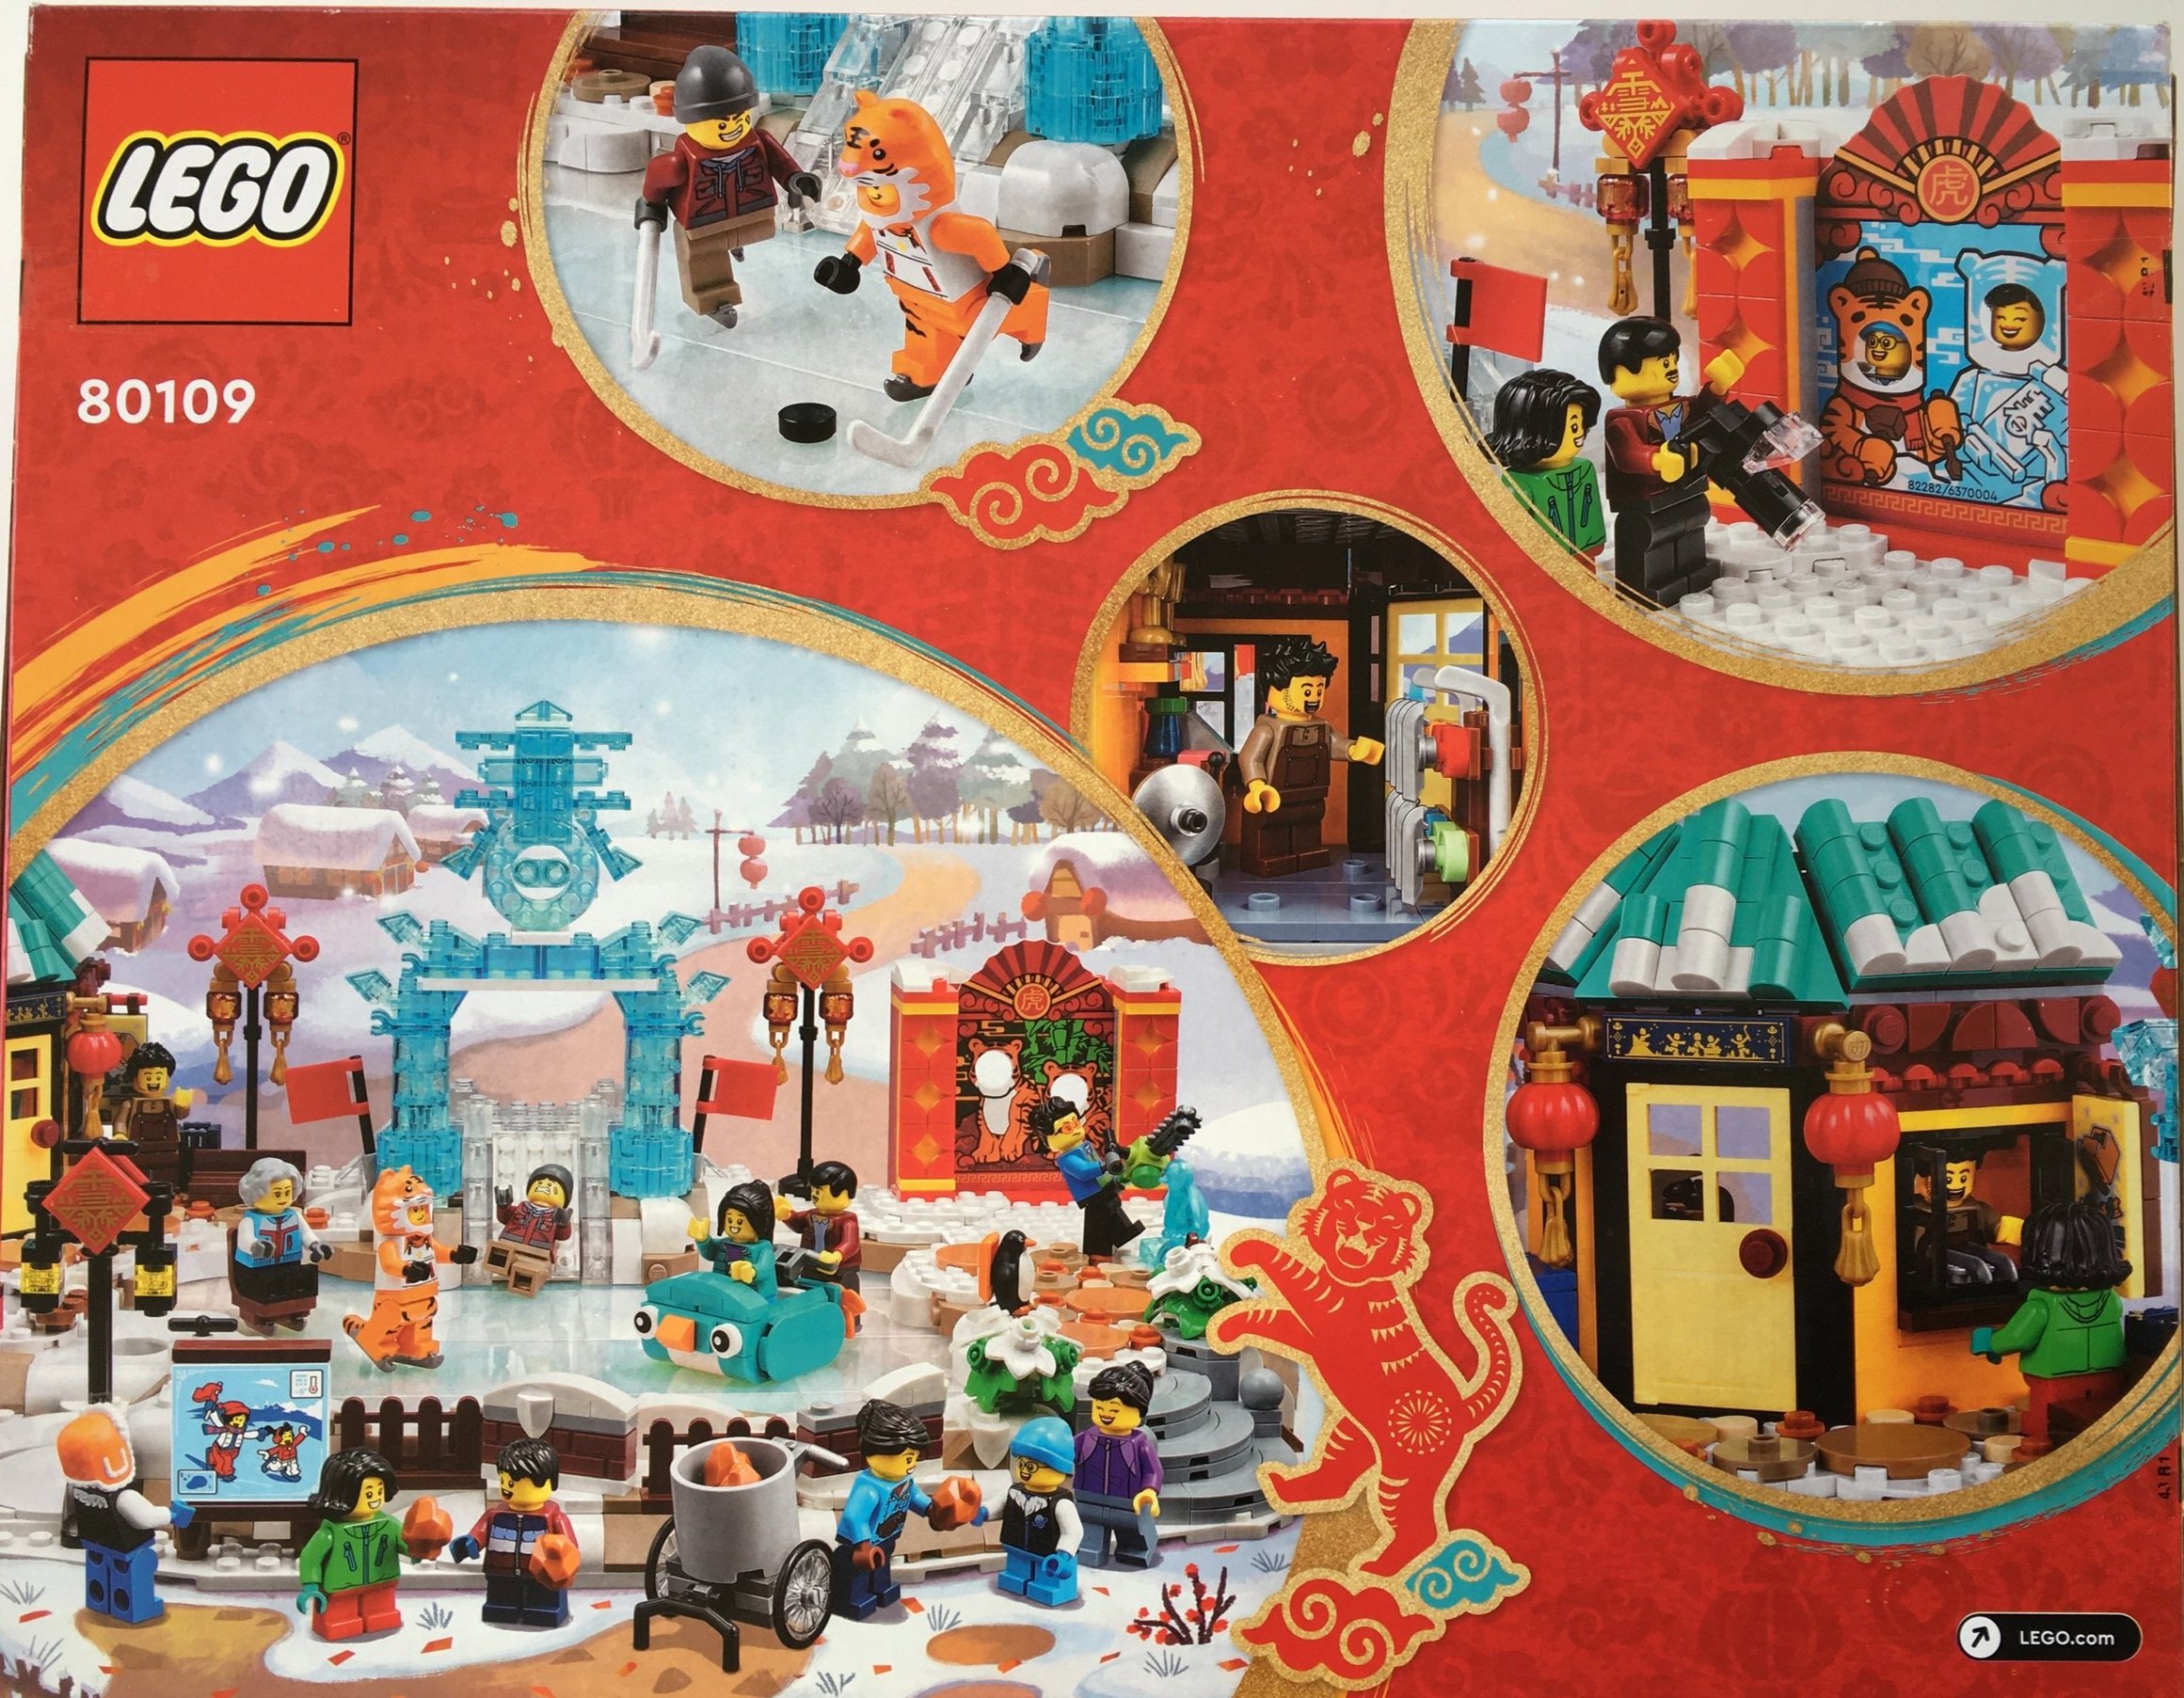
The box is pretty standard. The front shows the full scene with all of the usual logos. The back shows some of the details.

The contents are 13 numbered parts bags, 2 16x16 white plates, and the instructions which are wrapped along with the plastic piece used as the photo board.

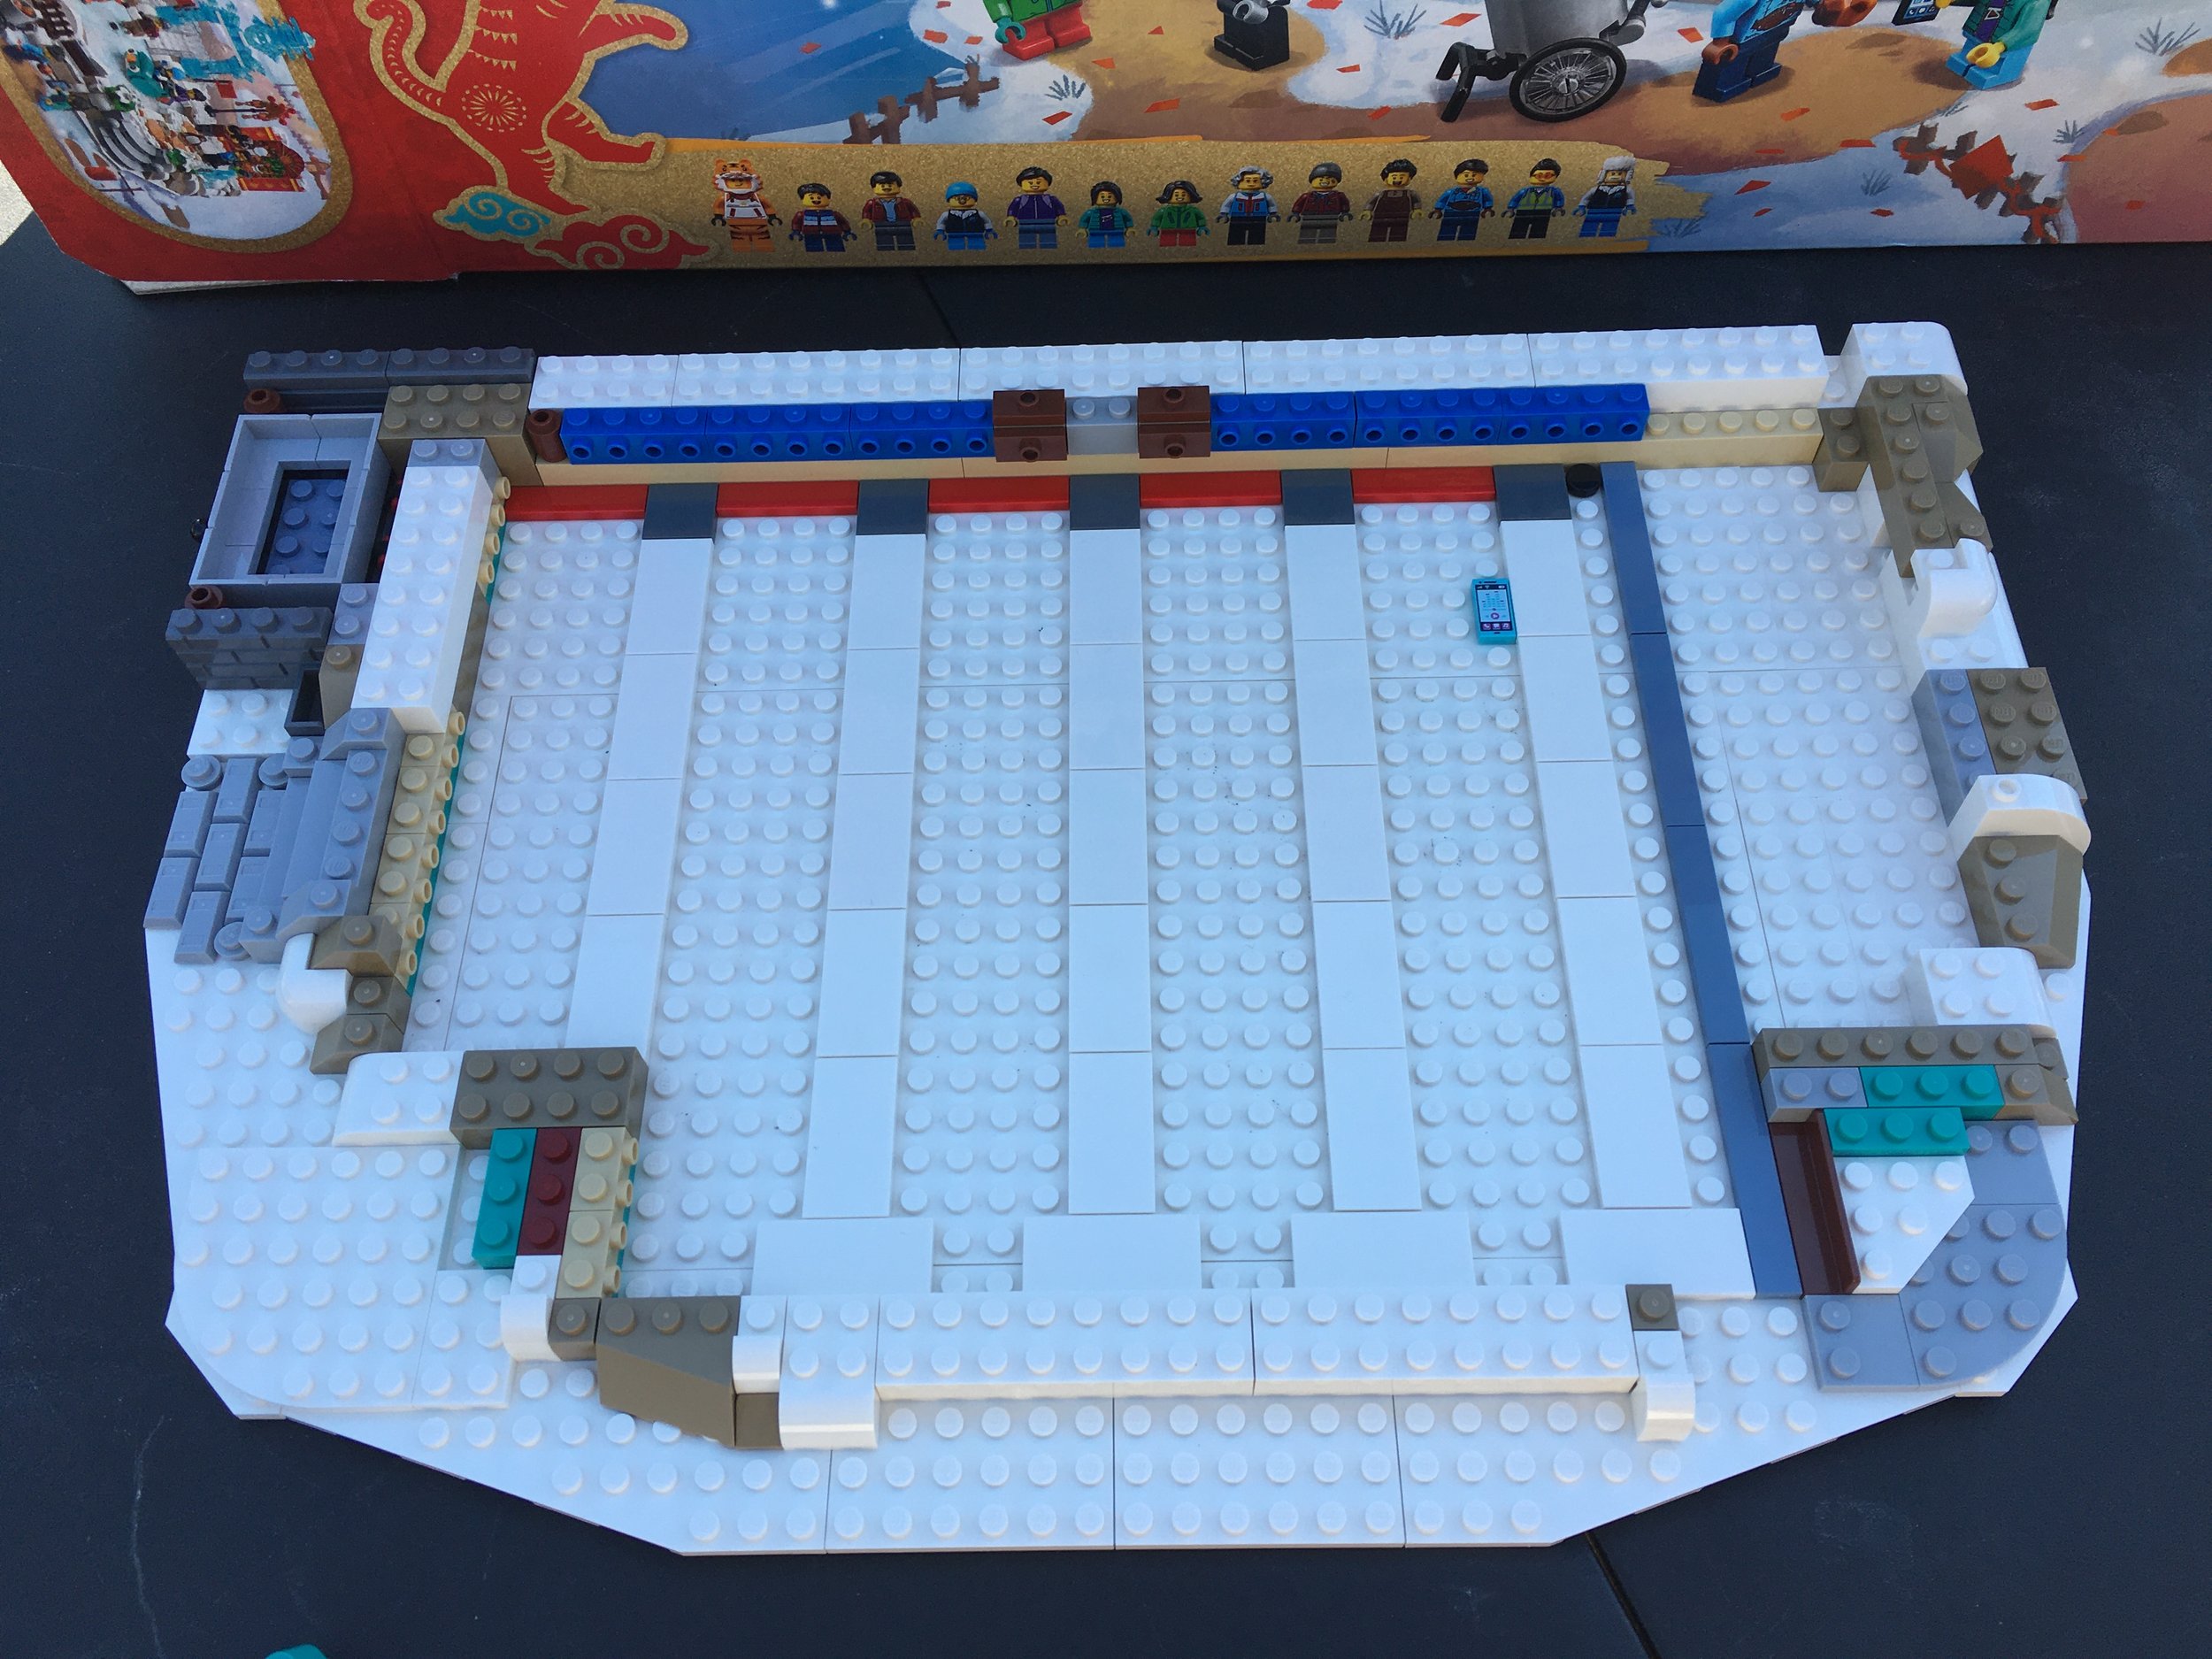
The first bag starts the base. To the left of the base is an odd set up which didn’t become apparent until later in the build so I won’t spoil it. One fun bit is you add a smart phone to the base which ends up being a phone that someone dropped into the water and the ice froze over. A humorous little detail which is fun to see.

This bag comes with two minifigures. There is a kid with a winter hat, glasses and gloves/mittens. He can ride in the little cart which the adult minifigure can push around while on skates.

The second bag finishes up the base. Not too much overly interesting here other than laying down plates and connecting them with plates, tiles, and bricks.

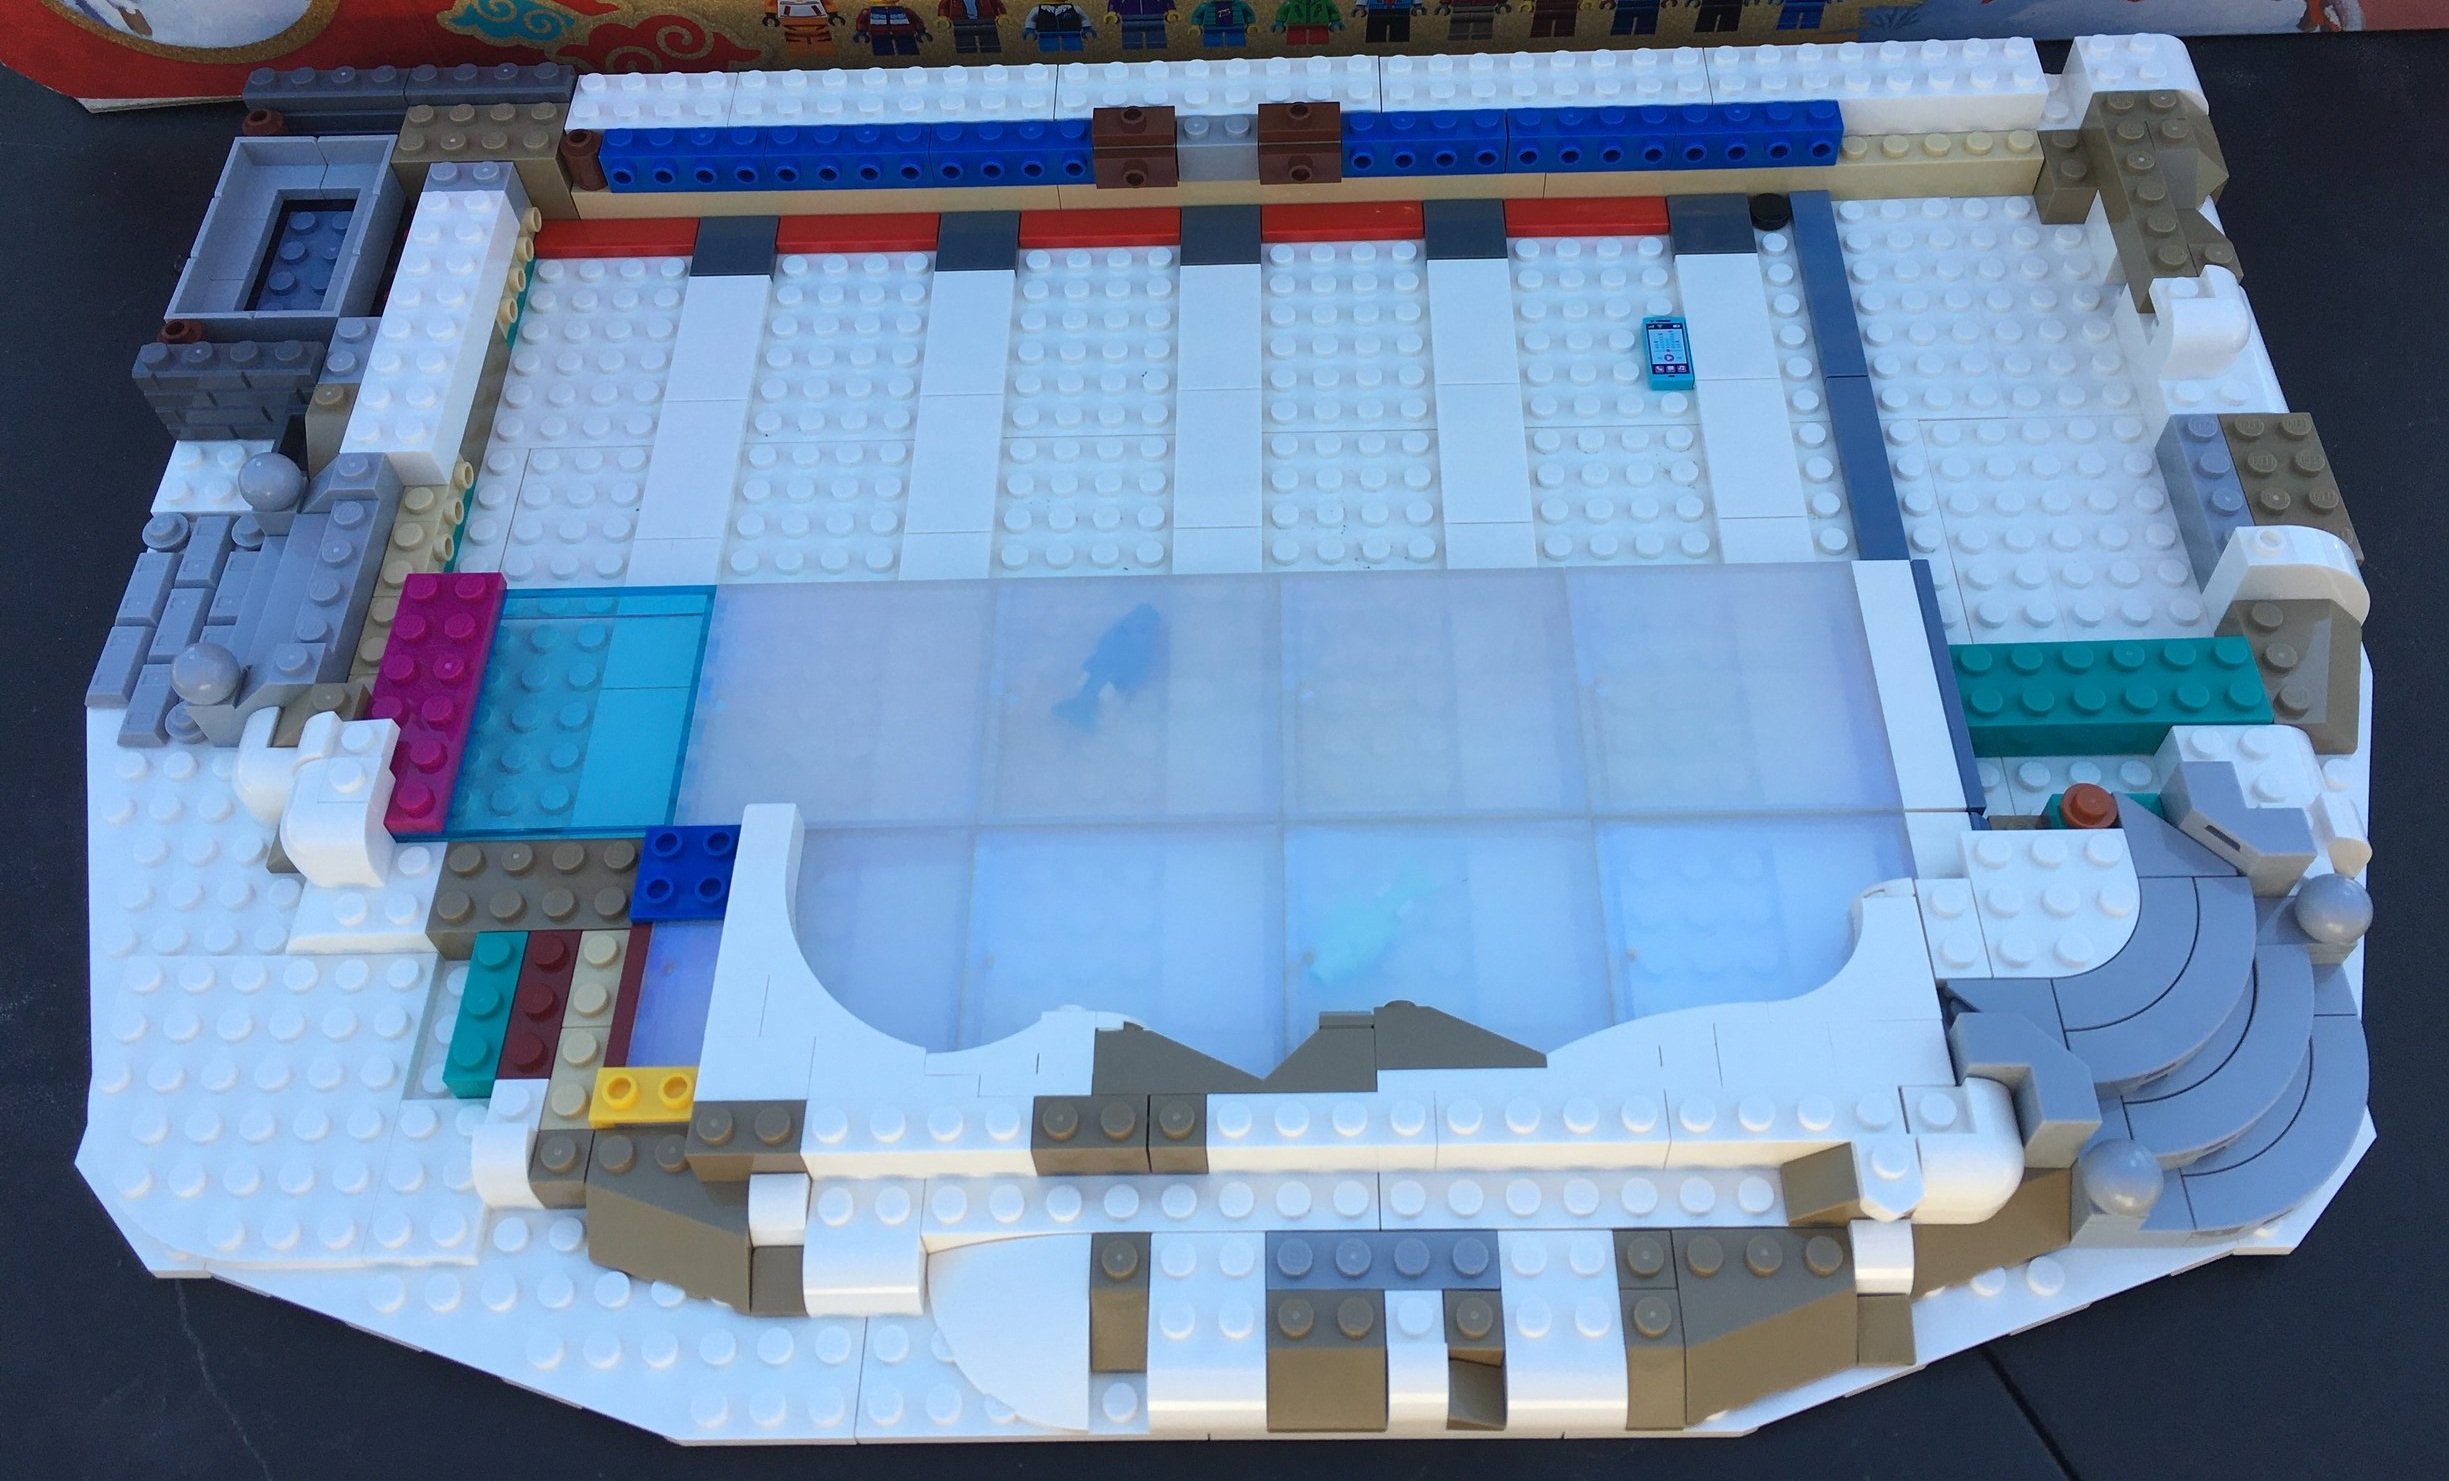
The third bag starts to put the layer of “ice” on top for skating. Most of the large window screen pieces used for the ice are a newer color that seem to be a white with a slight sparkle to it. I’m sure there is a technical term for the color, but it’s cool. There is also one of the light blue translucent pieces for where the ice fishing hole goes.

You add edges to the ice rink throughout the build. While this is okay, it continually makes the rink smaller. I’d rather have a larger skating area given the number of minifigures. I guess you can modify the set later to get rid of some of the edging that takes away that space.

Bag four finishes up the “ice.” You can see that you place a few LEGO fish pieces underneath the ice to “swim” around. Maybe one will find the phone.

This bag comes with a minifigure ready to play hockey. He has a hockey stick and it comes with a few round 1x1 tiles for pucks. This face has two sides which both look beat up from playing. He needs a helmet with face shield.

The fifth bag adds more edging around the ice.

You also get an older female minifigure who sits on a chair with skates.

The sixth bag finishes up a lot of the edging. You get the base of the sales hut in the upper left corner of the picture, a number of tiles and round 1x1 plates as stone paths, and then just some white plates as snowy areas to walk over.

This bag comes with a female minifigure holding a chain saw. There’s a translucent blue penguin which you can assume was carved out of ice using the chain saw. There are a few translucent blue cheese slopes on the ground nearby which you can assume are pieces of ice that she sawed off.

The seventh bag builds the walls to the small store that sells/rents gear for the ice. It’s a simple build, but has some fun colors and details as well as a small sign out front. It comes with a male minifigure as the shop worker. Inside is a skate sharpening machine, some skates, some hockey sticks, a cash register, and some trophies.

The eighth bag adds the roof to the hut and some red lanterns out front of the hut. I like how they added some snow still on the roof while keeping the shape of the roof.

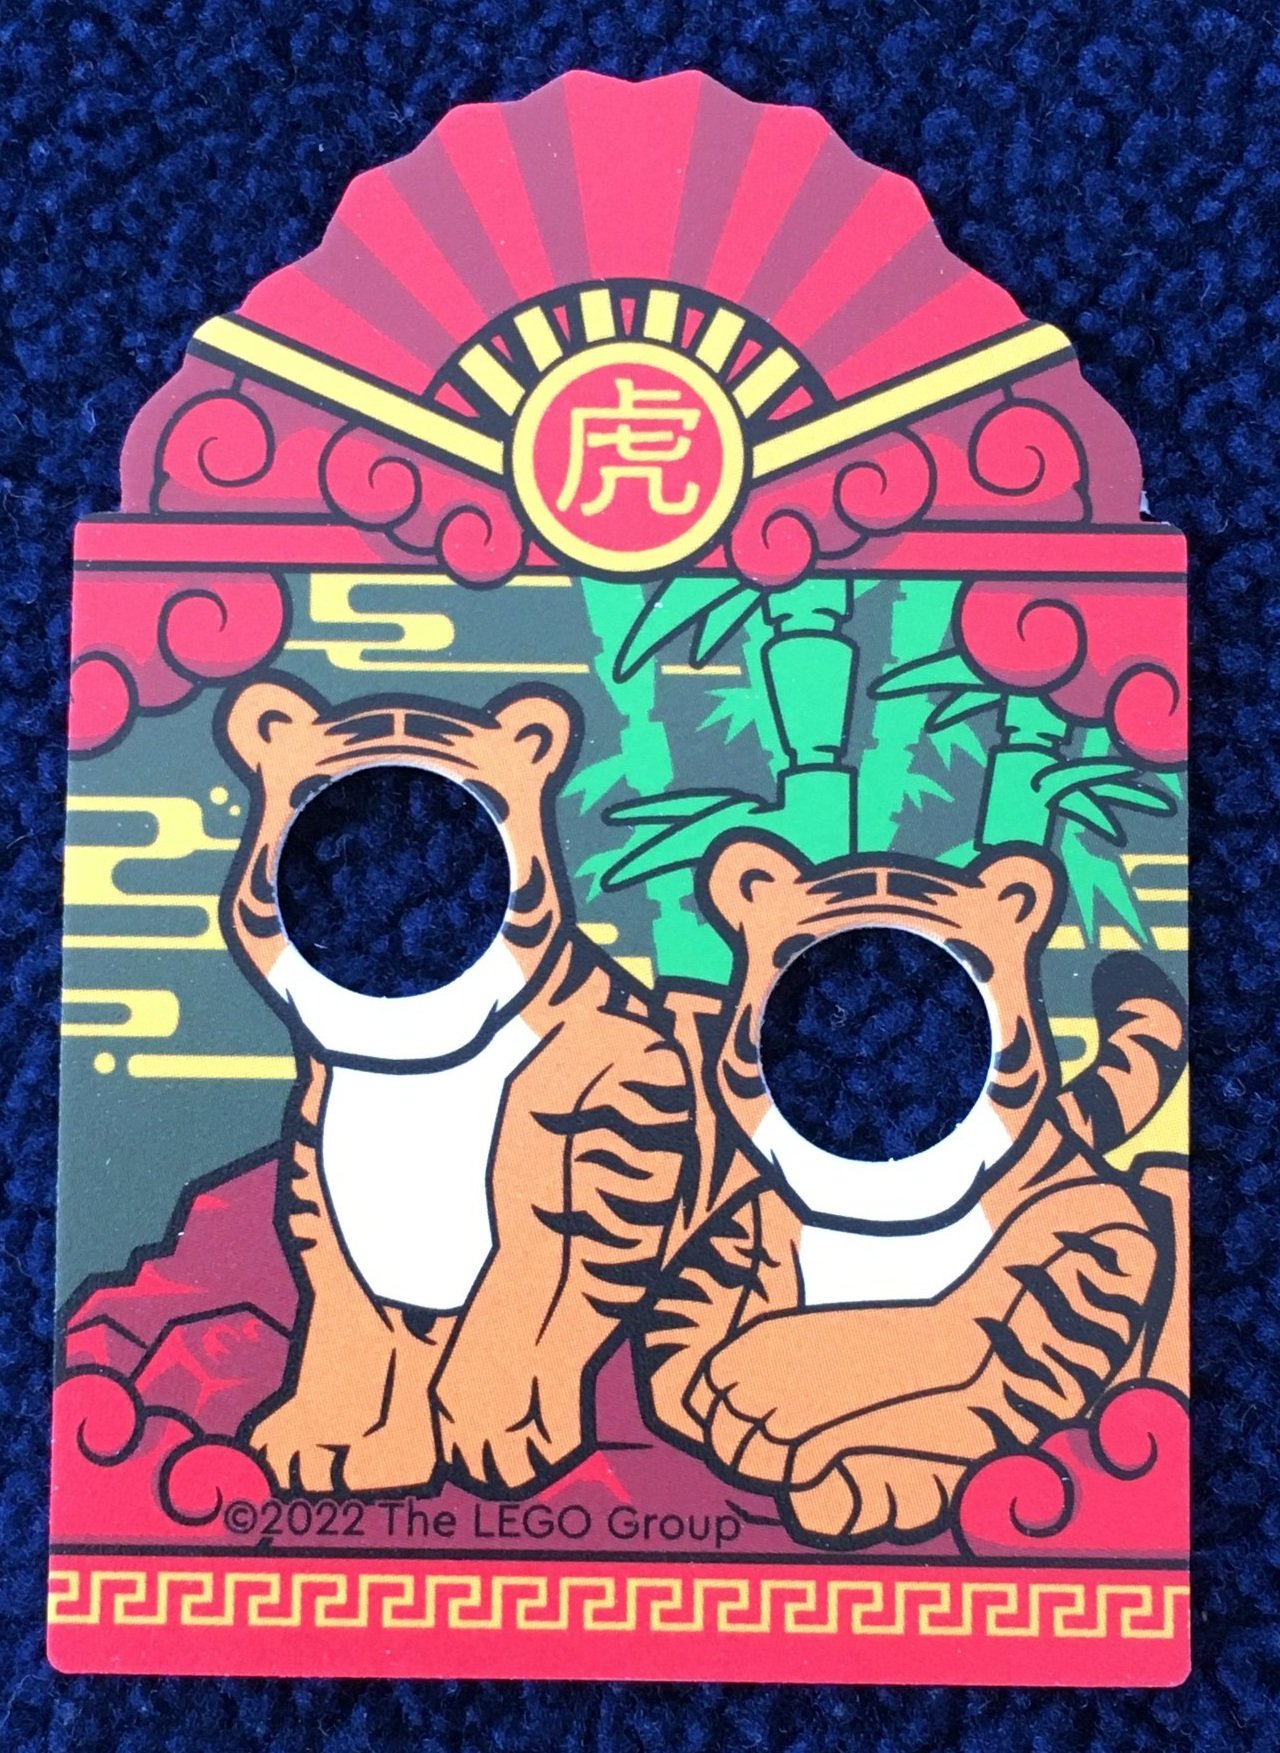
The ninth bag adds in a spot where minifigures can pose behind a picture with cutouts for their faces. To do this, you build two brick built posts for a frame and then you slide in a plastic card with the cut outs.

This bag comes with three minifigures. There’s a boy, a man with a camera, and then a woman with a cart selling… um… I’m not sure what it is…

Here’s a closer look of the plastic piece for the minifigures to pose behind.

The tenth bag adds a few more details. There’s a vending machine near the building that is added in. Then there is an ice fishing hole with a minifigure fishing in it. Finally, there’s some fencing and plants added in for decoration.

The eleventh bag begins the build of the ice sculpture in the back of the set. It comes with a bunch of clear and translucent blue pieces to form a ramp for skating down maybe and then an arch. There are also two flags added in.

The costumed tiger minifigure comes with this bag.

The twelfth bag finishes the ice sculpture. I’m sure it’s designed after something, but I don’t know what it is. On either side of the ice sculpture is a pole with some decorations. There are two lanterns and then a sign on the top with some… not sure if it is calligraphy or just a design.

This bag comes with a girl minifigure.

Bag 13 wraps up the build. You add in a few more details to the build. This includes the snow covered tree on the left side, another sign with lights hanging down, and you finally make use of the drawer underneath the rental hut. You fill the drawer with some extra skates, snow shoes, hockey gear, and ski poles, A pair of skis are added on the outside of the hut near the vending machine. This is a handy feature to keep all of the extra gear with the set. In the very front of the set, you add a sign. It’s a picture of two minifigures running or skating maybe. One has a red flag. There’s also a thermometer showing it is cold and then a map of the area (maybe). I’m super thankful this was printed on and there are no stickers at all in this set. Win!

The 13 minifigures you get with this set really make it. Without them, the set would be boring and dull. You really need them to pose them and have them do different things around the scene in order to make it worthwhile.

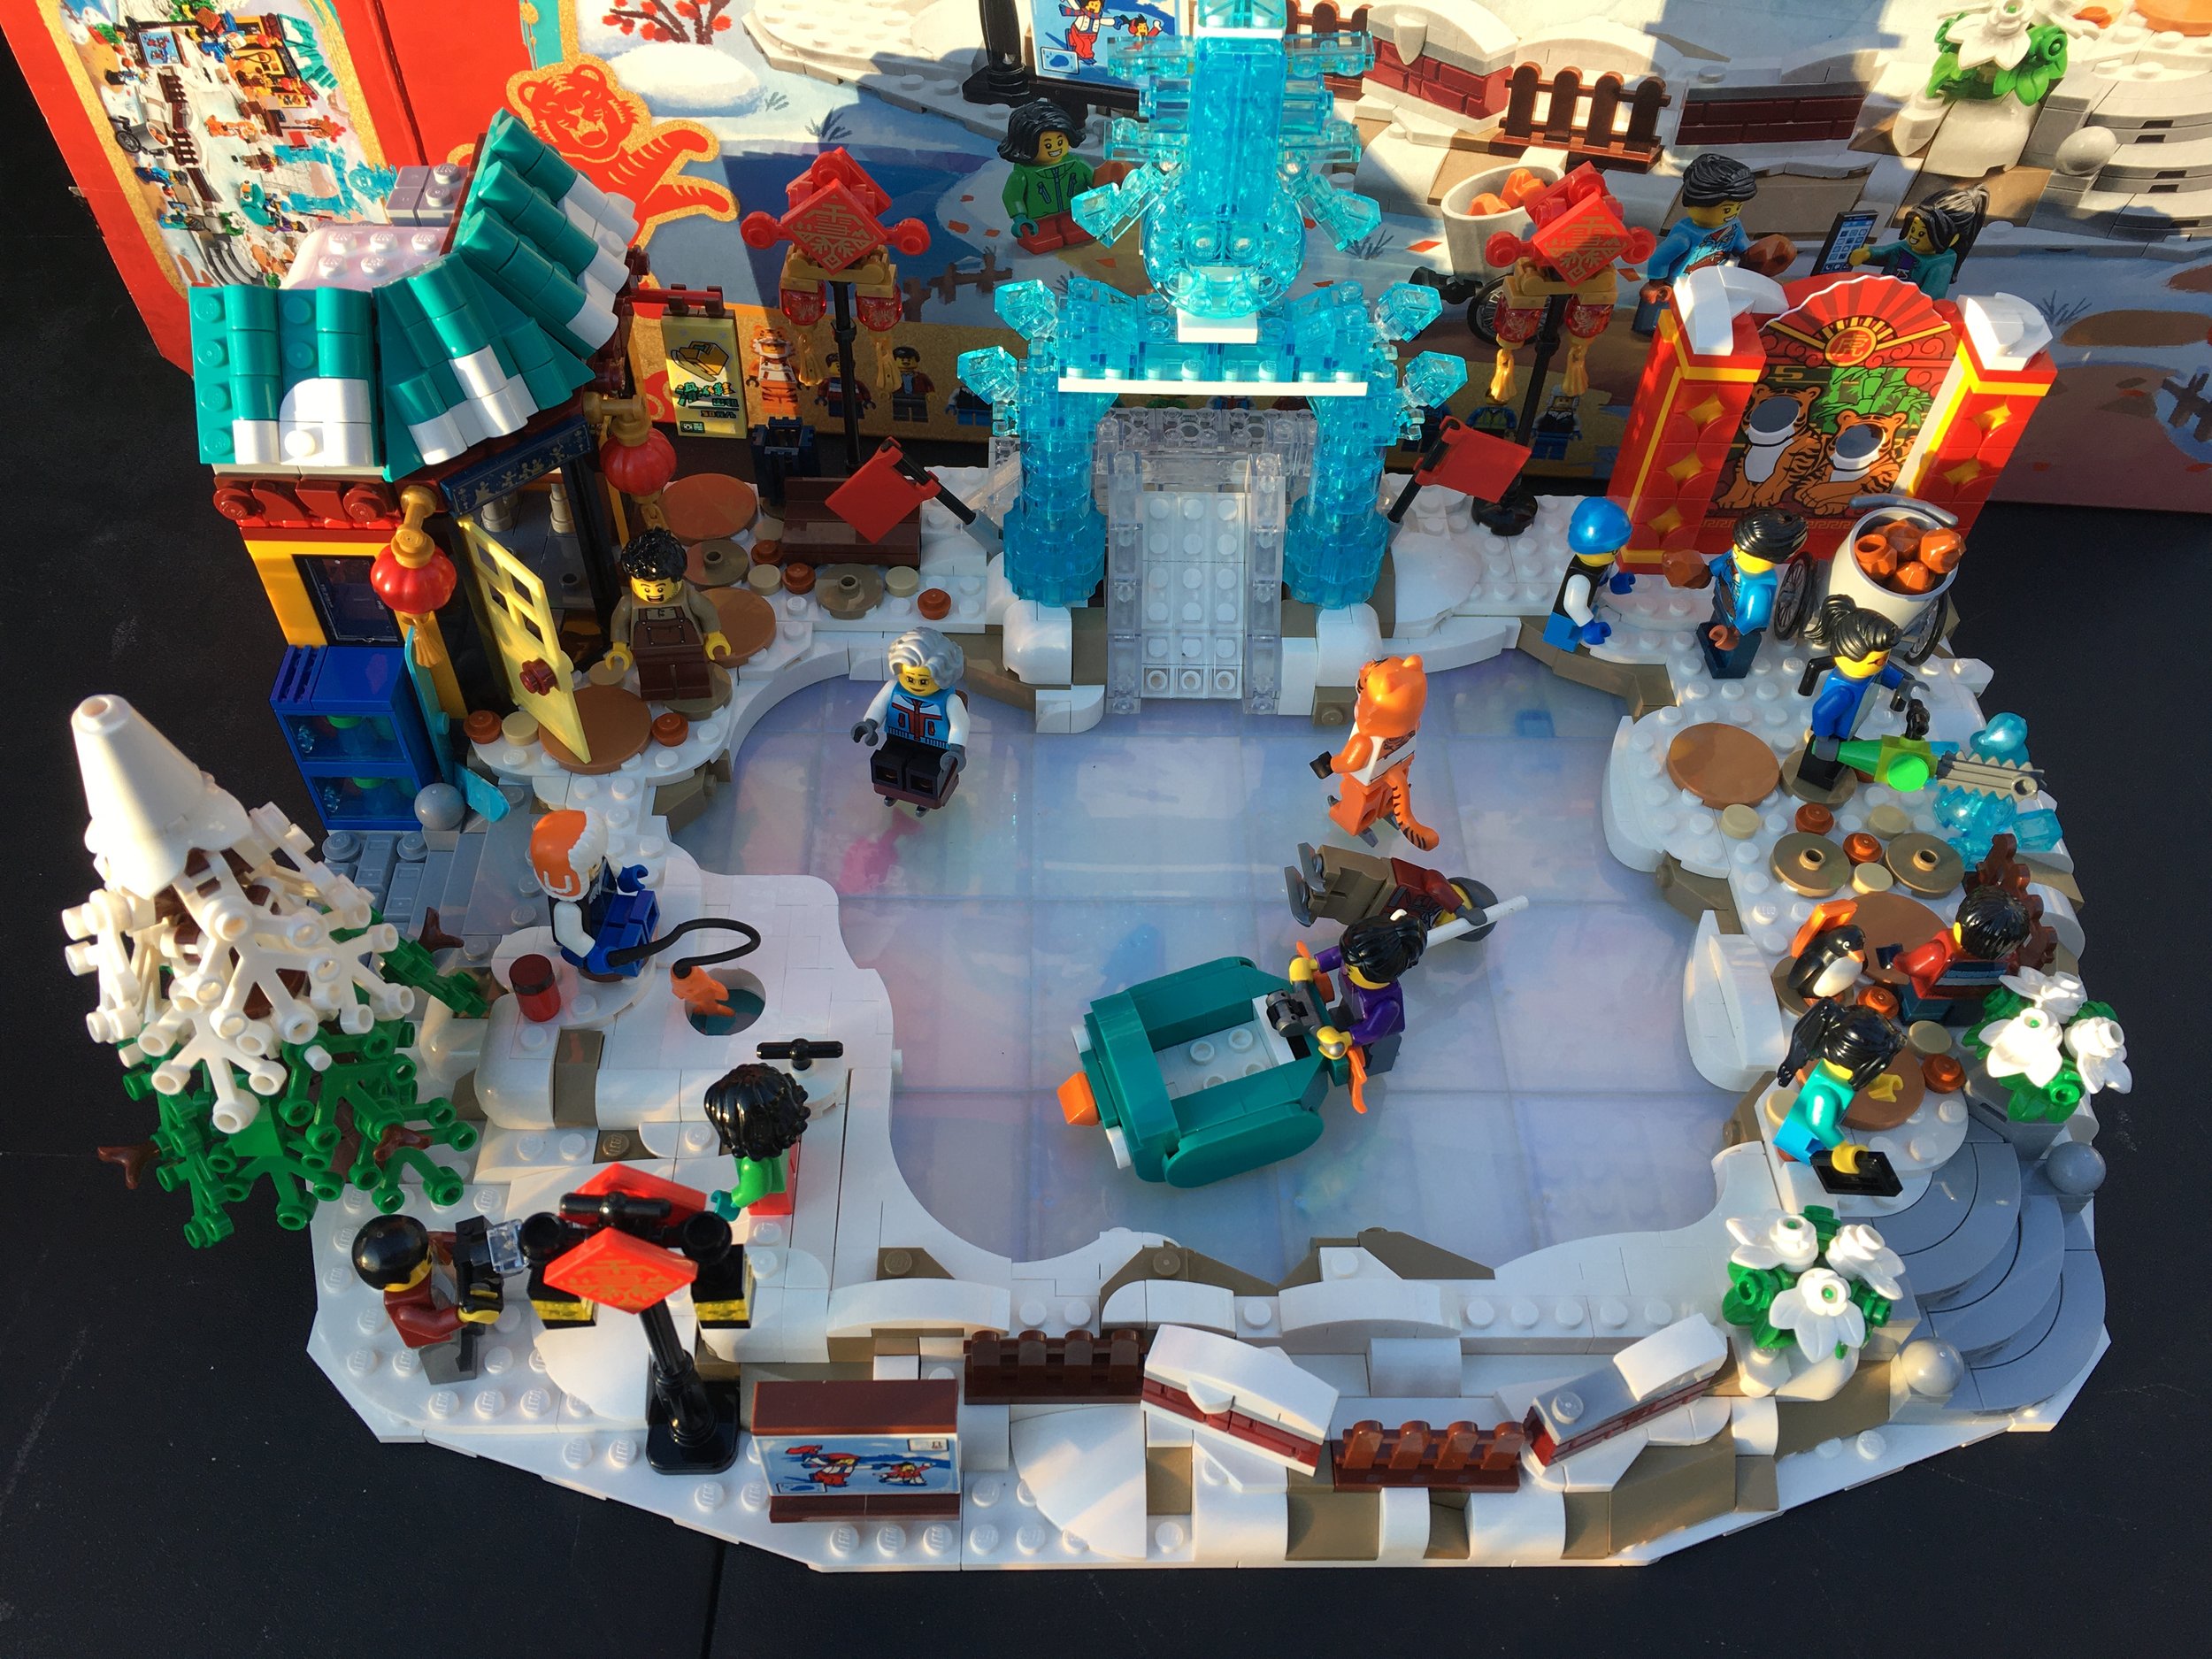
Here’s the final build. For those of you that like to build, this isn’t the greatest set although there are some great pieces for MOC builders to use. However, this is a great play set with lots of minifigures to do different things with. With a bit of work and some modification, you could connect this to the other Chinese Festival Themed sets. You could also add this to a Winter Village themed build.

The price for the larger set remained the same, but it has less pieces. However, it did come with a lot more minifigures. Definitely check around to see if you can pick it up at a discount.

I recommend this set if you collect this theme or like to learn about the Asian culture. Stay away if you are a builder and don’t want a play set with lots of minifigures.

Happy building!

Set Review: Series 22 Collectible Minifigures - #71032

I’m actually getting to review some Collectible Minifigures before they retire. That’s a first. Series 22 or #71032 was released in the US on 1 January 2022. I‘ve seen March and April retirement dates, but it probably just depends on stock levels. LEGO Shop @ Home will only let you purchase 16. Walmart.com (as of this post) will only let you get 2. I found Target.com would only let me buy boxes of 6 (shown below) and didn’t have a cap. The minifigures are $4.99 per bag and if you buy a box of 6 it is very slightly more As with previous sets, this one comes with 12 now versus the higher numbers of the past.

Maybe it’s just me, but this time I felt like they were more evenly dispersed. I’m used to getting a lot of a character I don’t want and then there’s that one hard to find figure that I can’t get. I’m sure it’s just me.

Overall, I found this to be a good set. I like the mix of minifigures and have always been a fan of the creative series versus the licensed series. If you collect these, I recommend this series although $5 a bag still seems ridiculous to me.

Here’s a picture of the box that comes with six minifigures in it. For a company looking to decrease its impact on the environment, adding packaging to a product doesn’t seem to fit the bill there. I guess the boxes can be recycled so maybe it’s not as bad?

Not in any particular order…

The Robot Repair Tech comes with a small robot and some tools. The arm of the tech has a tool hand versus the standard minifigure hand. This is something you don’t often see. I wonder if we’ll see this more?

Chili Costume Fan comes with the costume and some red hair. She also had a little container of milk to help with the burning sensation in your mouth after eating a chili. The costumed miniifigures seem to be very popular so I’m sure we’ll continue to see more of these in the future.

The Snow Guardian looks like it could the the star of a cool new fantasy theme in the LEGO world. It happened with the Monkey King and series 20. You never know. This minifigure comes with a husky dog to add to your LEGO dog collection.

Troubadour… I had to search what this one was… comes with a lyre and some coins. Could be a fun addition to a castle MOC.

Horse and Groom is the next one. This one comes with a pony sized horse as compared to the larger versions seen in Castle sets in the past. The minifigure has a carrot and a hat with hair attached. I like the green plaid shirt.

Figure Skating Champion comes with a trophy and skates. It also has one of the posable pieces included so you can have the skater going into a jump or spin. Not exactly my favorite one of the bunch, but the timing works with the Winter Olympics going on during the release of this series.

The Night Protector is interesting. Another figure from a fantasy world. I guess either you can create the world or maybe they’ll come out with this world in the future. The translucent purple sword is fun. My picture is pretty bad, but the shield is also translucent purple and it has a design on it.

The Forest Elf is pretty fun with the acorn hat, cape, walking stick, and the smiling mushroom. As a bonus, the bag comes with a second smiling mushroom top so you can expand your creepy forest.

The Raccoon Costume Fan has the costume, a trash can, a trash bag, and then some hair for when the minifigure decides to take the headpiece off. I like how the grey hair matches the color of the raccoon.

The Bird-Watcher comes equipped with binoculars and a small bag. The bird included is a toucan which is a fun new addition to the LEGO world.

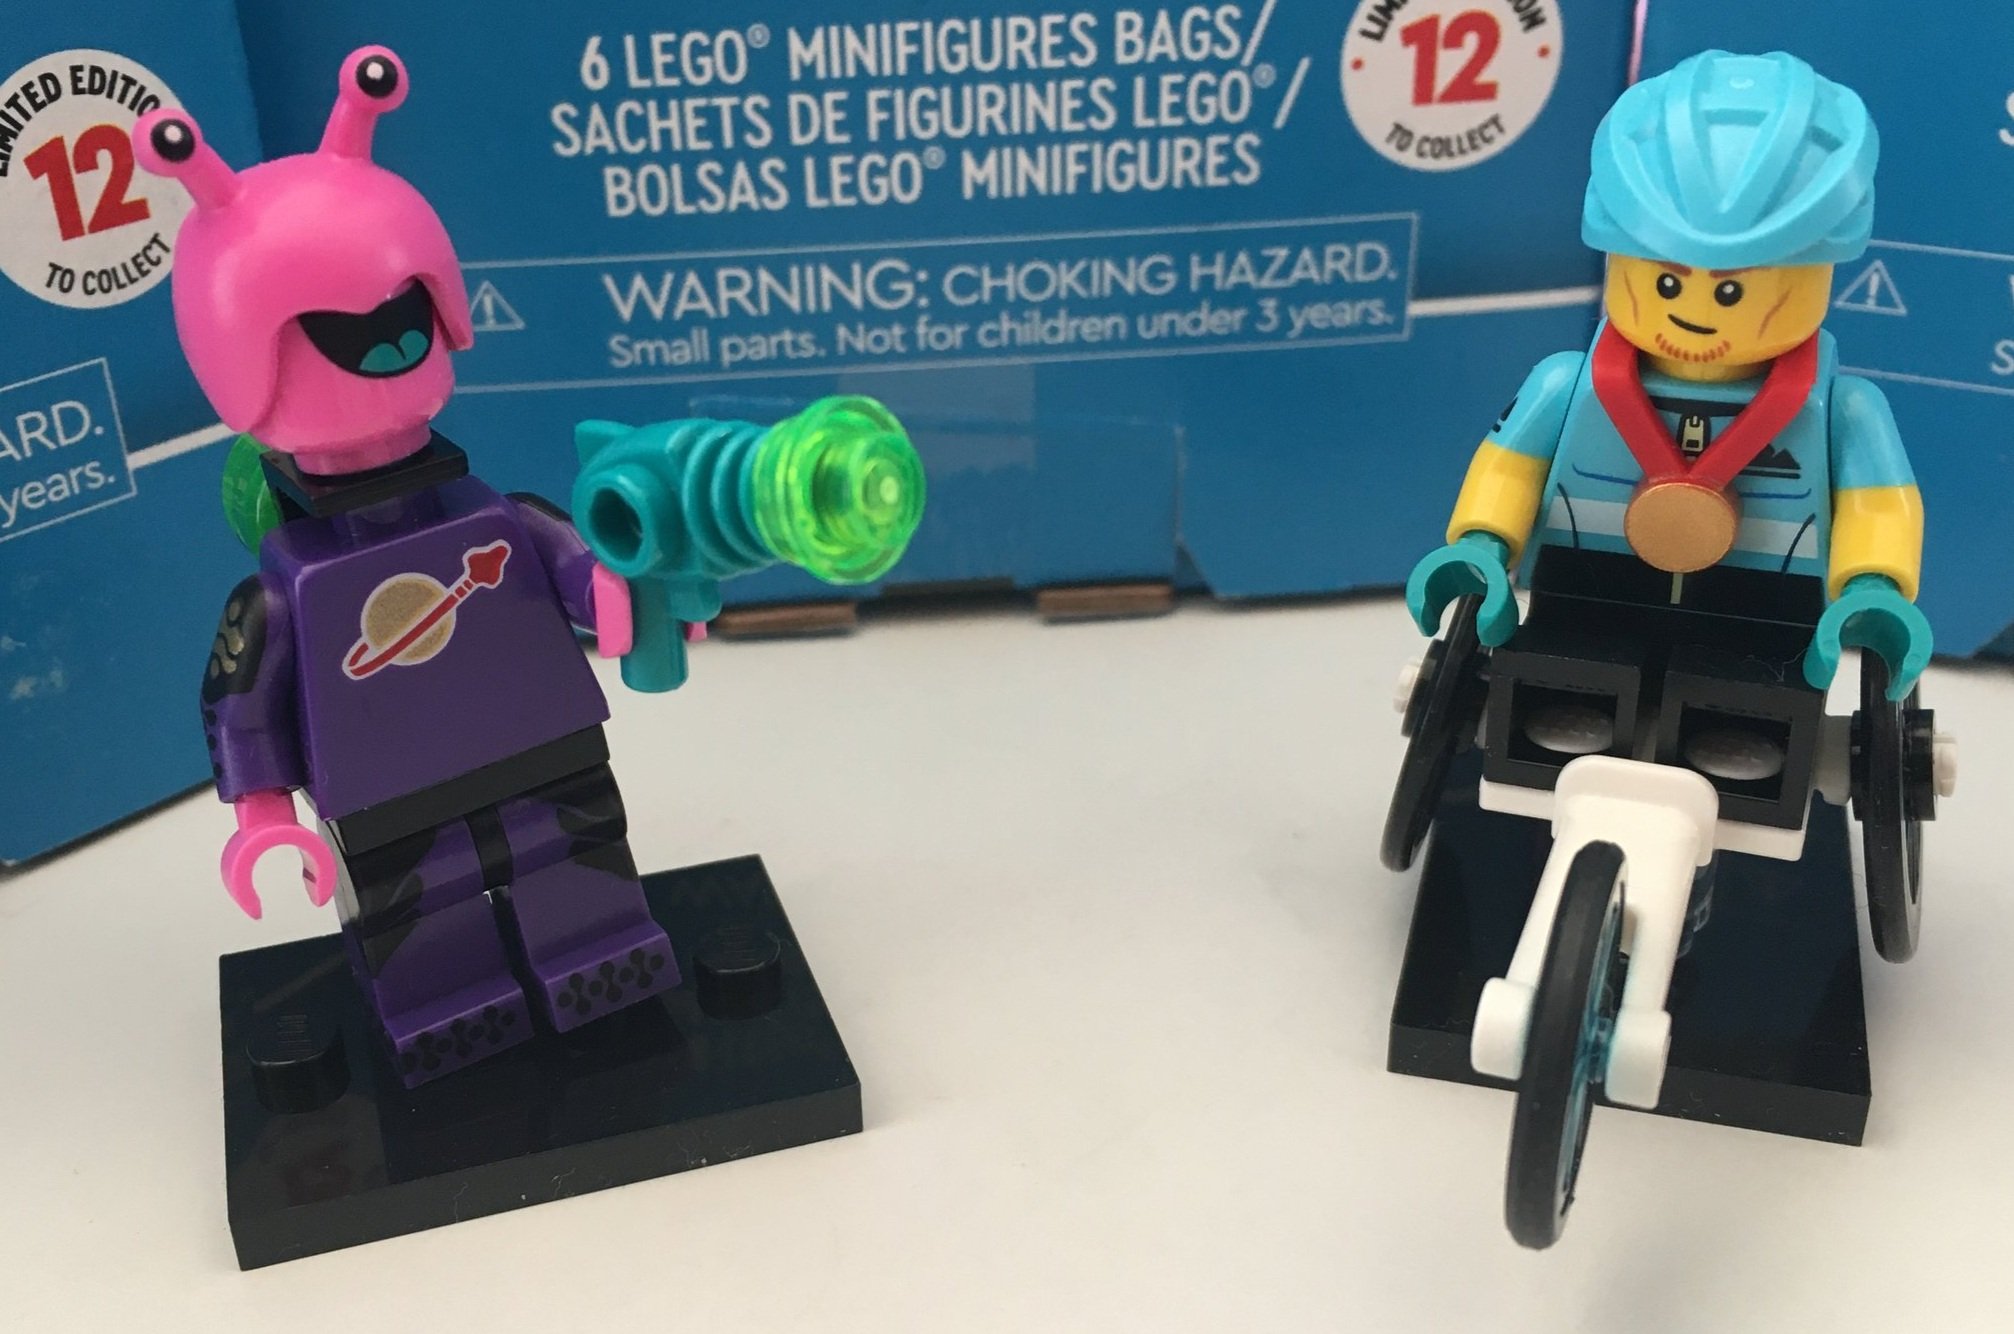
The Space Creature has become pretty popular among Classic Space fans. Now with the purple shirt, you can find purple pants and a purple helmet to make a purple figure. Apparently the purple oxygen tank hasn’t been made yet.

Last up is the Wheelchair Racer. This one includes the racing wheel chair, a helmet, and a medal.

Combining the 2021 Harry Potter sets

In case you haven’t read the set reviews I did for the 2021 Harry Potter LEGO sets, they are built to connect together with Technic pins and studs.

By the way, you can see all of the previous reviews of the sets that link together at the following places:

#40452-1: HOGWARTS™ GRYFFINDOR DORMS

#76386-1: HOGWARTS™: POLYJUICE POTION MISTAKE

#76387-1: HOGWARTS™ FLUFFY ENCOUNTER

#76389-1: HOGWARTS CHAMBER OF SECRETS

#76395-1: HOGWARTS: FIRST FLYING LESSON

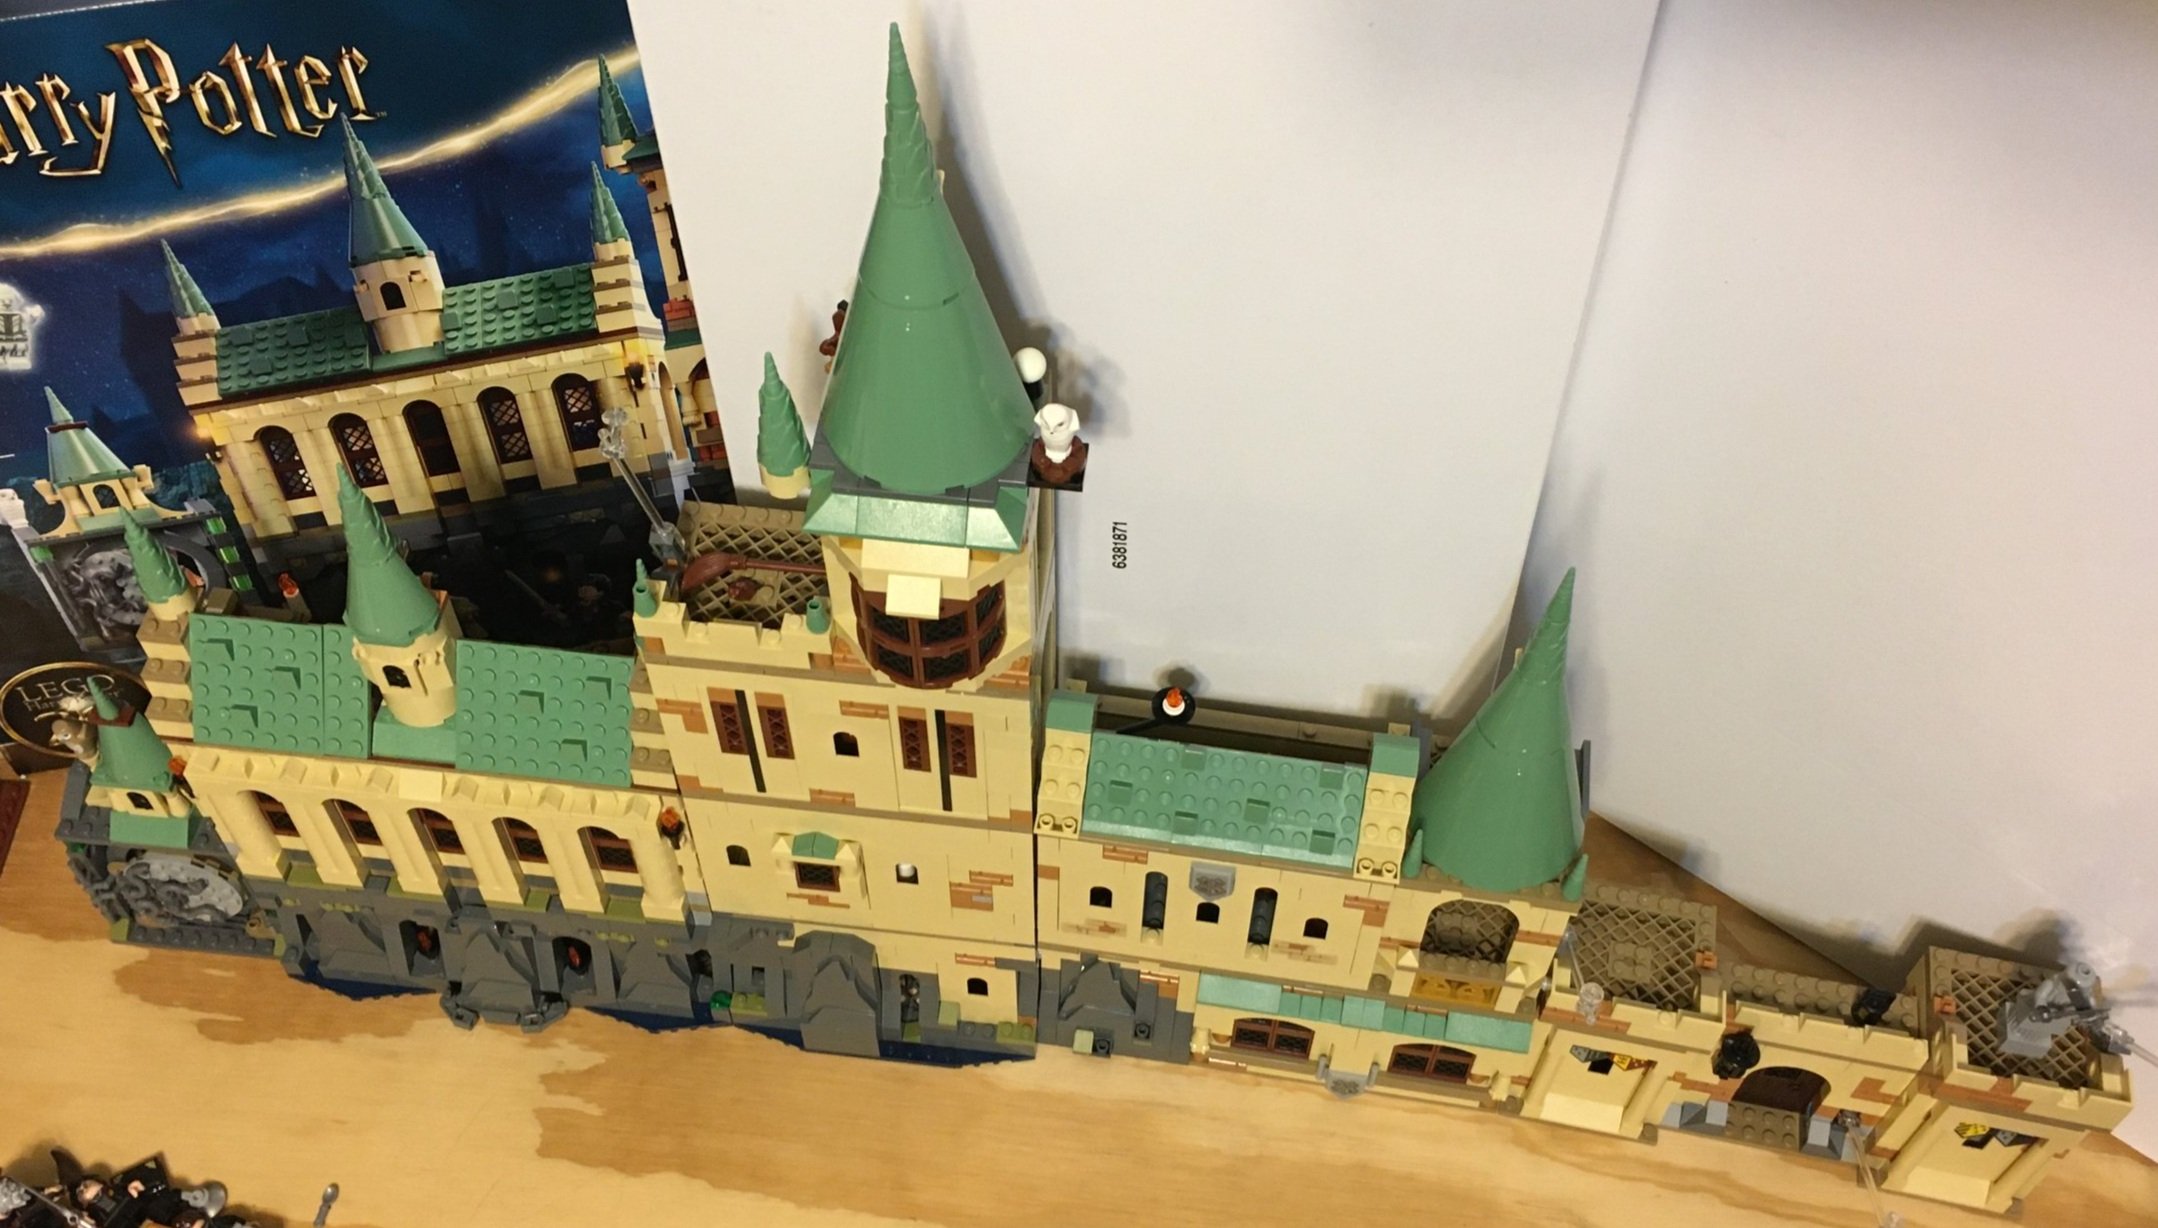
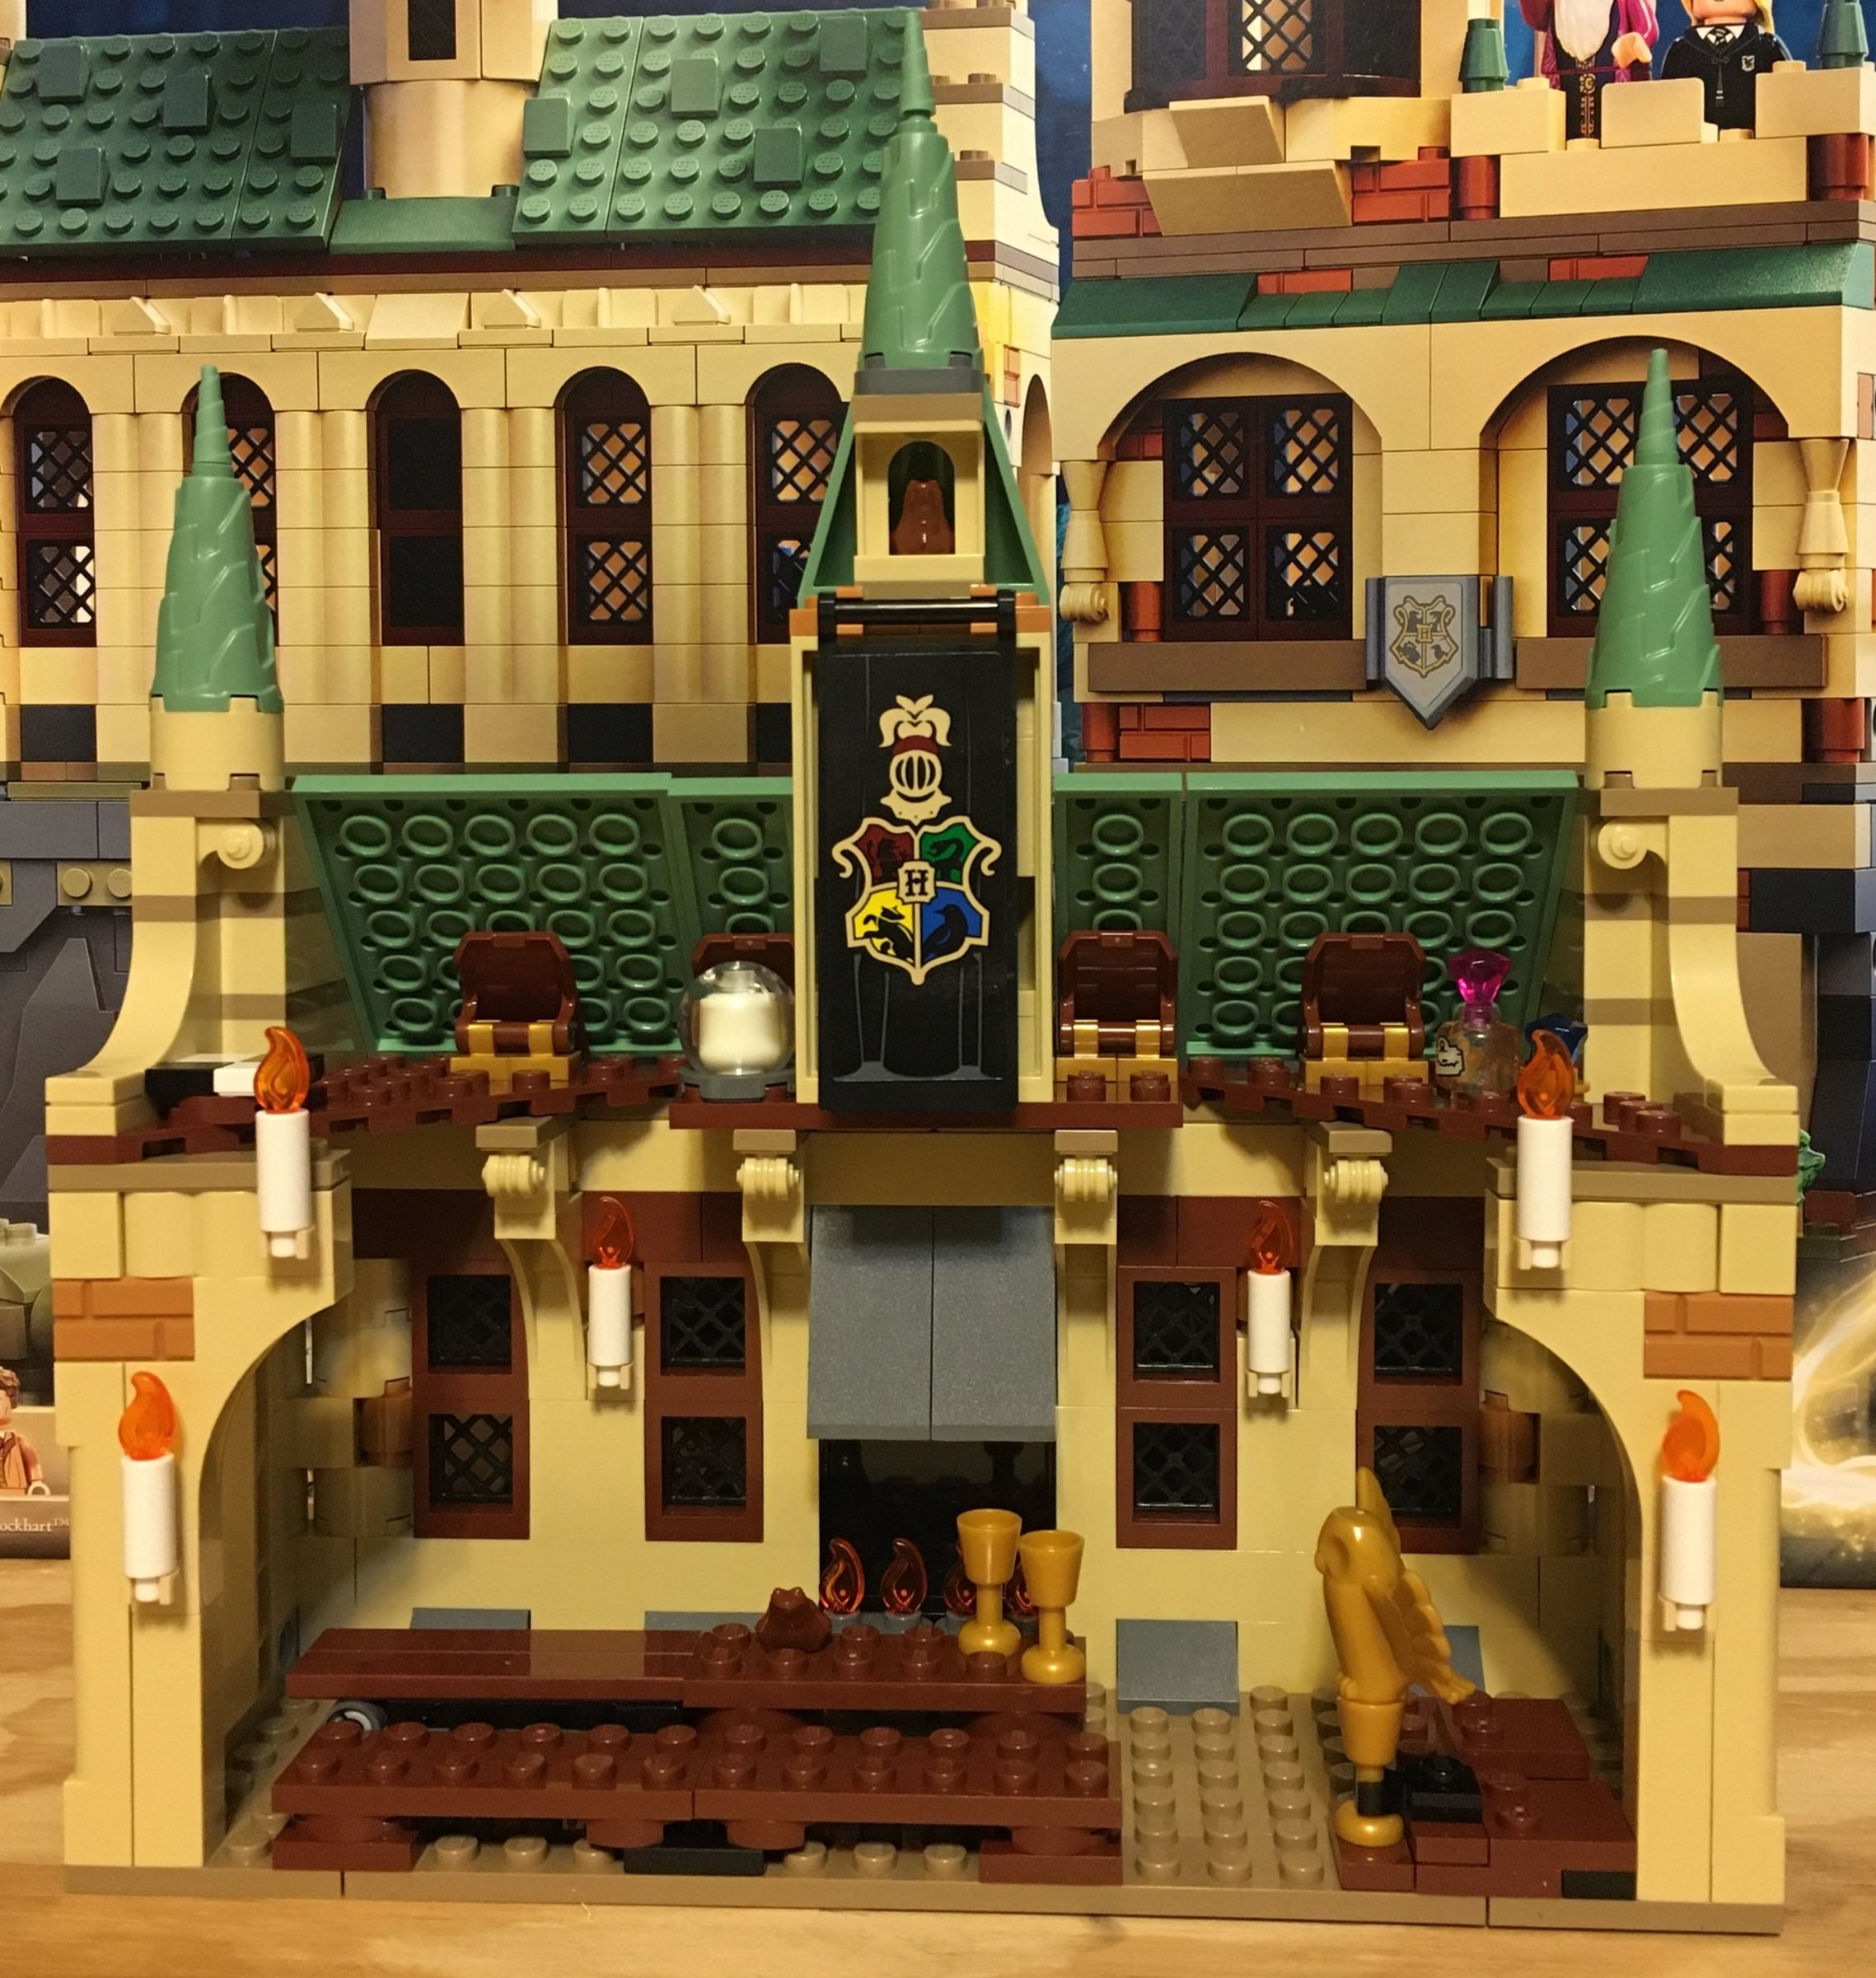
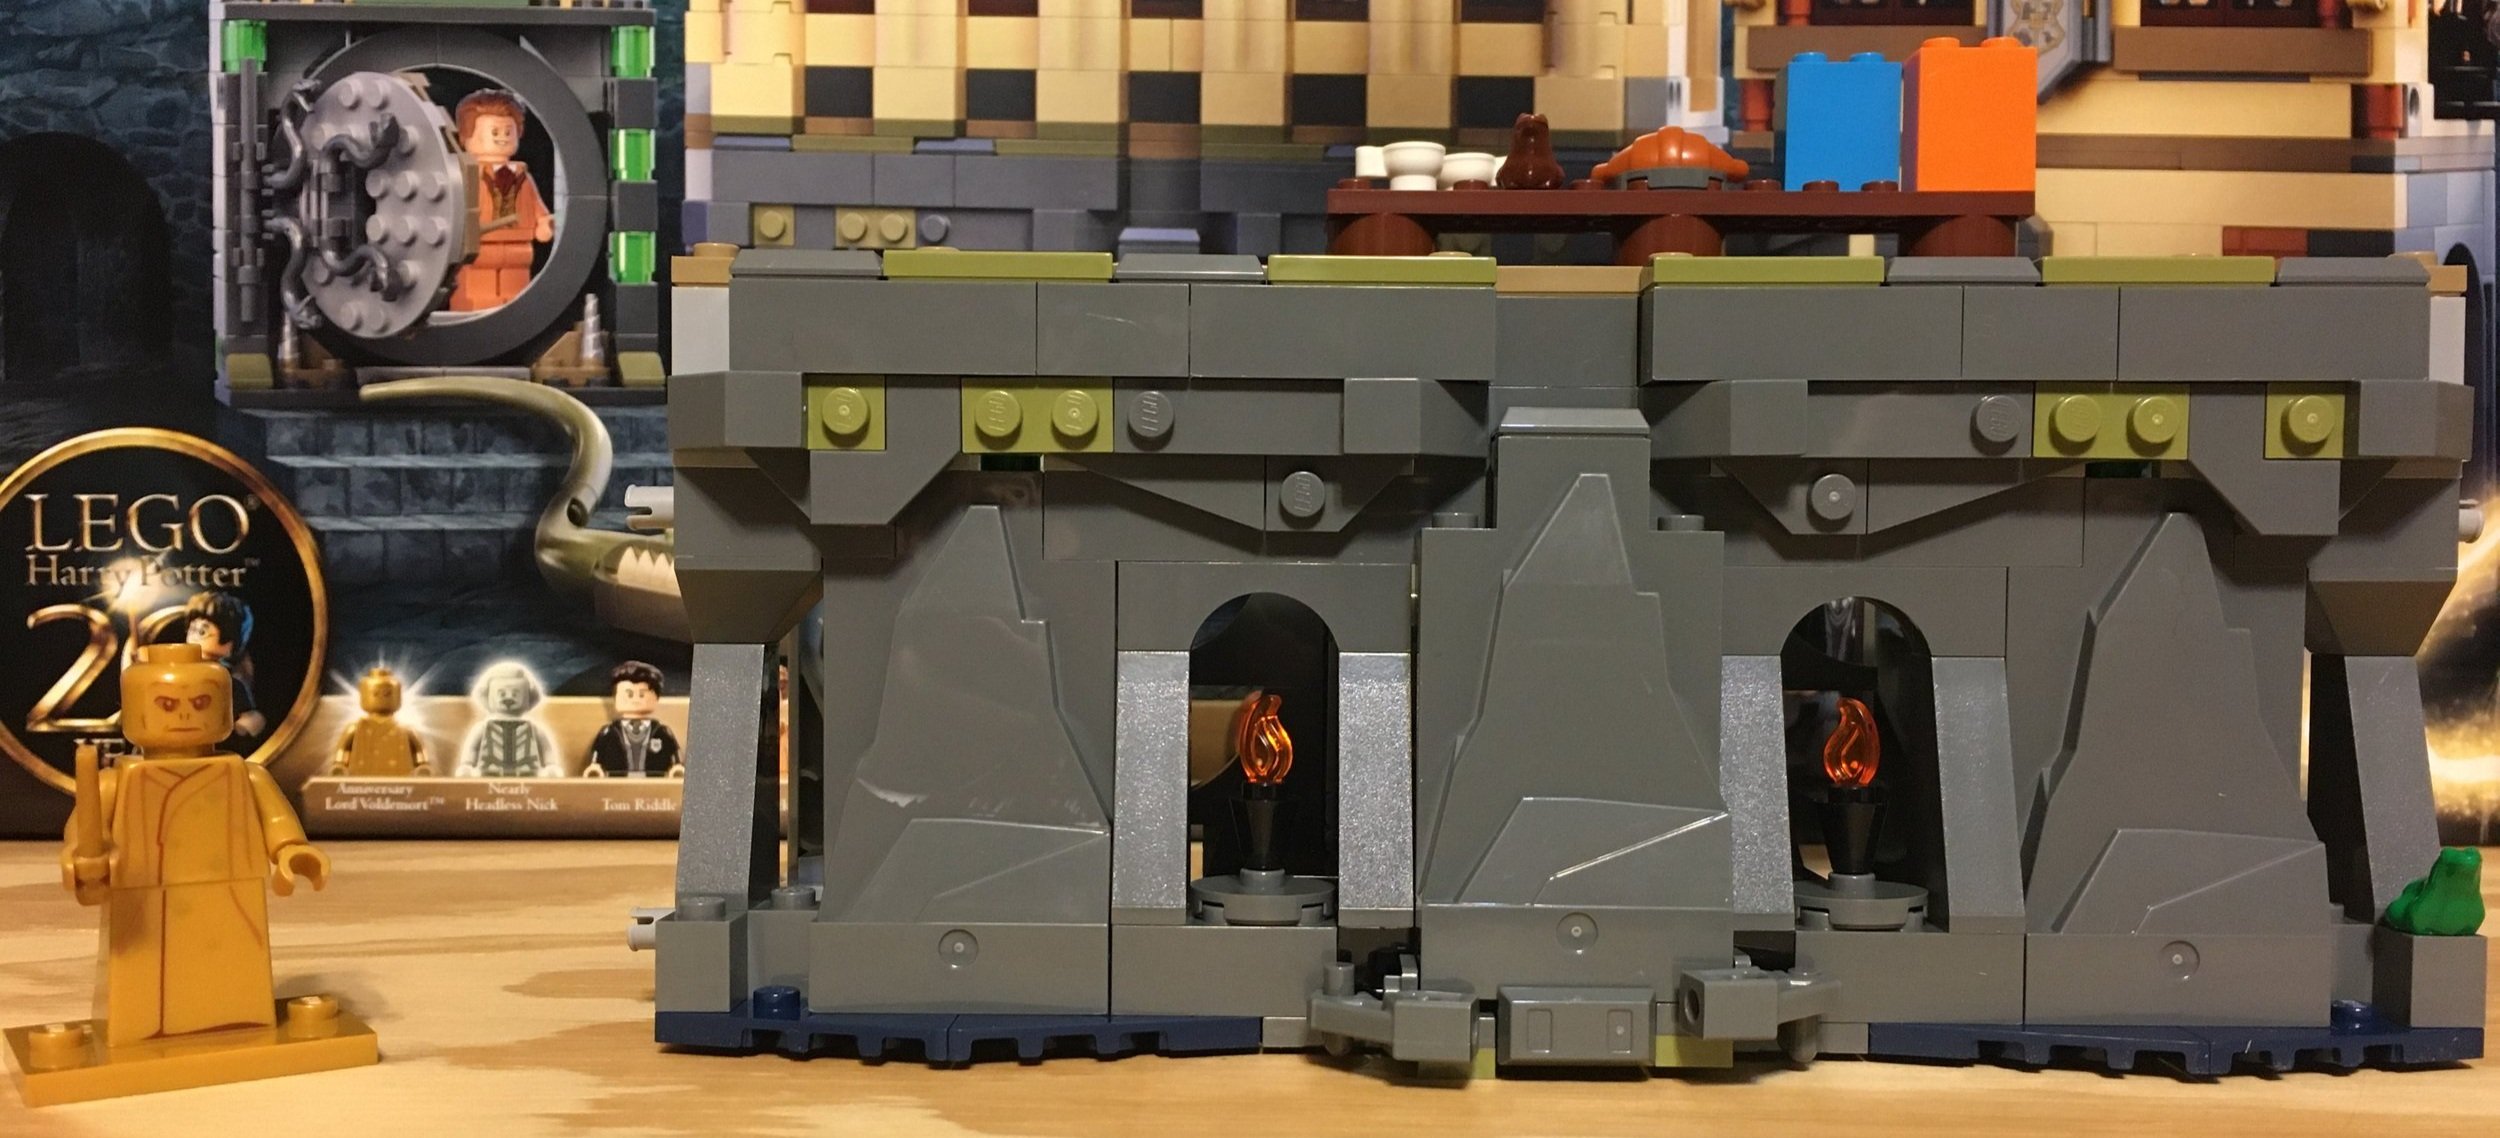
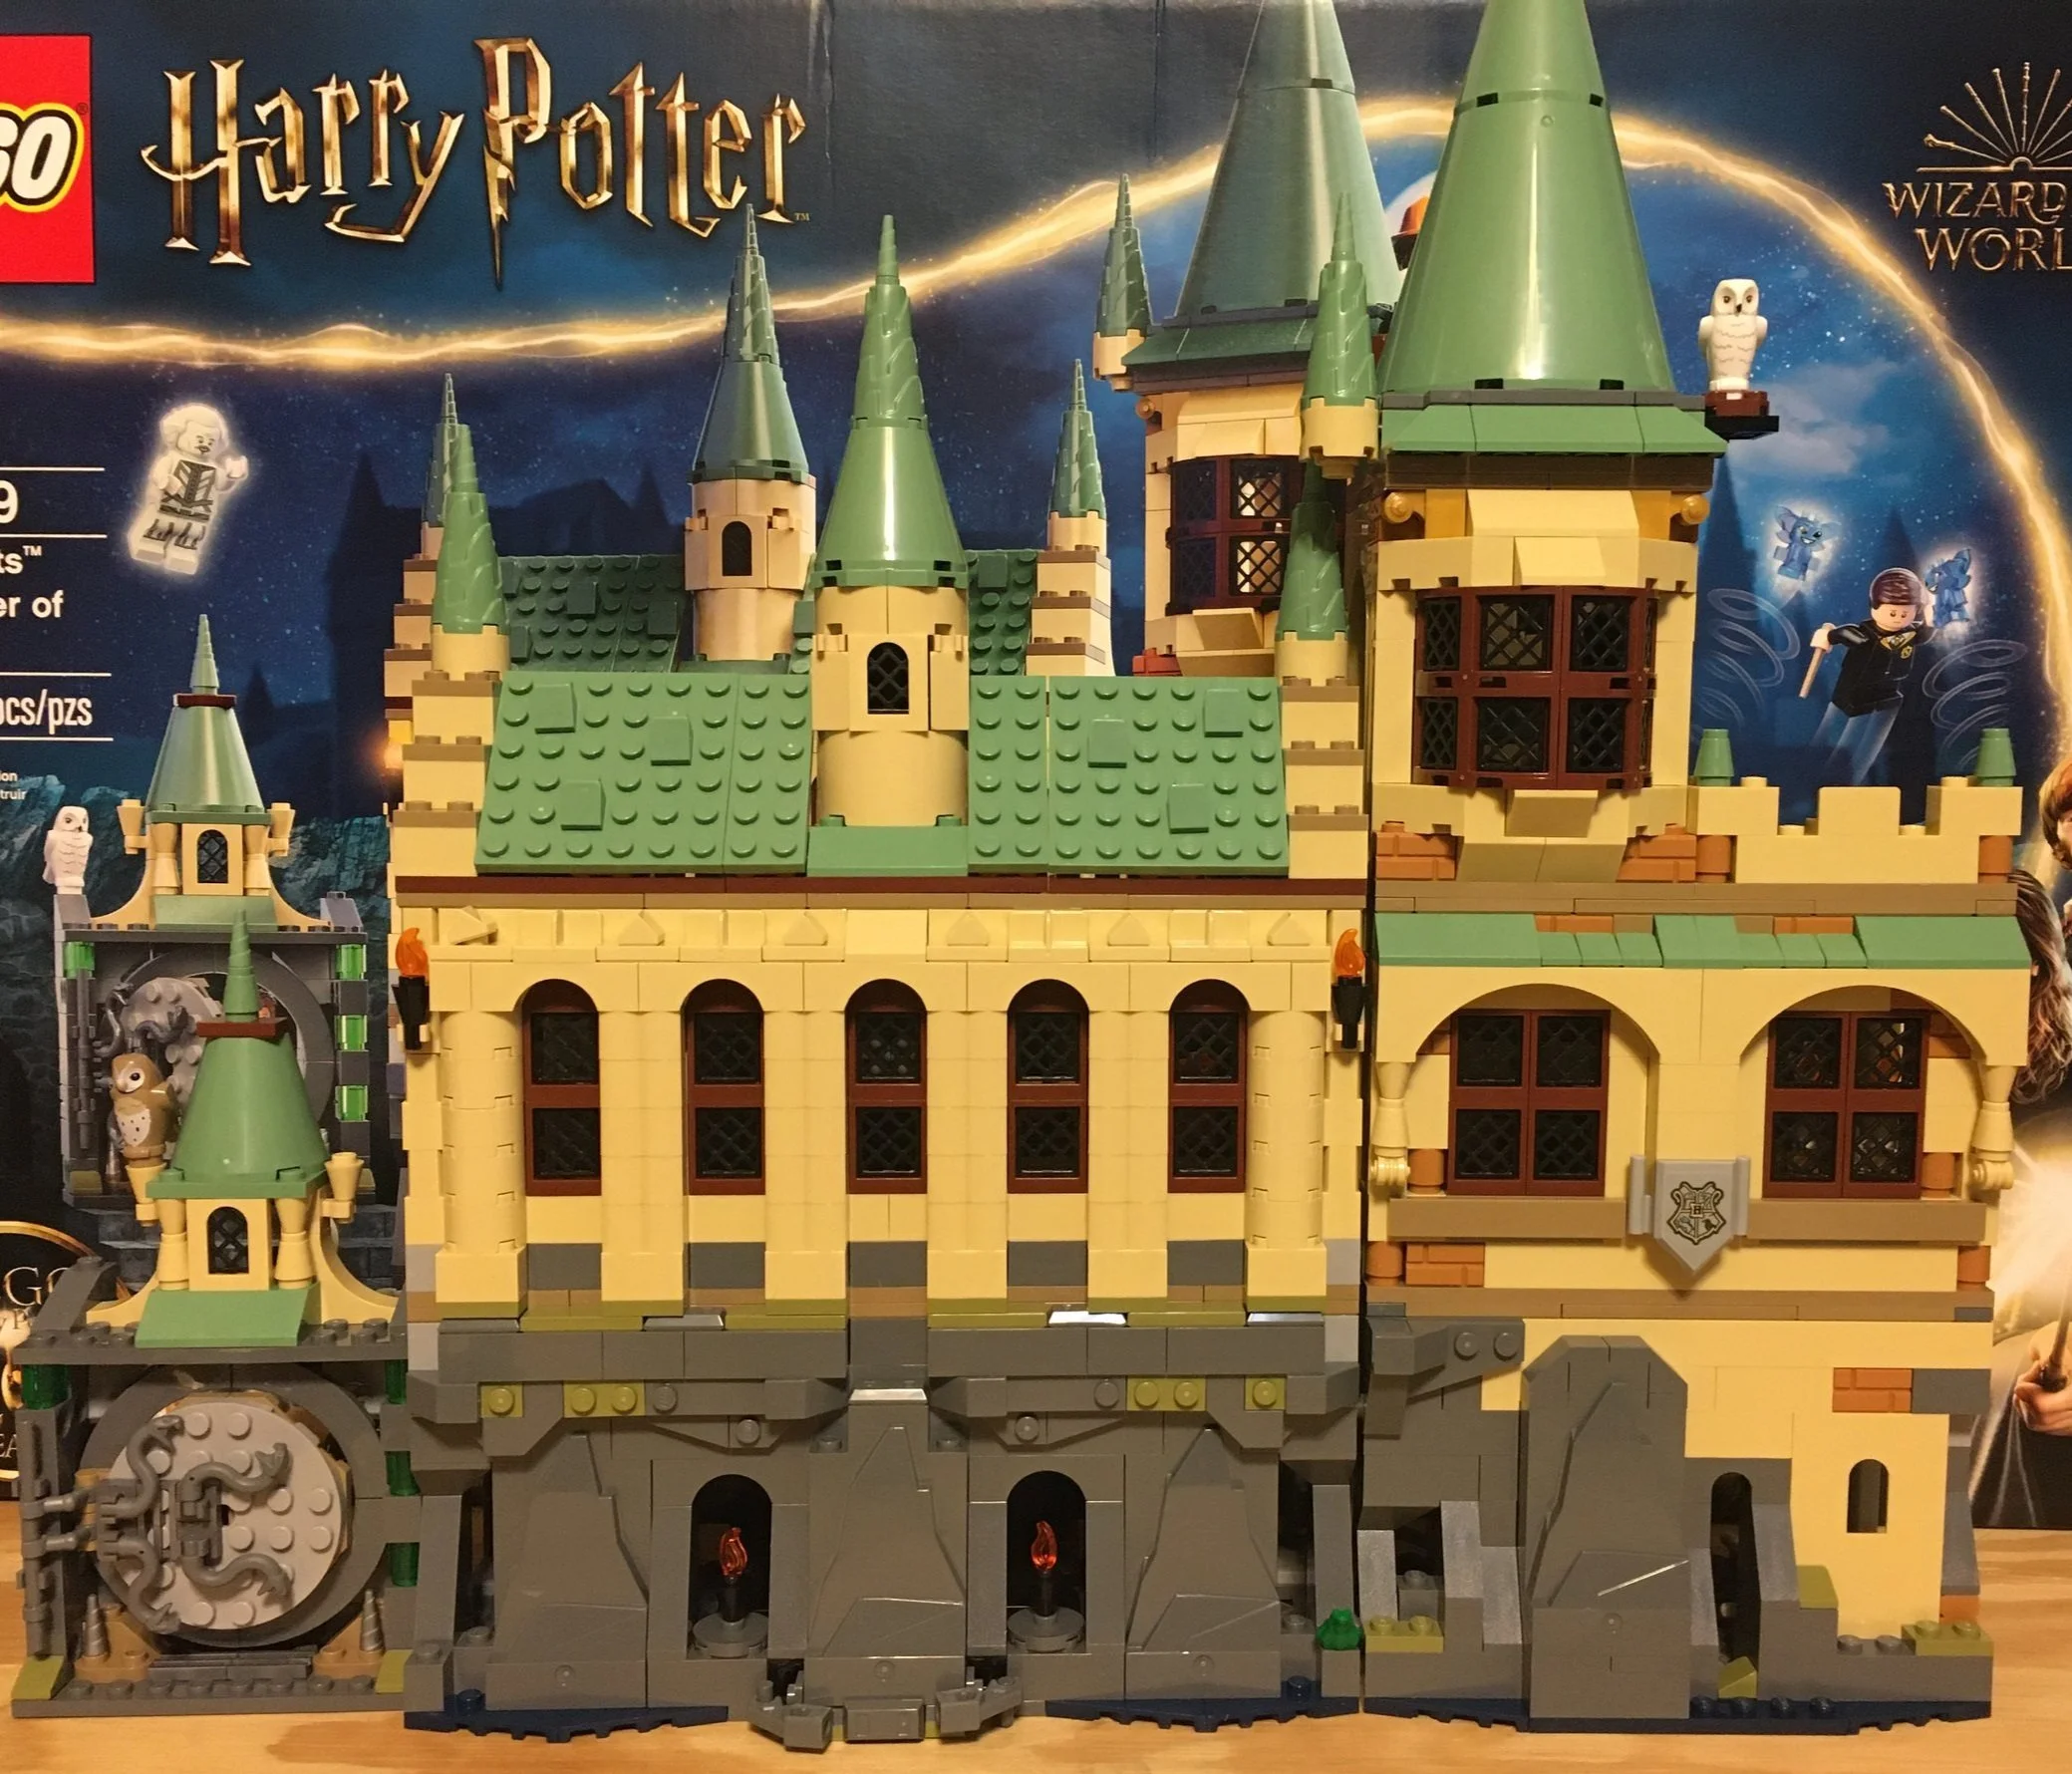
Okay, now that you’ve dug into the rest of my opinions, here is my picture of the front of the combination of those sets. Please note that there are no instructions on how to do this. I connected the sets how I wanted to, but you could do it however you wanted.

Overall, I think the front side looks good. It could be a fun item to display on a longer shelf or a good start to building your own full up, minifigure scale Hogwarts. I’m not sure the #76395-1: HOGWARTS: FIRST FLYING LESSON fits well there. I’d have to go back to the movies and see where they place it. I also think it would have been cool to add corners to the building so it’s not just one flat side of a building. To be fair, it wouldn’t be too hard to put corners into the buildings and connect them.

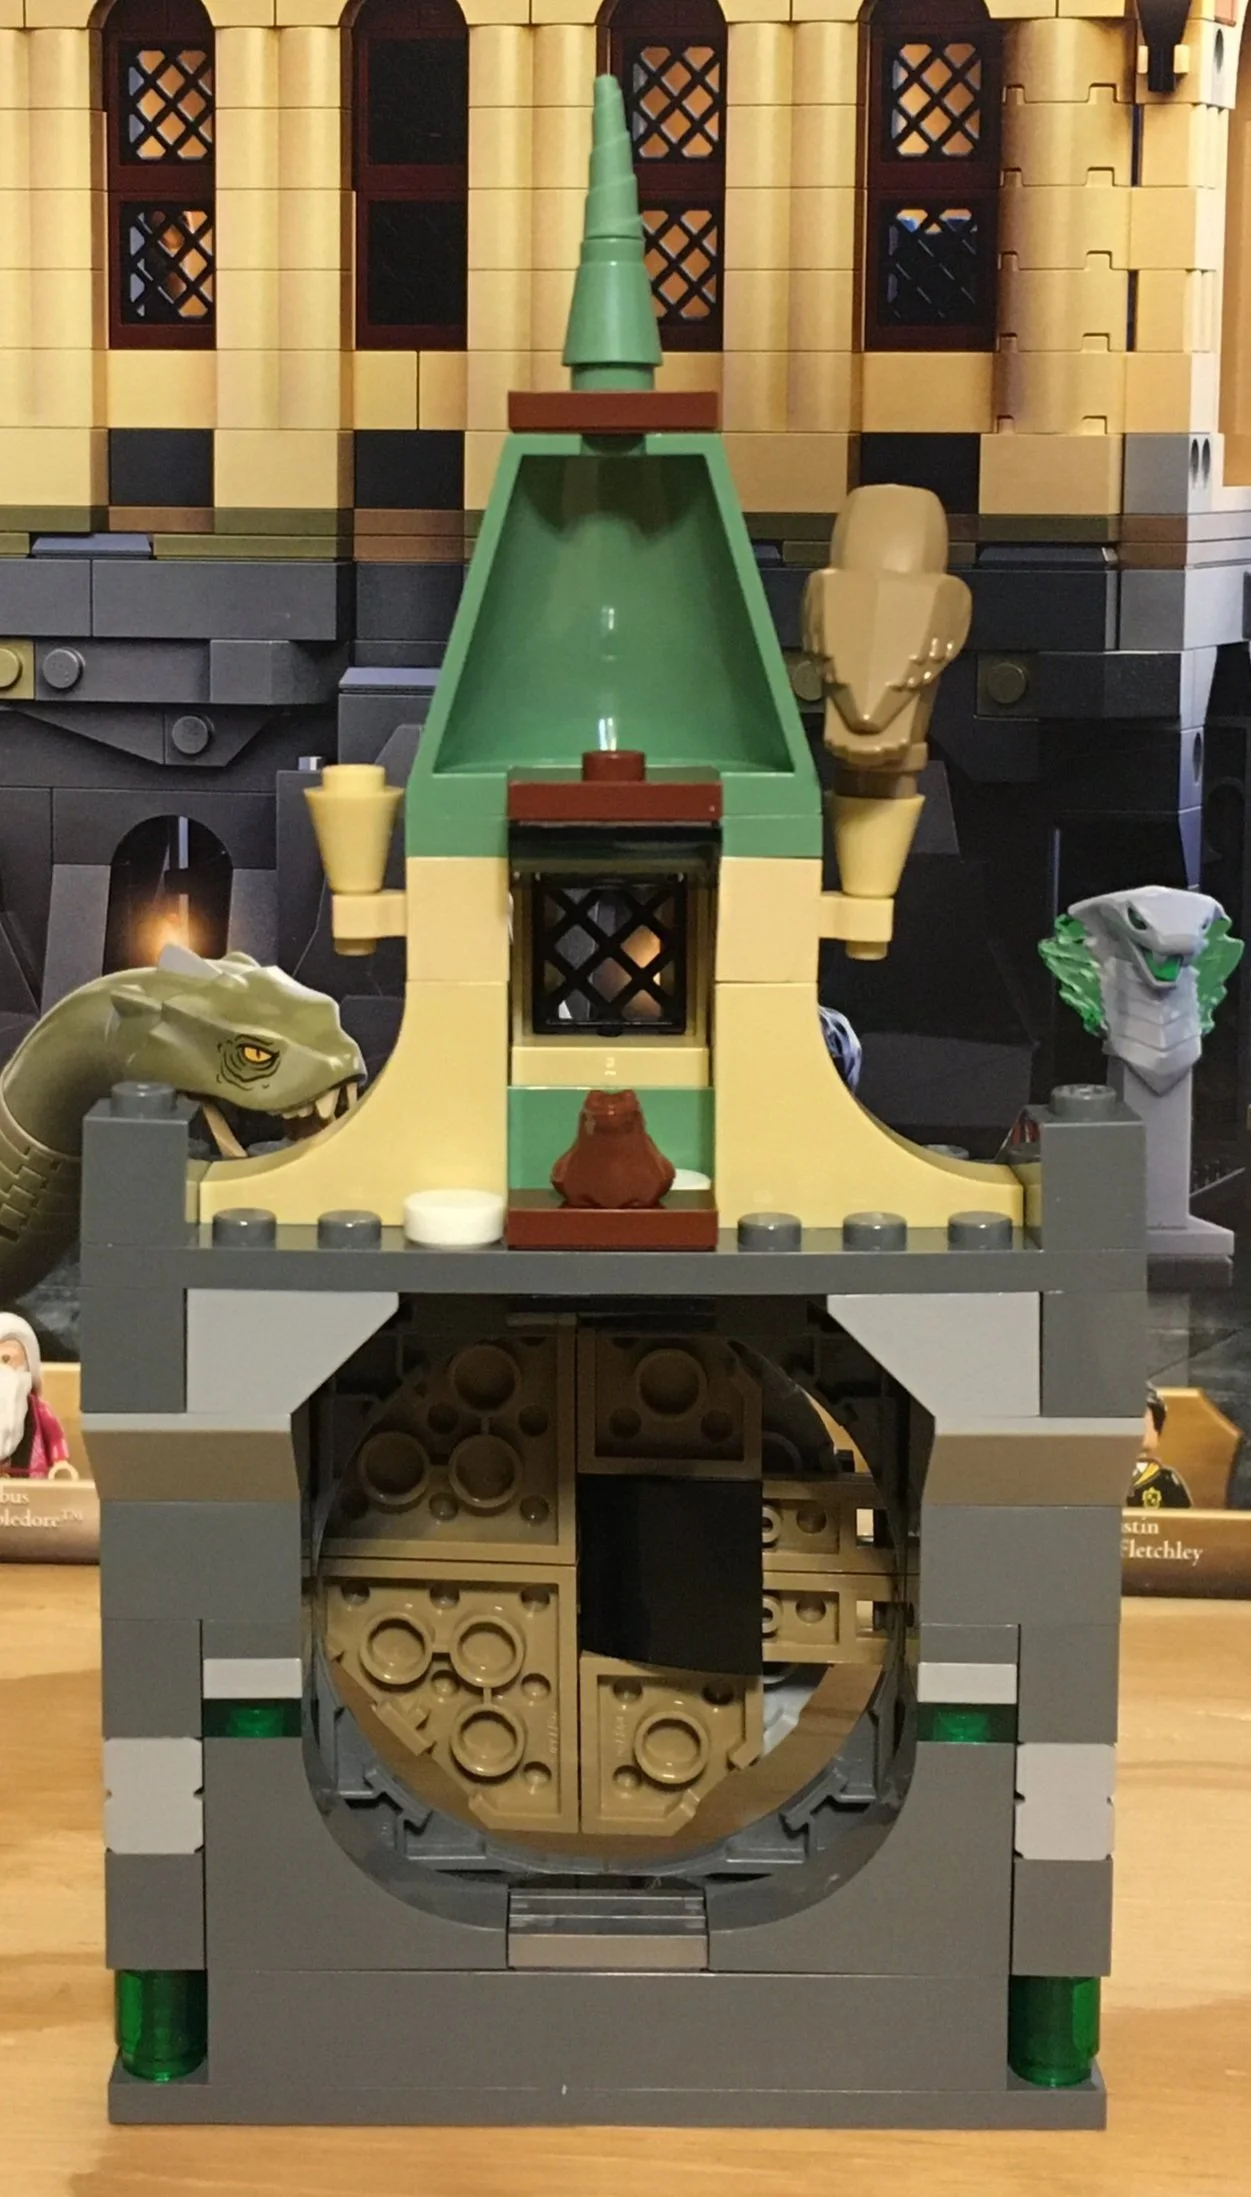
A big criticism on this side is that the entrance to the Chamber of Secrets is on the outside of the building. I the movie it is clearly somewhere underneath the castle in a cave. As it is constructed, it is just below a floor that has a roof section. If you were to update these sets, I would look to adjust the placement of the entrance to the Chamber so it is more internal to the castle.

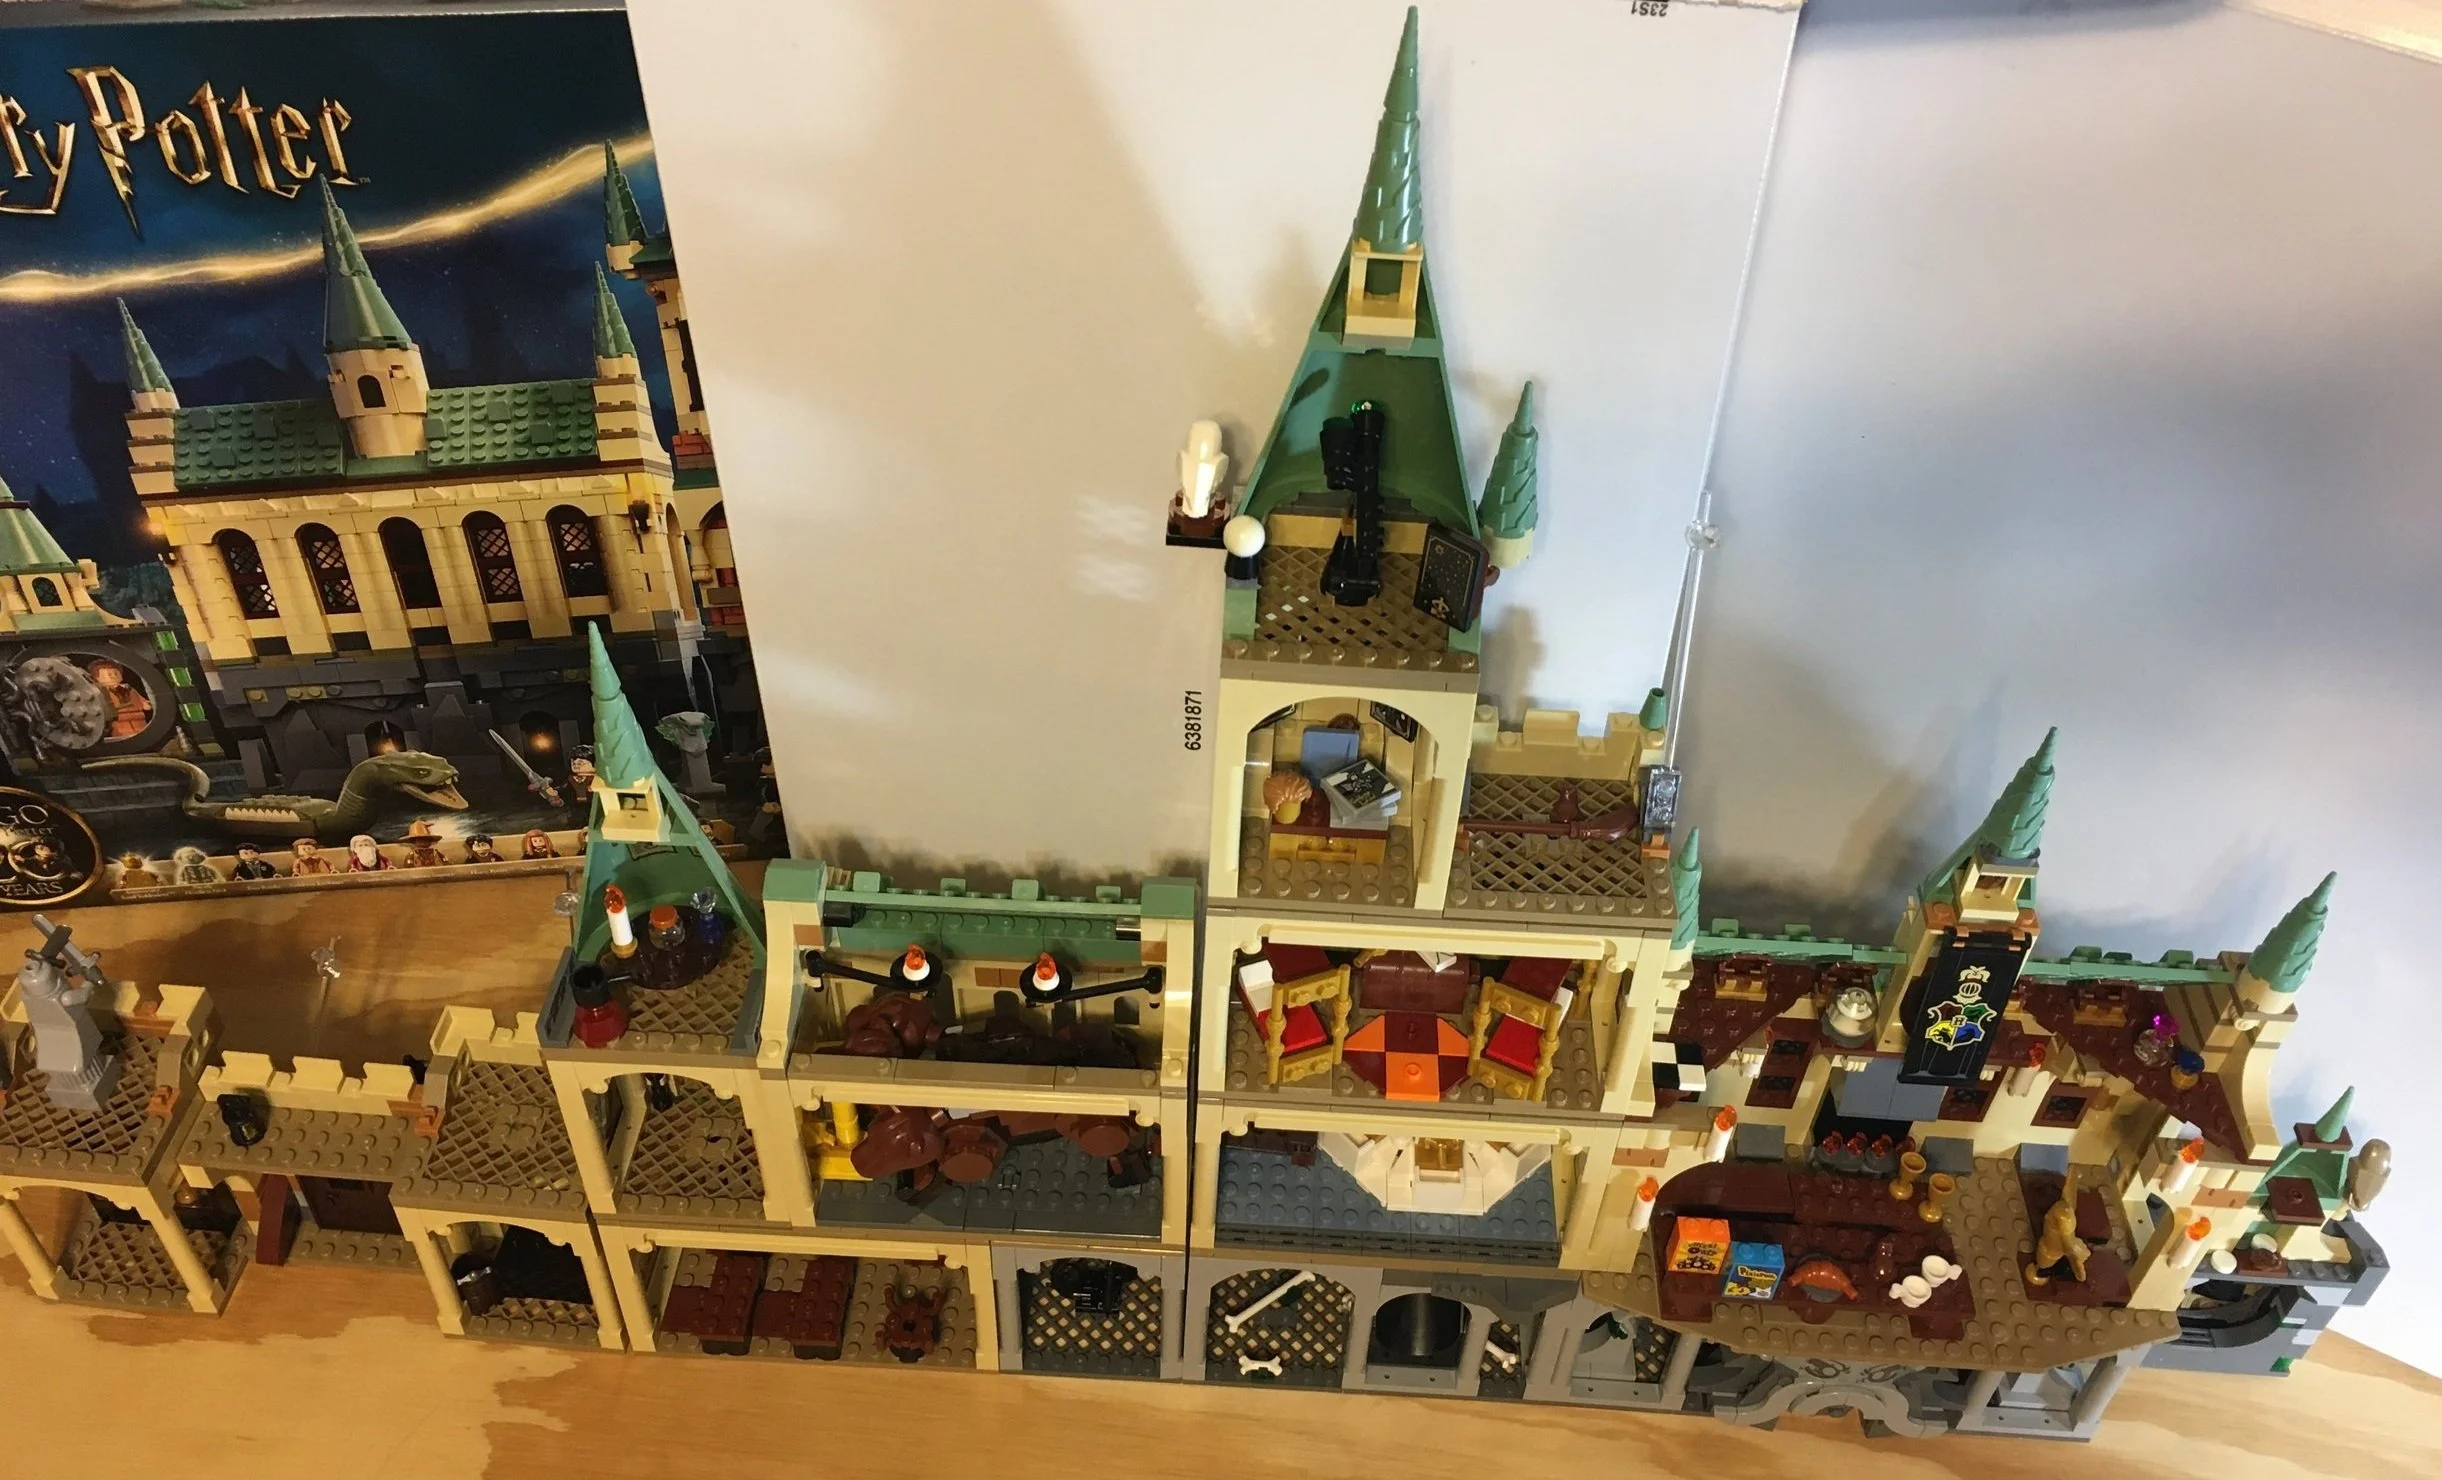
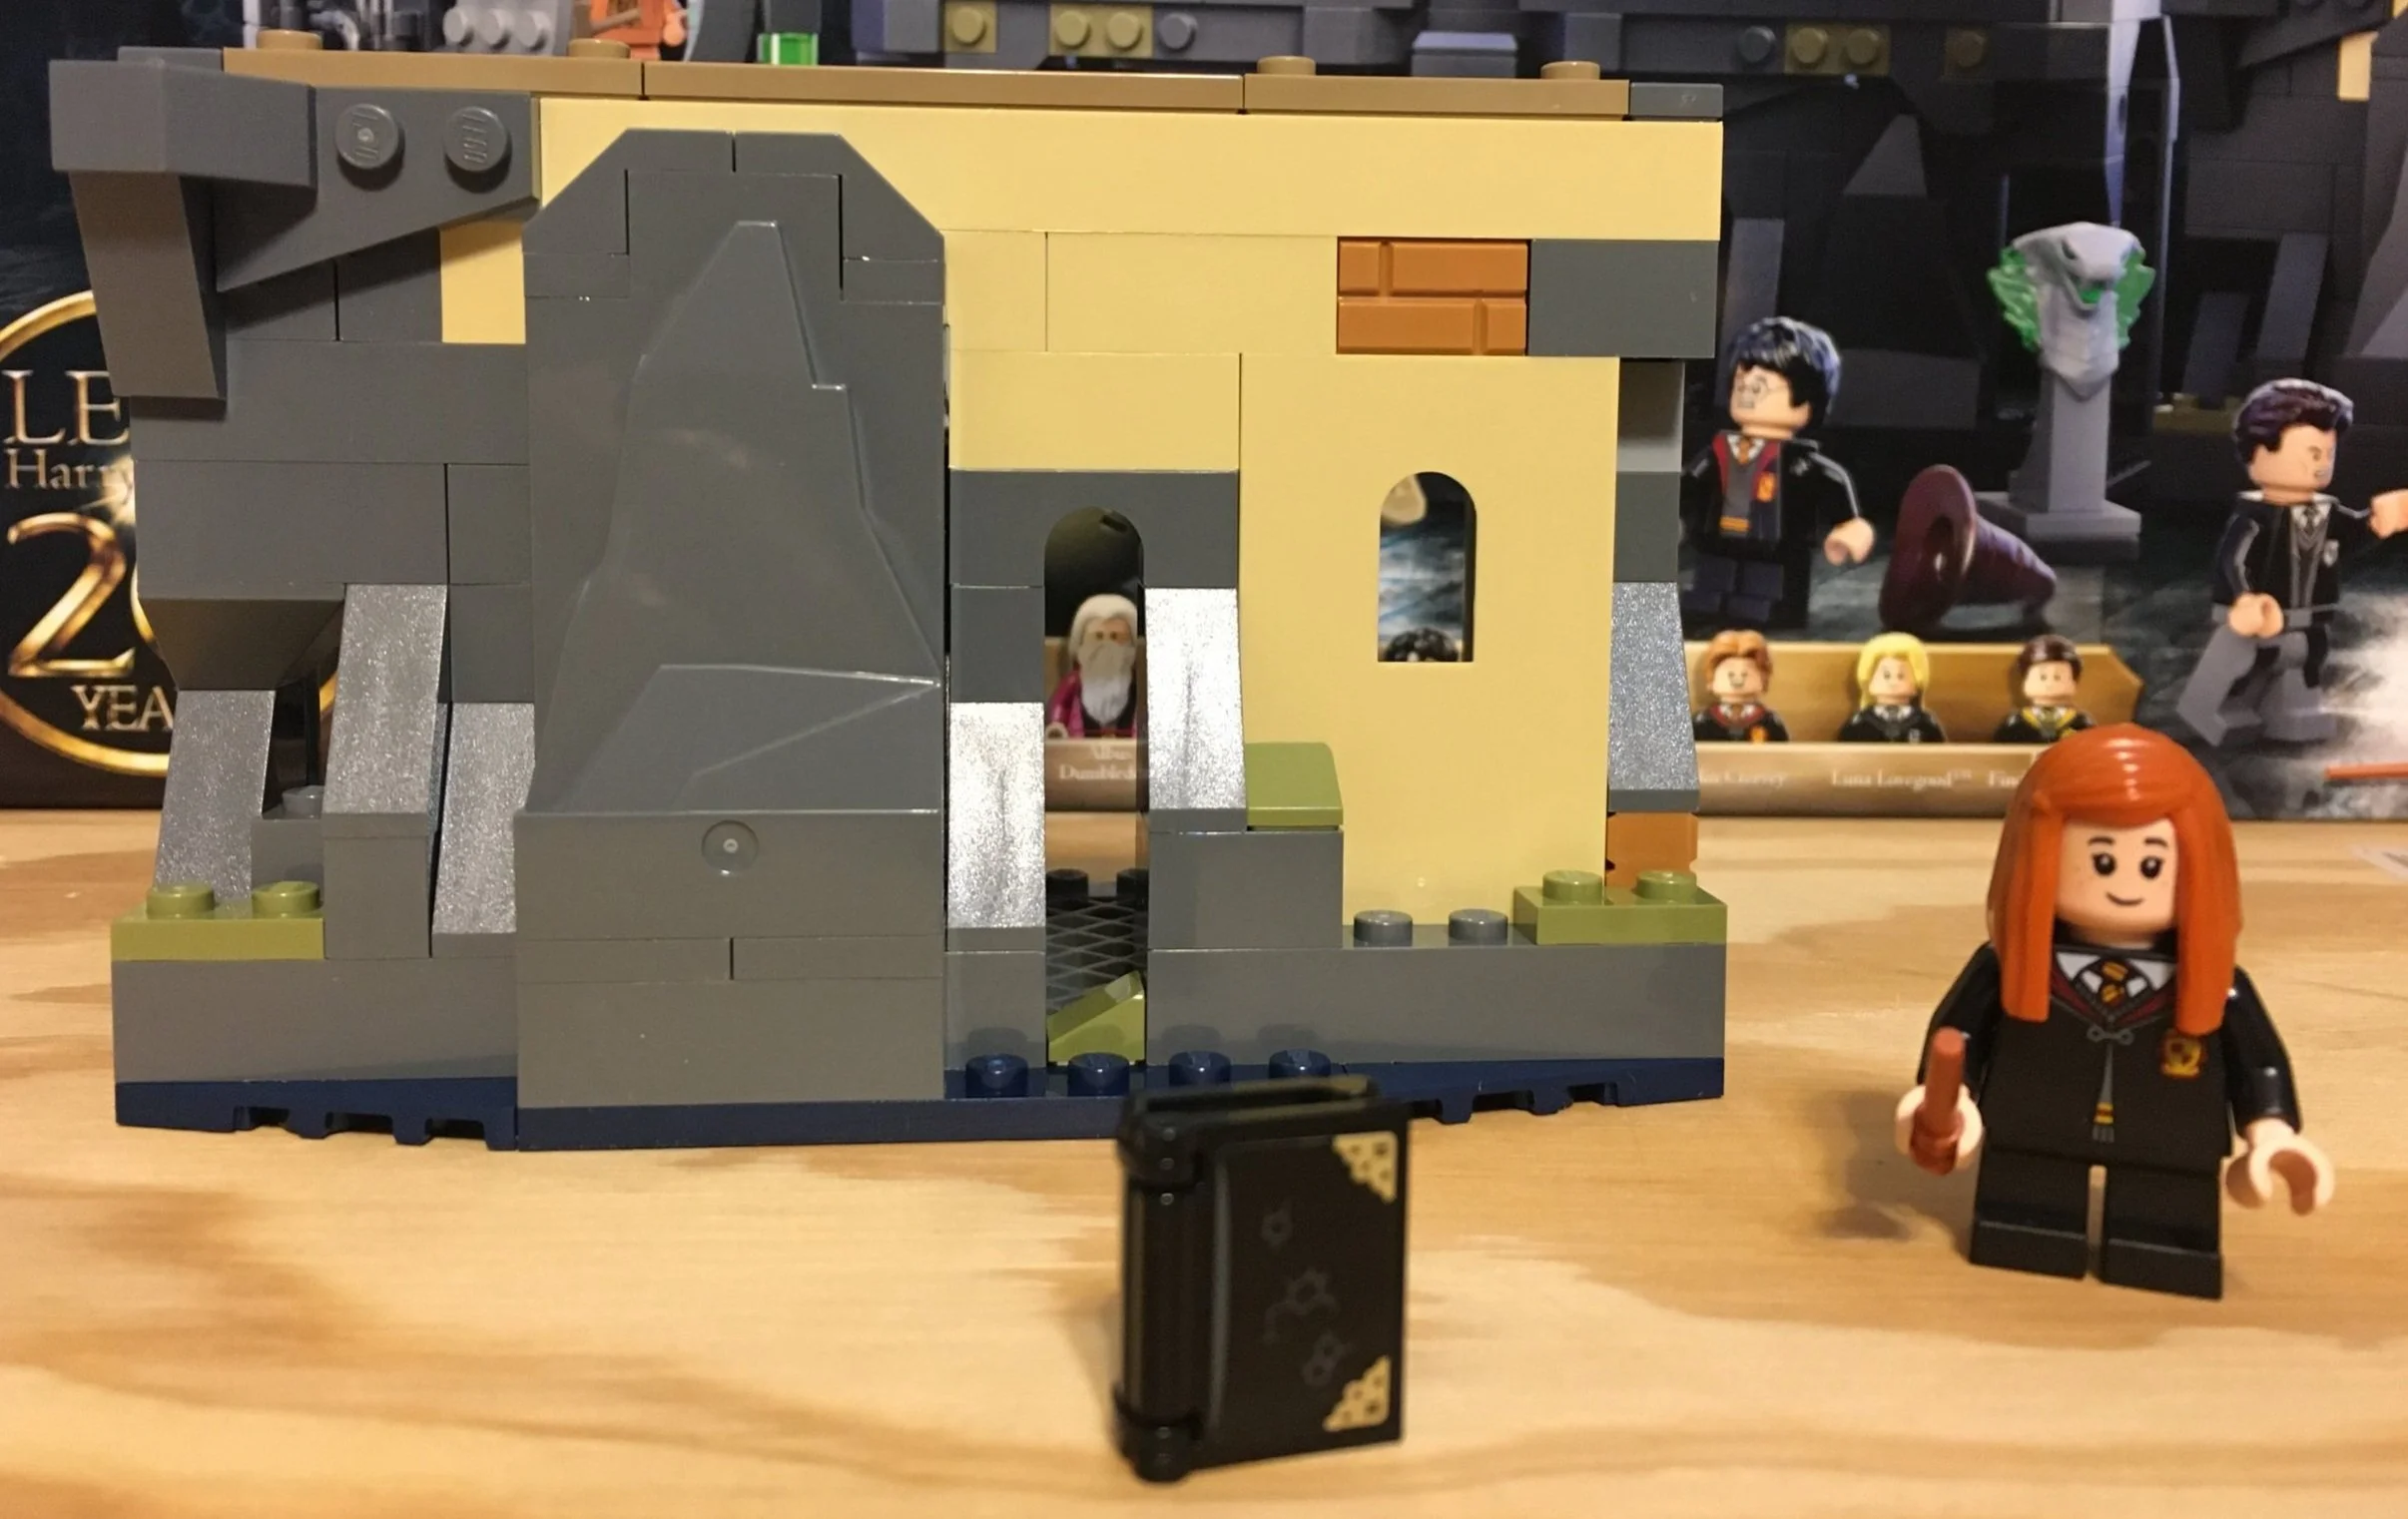
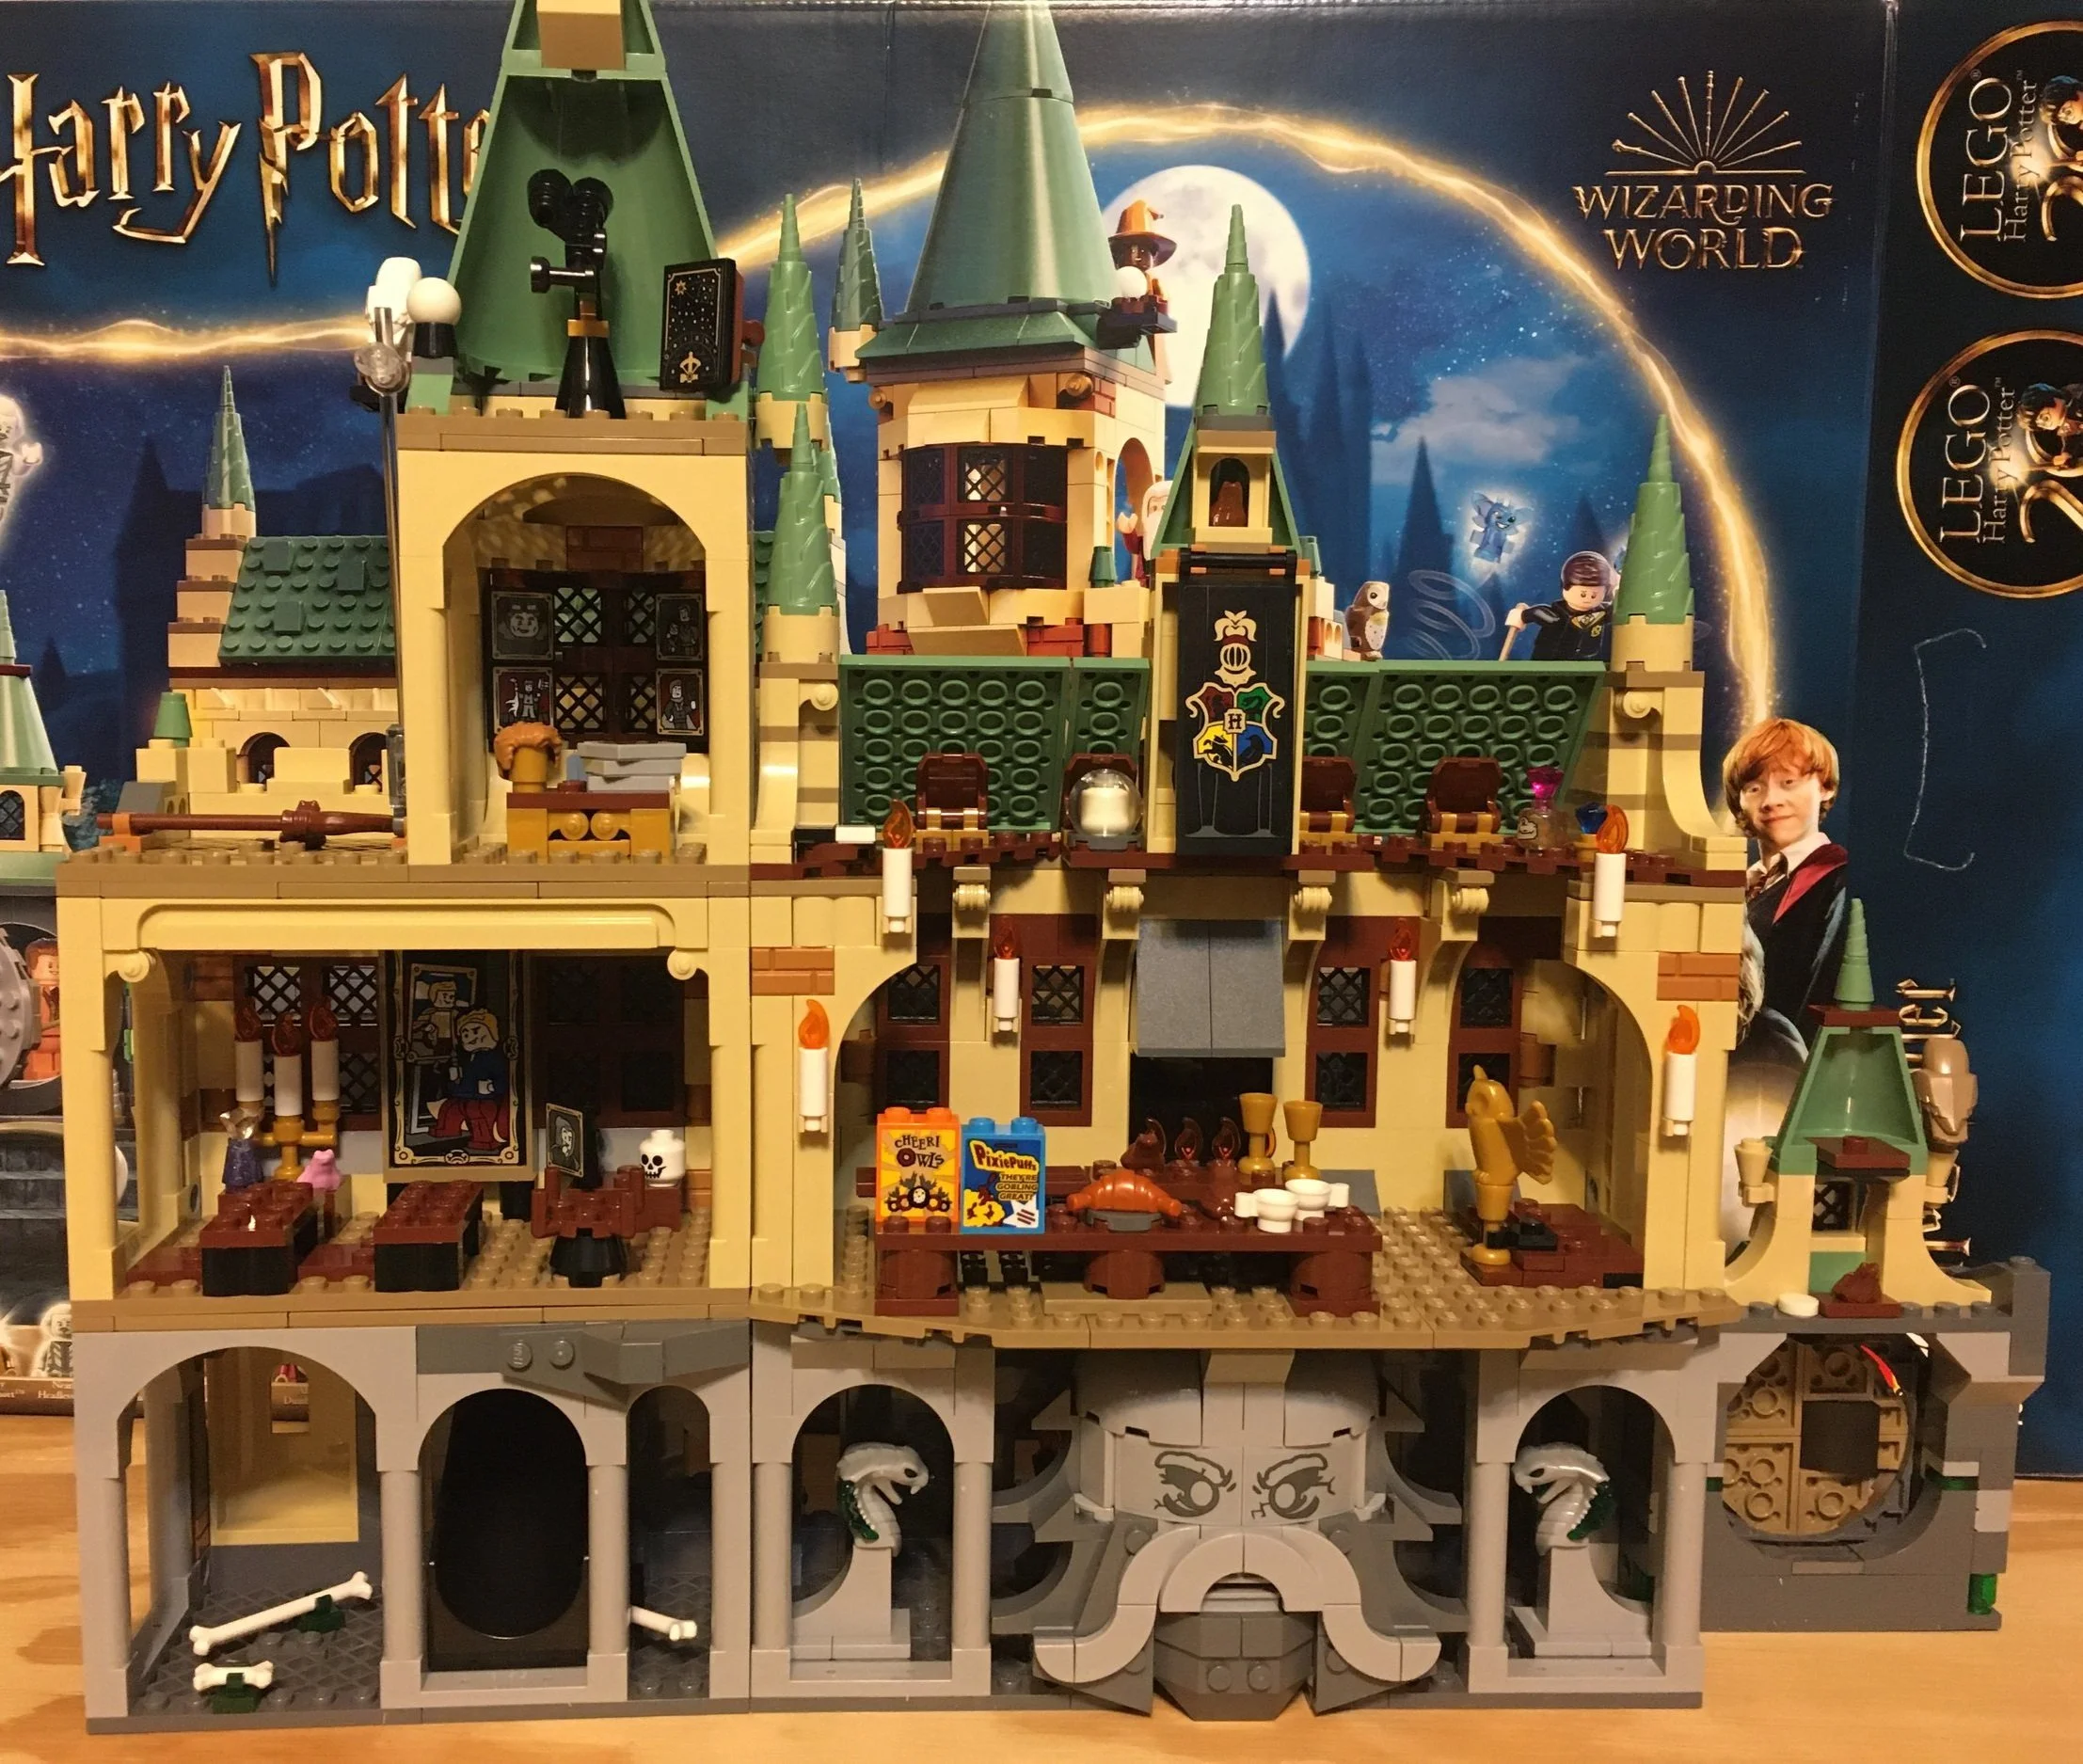
Here is what the inside looks like. You can place them how you like, but I tired to make them match up as realistic as possible. So I was able to put #76387-1: HOGWARTS™ FLUFFY ENCOUNTER so that the entrance to the location where the sorcerer’s stone is hidden can be placed appropriately. Also, I was able to properly line up the entrance to the #76389-1: HOGWARTS CHAMBER OF SECRETS using the #76386-1: HOGWARTS™: POLYJUICE POTION MISTAKE to have the entrance be the bathroom.

There are a few that I wasn’t exactly sure where to place, but I tried my best. In the end it probably doesn’t really matter where they are, but you can try and line them up appropriately.

Overall, I can’t complain about the inside, but it does open up the opportunity to make your own adjustments with your own pieces. I haven’t tried this yet, but can see a few ways to add to the set up so it is more three dimensional and/or accurate.

So should you get all the sets to connect them together? It probably depends on how big of a Harry Potter fan you are (and how much funding you have). If you are looking to make a bigger MOC, it’s a good start to the Potter world and you’ll get a bunch of accessories like minifigures and other items. However, you’ll have to do some work on the internal sections and some of the roof parts aren’t exactly common. For those who just want a play set, this definitely fits the bill.

Any other thoughts on this one?

Happy building!

It's an expensive wooden LEGO picture frame, but where's the rest?

I recently purchased the 1x4x6 wooden frame. The box says it is Element Design #40289. The price in the US is listed as $89.99. Yikes! Quite a bit for a frame. Given the “only the best is good enough” slogan, I assumed it would be worth the price. My plan was to add this to the wall near my Brick Sanctum along with some of the other decorations I have. I figured I could print out a picture from my visit to the LEGO® House.

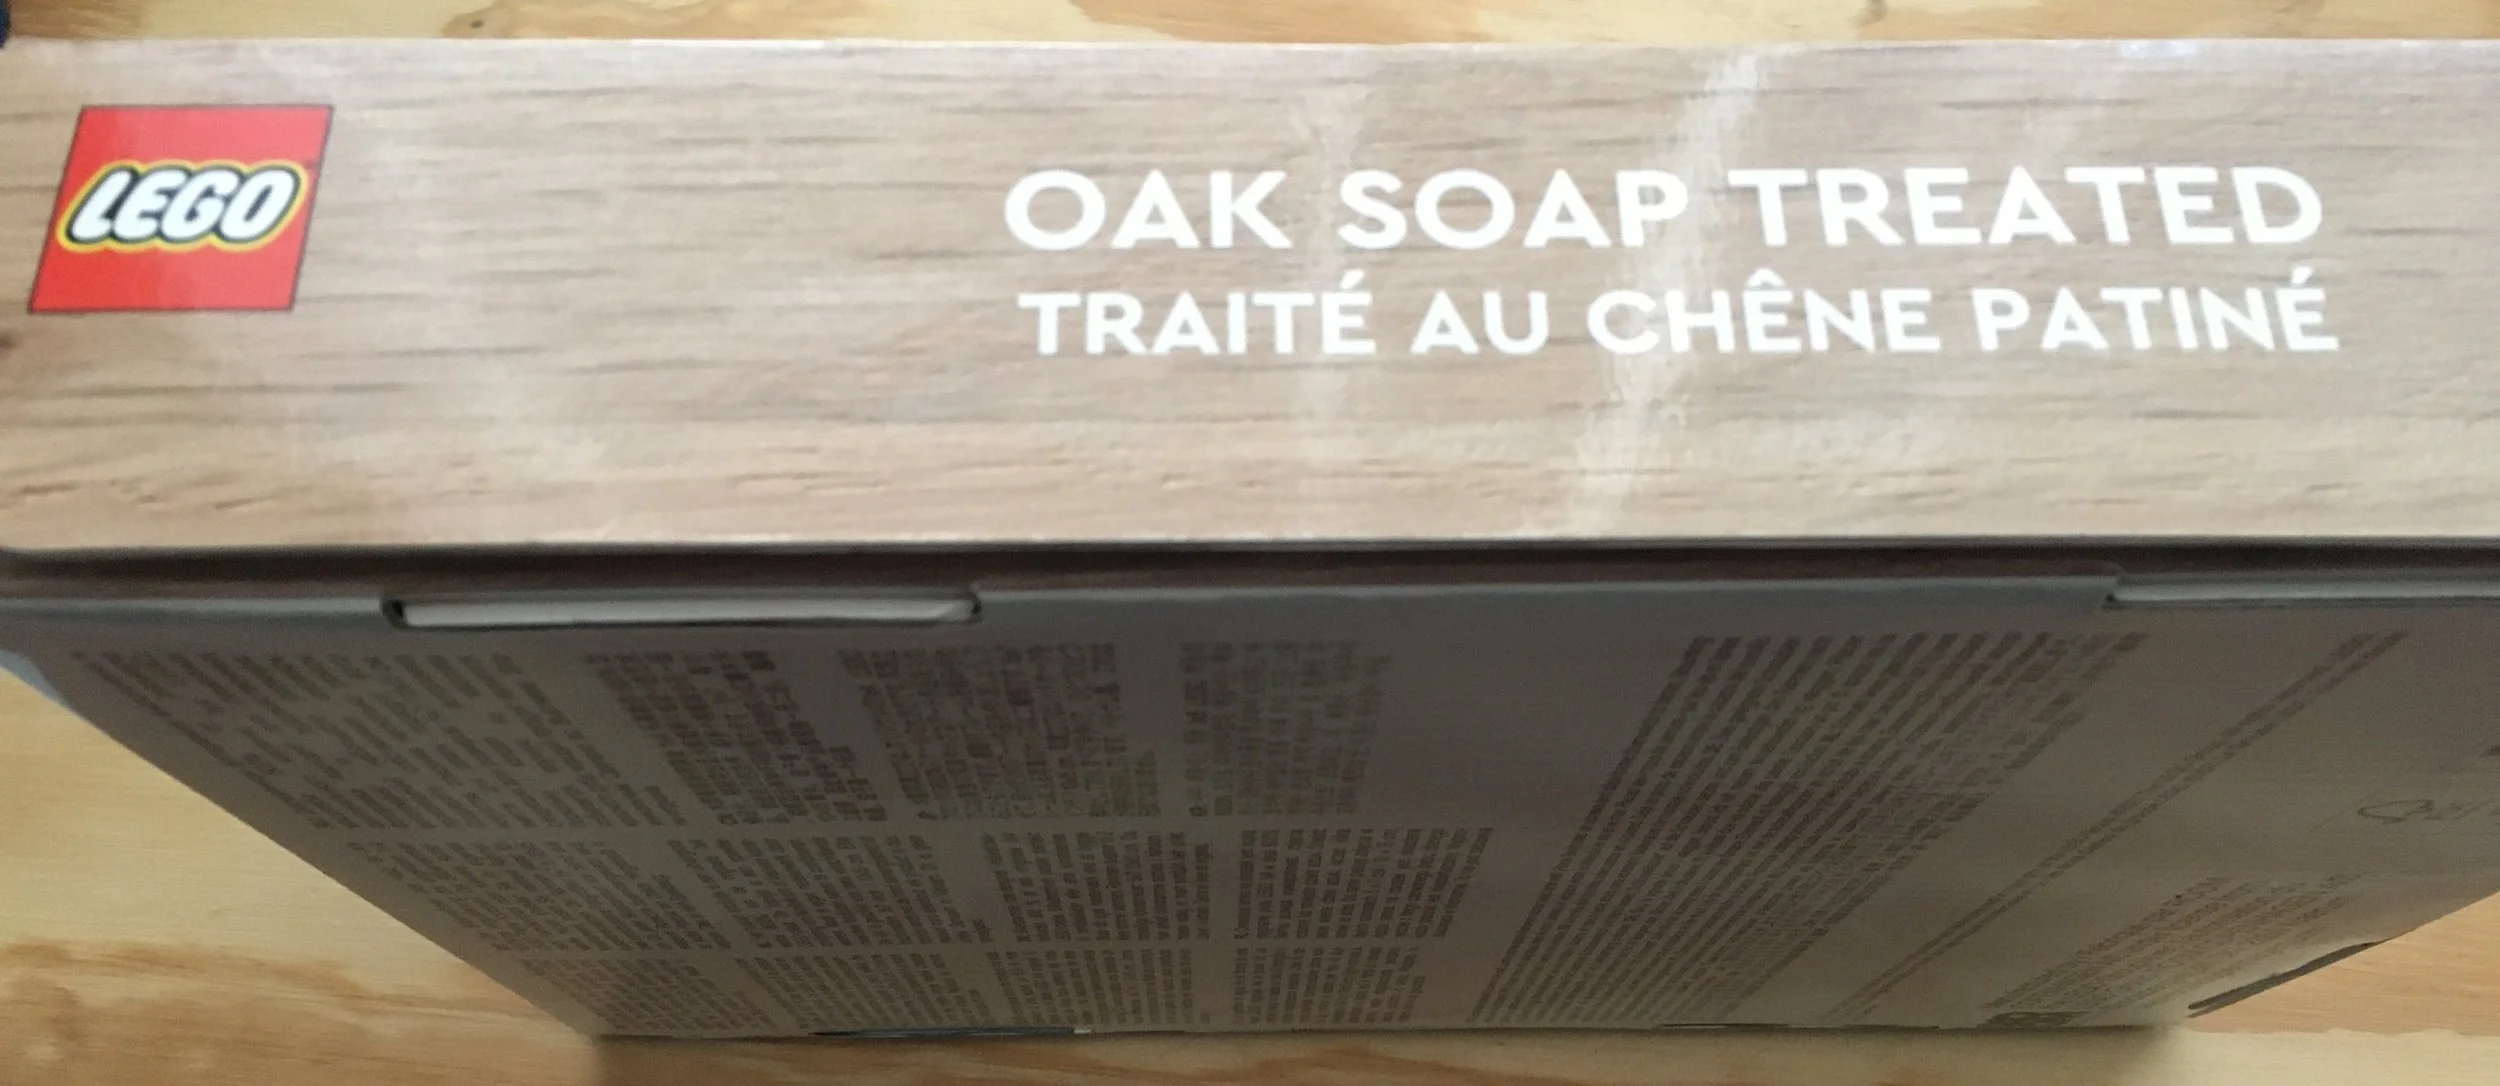
Here’s the box that arrived after I placed my order with LEGO Shop@Home. It’s consistent with the brand’s packaging. It looks professional and they highlight how you can stack these picture frames on top of each other if you want to spend a few hundred dollars on them. One of the side views notes that I purchased the “oak soap treated” version. I have no idea what oak soap is, but this frame is $10 cheaper than a darker stained frame also for sale.

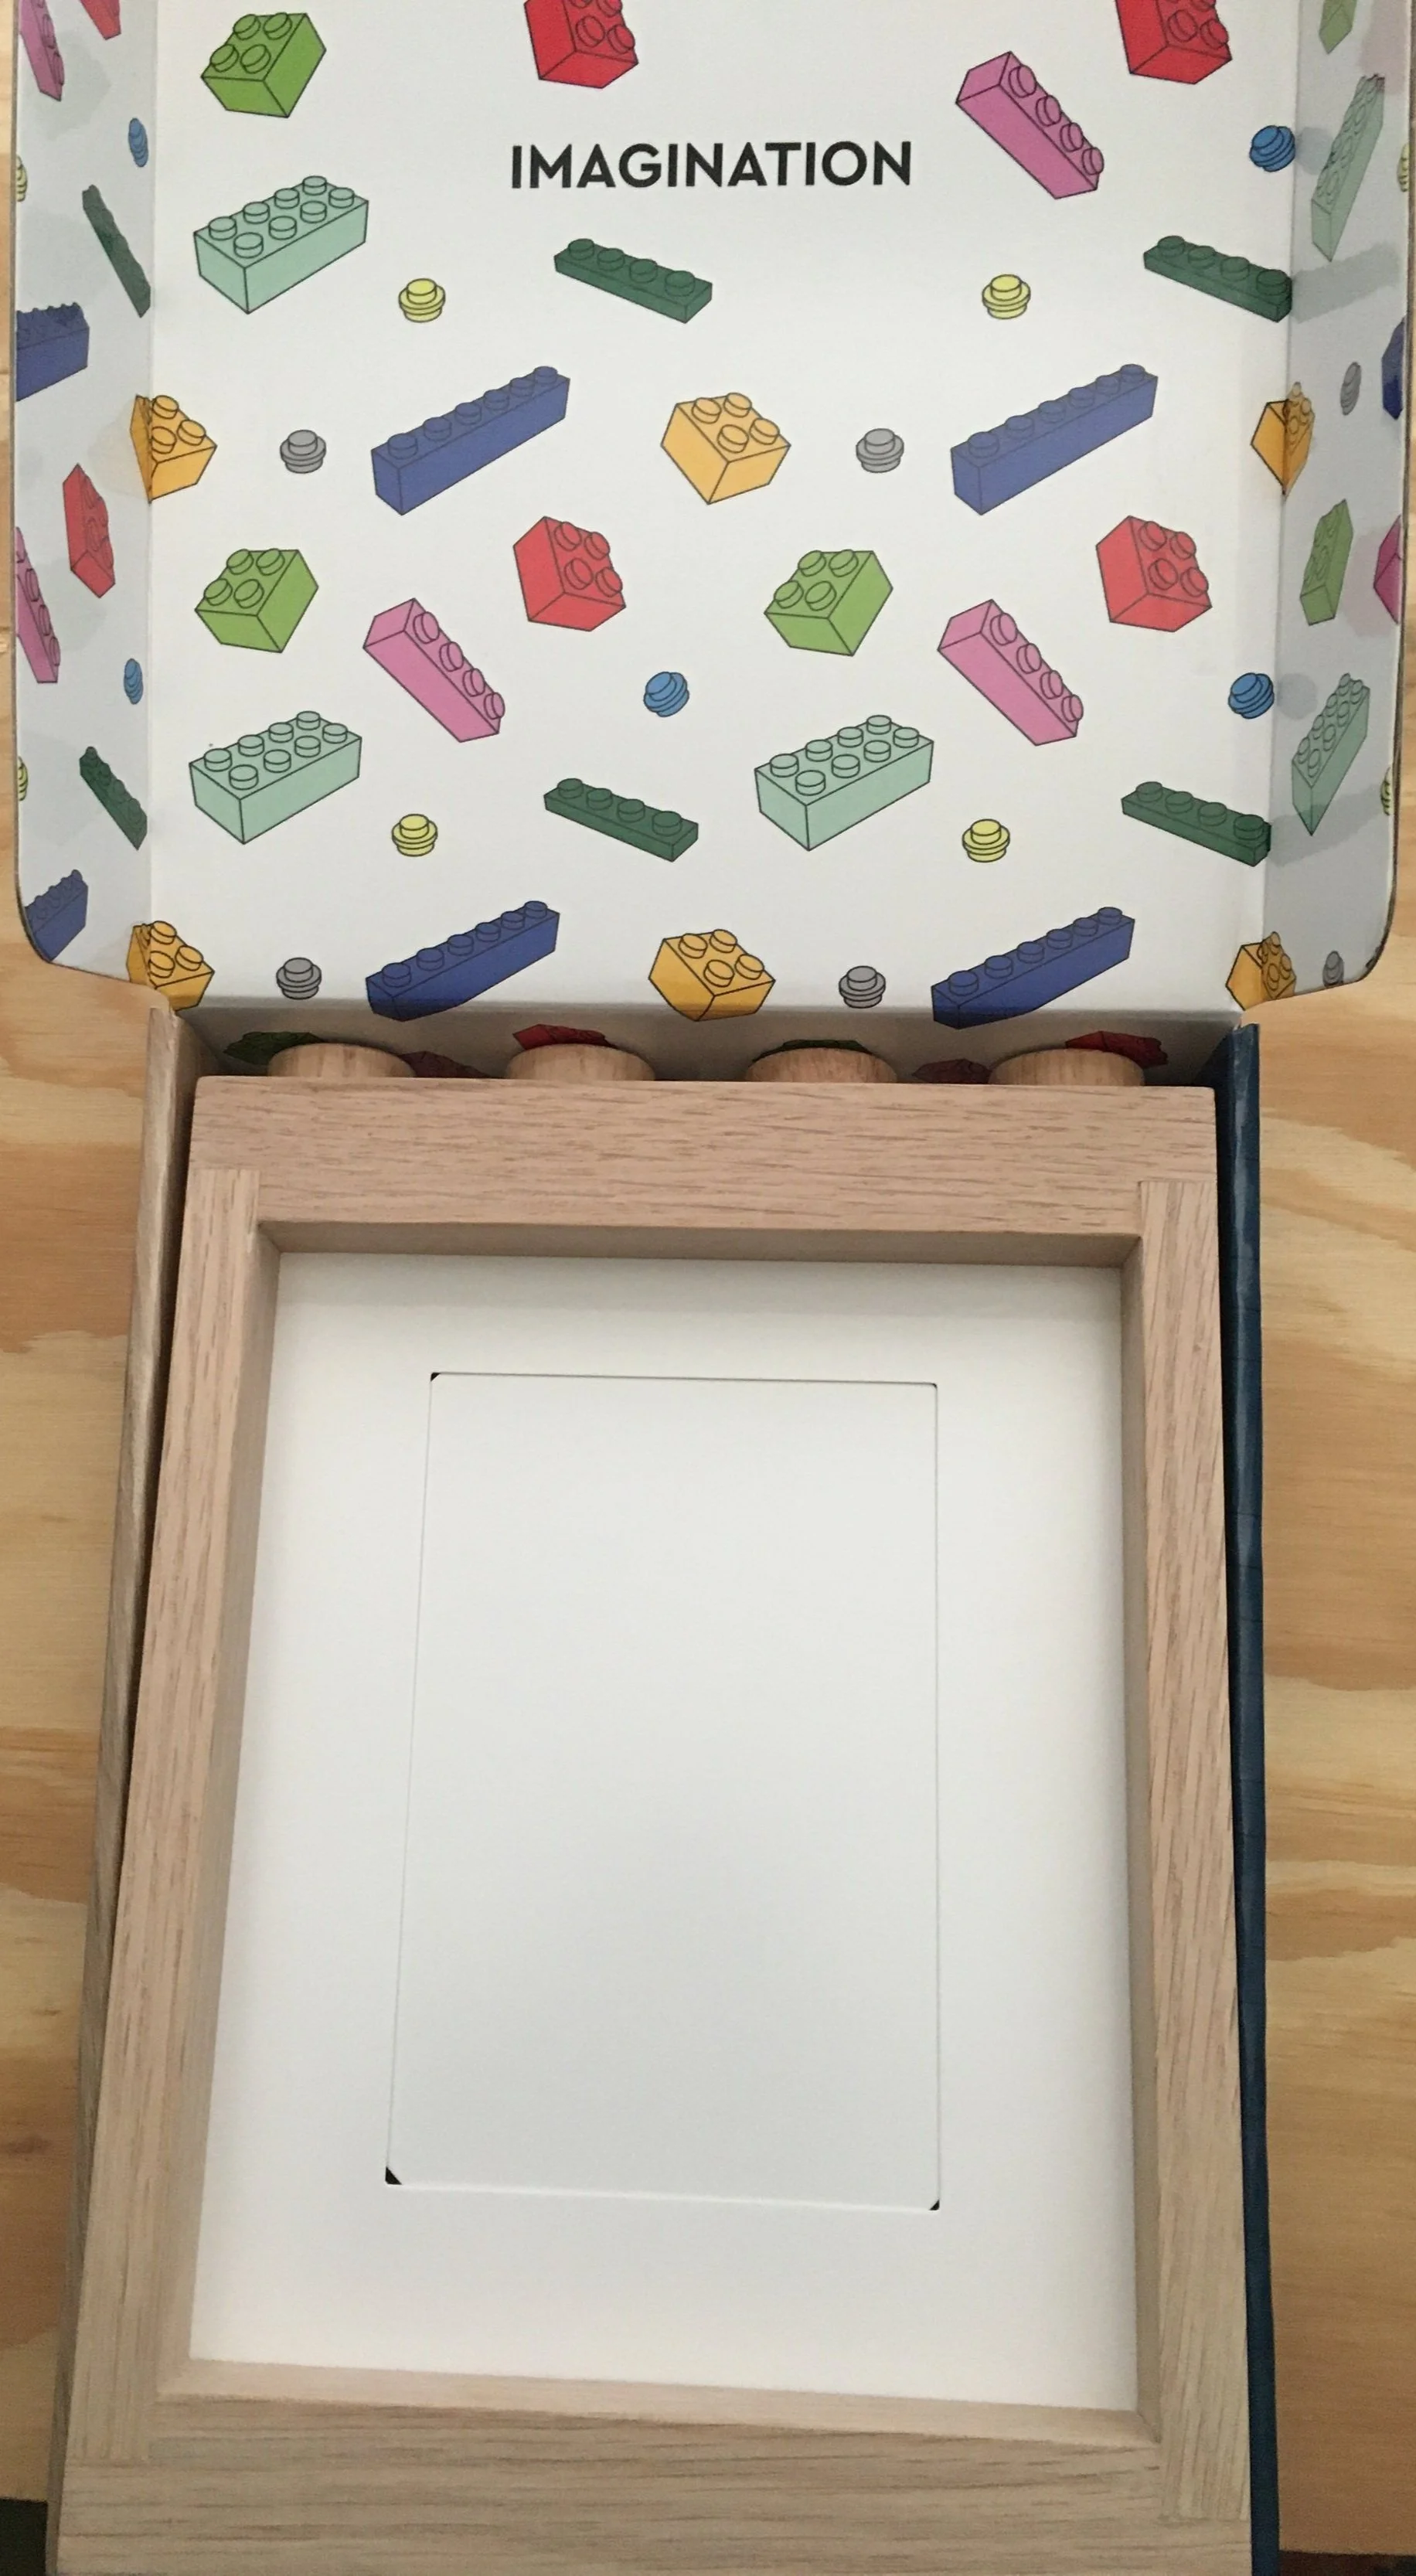
Opening the box, you are greeted with a bunch of printed bricks and the word “Imagination.” There isn’t any packaging or covers to remove which didn’t seem to be an issue. The frame fits in the box snuggly and the box isn’t taped so you can use a tab to re-close the box if you need to transport or store the frame.

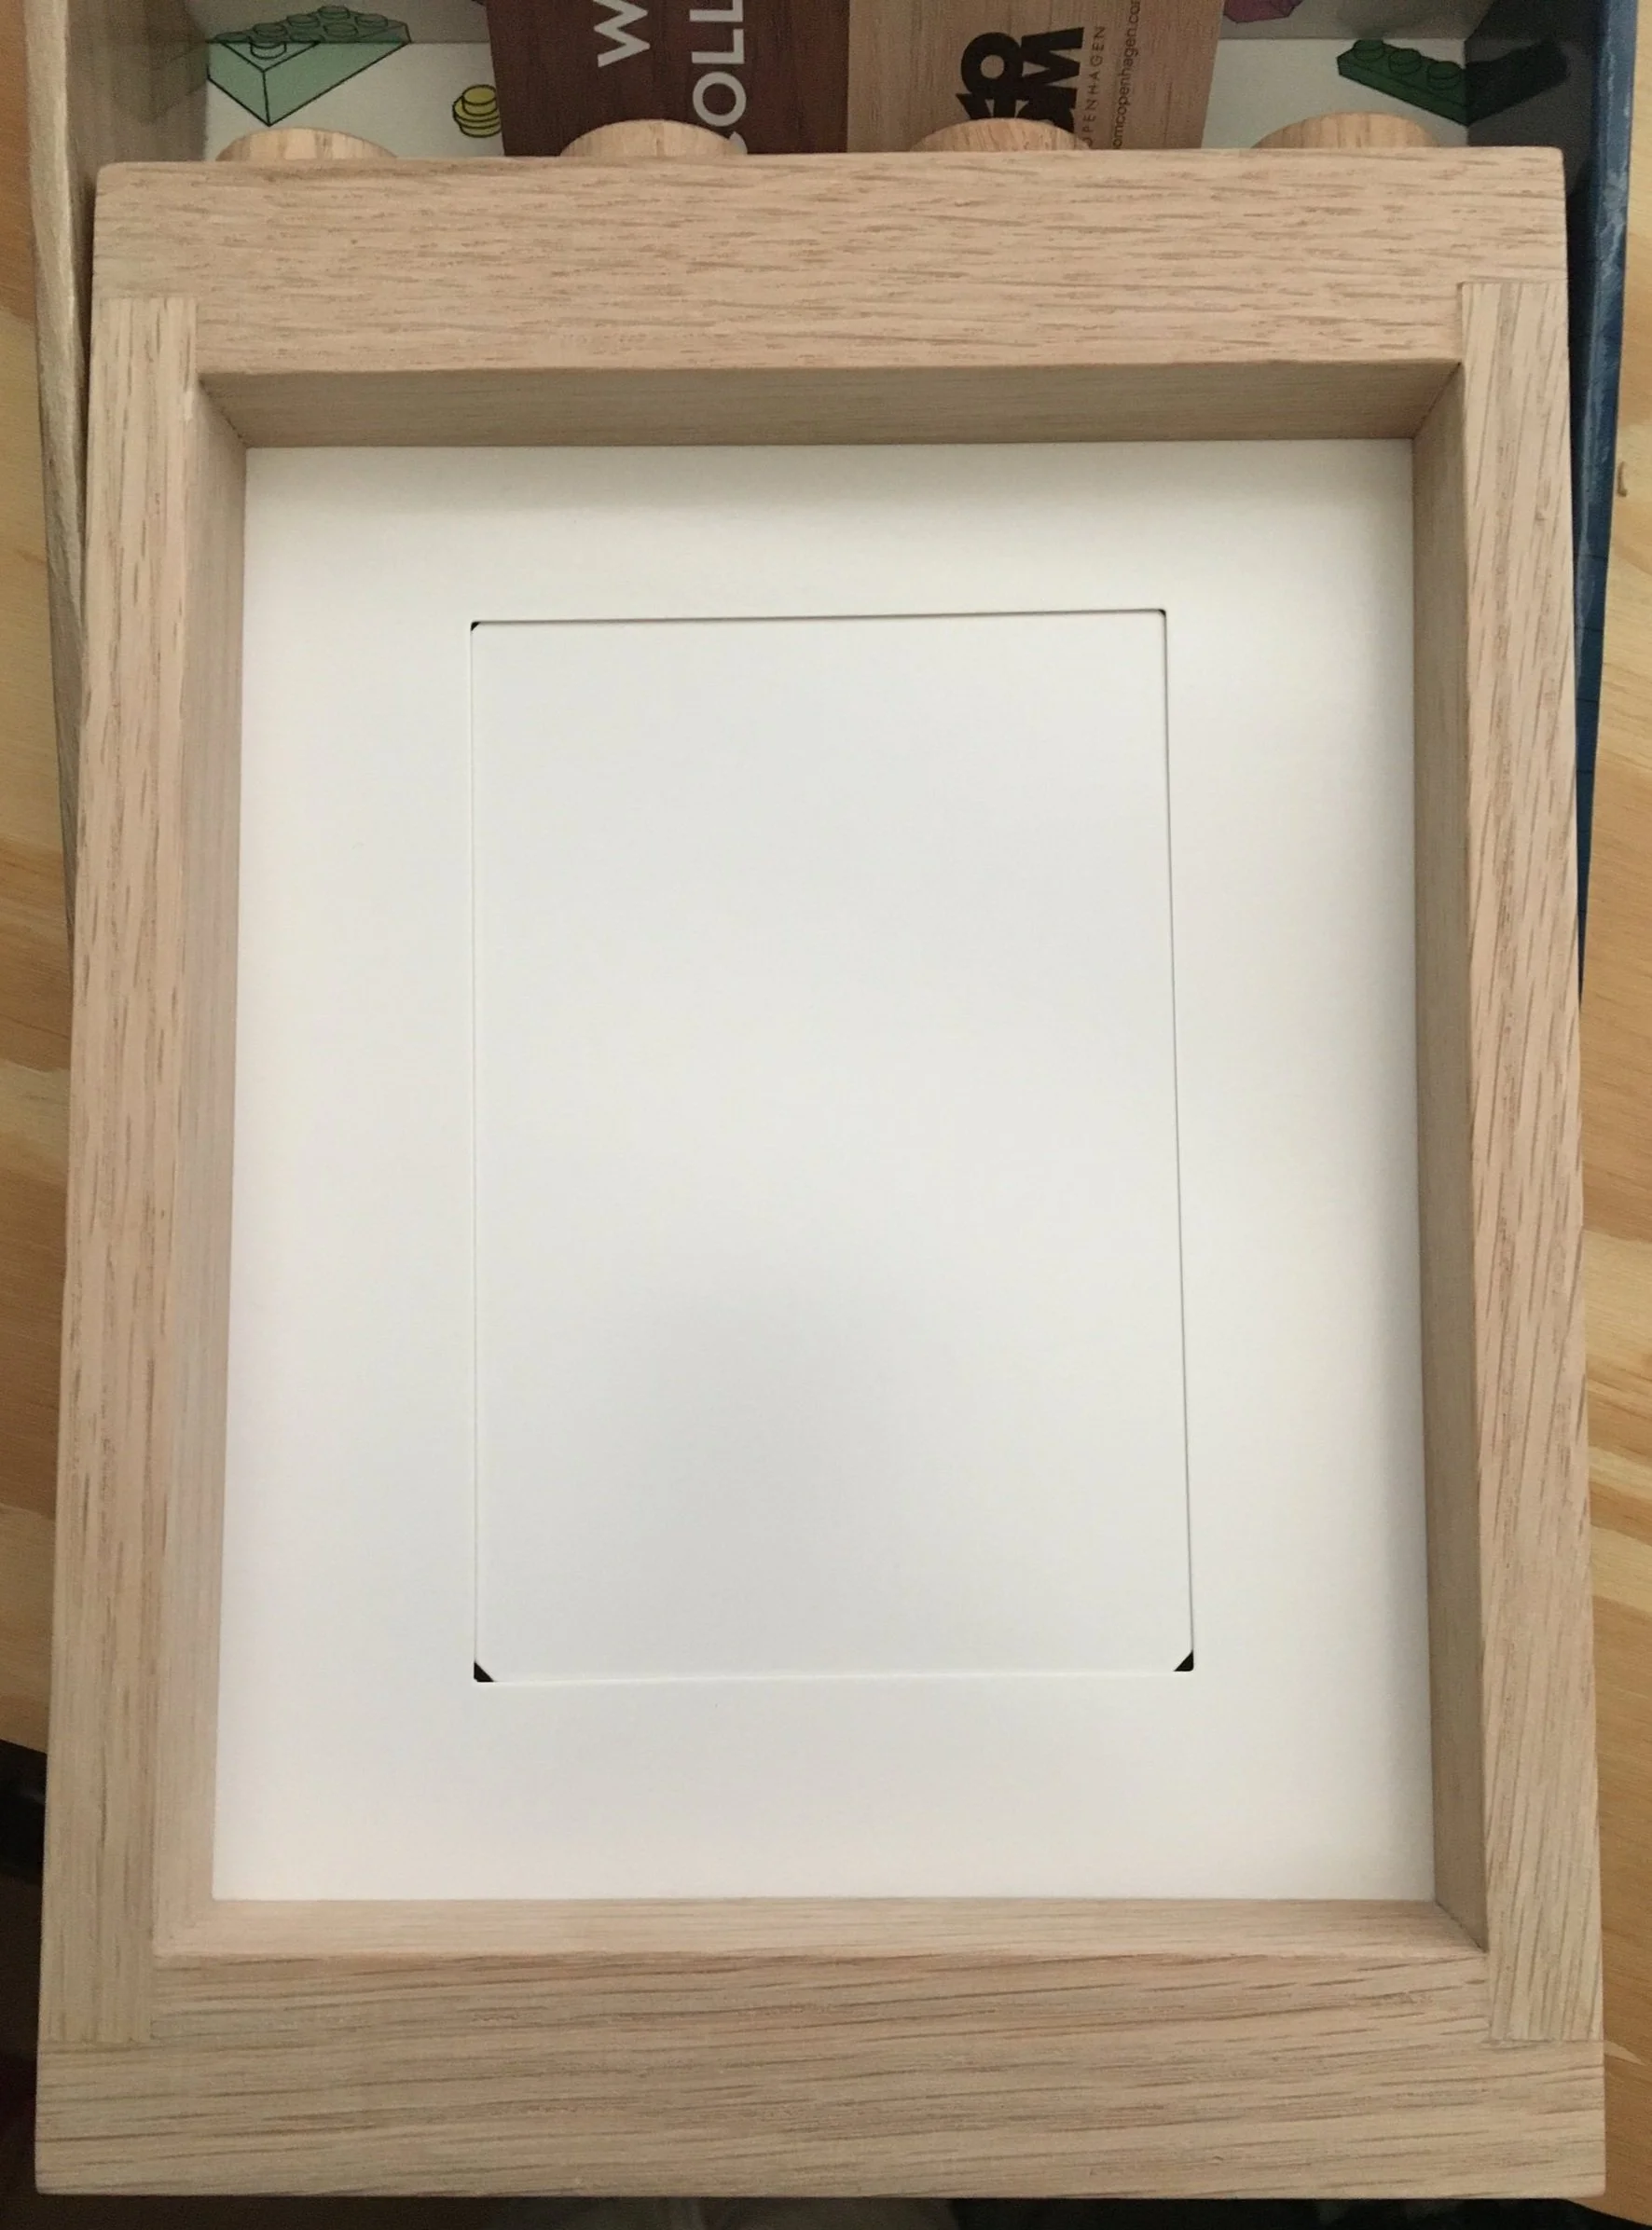
The front and back of the frame appear to be in good shape. It isn’t beat up or damaged in a way that I can see. There aren’t major gaps or cracks between the wood. On the back, there are two slots to hook the frame into nails so you can affix it to a wall.

As mentioned, you can connect frames together when you hang them on a wall. This probably will involve a lot of measuring to line up the nails just right so they match up. In order to do that, you use clutch power, but in wood form. The studs on top are a nice touch and I like the LEGO branding on each stud despite the fact that once you hang it on a wall, you probably won’t see the logo. The bottom looks like the bottom of a brick, but I don’t have another frame to verify how well it connects or doesn’t connect.

Okay, so I got to this part of the frame… the side has a slot where you pull out a cardboard like sheet. You put the picture in the sheet and then slide it back into the slot and you’re all set. Just hang it up on the wall.

Um… where’s the glass or plexiglass to protect the picture from the elements? What about having a backing so that it presses the picture against the glass to keep it flat? In my opinion, this is where LEGO went wrong. Now I’m not going to take the time to put a nice picture in the frame as I know it’ll start to warp with humidity and I’ll just have to print another one. Or maybe I print a picture out and laminate it before putting it in the cardboard sleeve?

My recommendation is not to buy this frame. The quality and design are good, but $90 before tax and you don’t get what would normally be a standard part of a picture frame. I recommend you go to your local big box store and pick up a real frame at a much lower cost. Then you’ll have more funds leftover to buy plastic bricks, which LEGO seems to do much better at than this frame.

Set Review: #76392-1: Hogwarts Wizard's Chess - Harry Potter

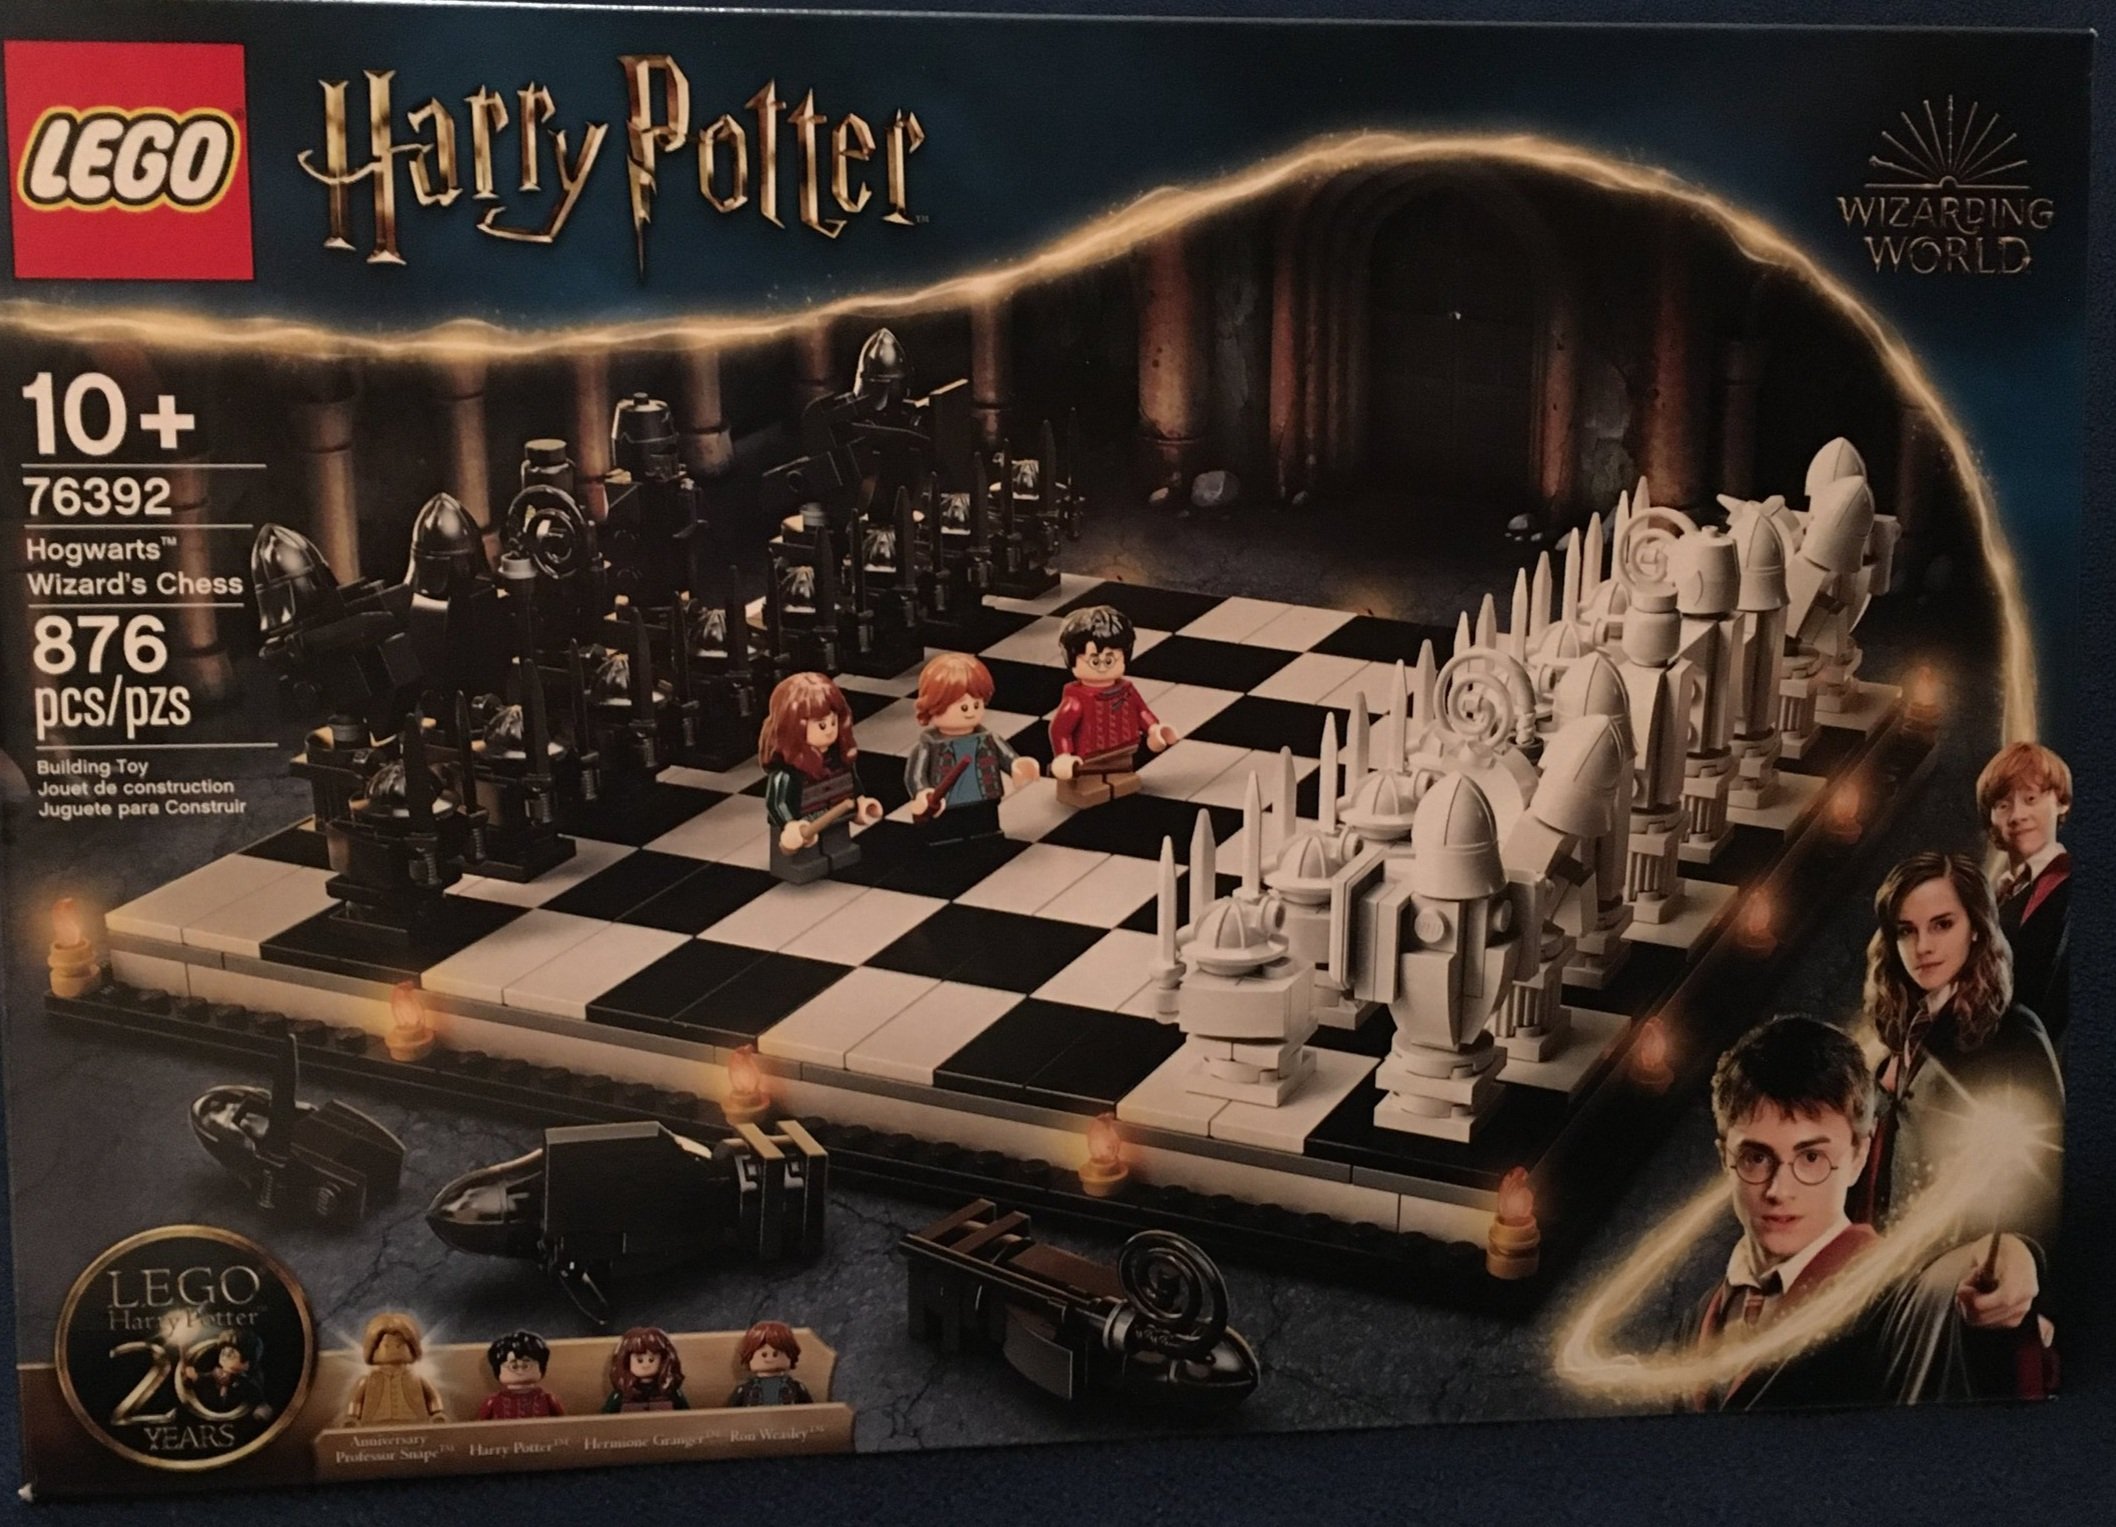
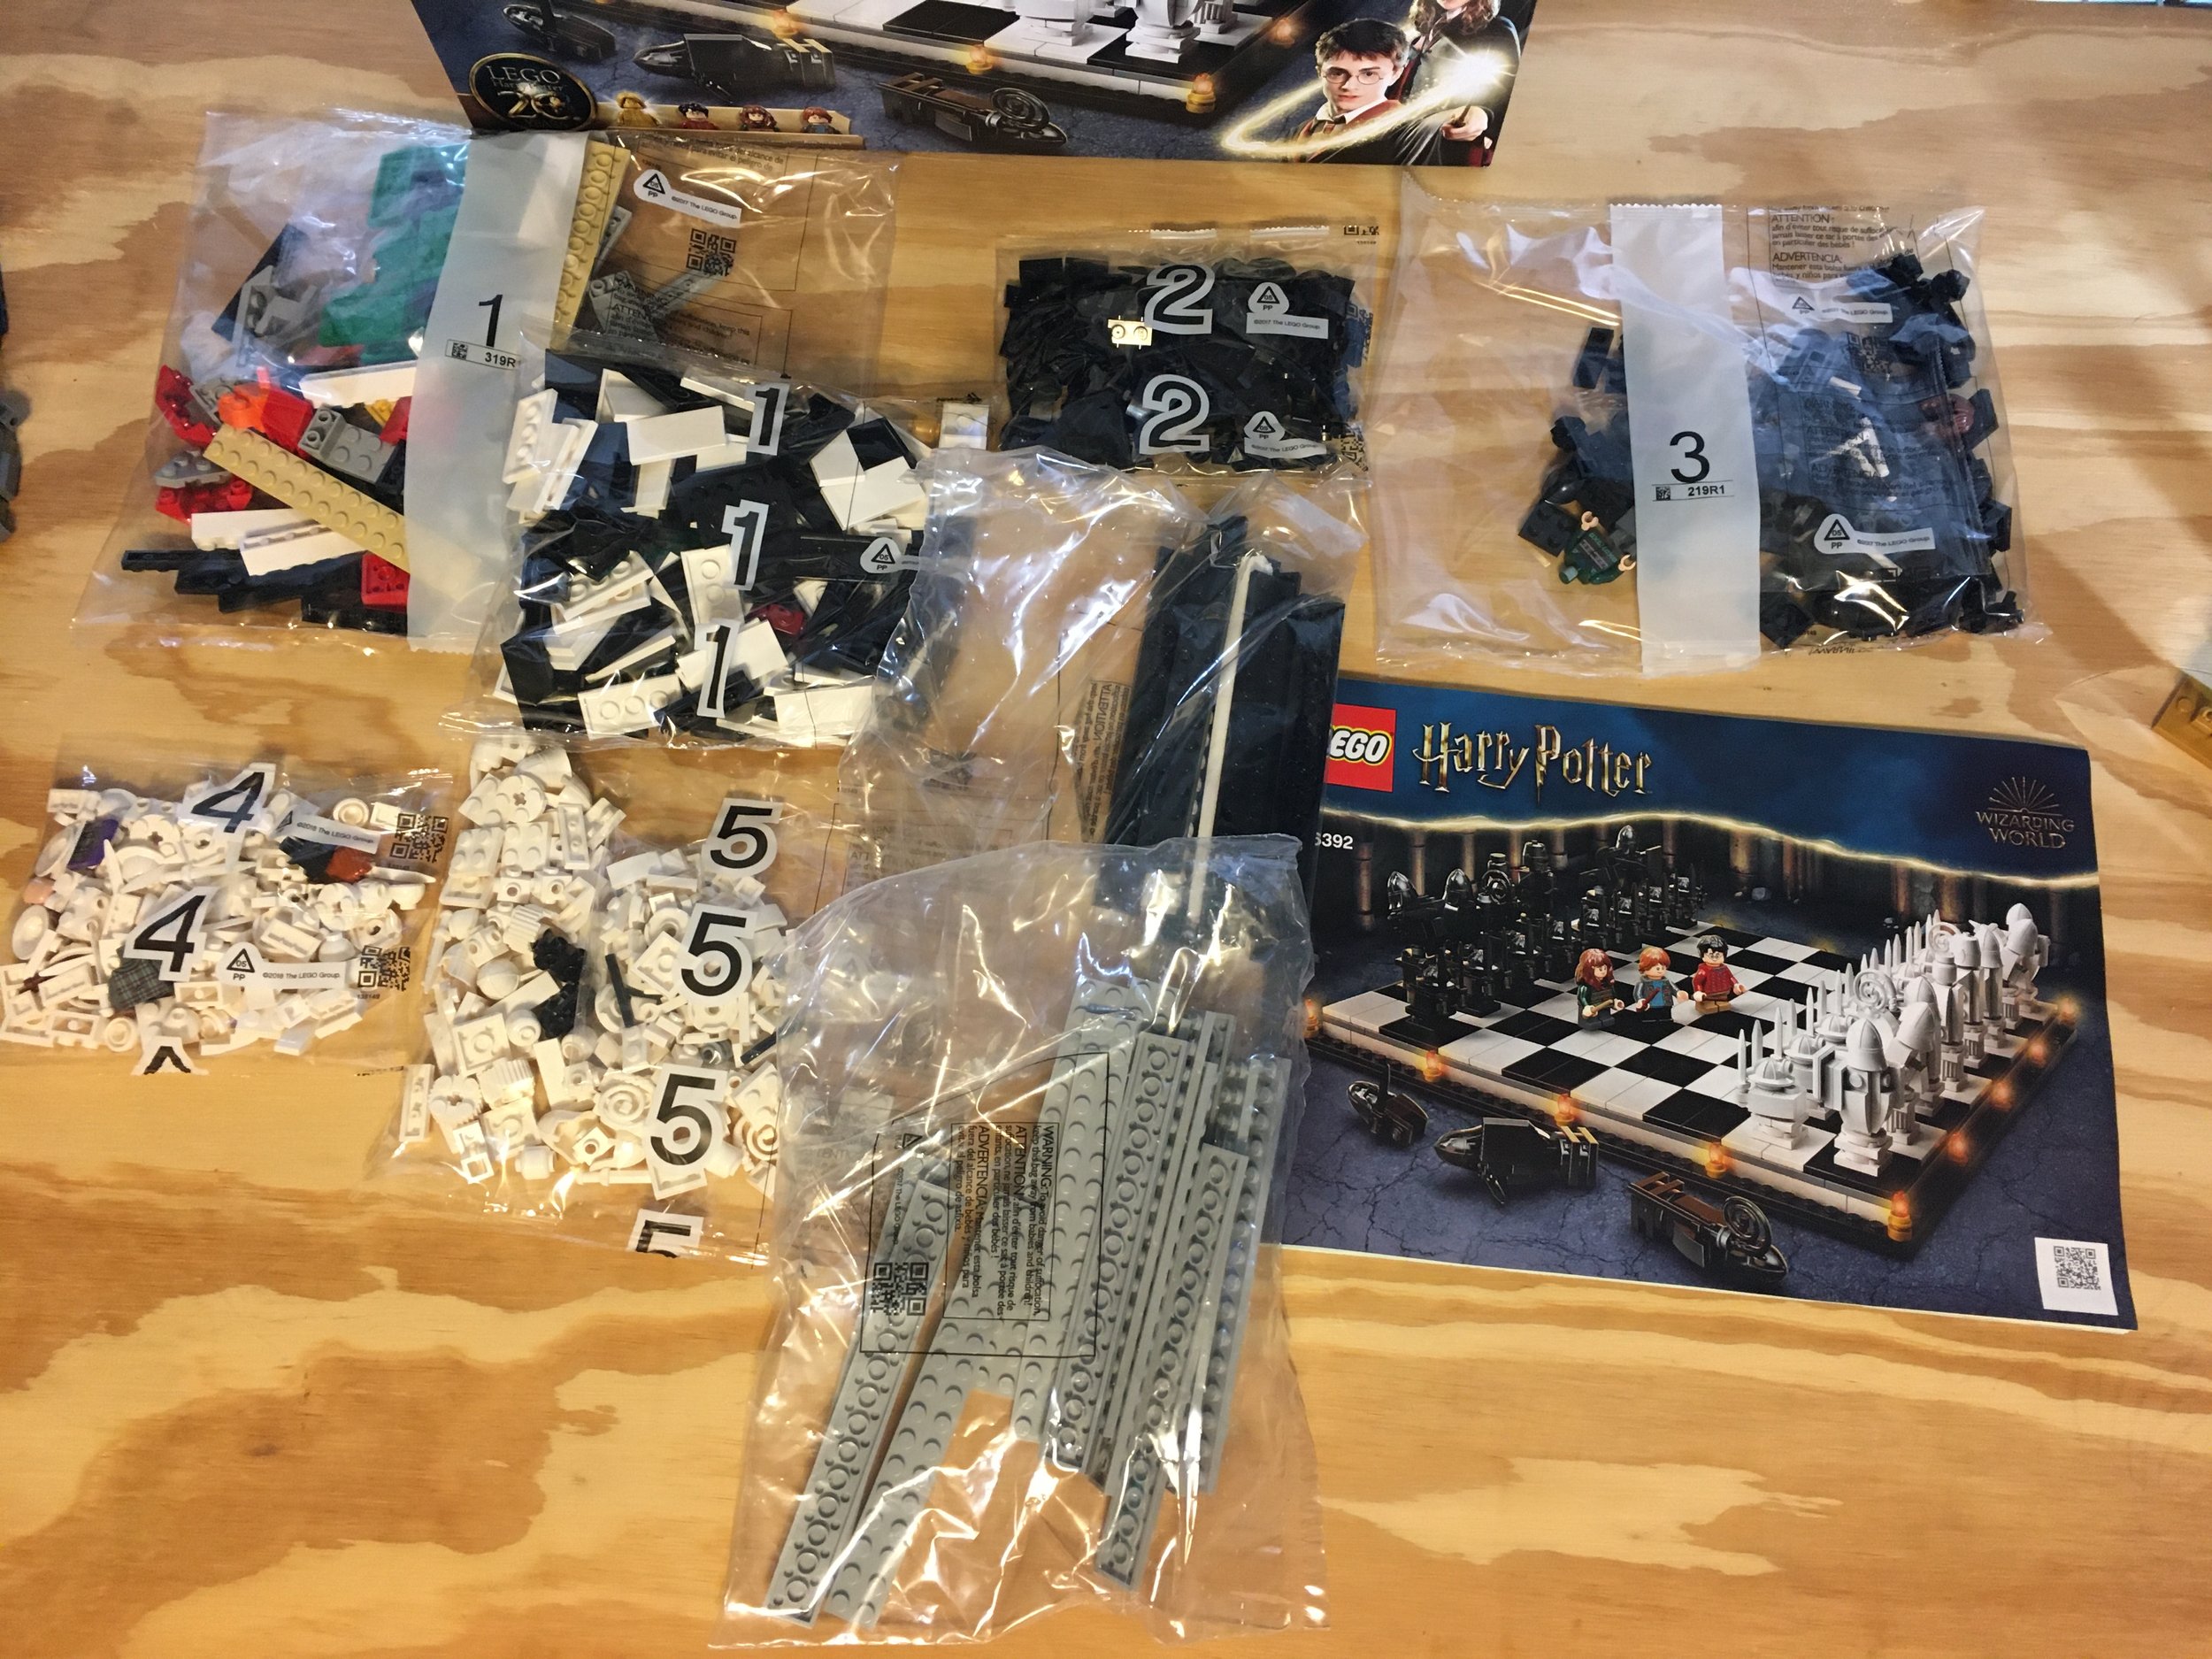
It’s finally the last of the 2021 Harry Potter sets… or at least the last one I’m going to review. I decided not to purchase/review the Harry Potter Moments sets. This one is #76392-1: Hogwarts Wizard’s Chess. It was released on 18 April 2021 in the US. It retails for $59.99 and contains 876 pieces. This works out to $0.068 per piece. This is a pretty decent ratio, but a lot of the pieces are pretty small so that could be part of the reason why it looks so good. The set depicts the part of the first book/movie where our three main characters have to play Wizard’s Chess in order to continue on the path to reach the sorcerer’s stone.

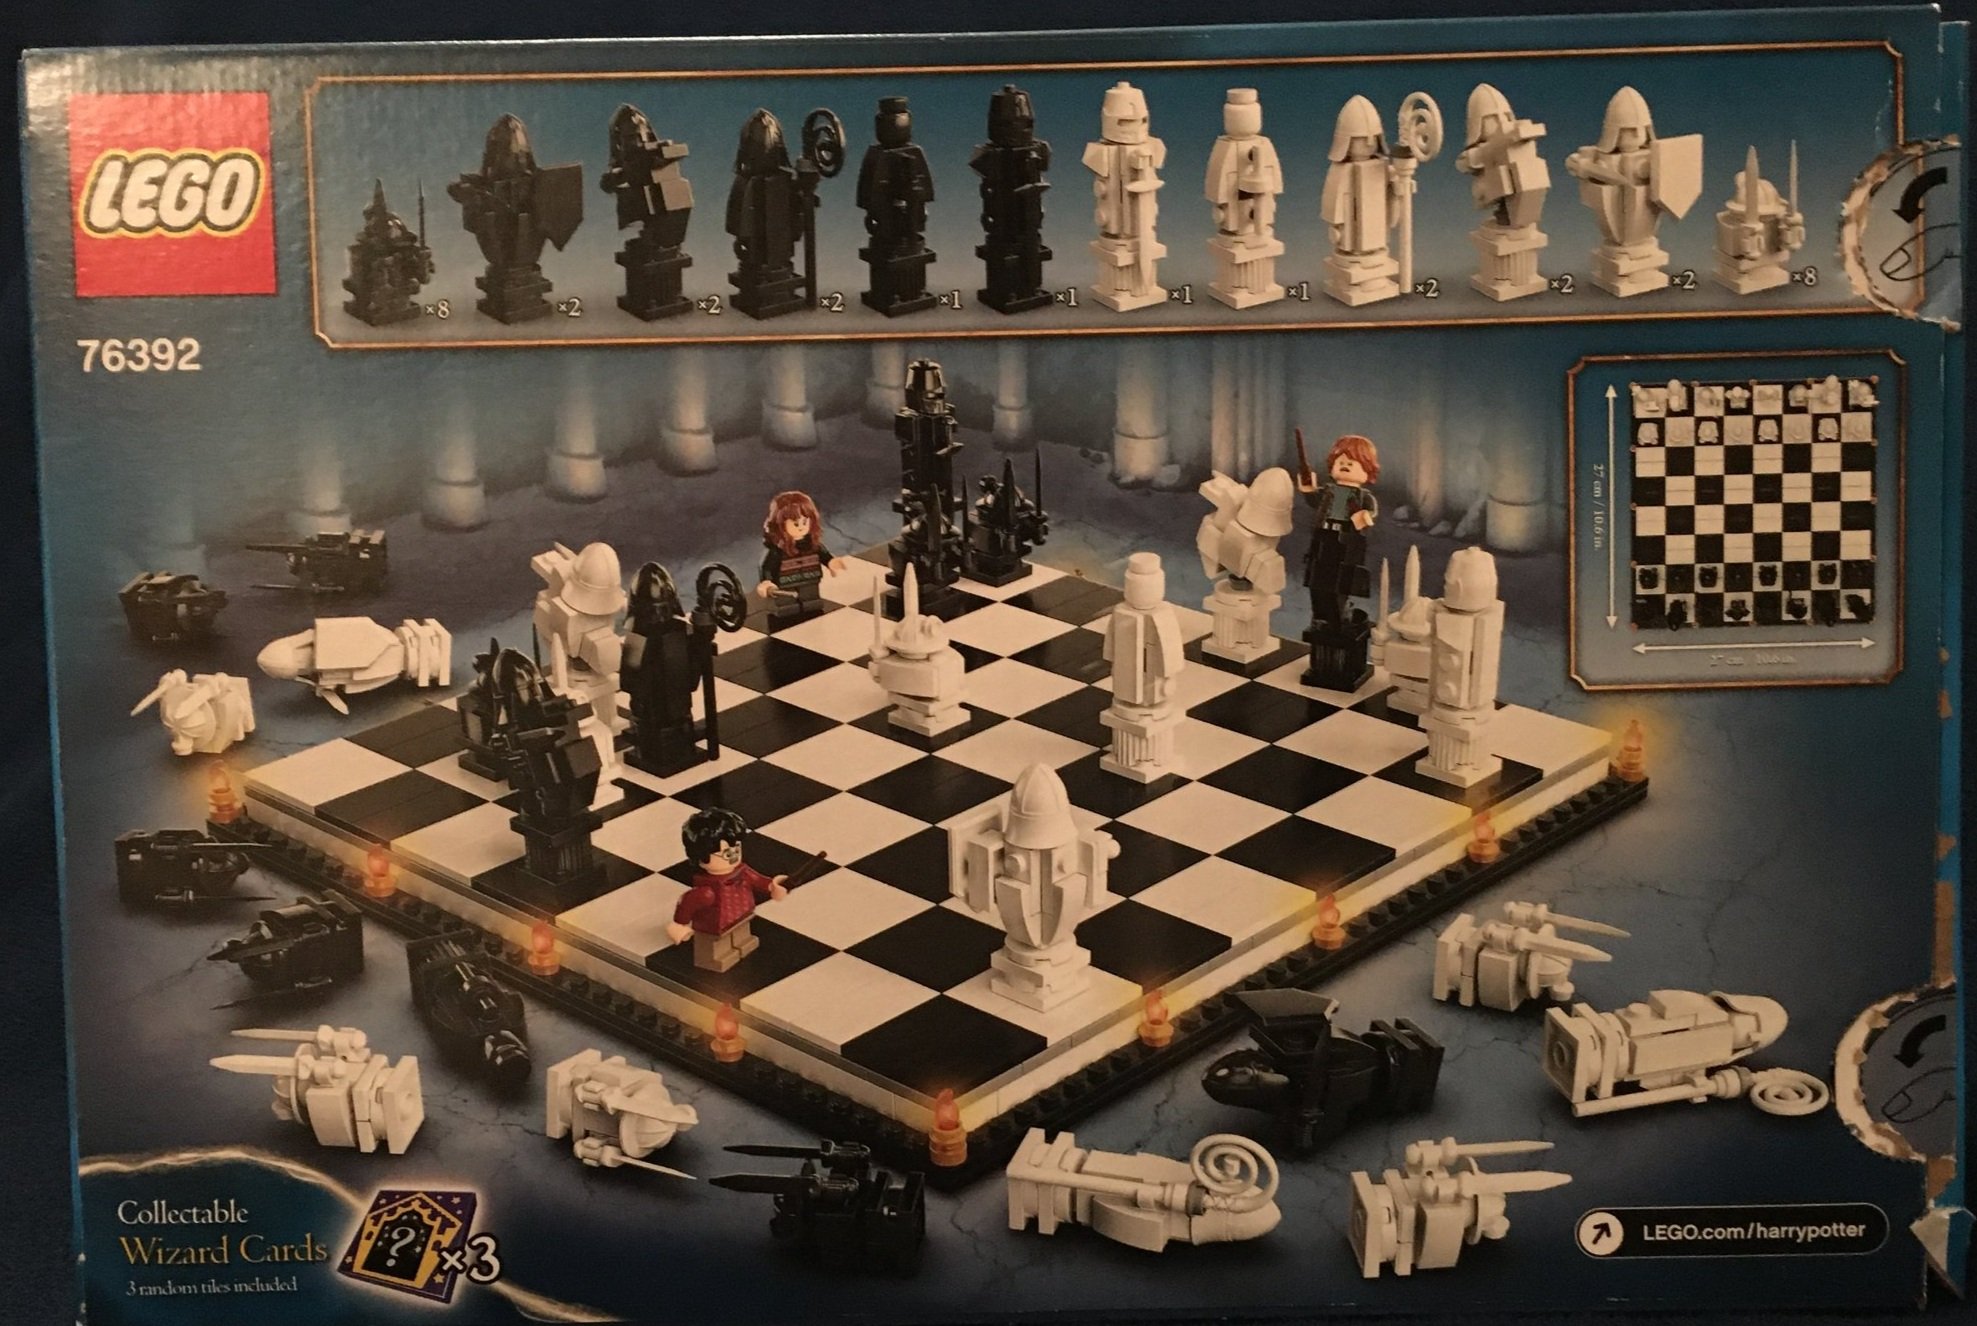
The front of the box shows the full set with all of the minifigures, chess pieces, and the playing board. It has the standard Harry Potter set branding along with the 20th anniversary logos. The back shows a closer detail on each of the playing pieces and highlights the random collectible tiles that you get.

The set comes with eight parts bags. They are numbered one through five. You get two unnumbered bags as well with some larger pieces. Then the instruction booklet is separate. It is not in a bag or anything, but mine wasn’t jammed in too badly.

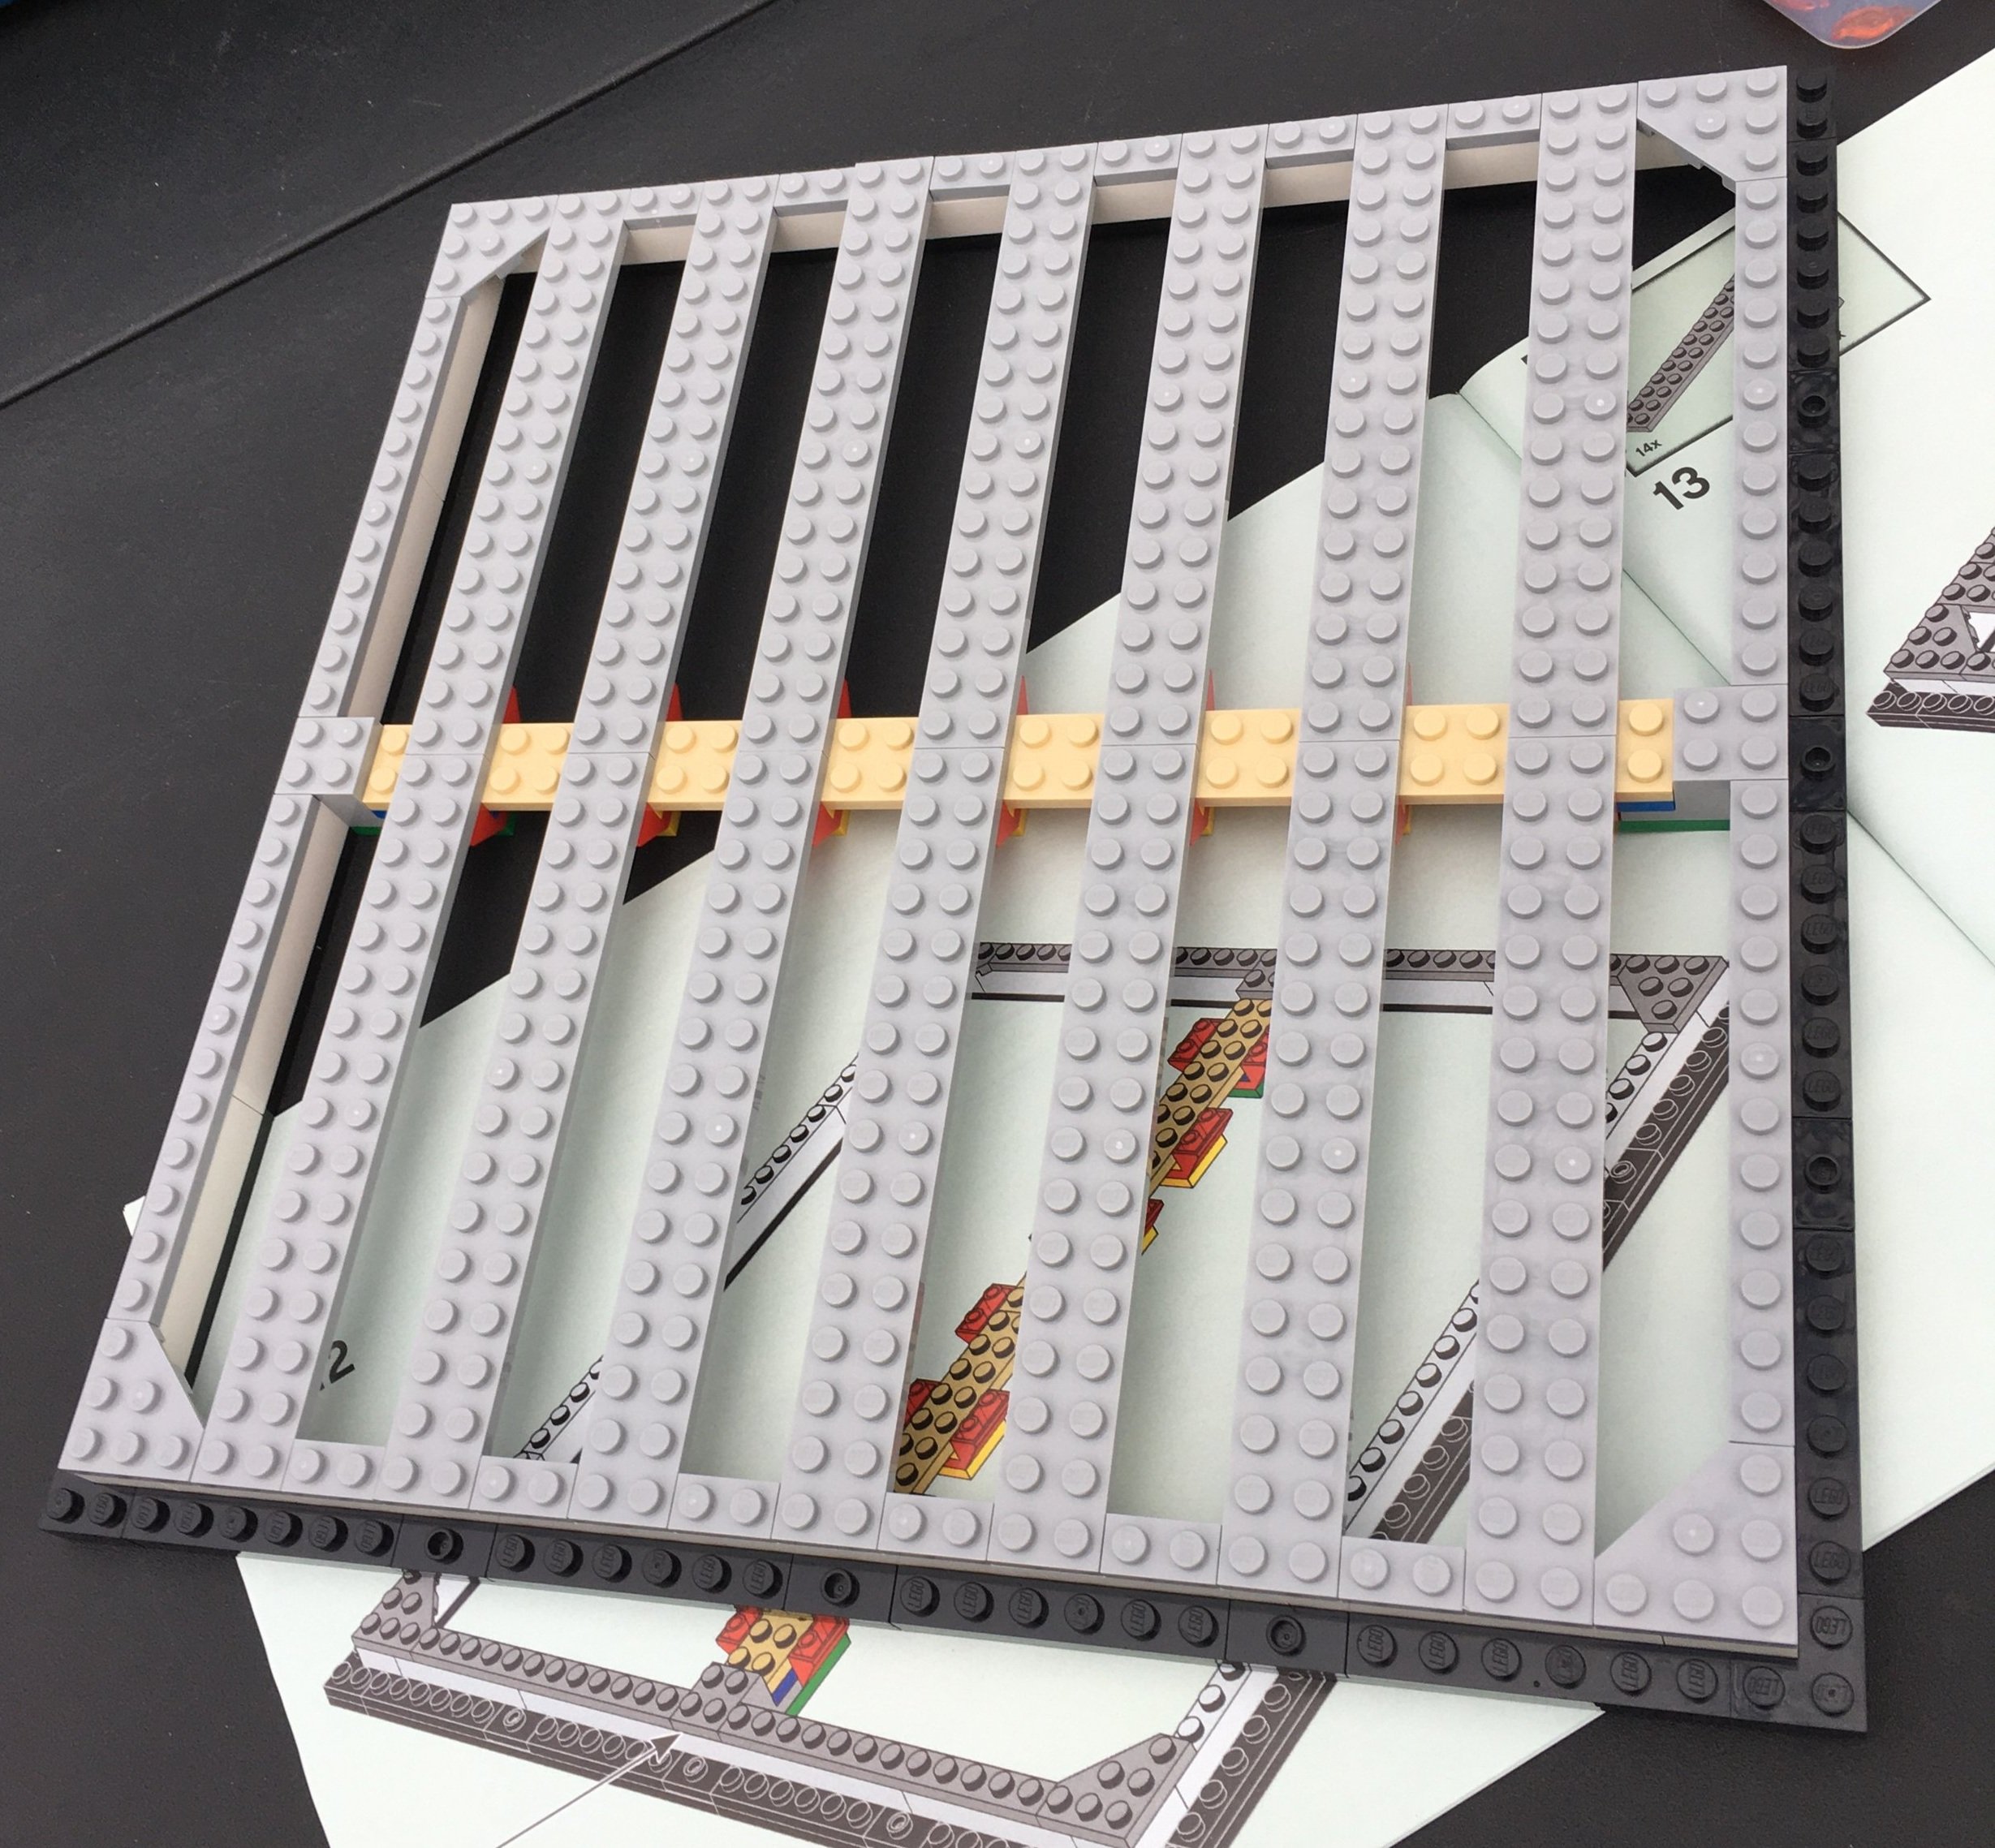
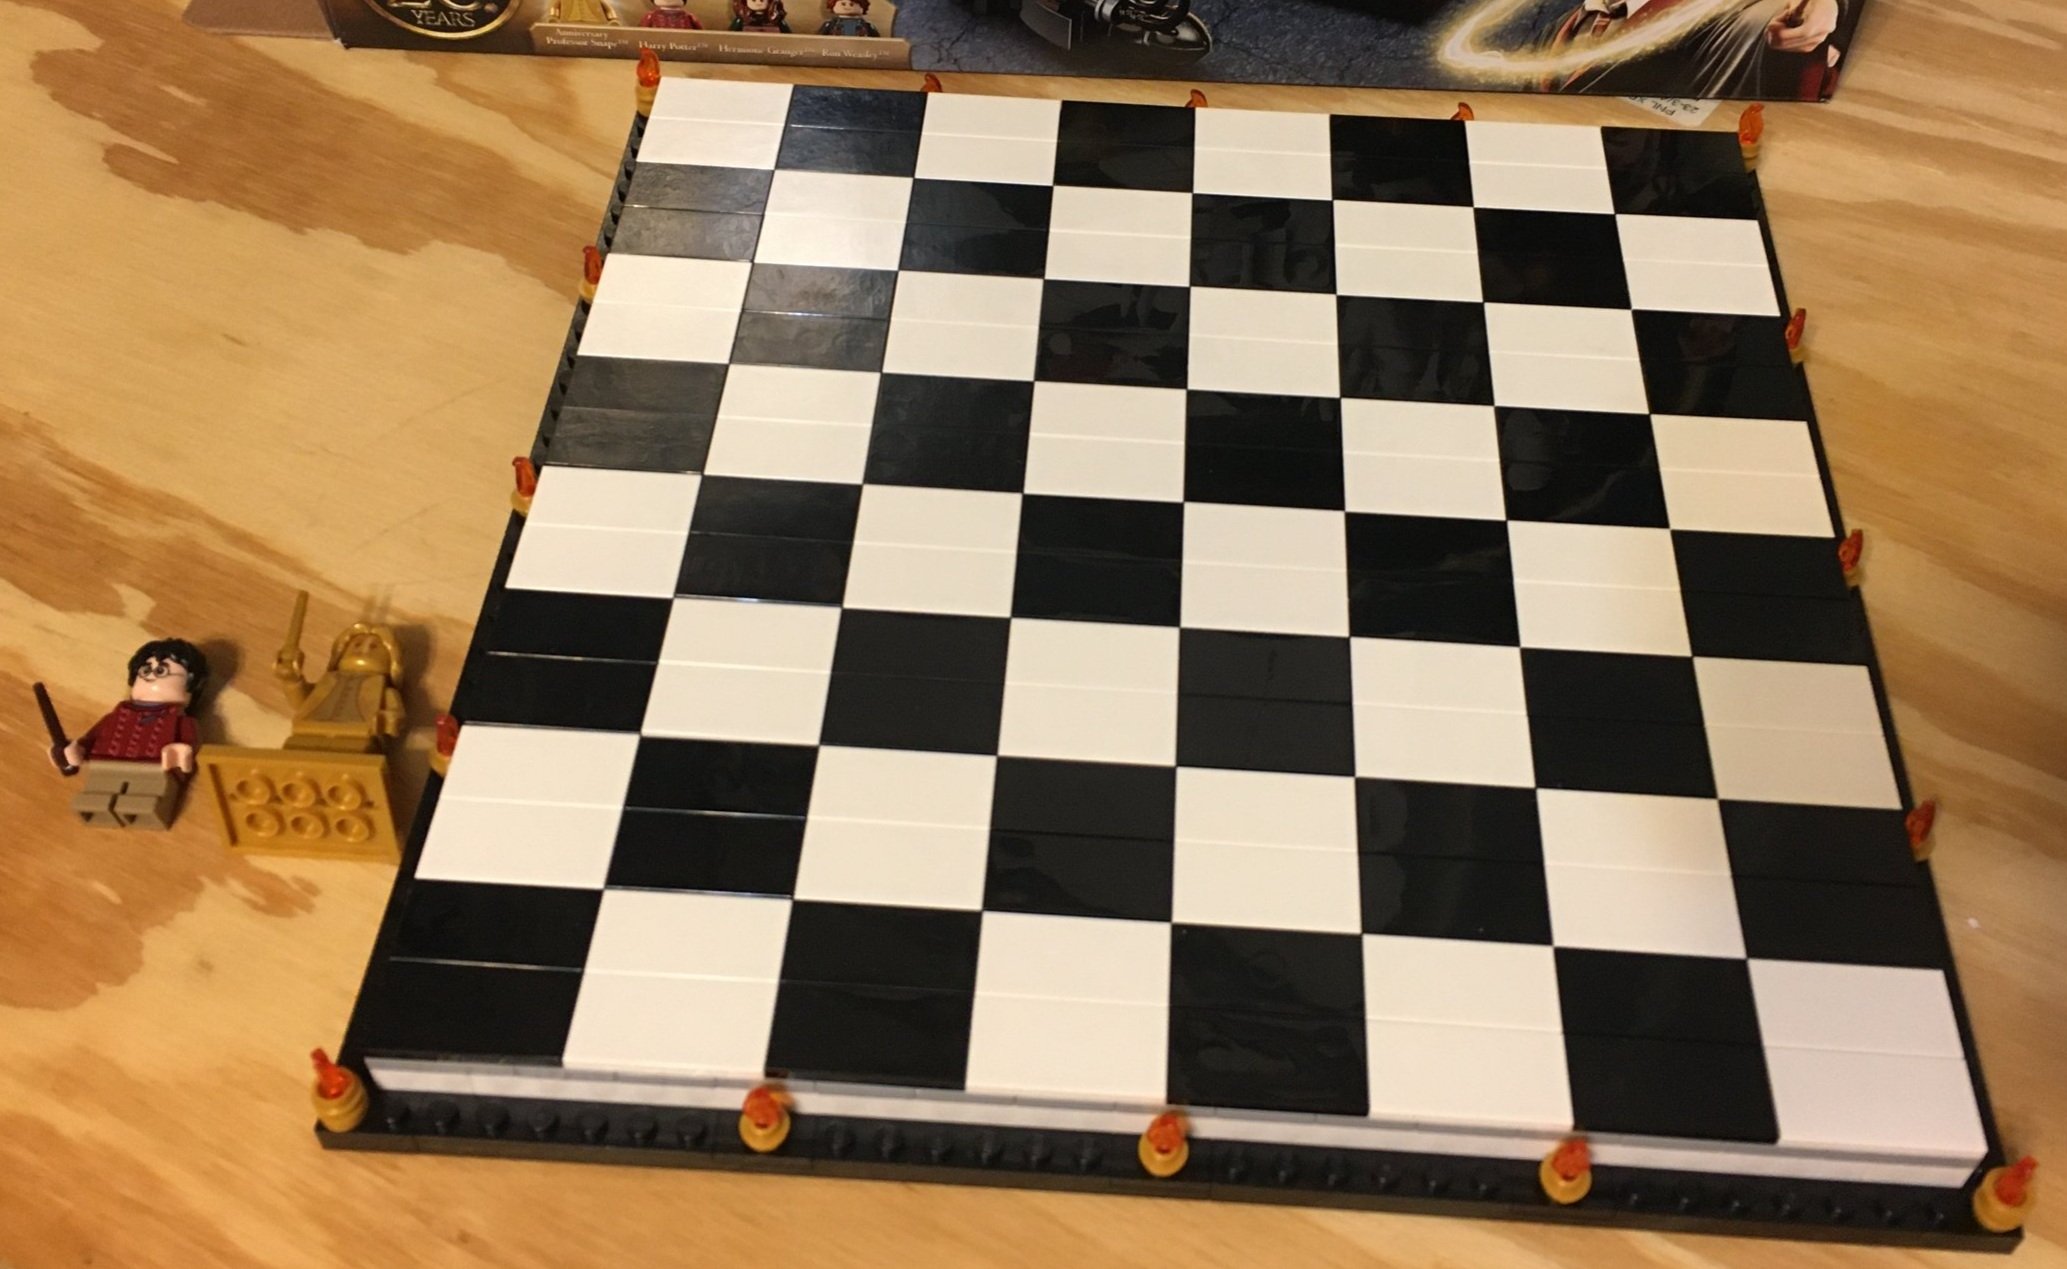
The first set of bags builds the board. I took a picture of one of the earlier steps so you could see the structure underneath. The picture just shows some of the substructure. You add some more pieces in the areas between the long plates so it is pretty sturdy and the board doesn’t bow in. The board gets covered up with alternating pairs of black and white tiles. Along the outside you attach some small pieces to re-create the torches seen in the movie.

This set of bags comes with the Harry Potter minifigure and then the 20th anniversary golden minifigure for Professor Snape.

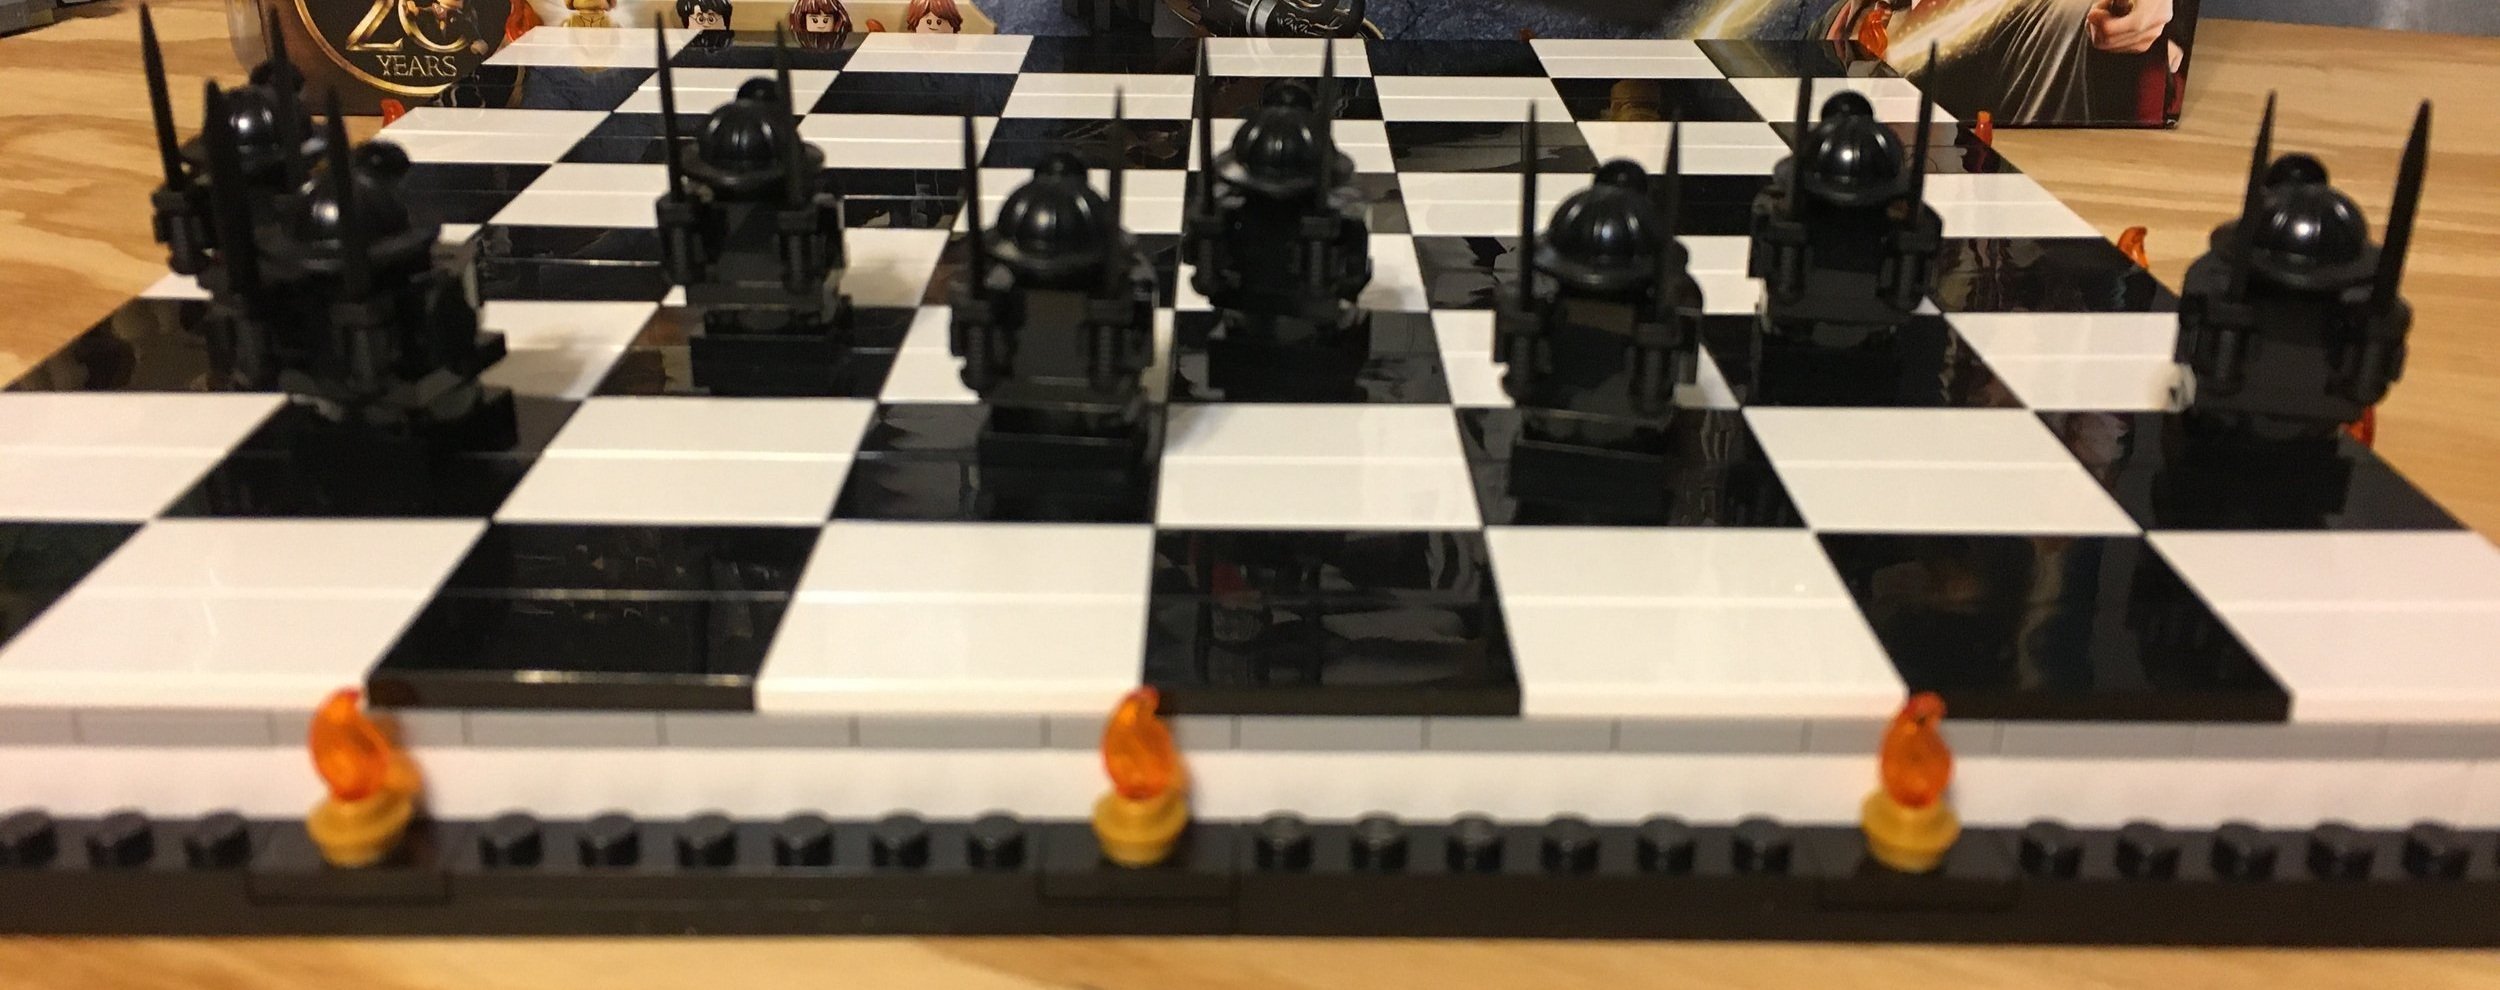
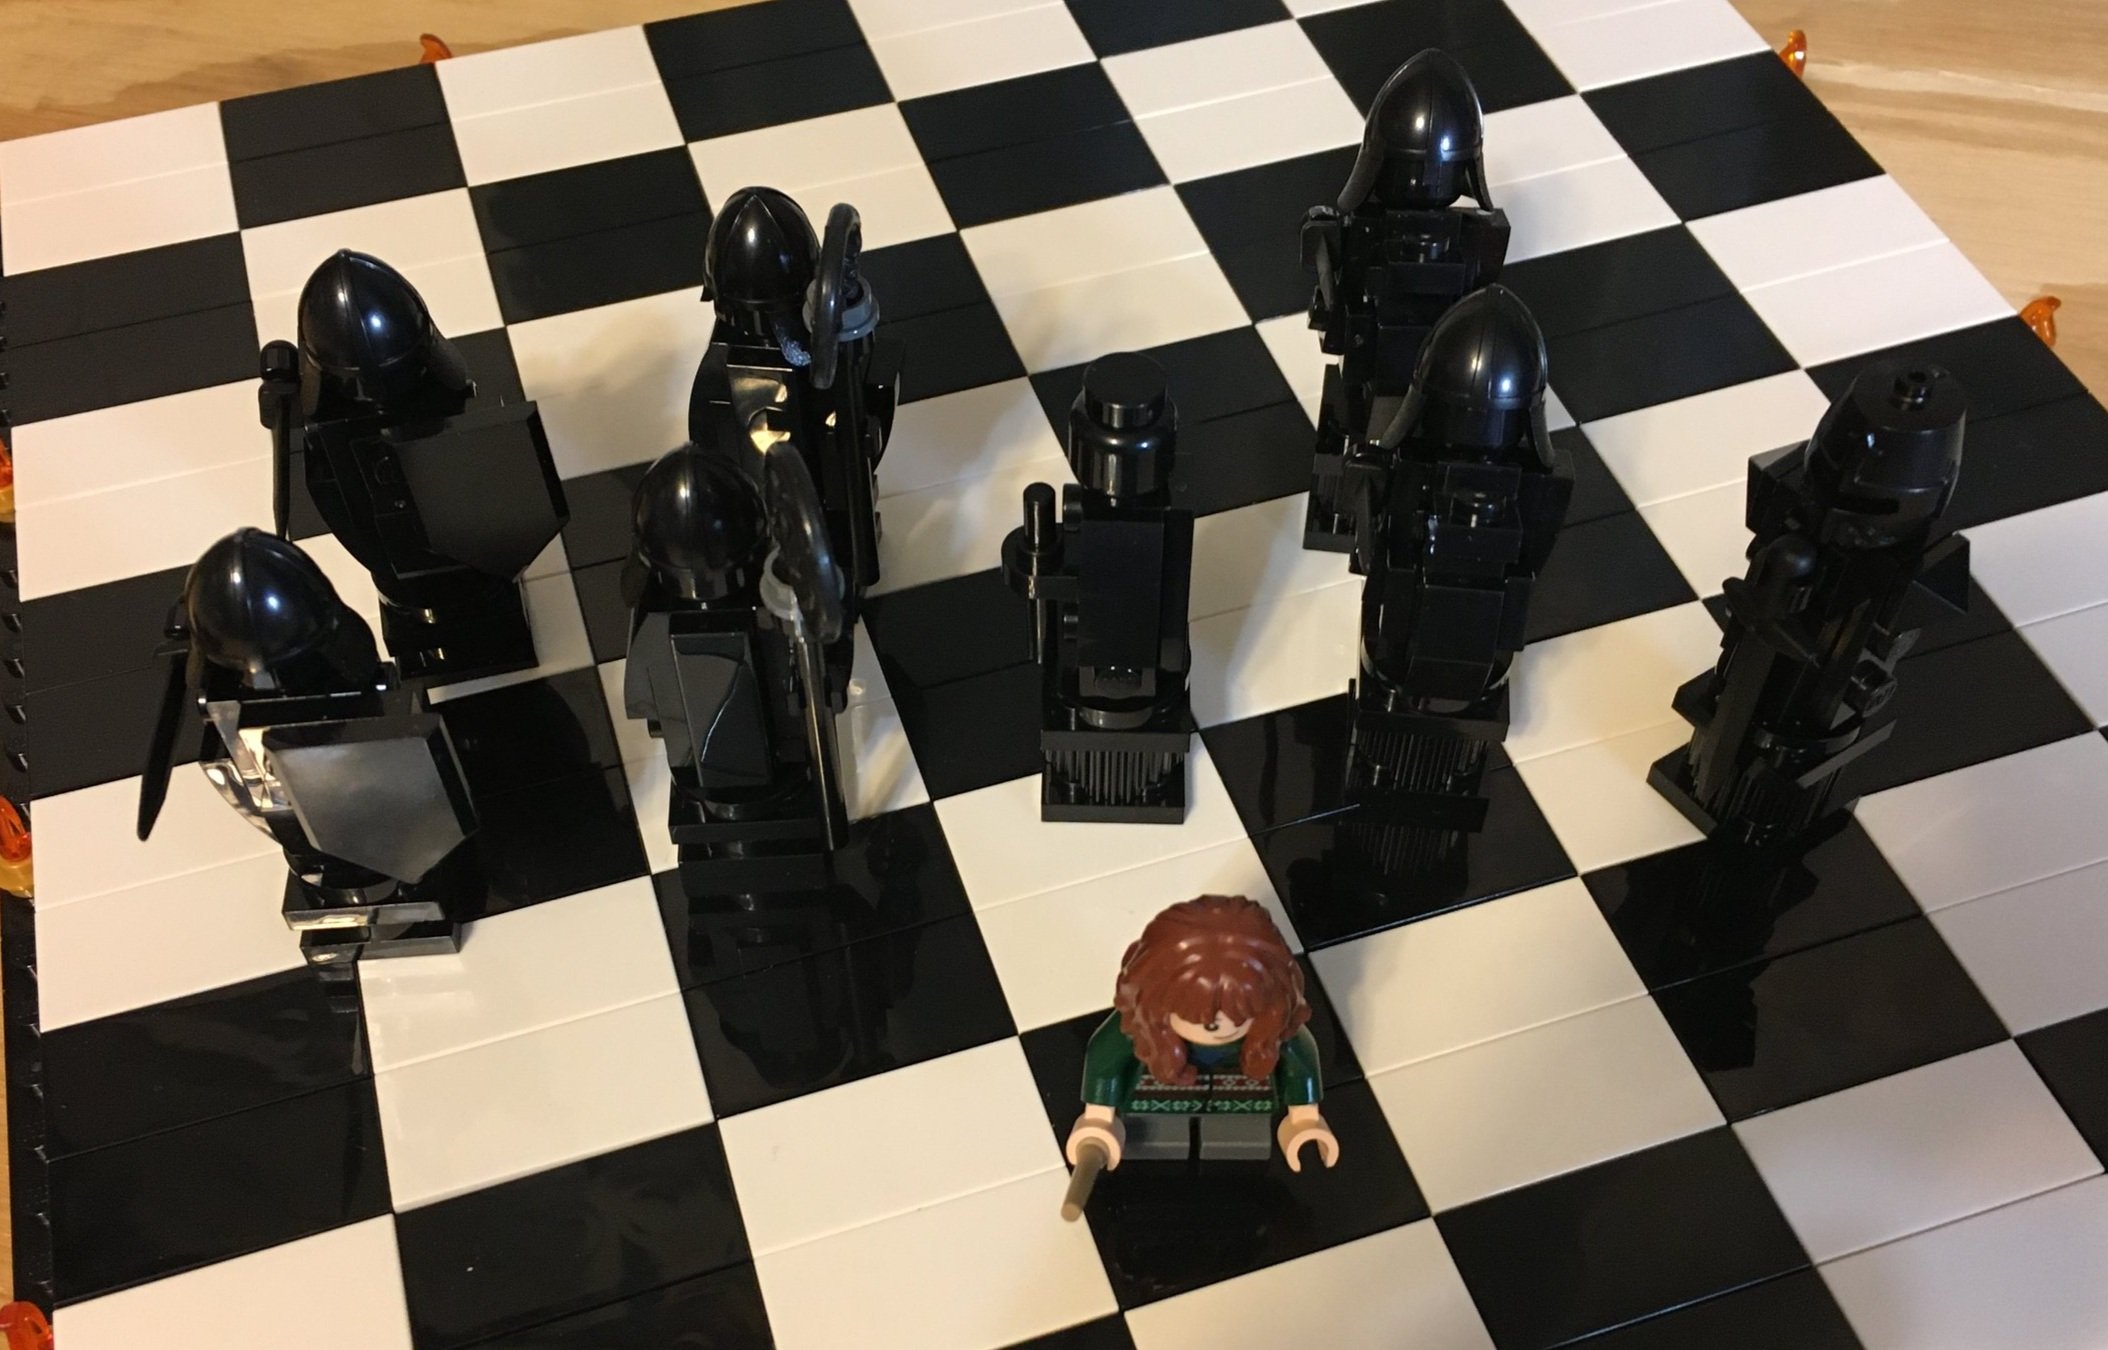
The second bag builds all of the black pawn pieces. If you’re not into repetitive building, then you won’t like building eight of these followed by eight of the white ones. I didn’t think it was that bad as it’s a pretty simple build. I like the helmets and how they used the LEGO miner helmets only put them on in reverse.

The third bag builds the remainder of the black chess pieces and the Hermione minifigure. I didn’t go back to watch the movie and see how well the minifigure scaled versions match the movie versions, but they seem pretty accurate. If you are familiar with chess, you can tell what most of the pieces are without having to look them up.

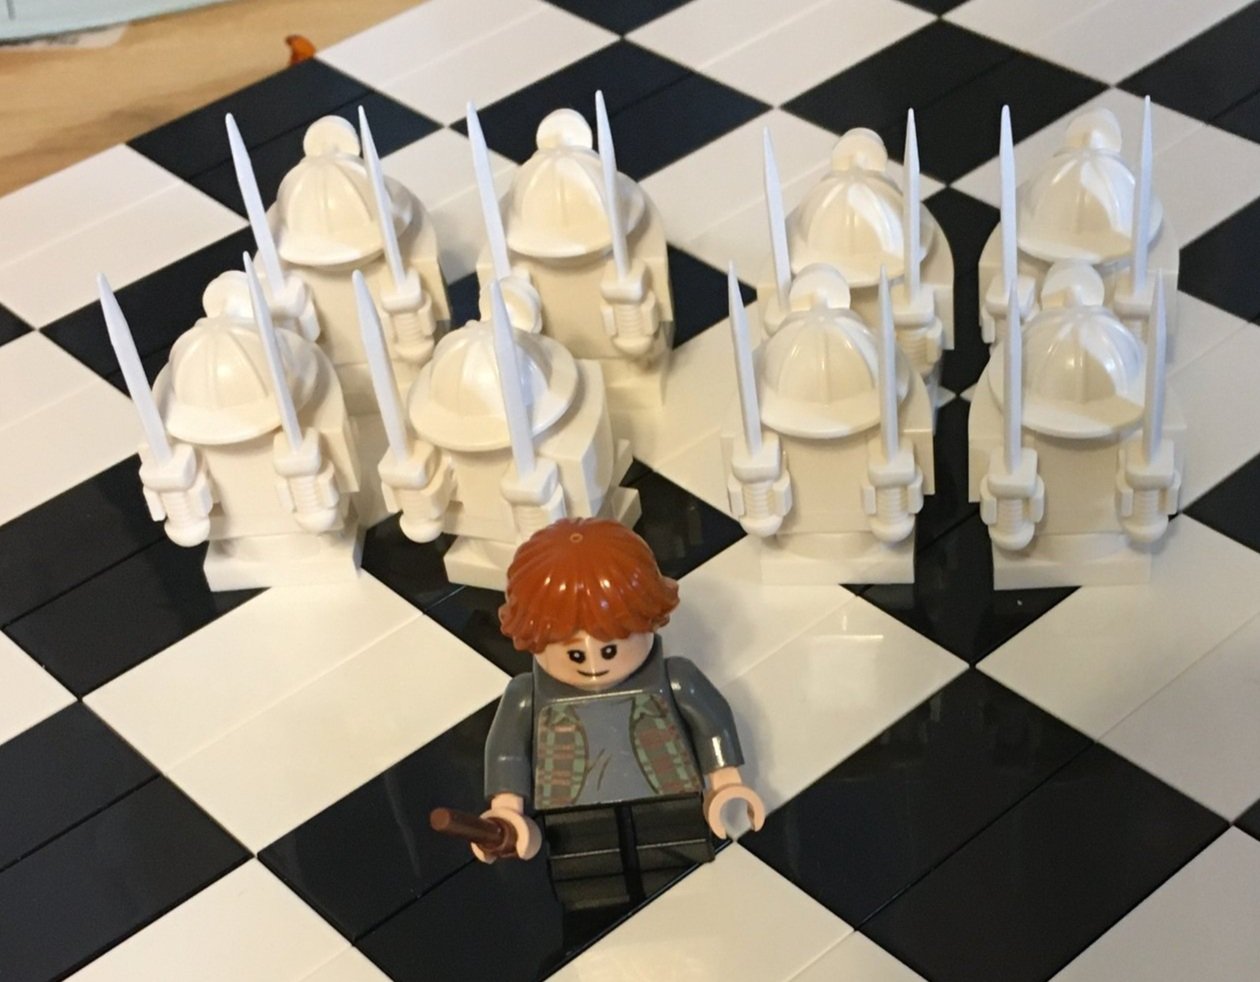
The fourth bag builds the white pawns and the Ron minifigure. It’s the same design as the black ones, as you’d expect, but only using white pieces.

The final bag builds the remainder of the white playing pieces. No differences in design here.

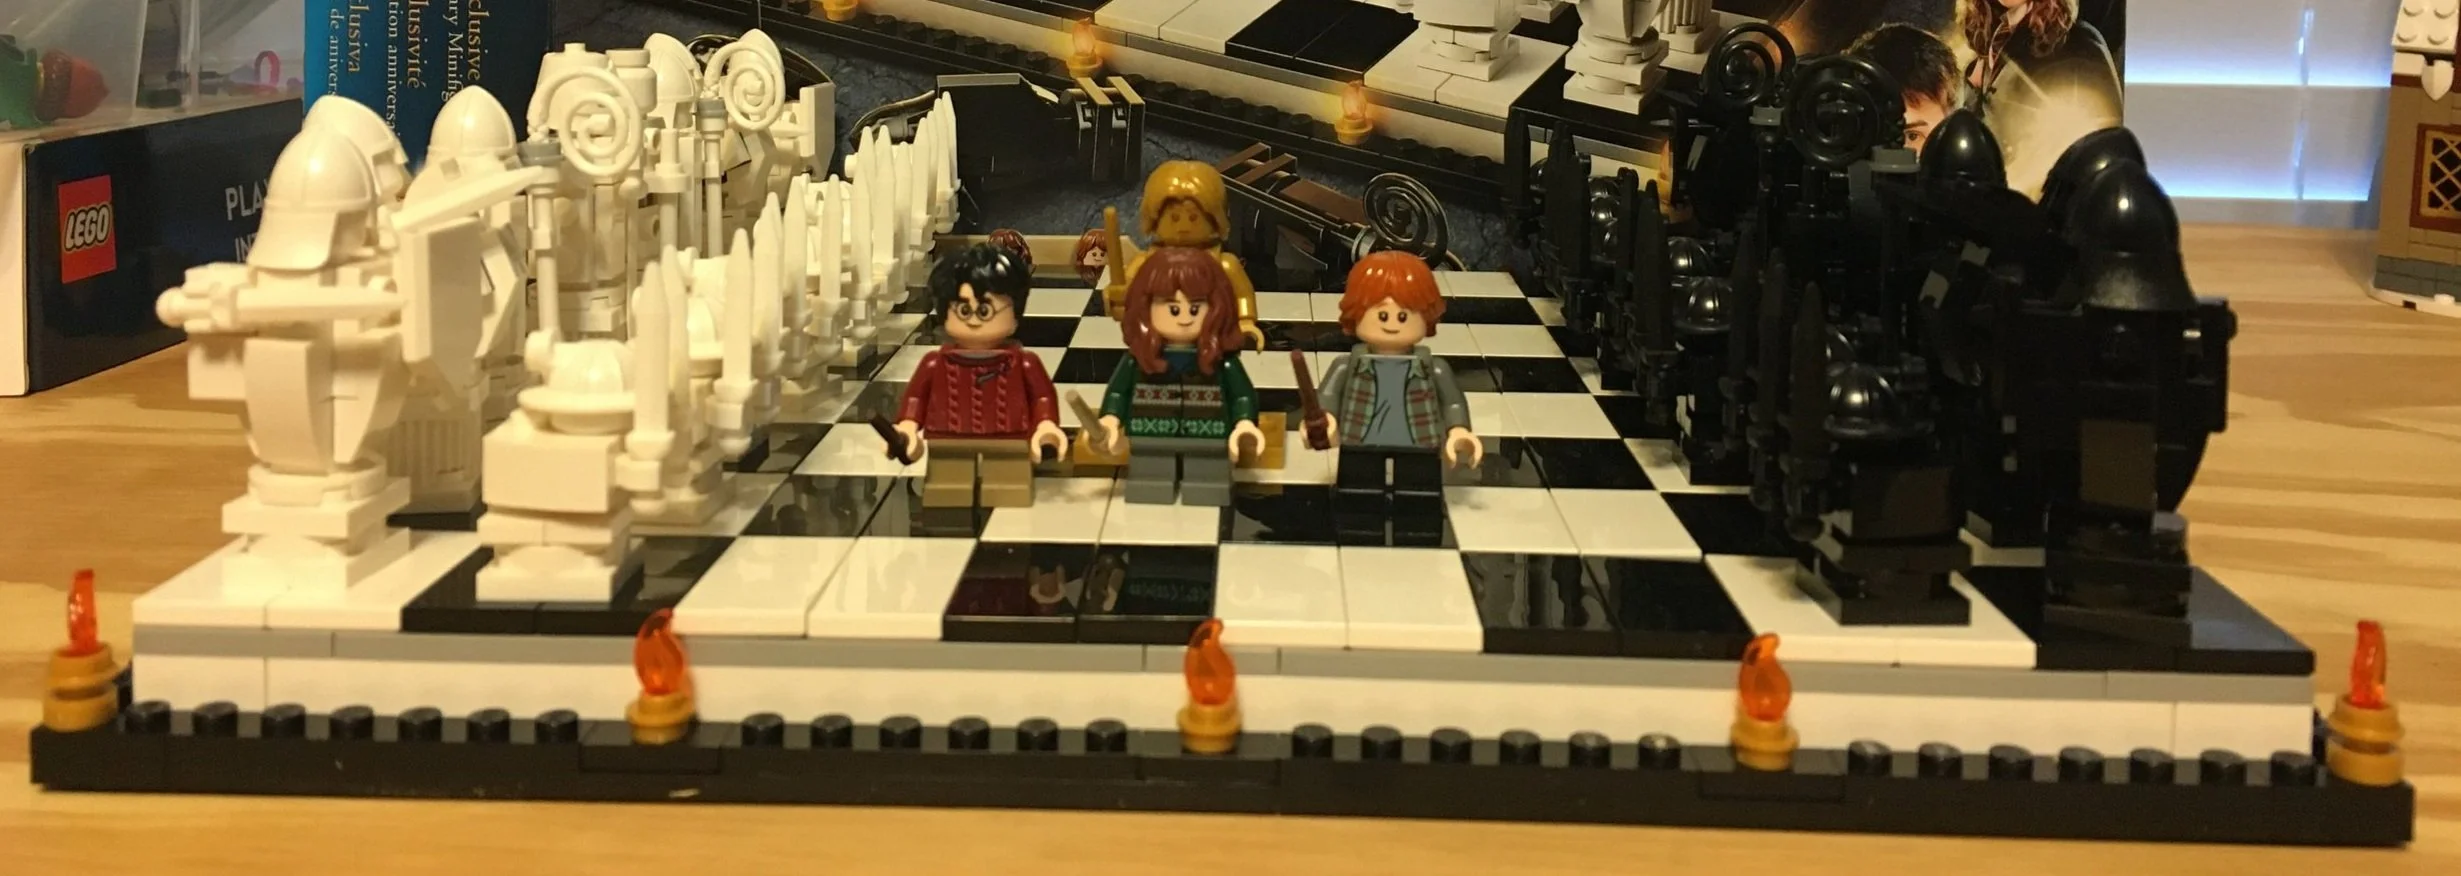
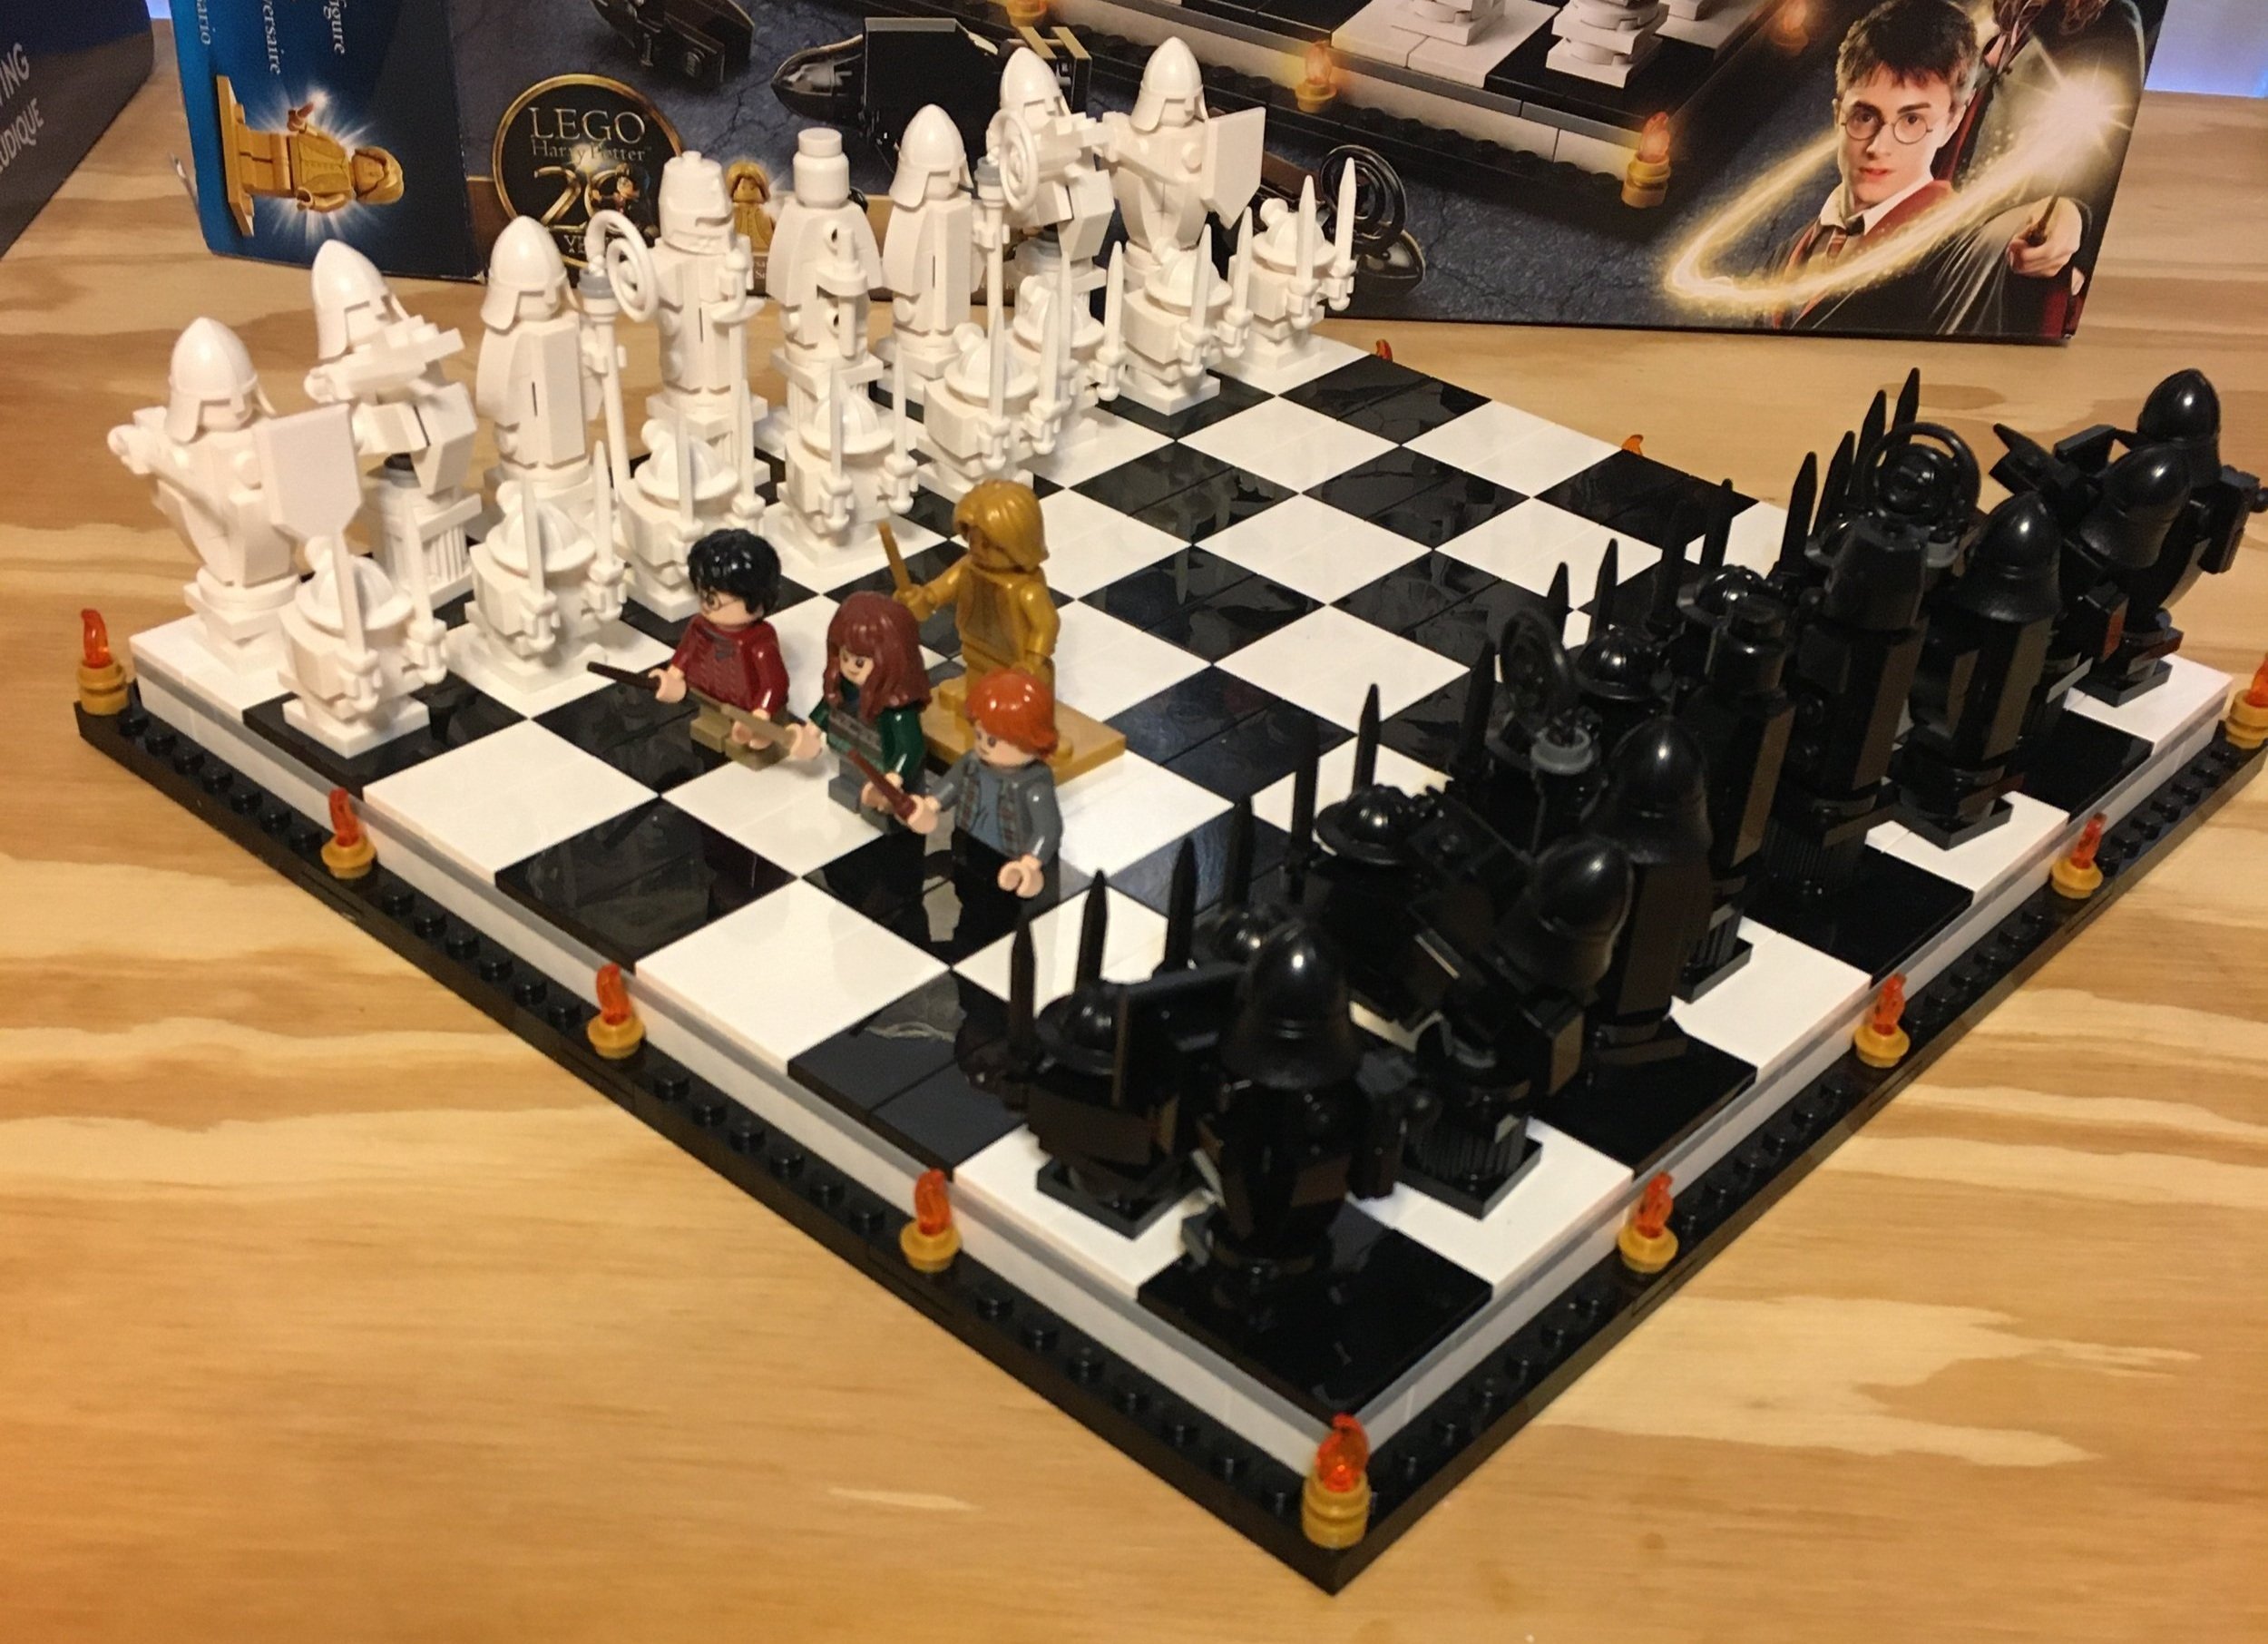
Here’s the final set with all of the pieces lined up. Not only can you re-create the scene from the movie, you can also play a real game of chess. I guess you can dismember your pieces after your opponent knocks them out too. Within the LEGO system, there is also a lot of potential to modify this board. You could use different minifigure heads on the different pieces, add in different colors to the playing pieces, mix up the board so it is different colored tiles, I’m curious to see if anyone customizes their board.

If you’re a Harry Potter fan or collector of these sets, you’ll probably want to grab one of these. Hopefully they go on sale at some point.

And now for a break on Harry Potter sets…

Happy building!

Set Review - #76389-1: Hogwarts Chamber of Secrets - Harry Potter

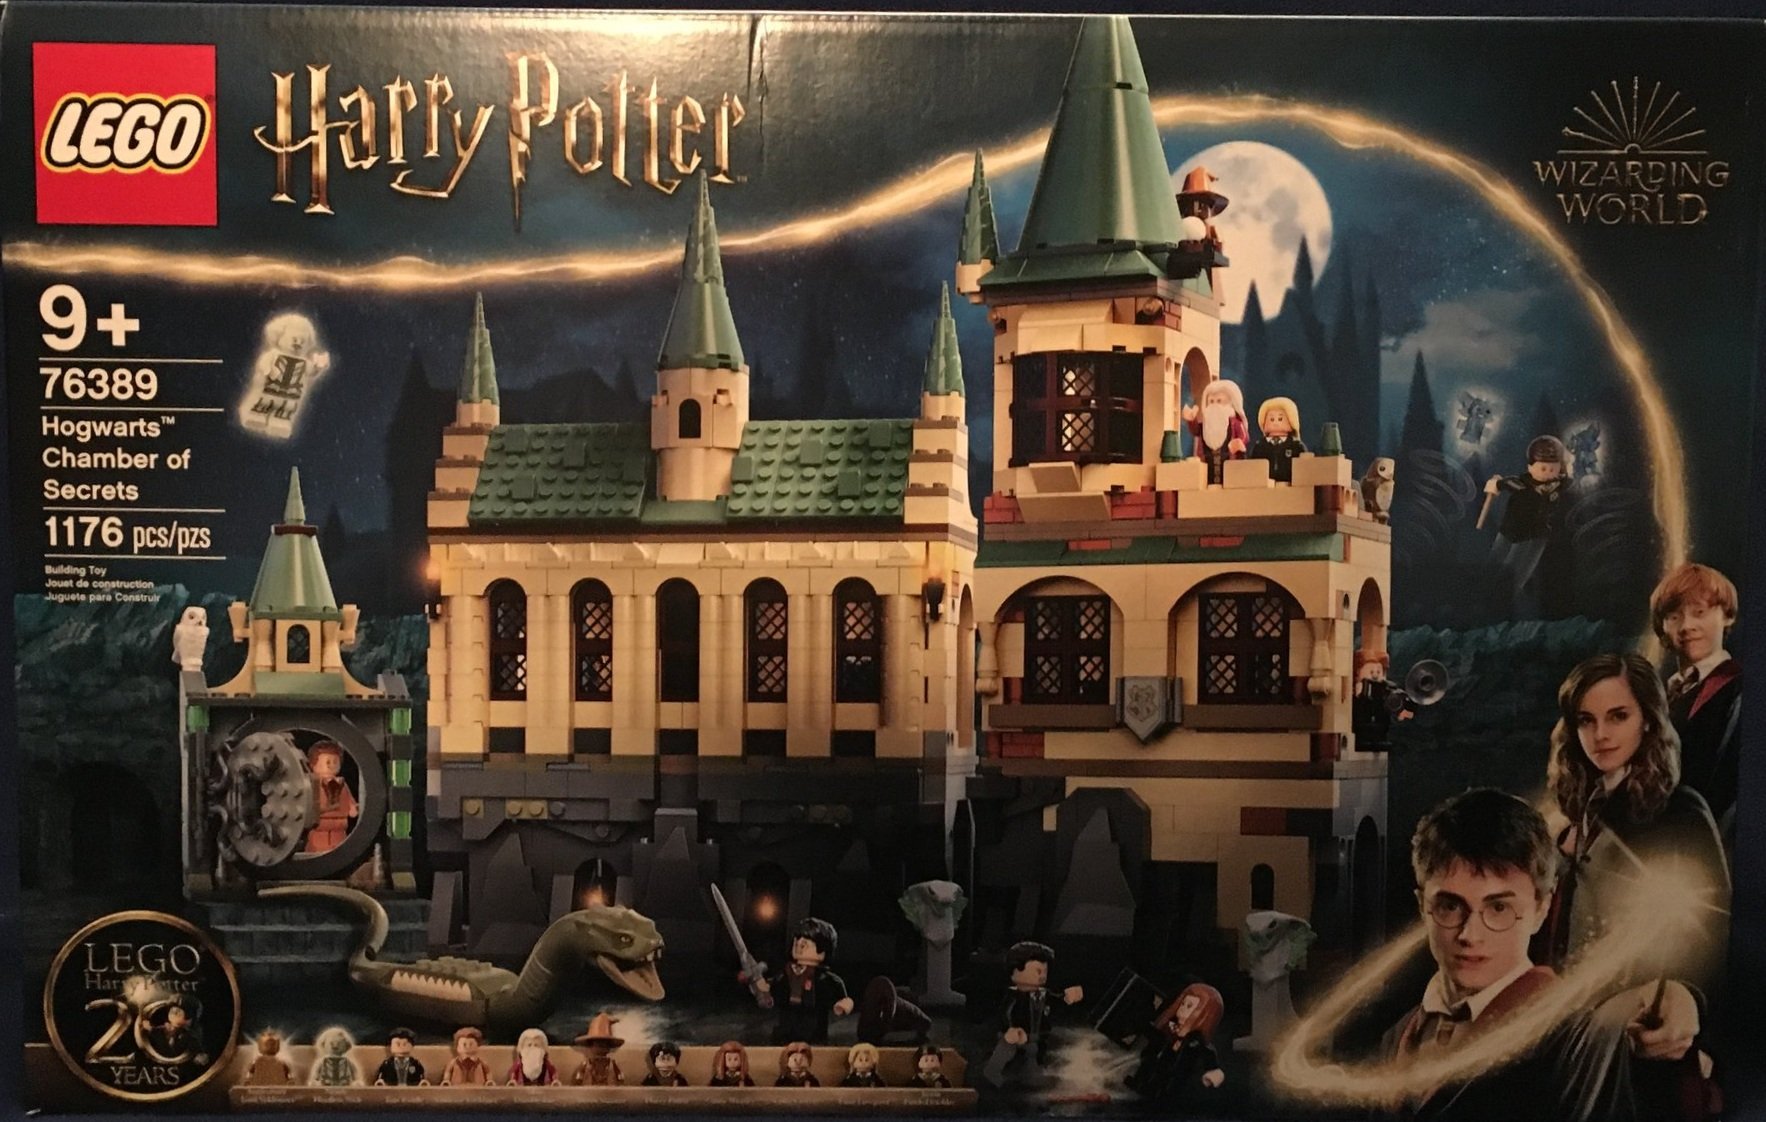
Believe it or not, this isn’t the last of the Harry Potter 2021 sets. If I don’t hurry up, all of the 2022 sets will be out. This one is #76389-1: Hogwarts Chamber of Secrets. It was released on 5 June 2021 in the US. It contains 1,176 pieces and retails for $129.99. That works out to $0.111 per piece. There are 11 minifigures in this set which makes it a decent, though expensive minifigure pack. It also is one of the centerpiece sets if you plan to connect all of the other 2021 sets together.

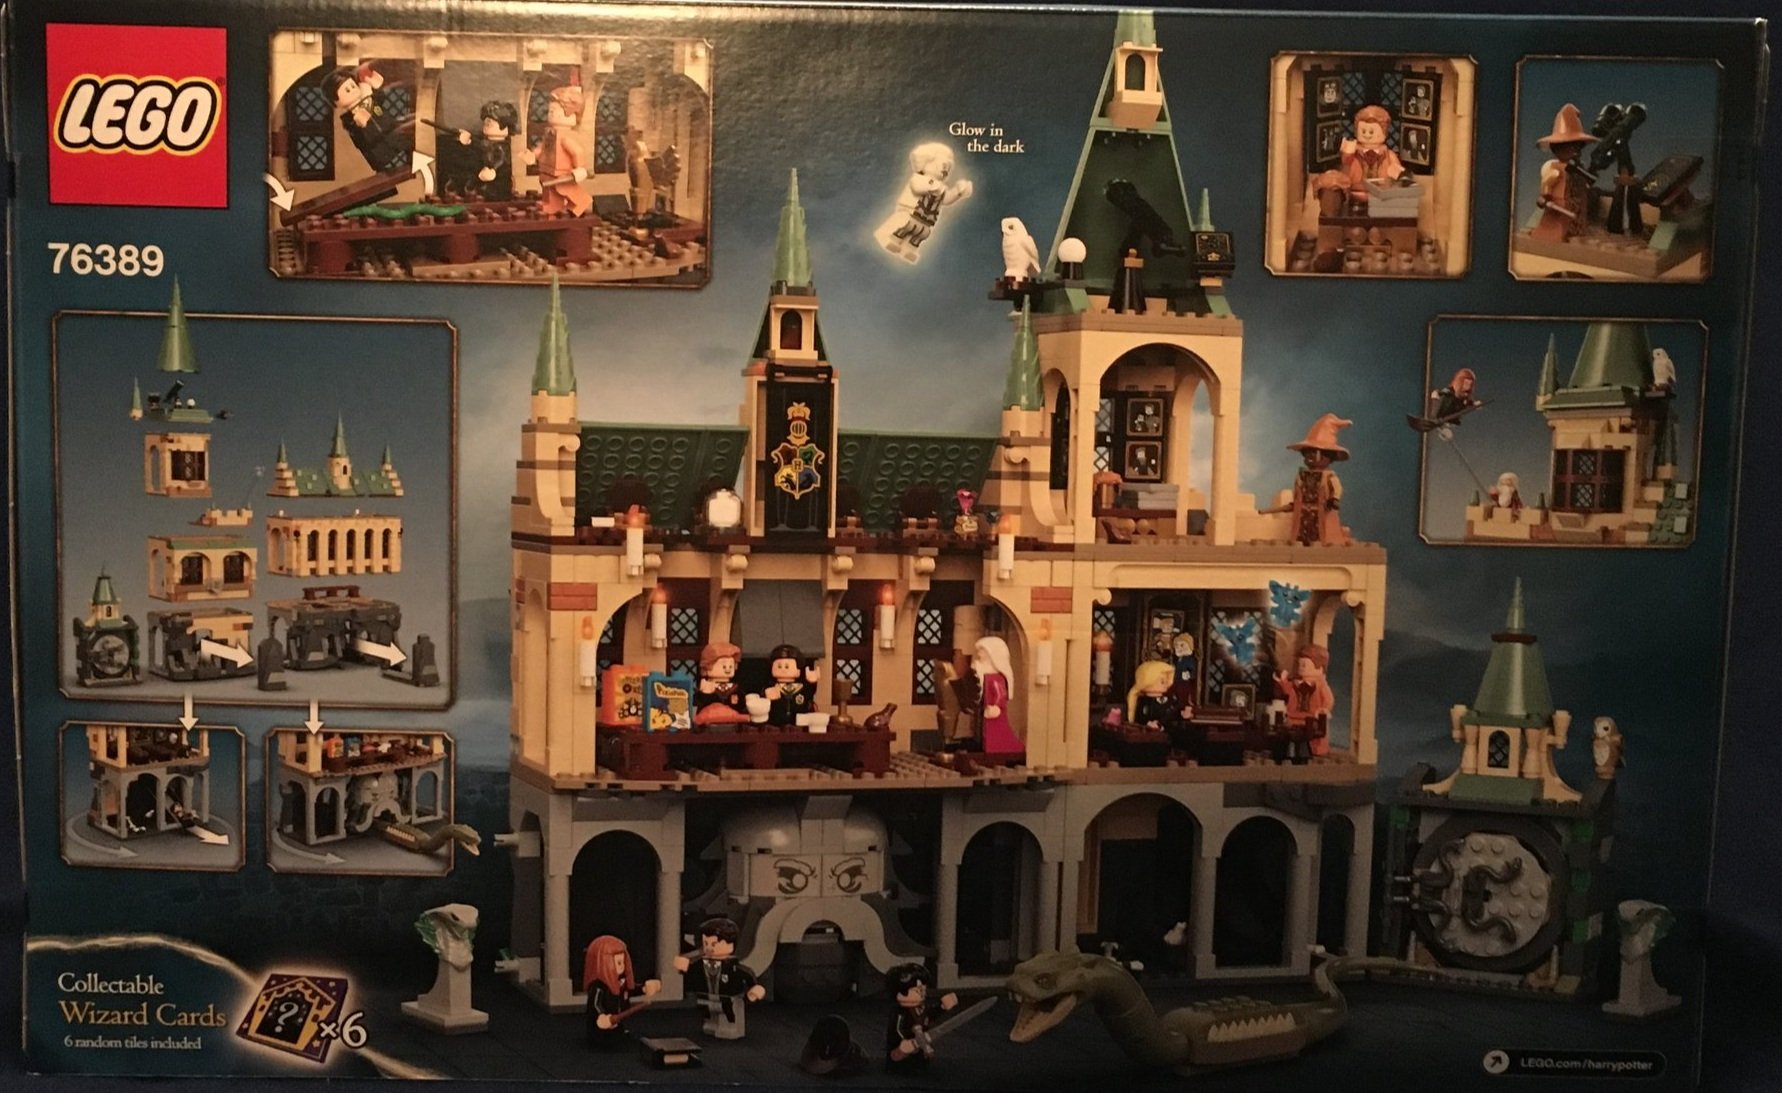
Nothing extraordinary about the box. The front shows the set, has the Harry Potter logos, shows all the minifigures, and it is still the 20th anniversary of LEGO creating Harry Potter sets. The back goes into a bunch of detail on various sections, shows the back side once you connect everything, and shows how you can connect the sections.

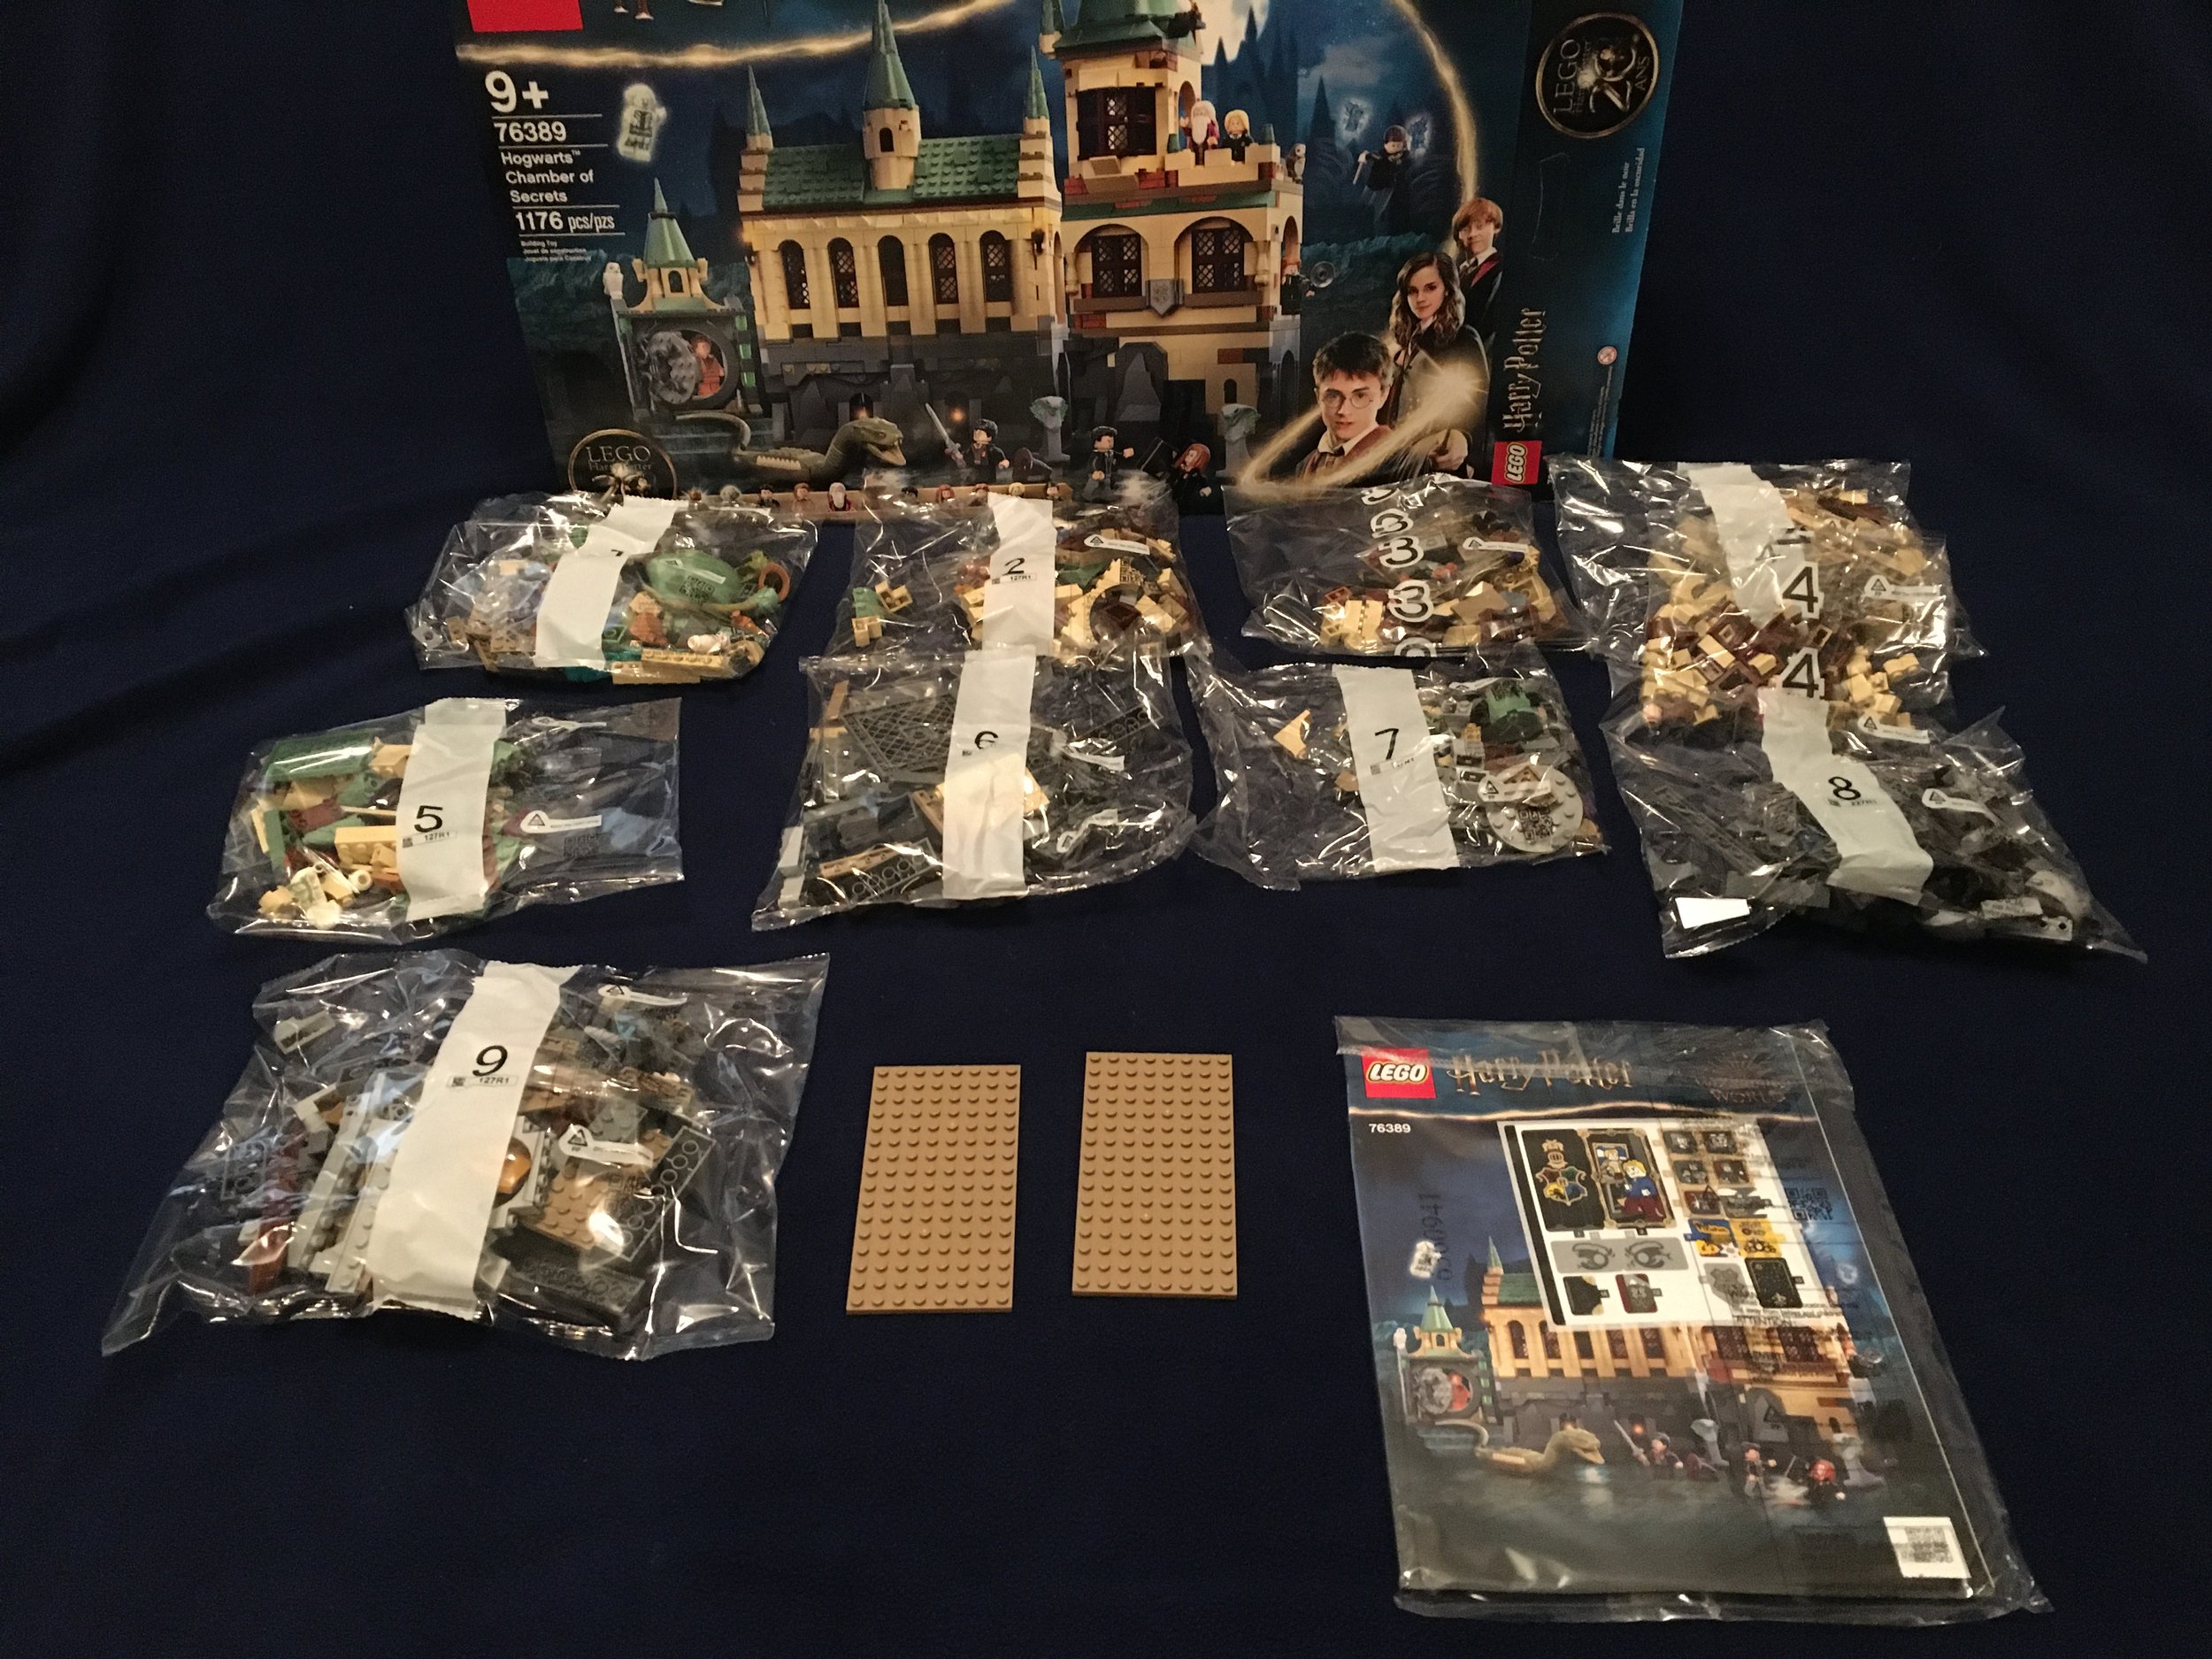
The set contents are nine numbered parts bags, two 8x16 tan plates, and then the instructions and stickers come wrapped in plastic.

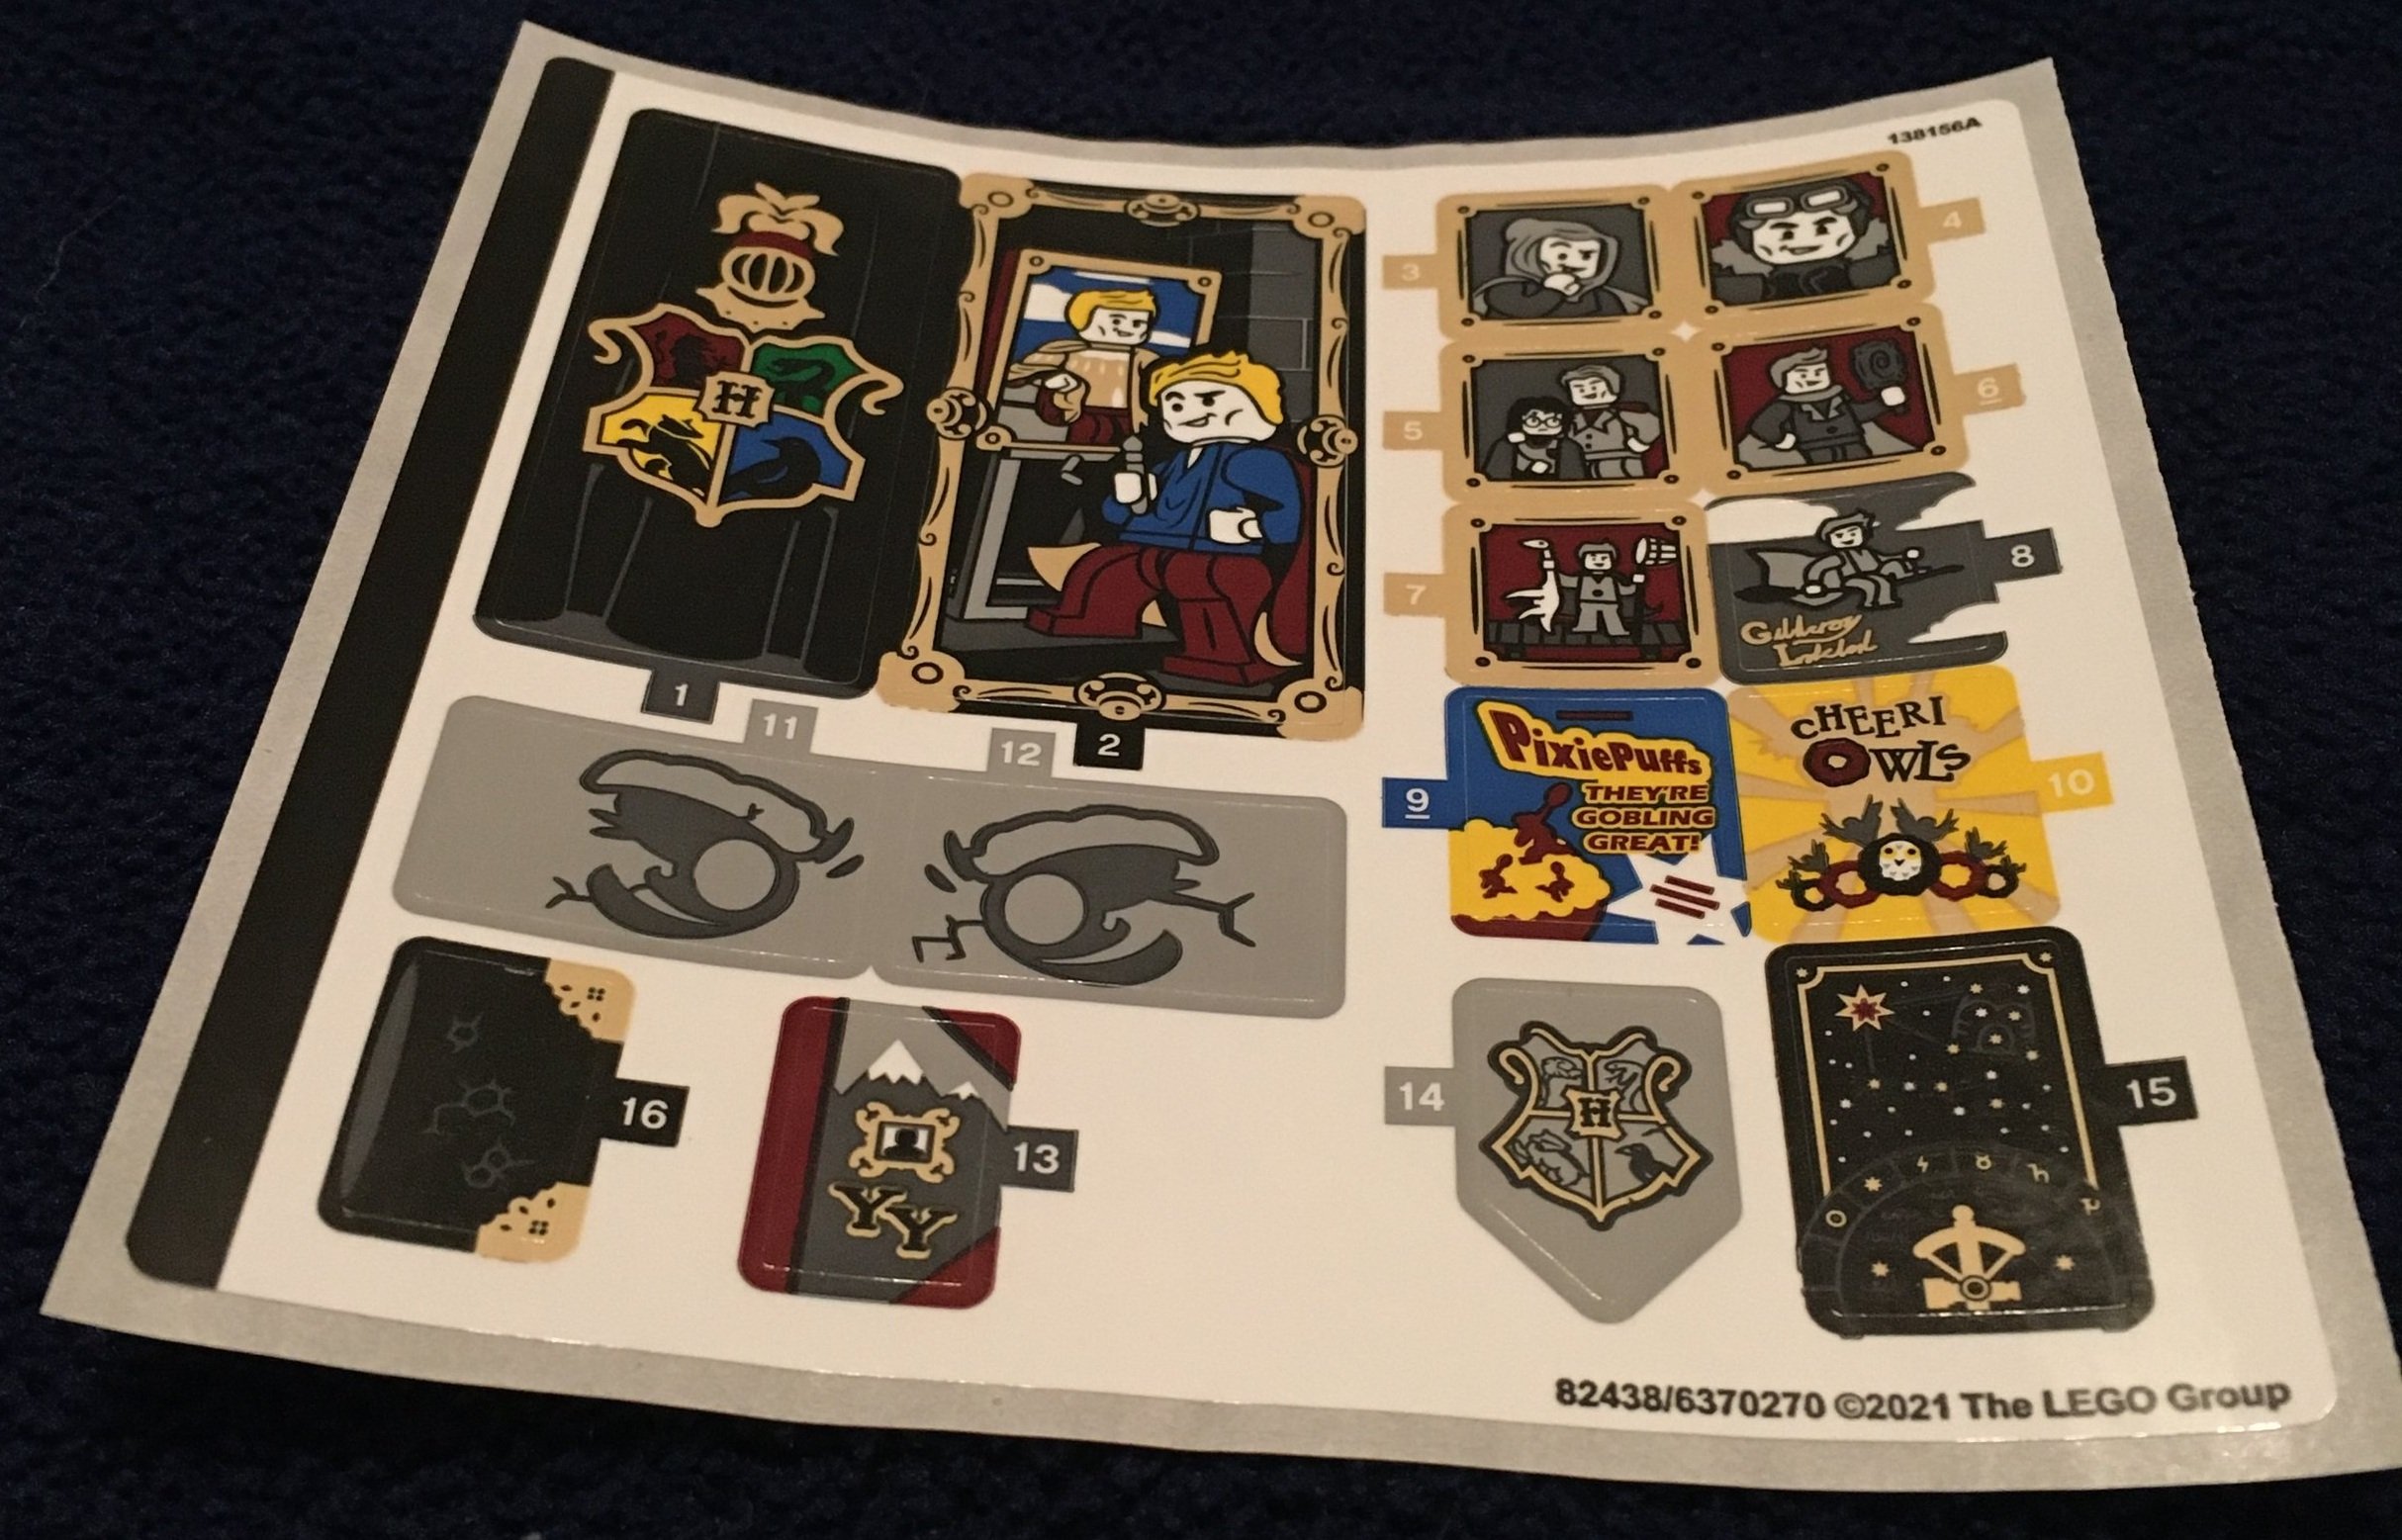
Here’s a closer look at the sticker sheet. There are a bunch of them!

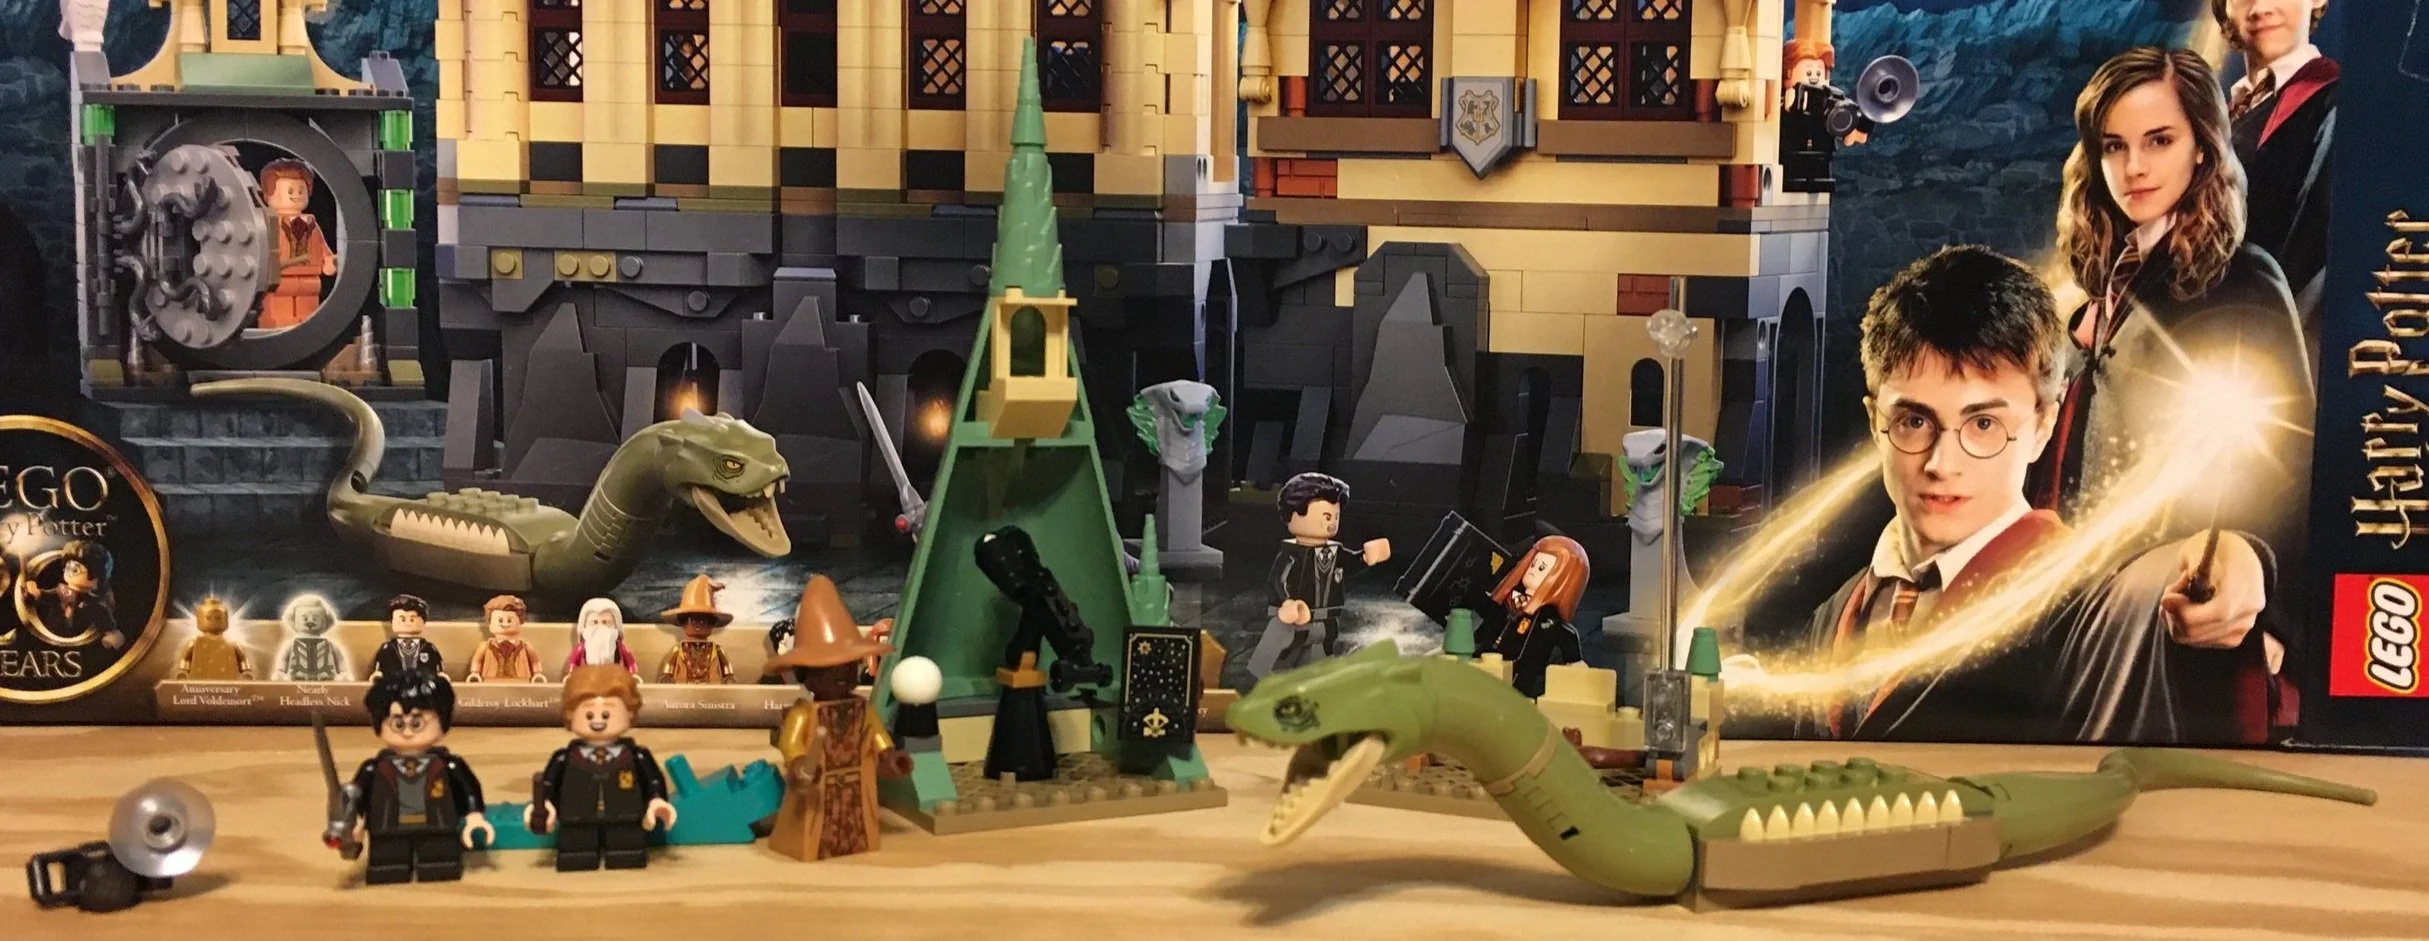
The first bag builds the top of the astronomy tower which was just done in 2020’s #75969-1: Hogwart’s Astronomy Tower. This one is just the very top of the tower and a telescope.

You also get the basilisk in this build. I’m not sure if it is to scale or not, but for a 9+ play set, it works.

There are three minifigures in bag 1. You get Harry with the Sword of Gryffindor, Colin Creevey (the photographer, you build a camera for him too), and Professor Sinisitra. I had no idea who the last one was. A quick Google search says she was an astronomy professor.

Lastly, you get a brick separator in this bag.

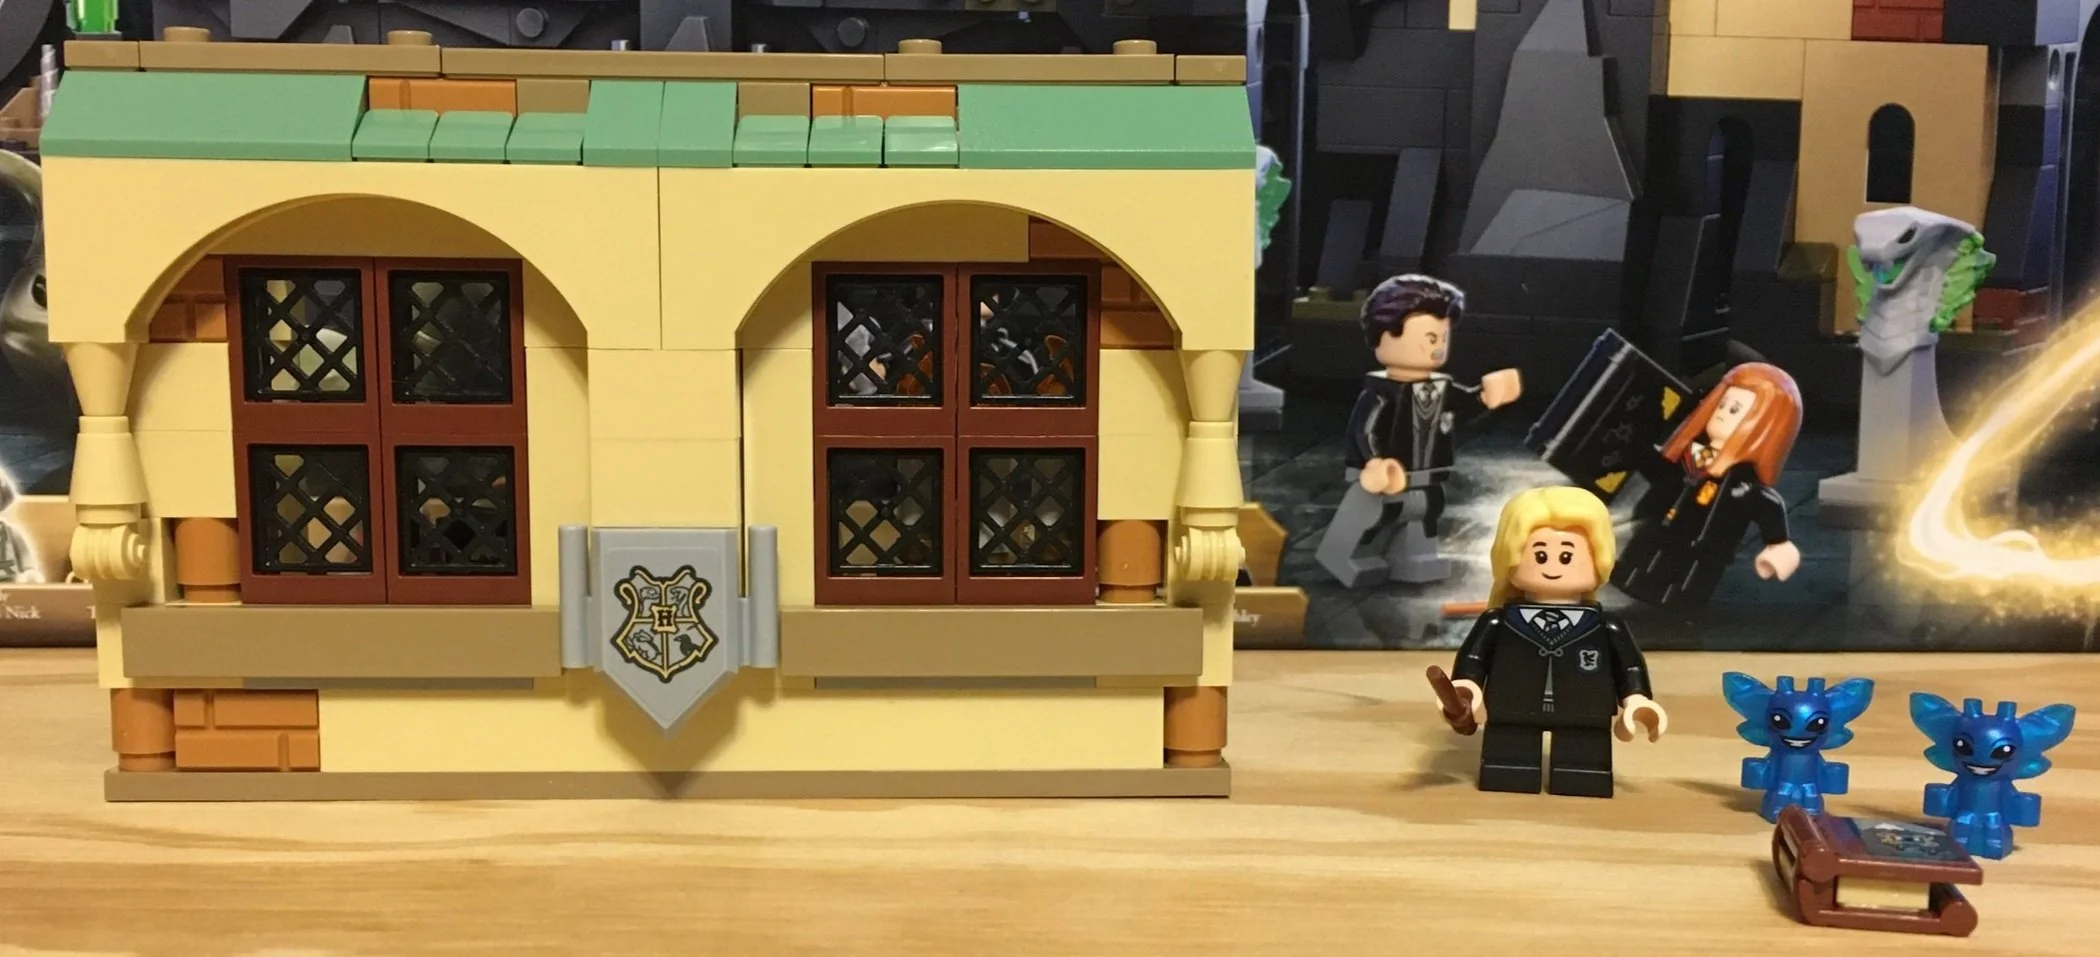
The second build is a section of building which appears to be part of Professor Gilderoy’s classroom based on the sticker you attach. There are two desks and a small table. The table has a minifigure printed skull on it. There’s also a candelabra. The outside seems to fit the architectural style of Hogwart’s and there’s a shield with the school crest.

This set contains Luna Lovegood which was somewhat surprising to me as I don’t remember her being in that movie. If she was, she didn’t have a big part. You also get two Pixies and then a book.

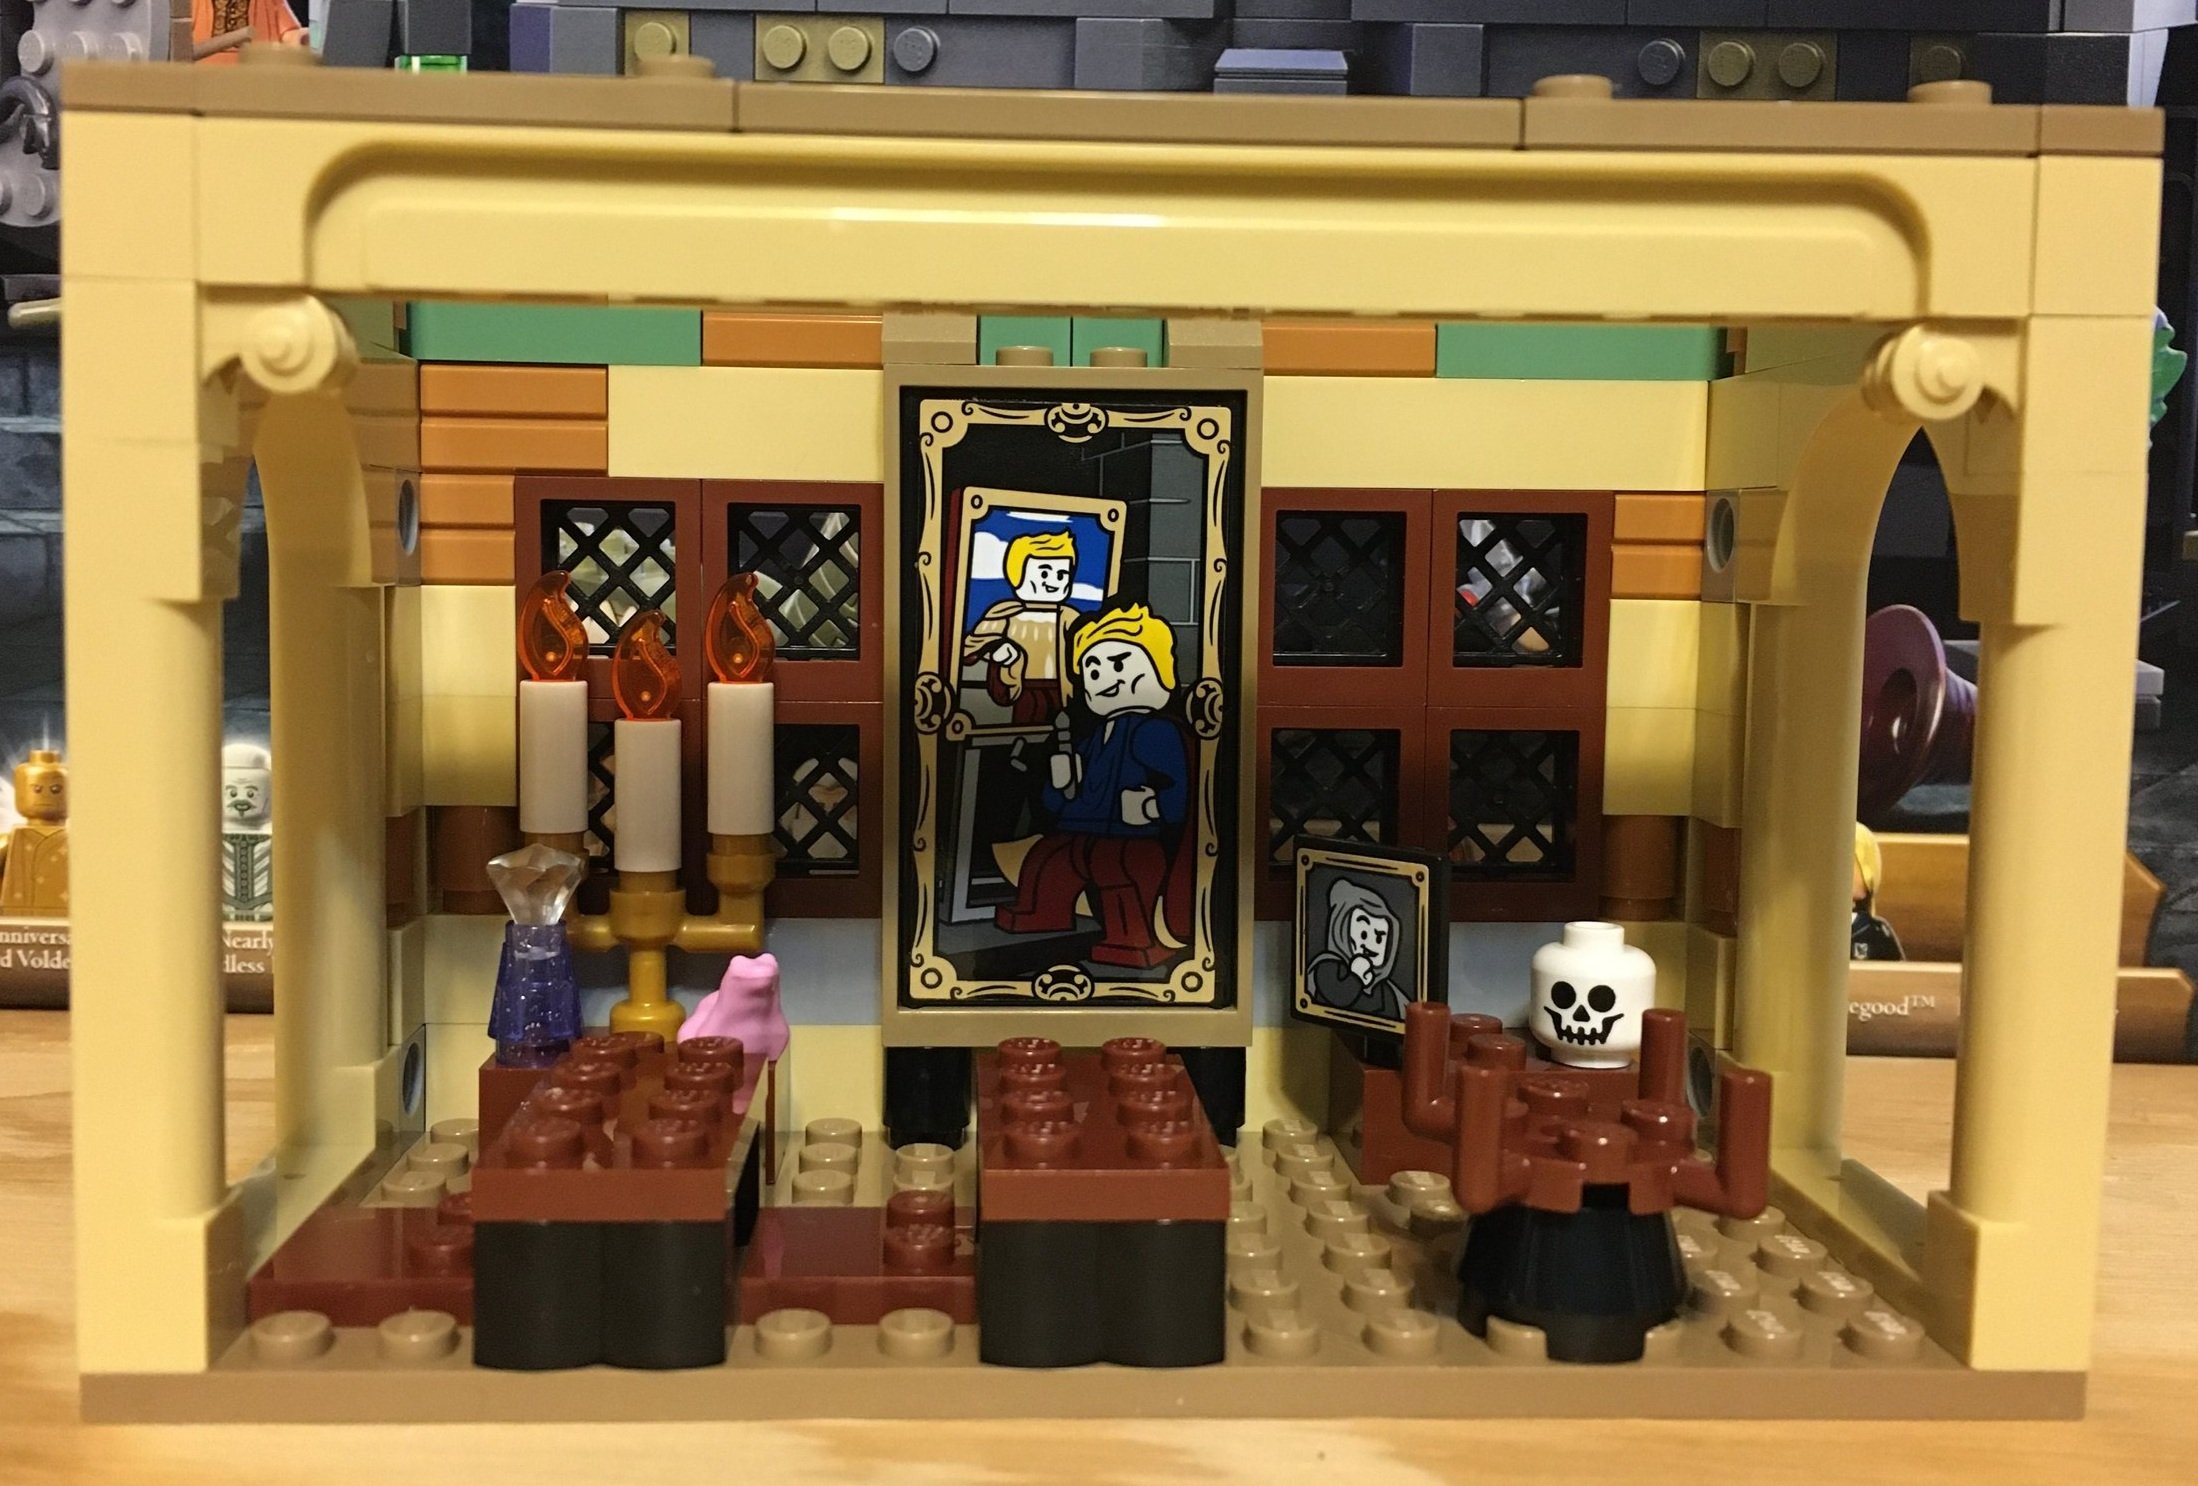
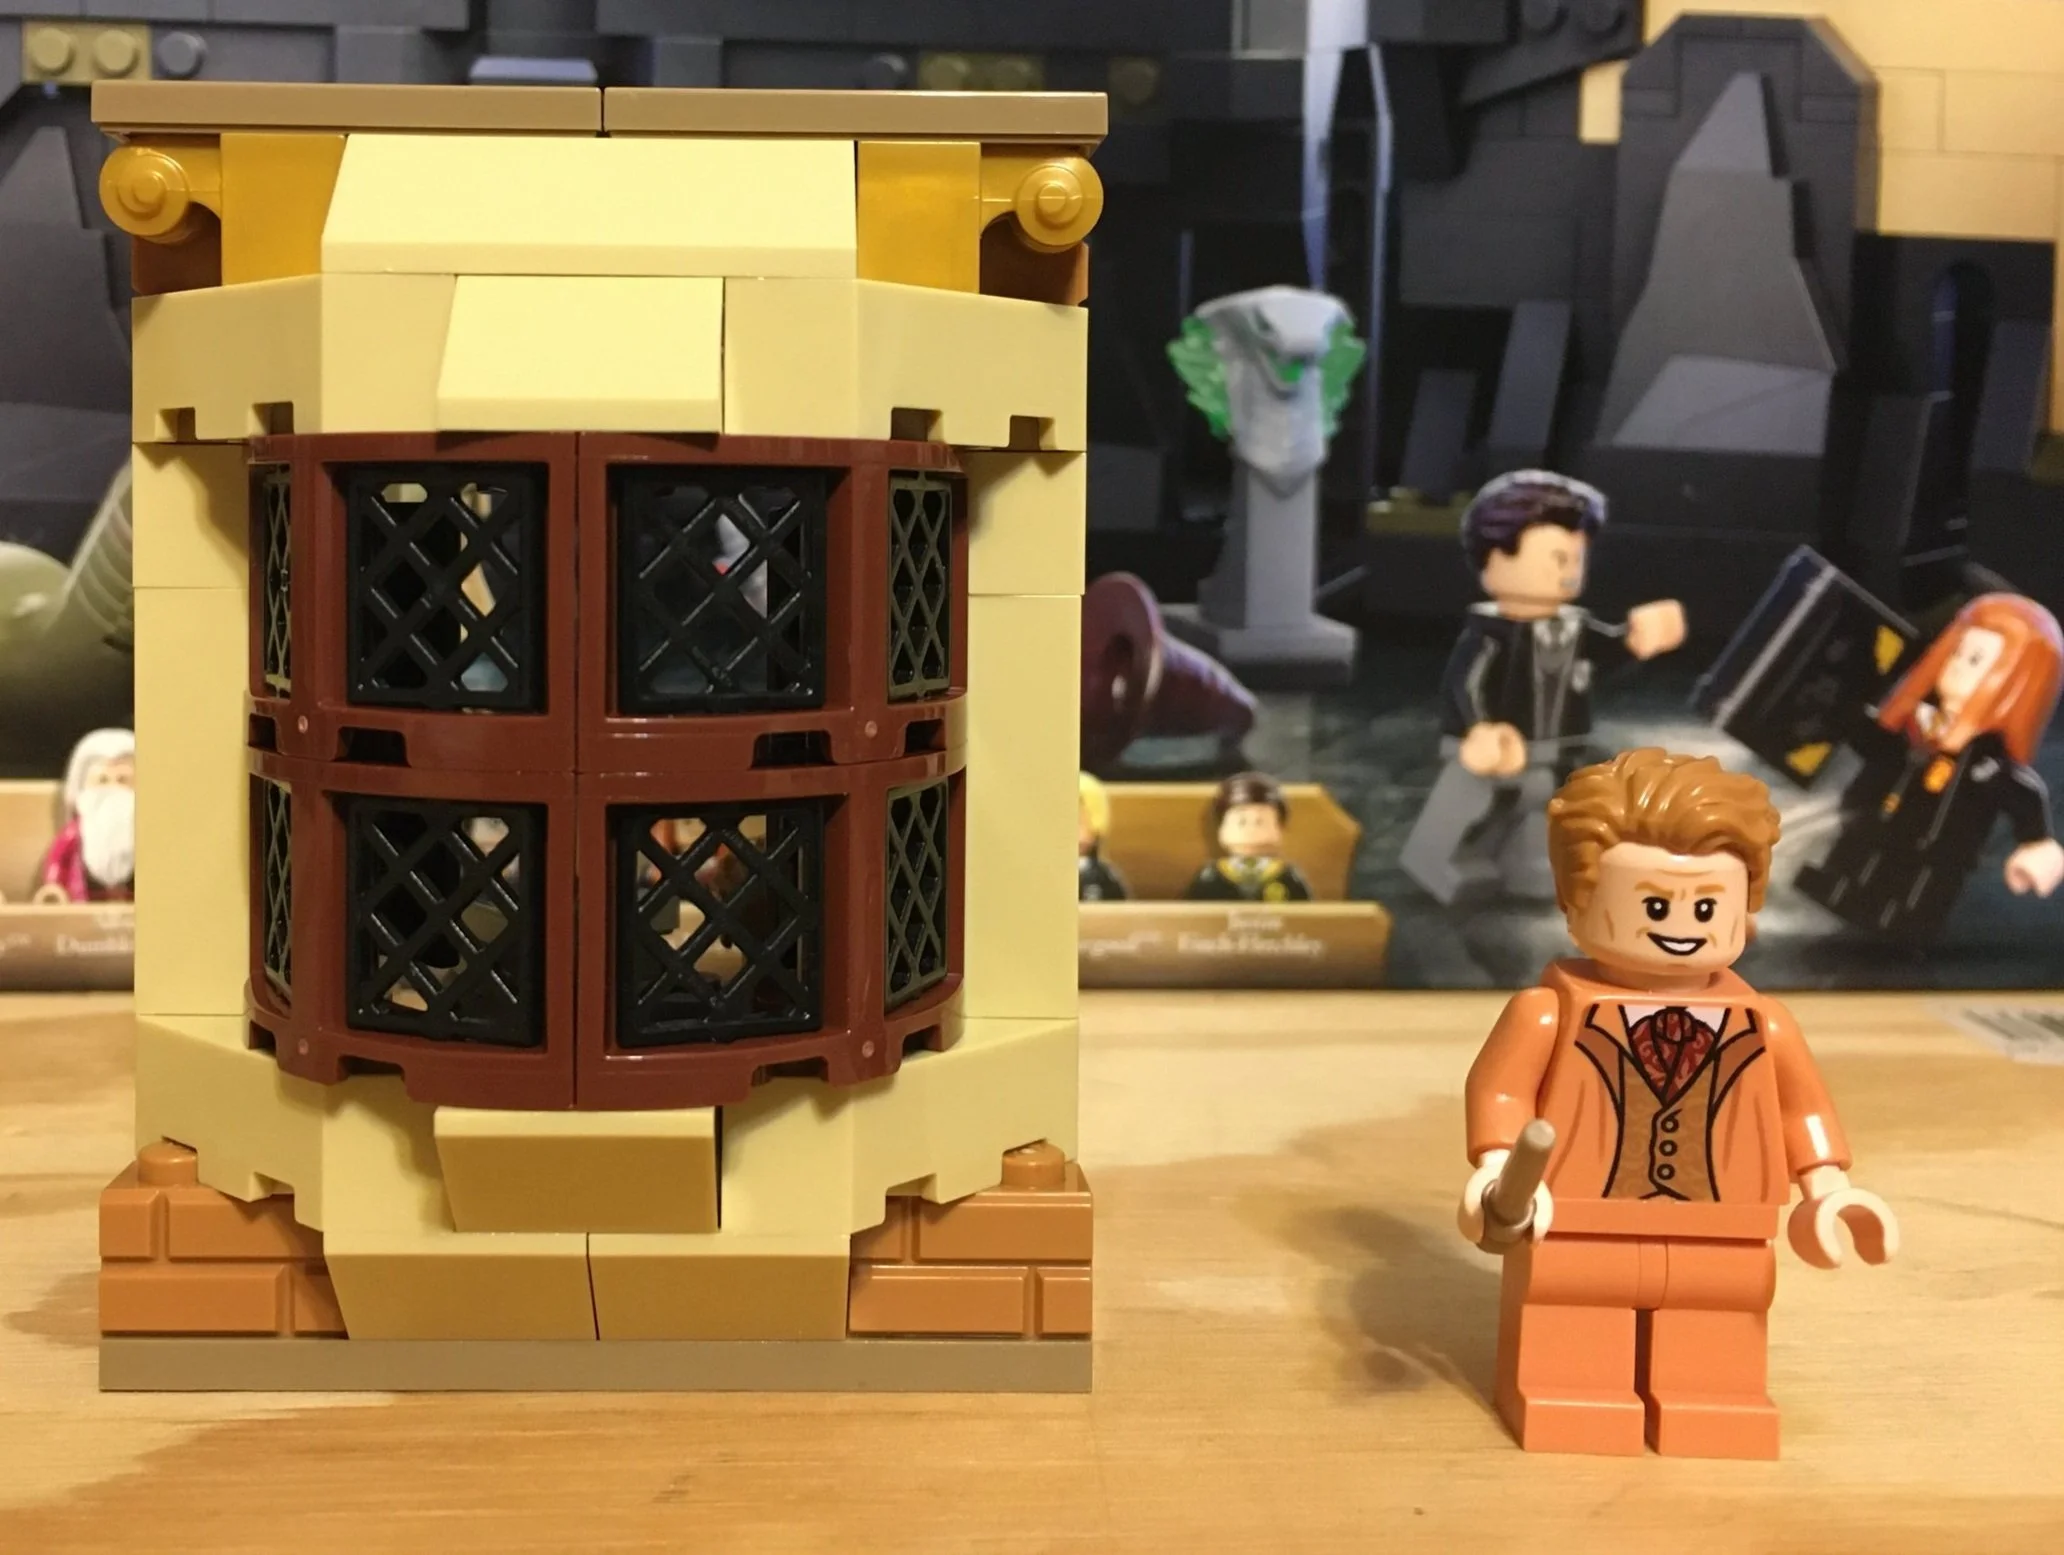
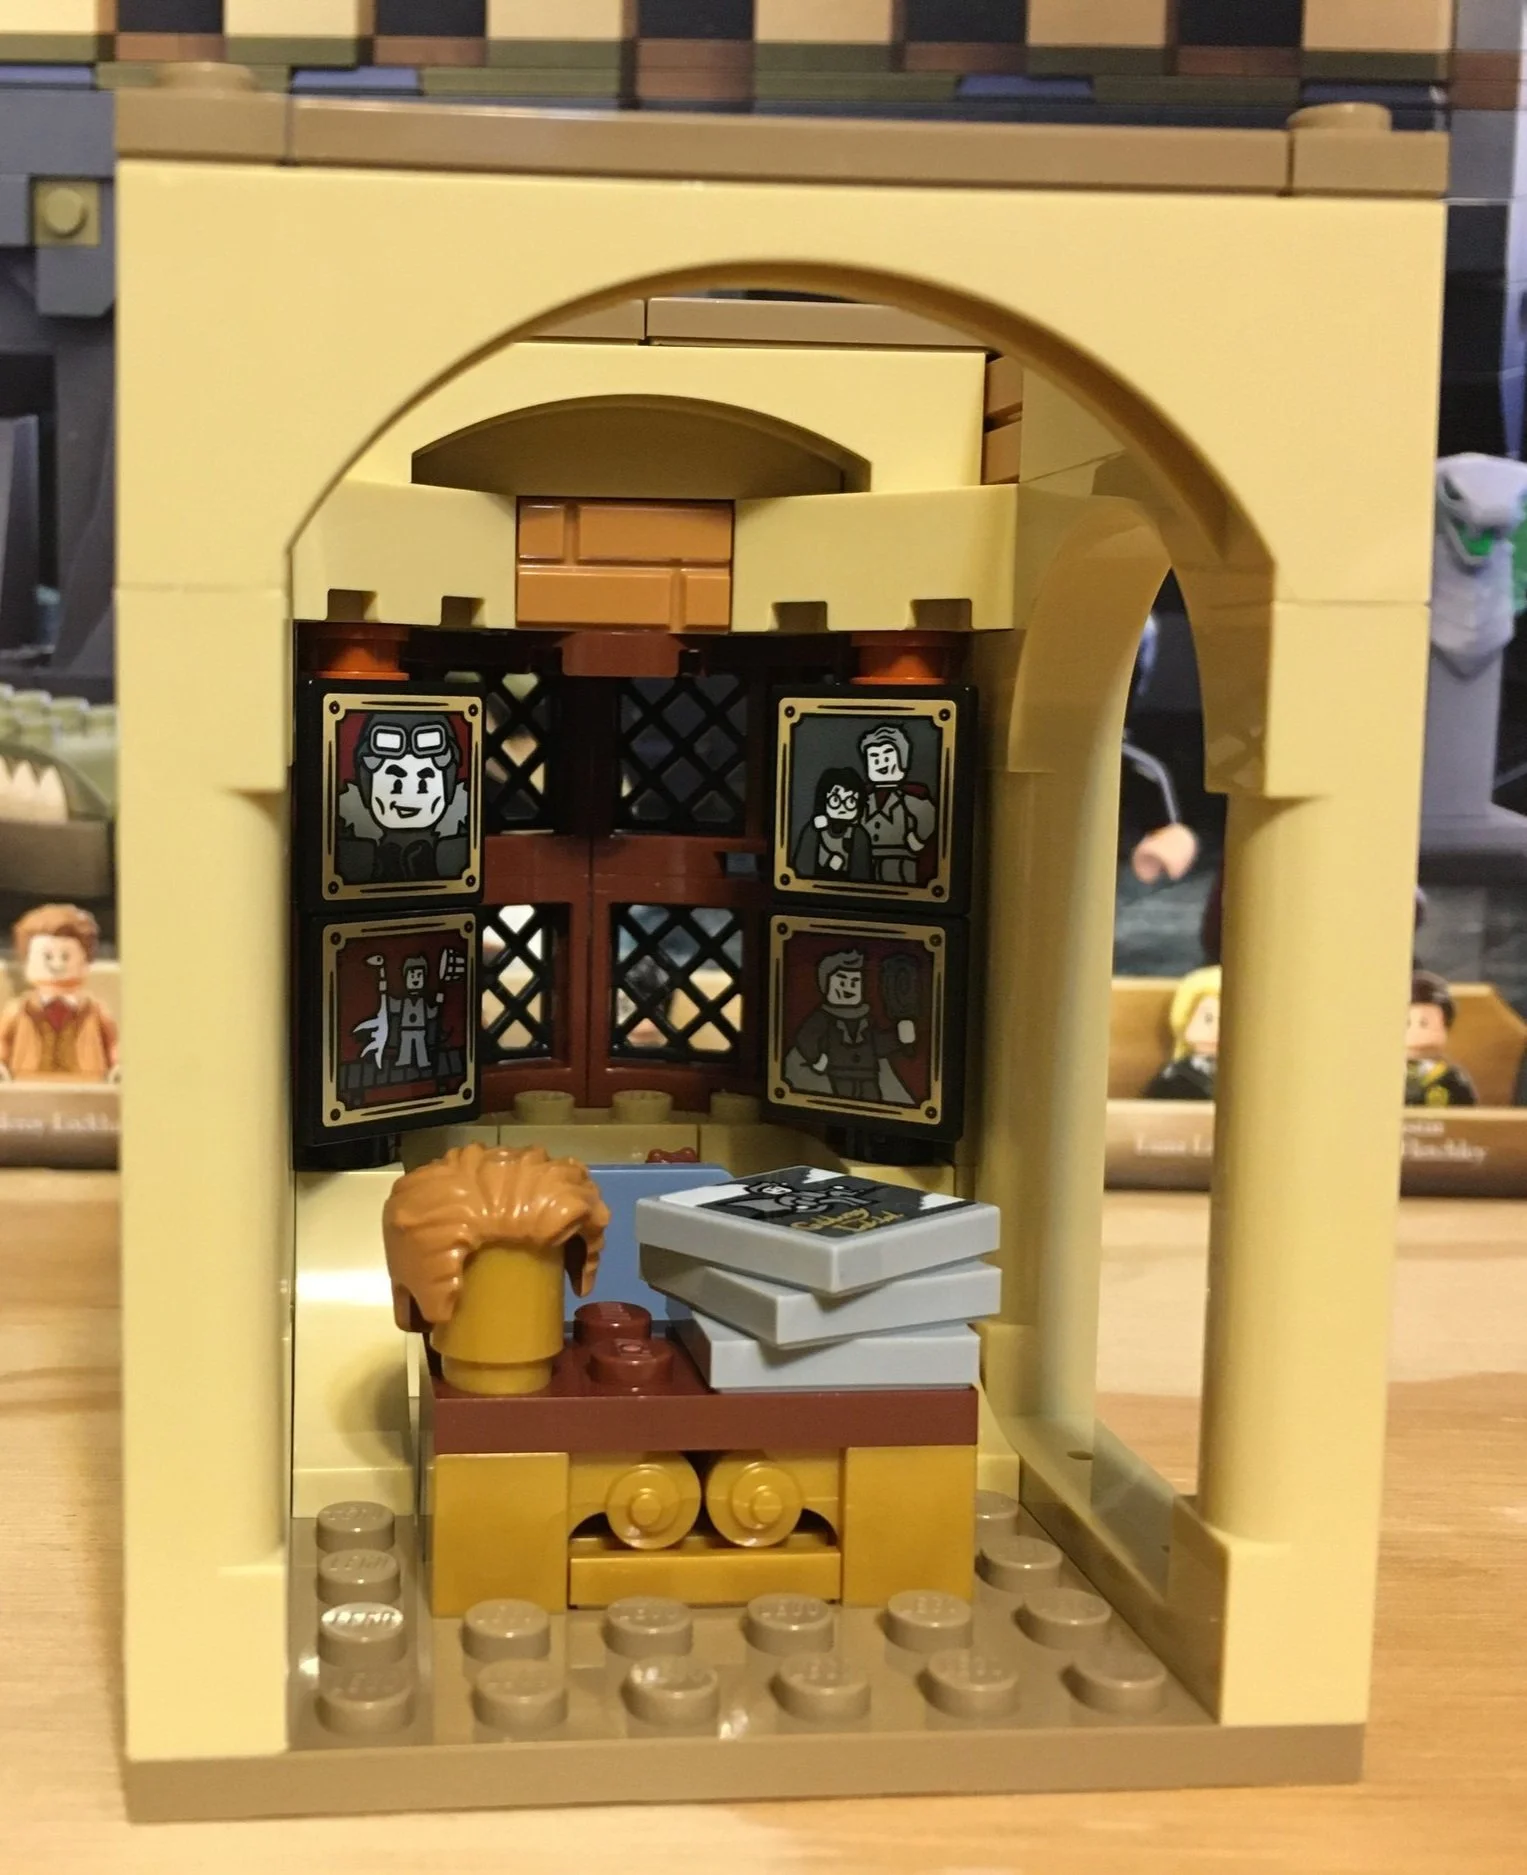
Bag three builds Professor Gilderoy’s office and of course comes with his minifigure. His office is covered in pictures of him, has a minifigure head with a wig, and then pictures for him to autograph. The stickers are a bit of a pain, but that’s just my opinion.

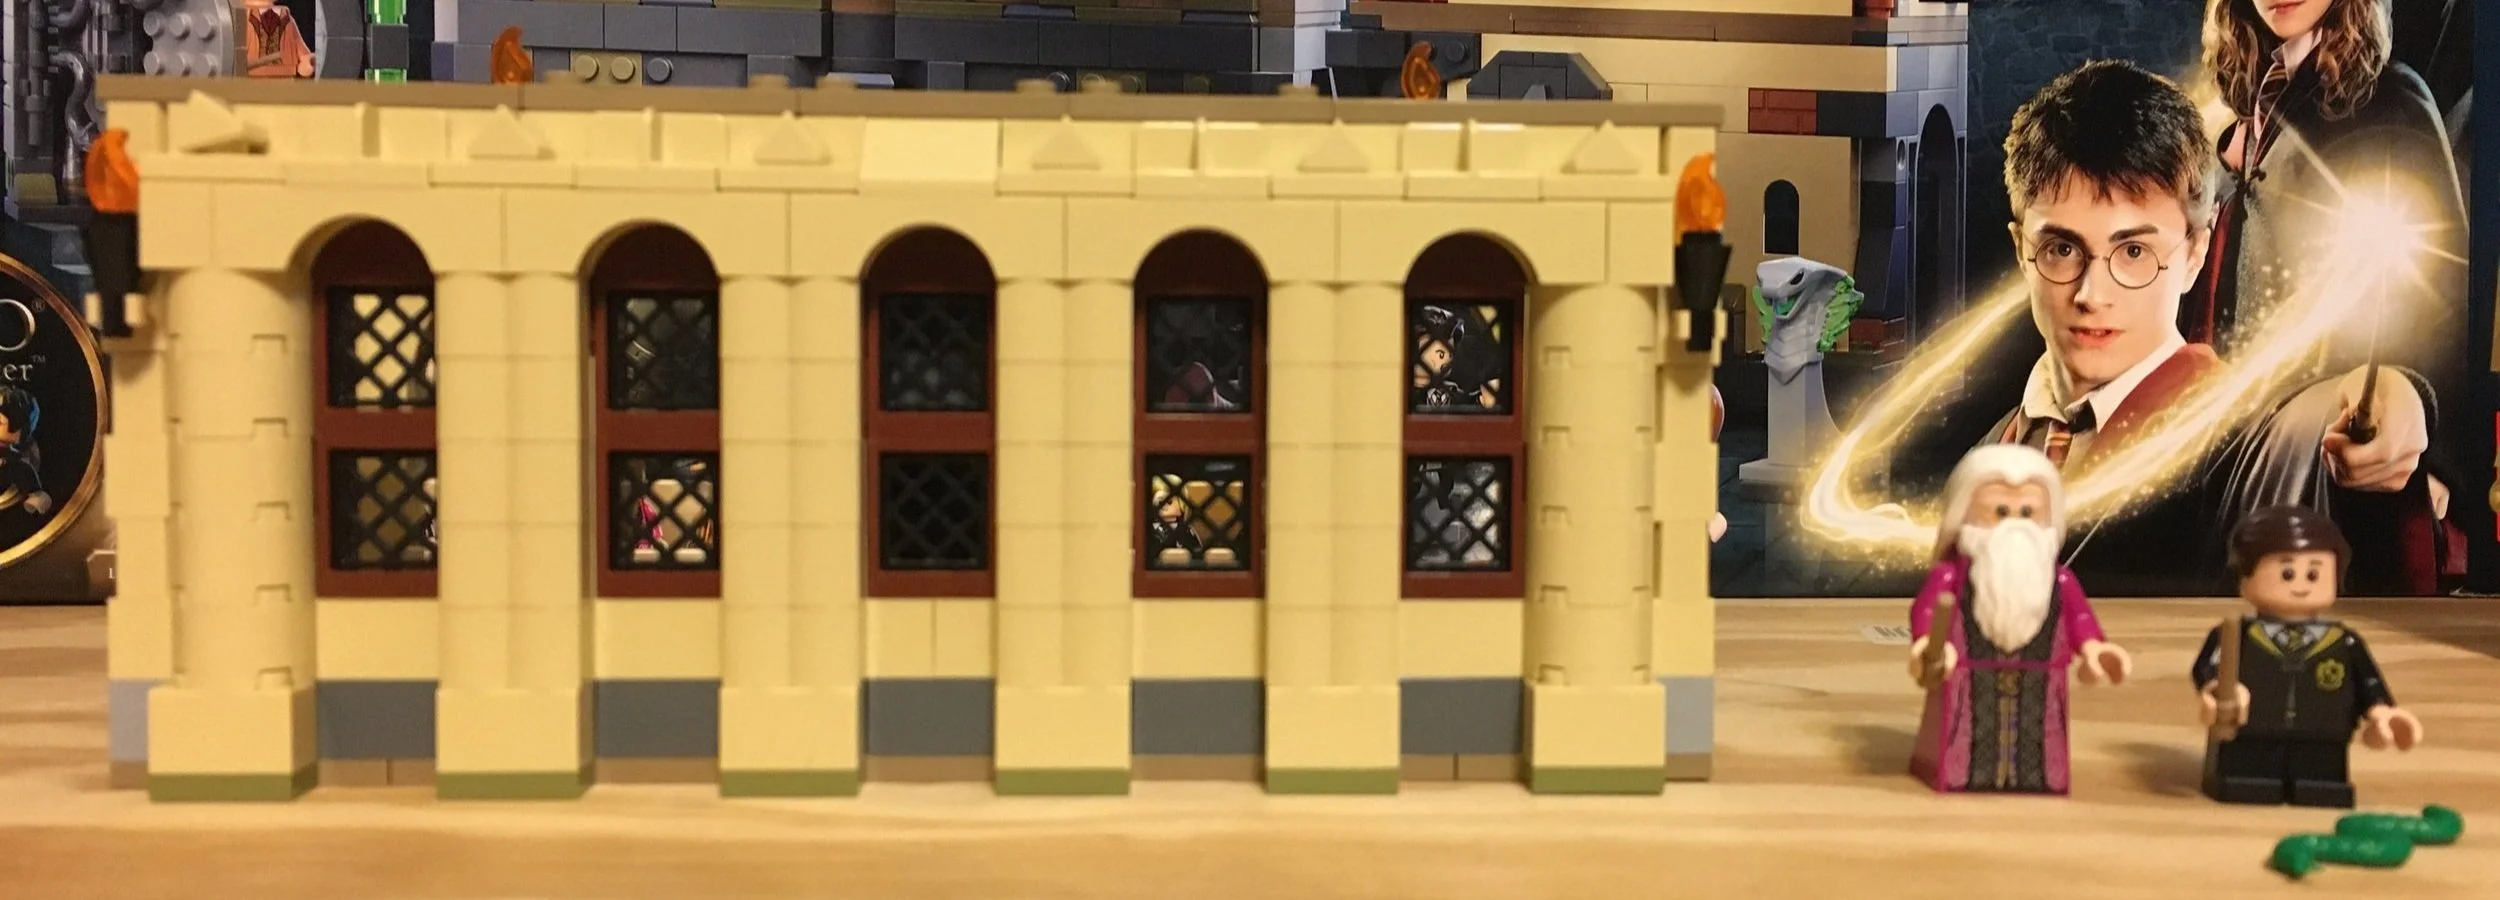
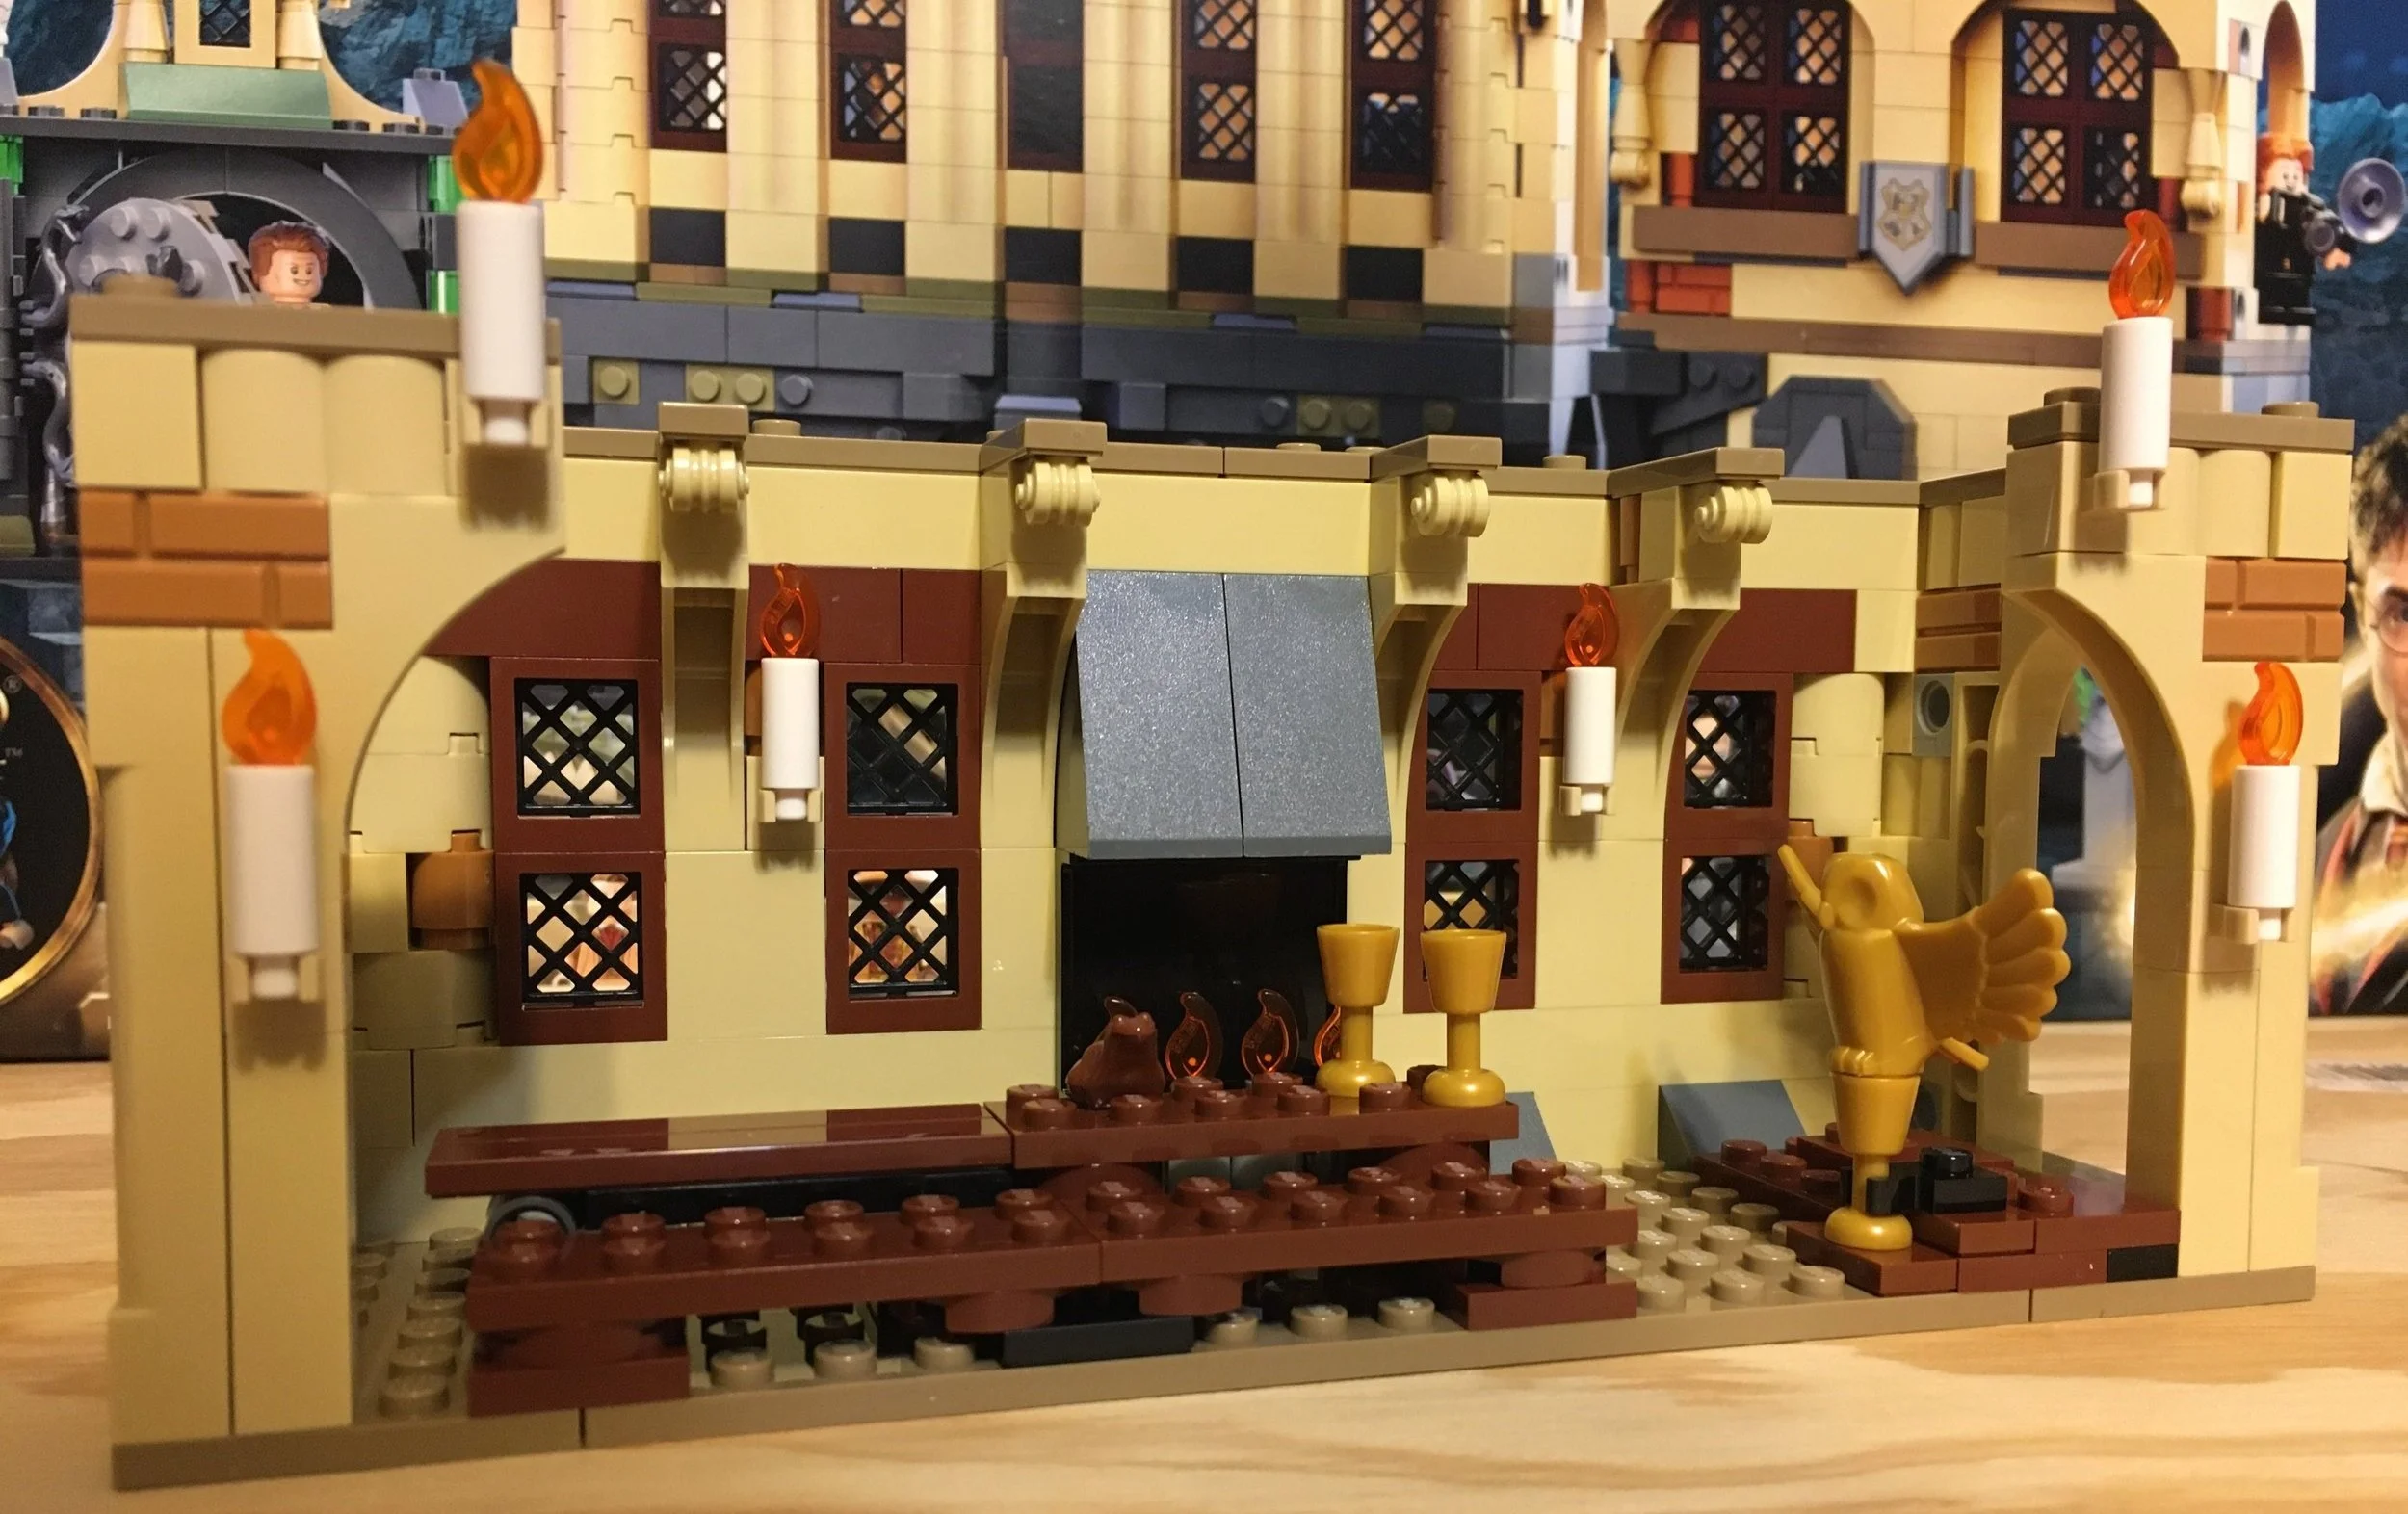
The fourth bag builds the Great Hall which is not to be confused with 2018’s #75954-1 Hogwart’s Great Hall. It’s definitely a much scaled down version of the Great Hall, but considering the spacing available, it works.

This bag comes with two minifigures, Dumbledore and Justin Finch. You also get a small green snake.

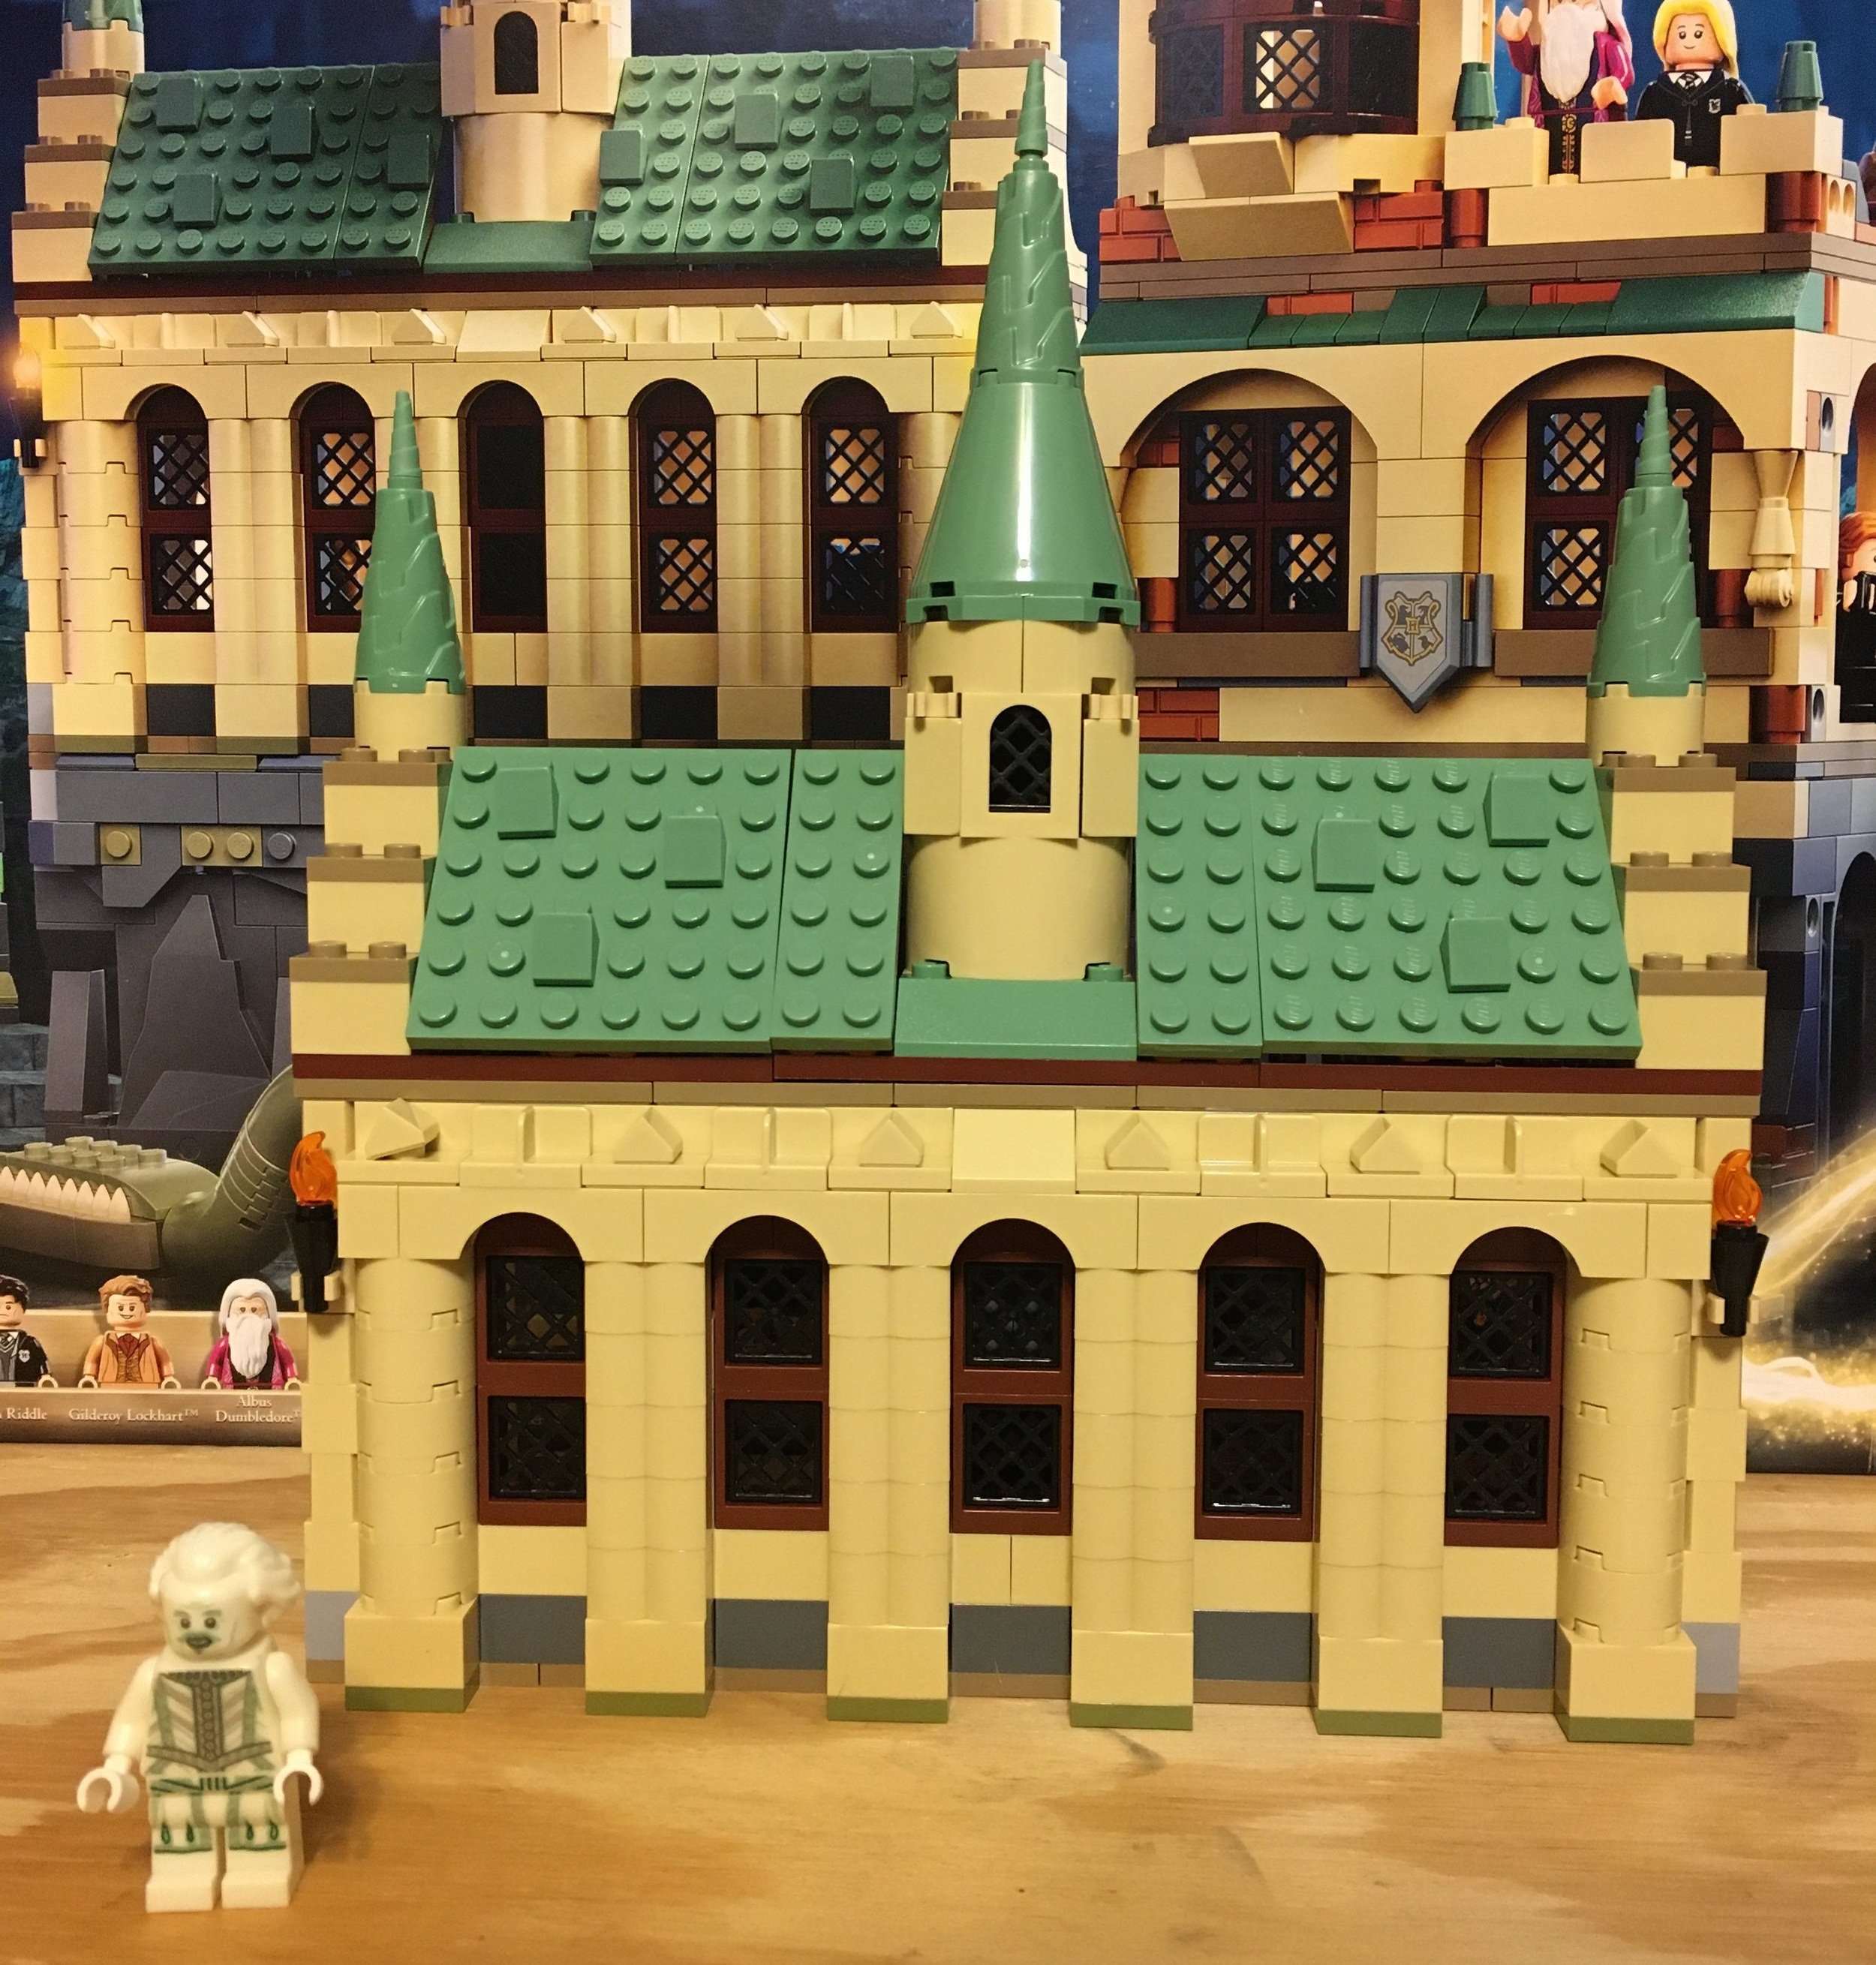
Bag five adds the roof over the great hall. The inside adds in the Hogwarts crest on a banner. The minifigure in this bag is a glow in the dark Nearly Headless Nick.

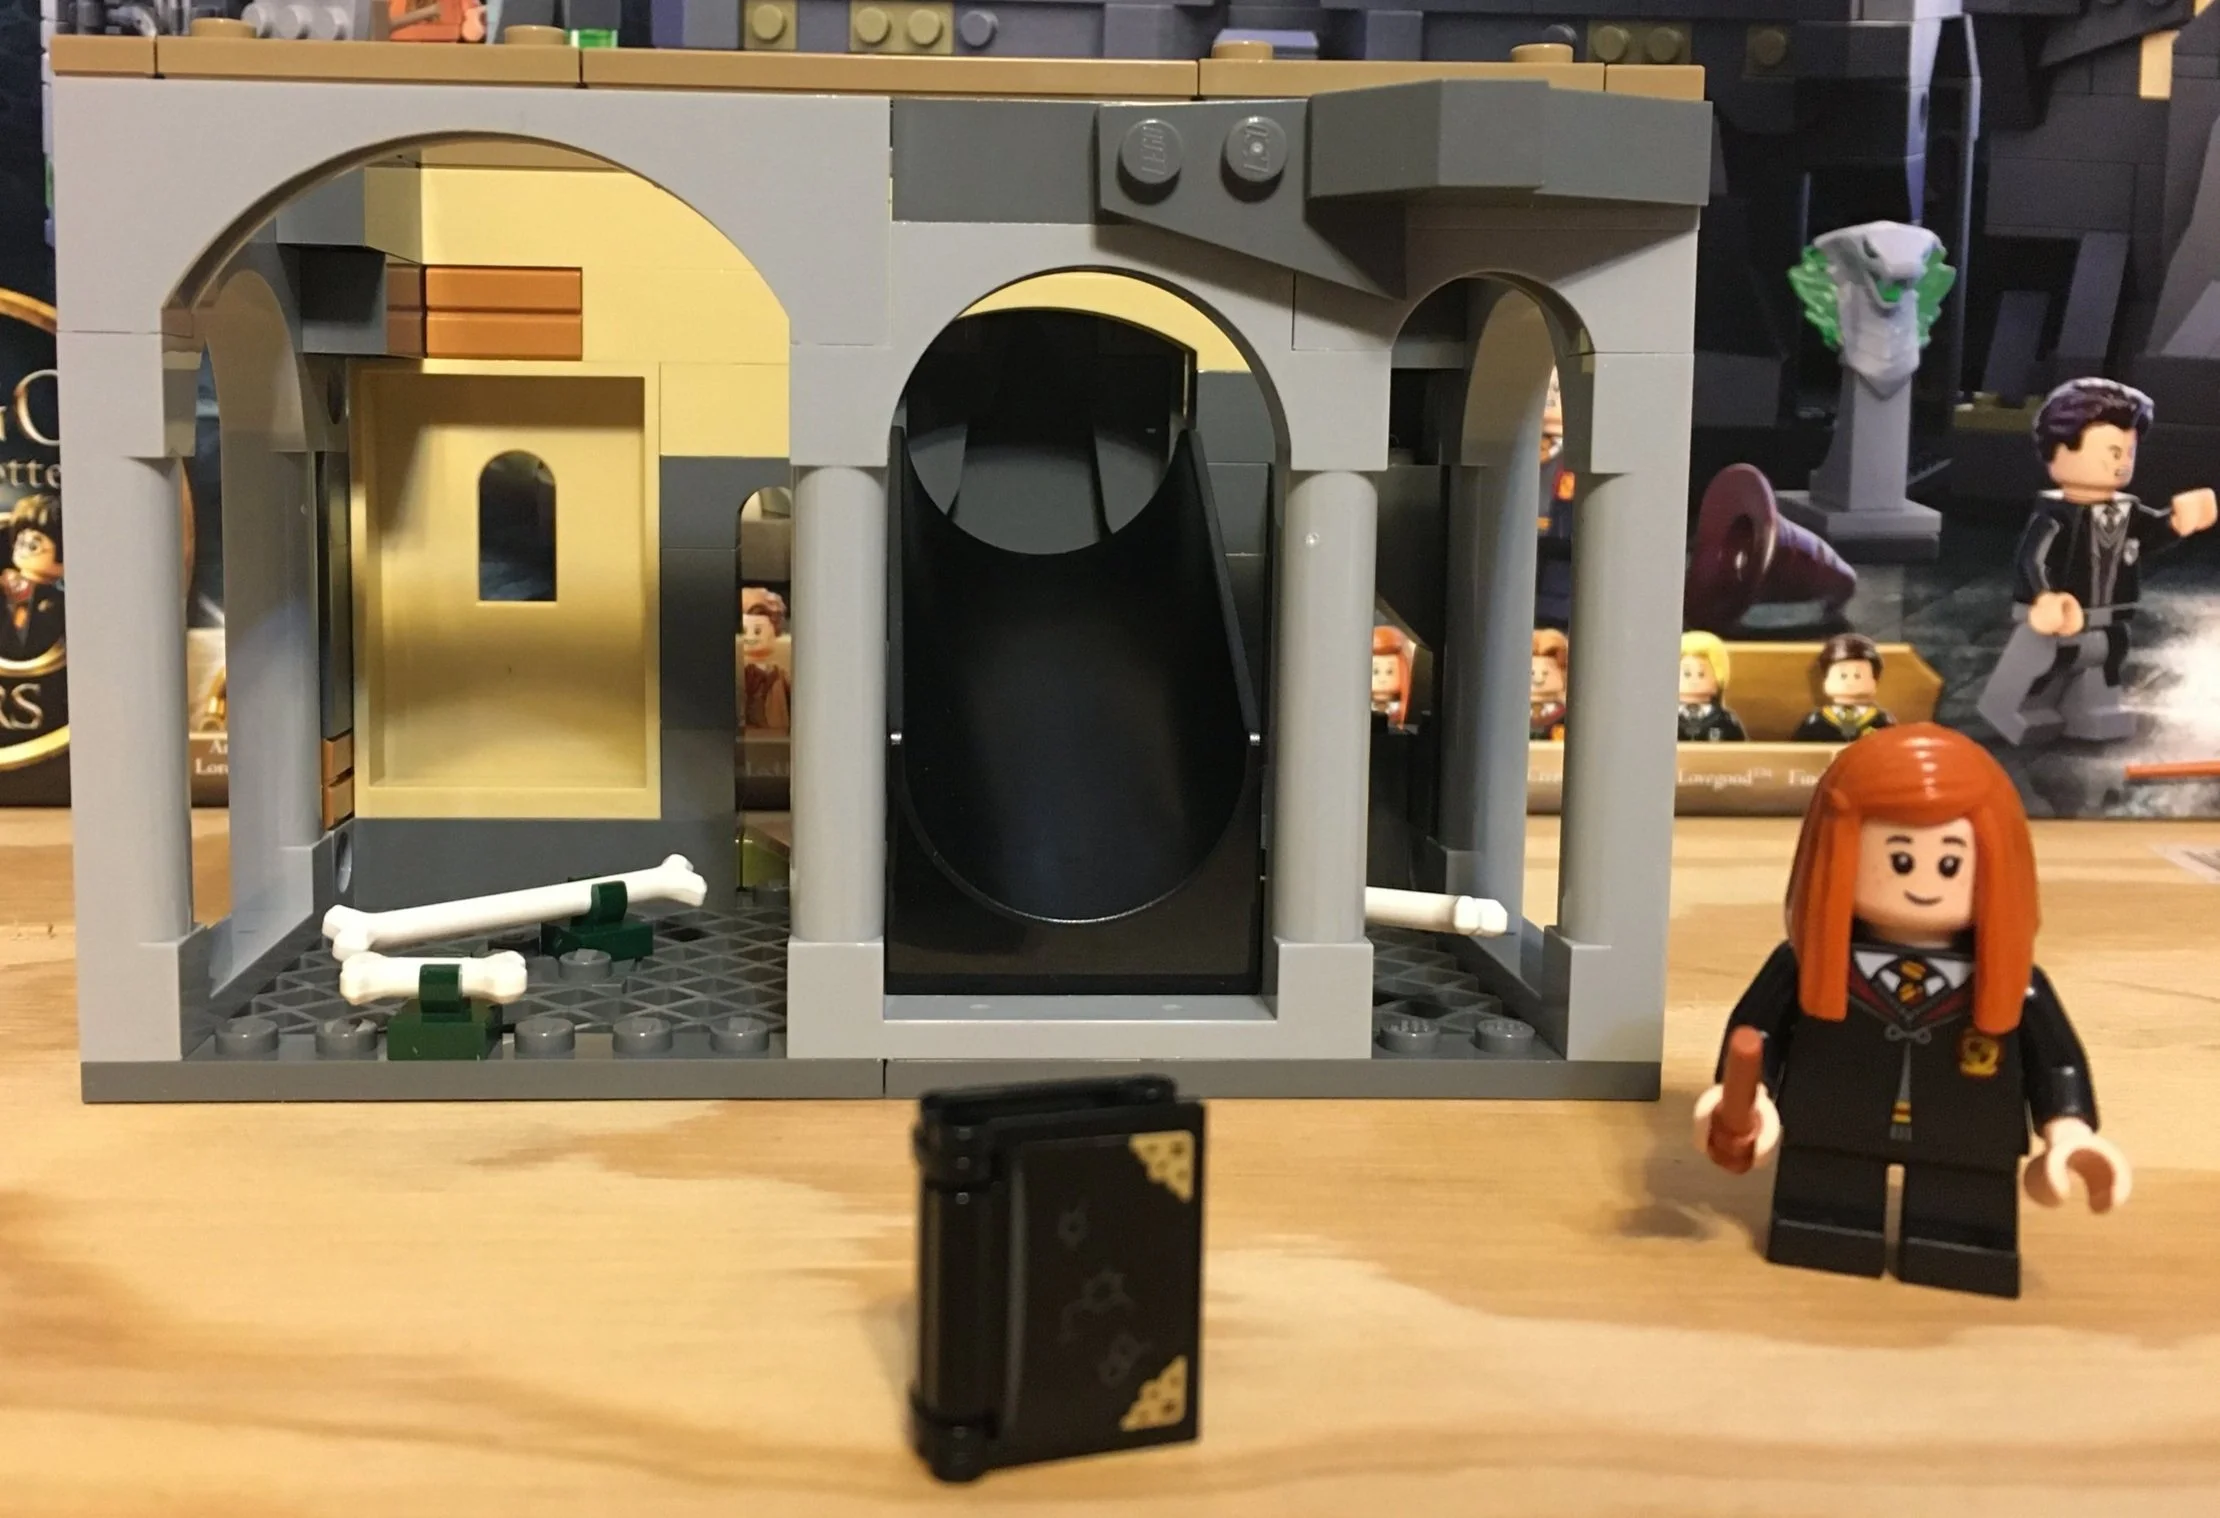
Bag six has the initial room to the chamber of secrets where they slide down from the girl’s bathroom. Conveniently, you can purchase #76389-1: Hogwarts: Polyjuice Potion Mistake and open the entrance in the bathroom to slide your minifigures down.

This bag comes with a minifigure for Ginny Weasley and your very own copy of Tom Riddle’s diary. The sticker you put in it includes the holes Harry adds with the basilisk fang so you can re-create the scene at the end of the book/movie (hopefully not a spoiler by now).

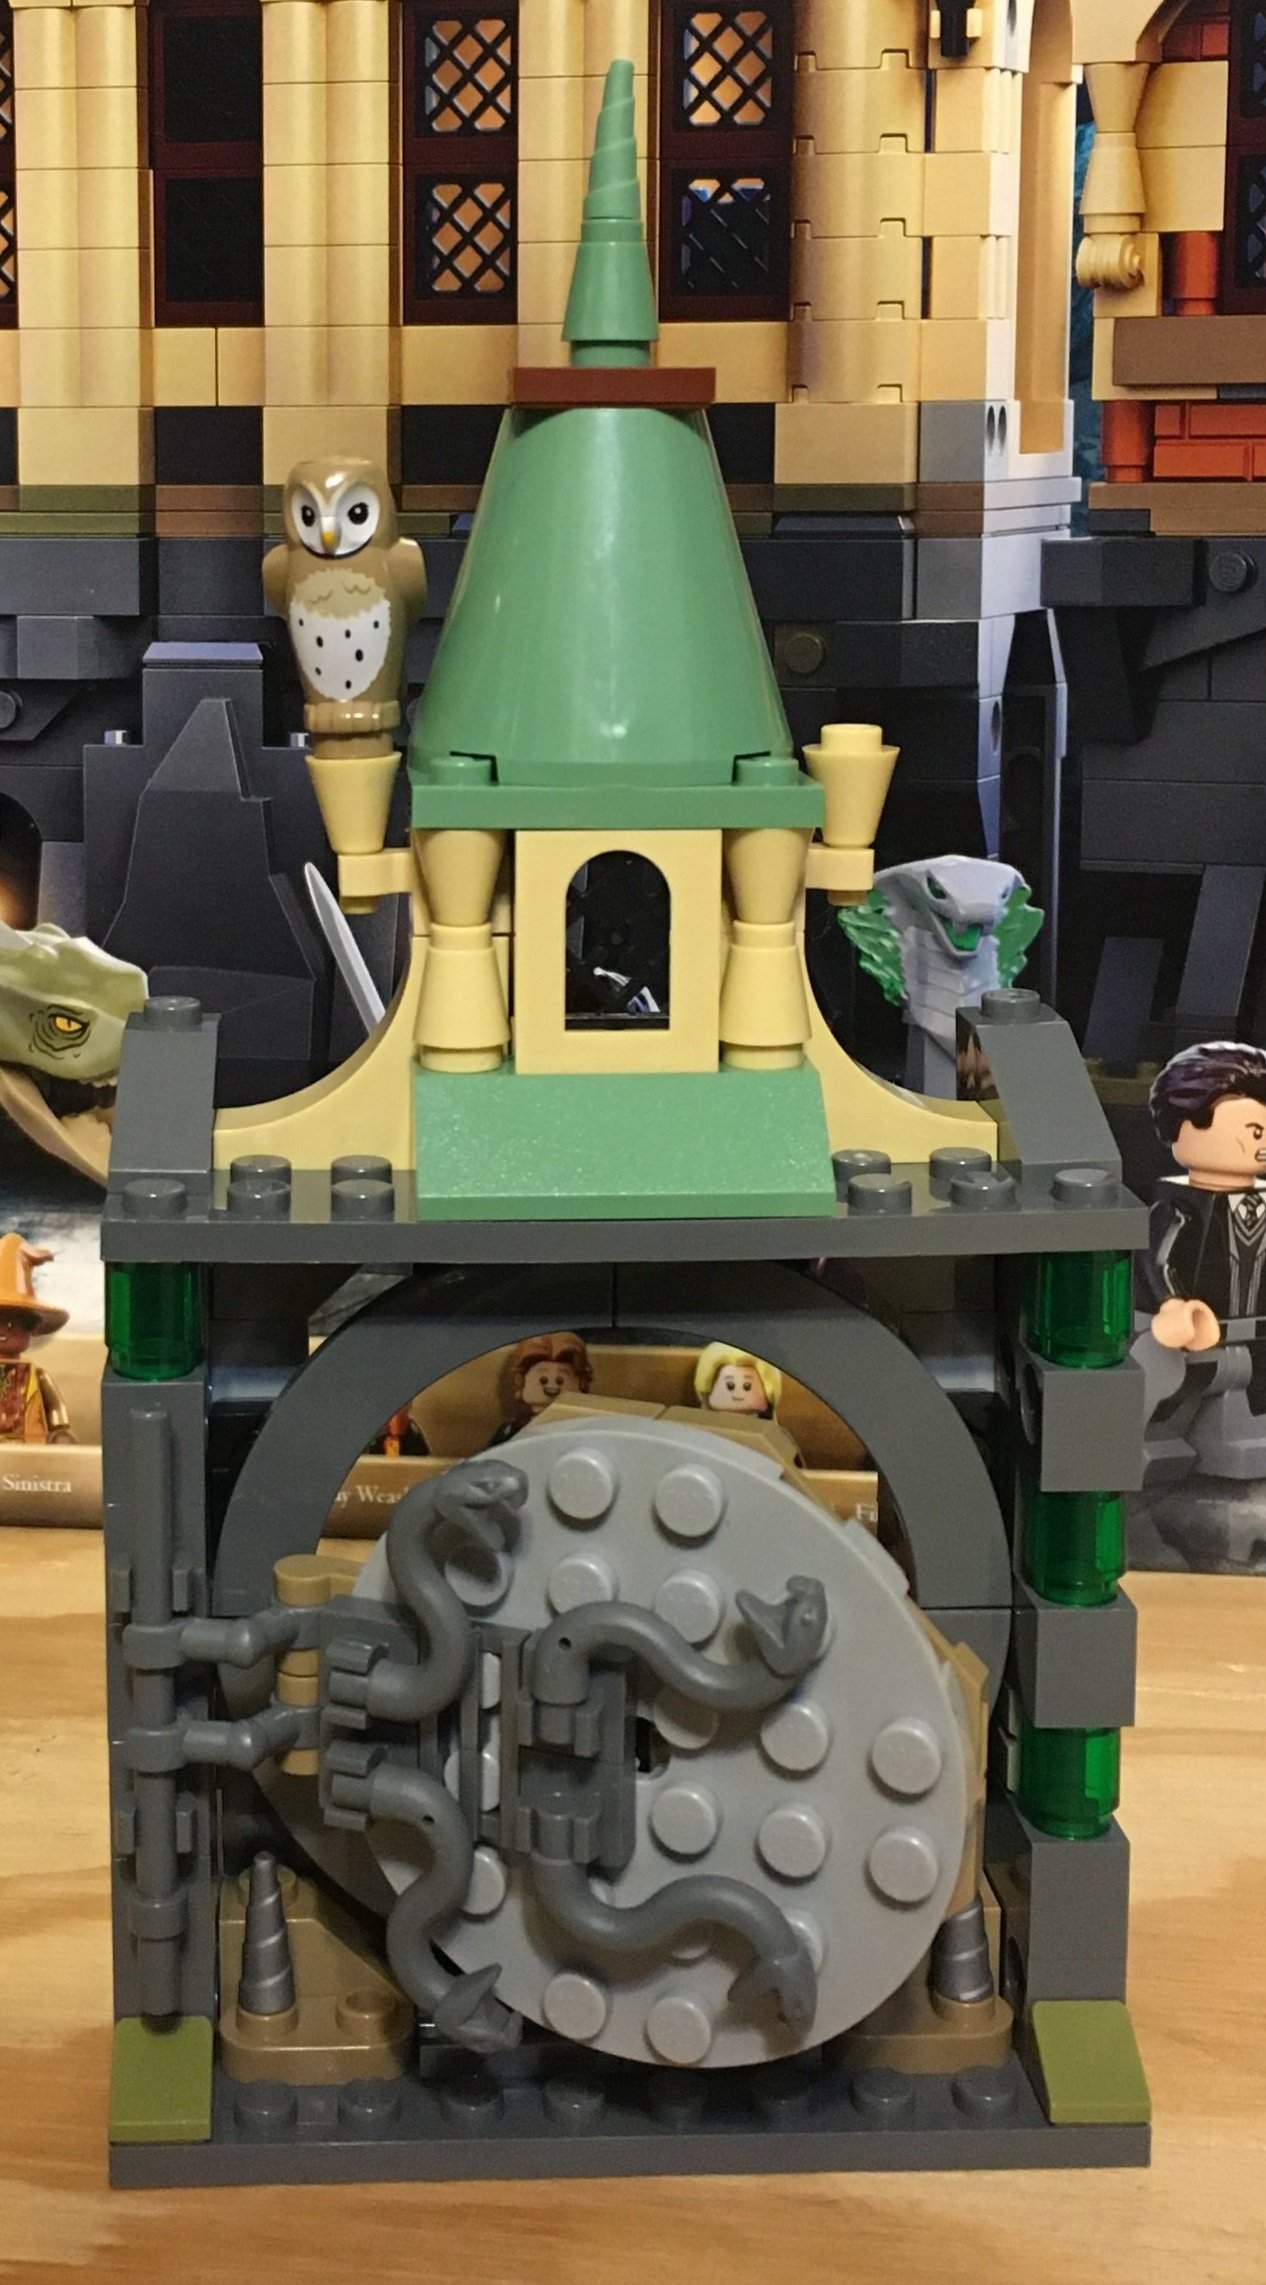
The seventh bag builds the actual entrance to the chamber of secrets. The door they designed does a pretty good job at capturing what the actual door looked like in the movie. You can open and close it as well which is a nice feature. The only thing I’m not sure about is the steeple above the entrance. I thought the chamber of secrets was underground. I’m not sure why they have a roof section above it.

No minifigures here, but you do get a fun owl to add to your LEGO owl collection.

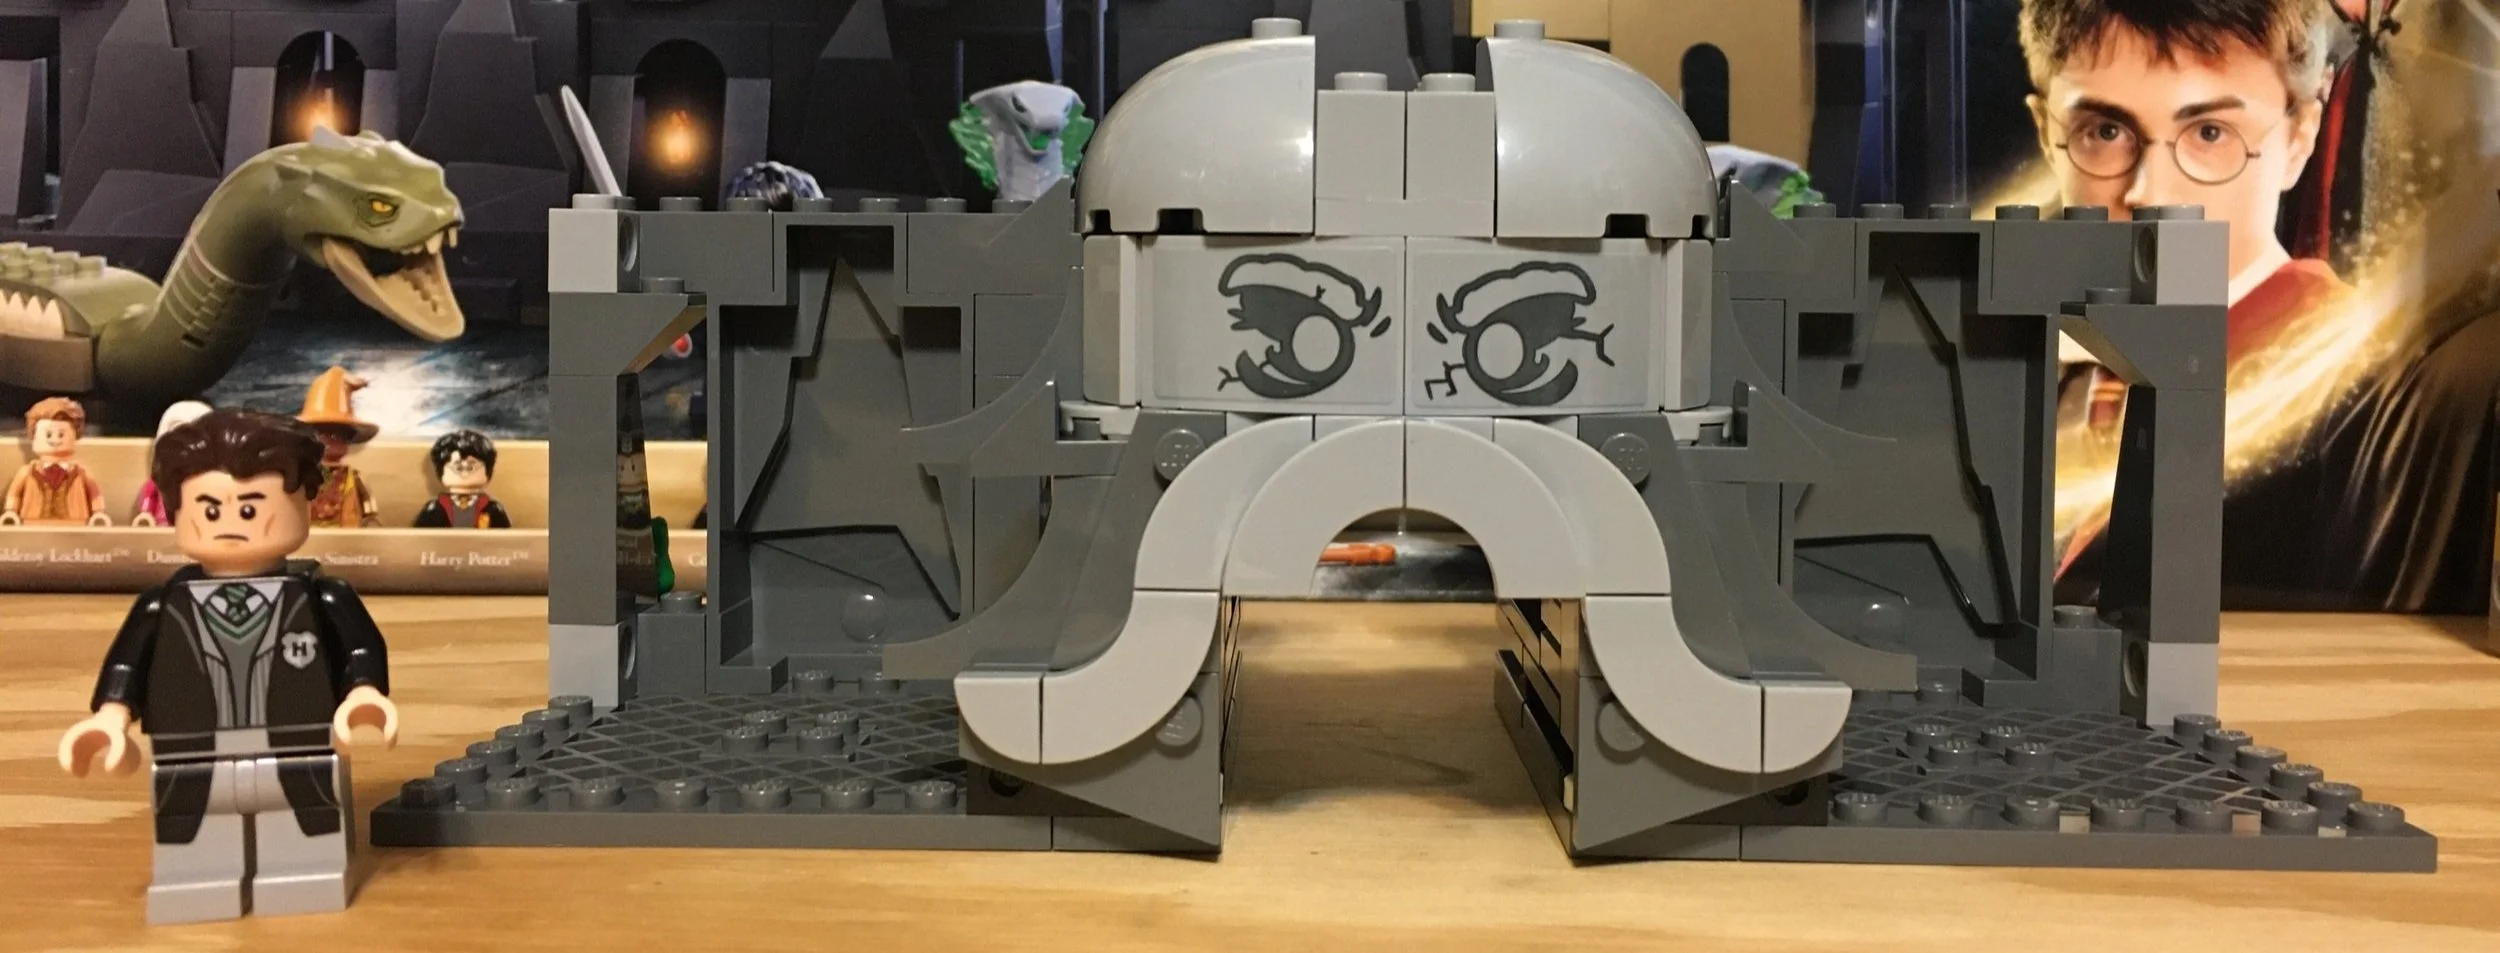
The eighth bag builds the main structural feature where the basilisk lives in the chamber of secrets. With the help of a sticker, the designers did a good job capturing the weird face carved into the rock wall.

You also get a Tom Riddle minifigure in this bag.

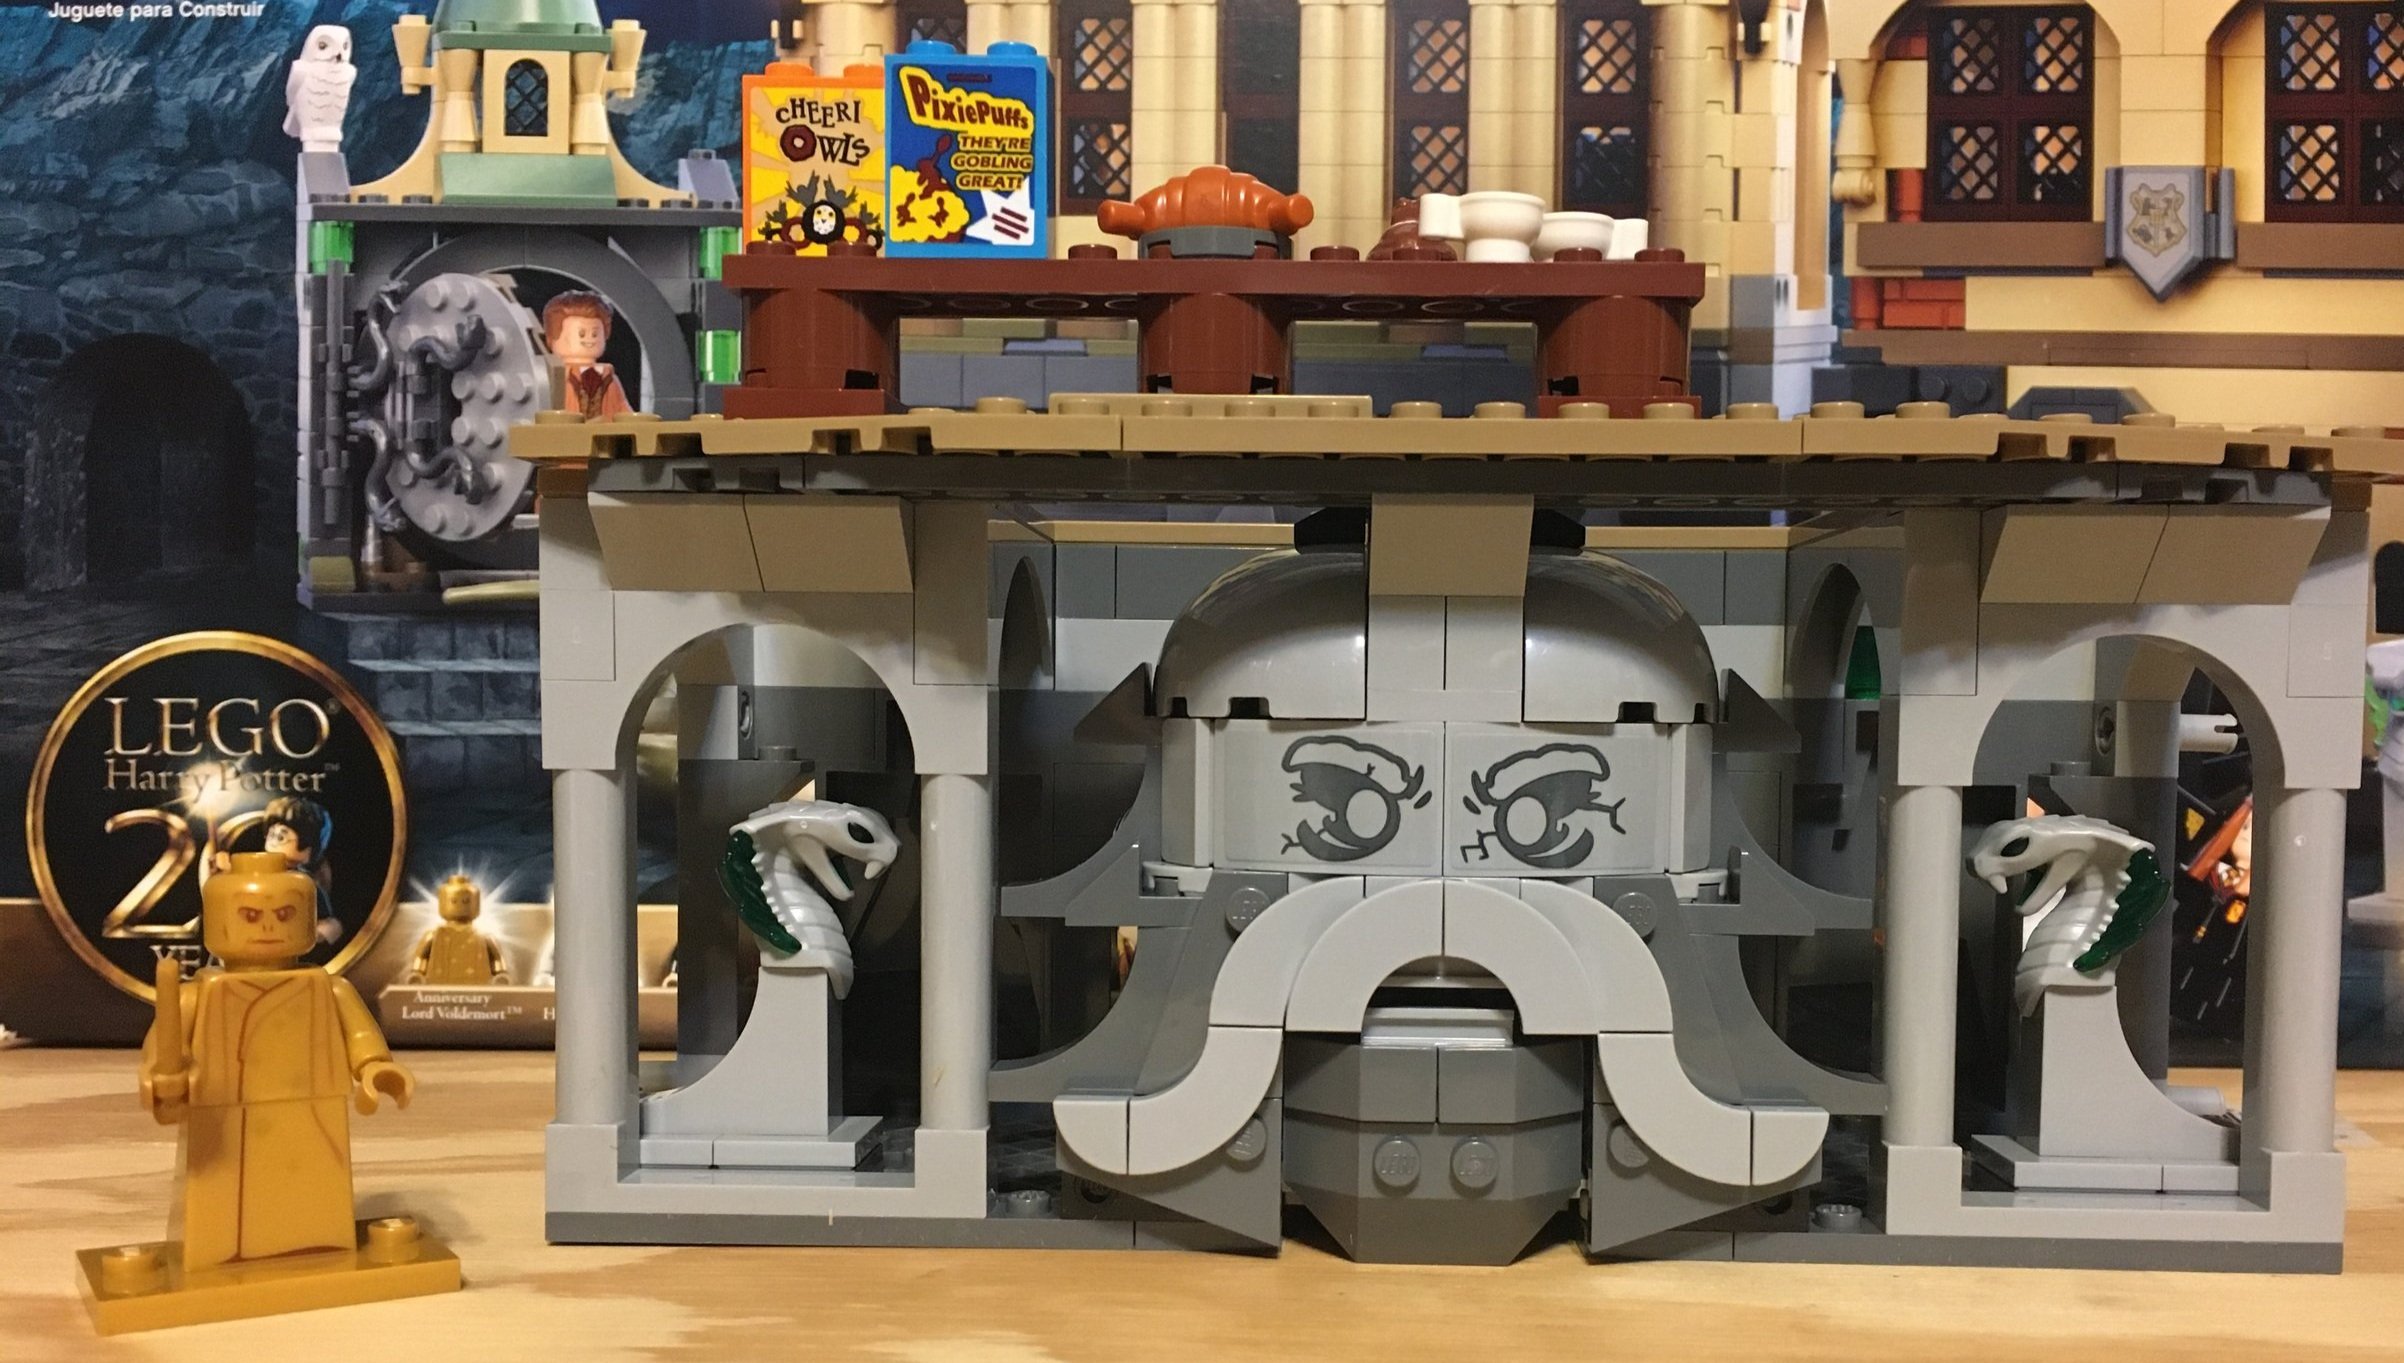
The ninth and final bag finishes up the set. You finish building the chamber and some of the accessories. The mouth of the “stone” face opens up so you can have the basilisk come out. Then there are two small snake heads on stands that can be removed and placed along the… I’m not sure what it’s called… in the movie there’s a long pathway leading up to the place where the basilisk comes out.

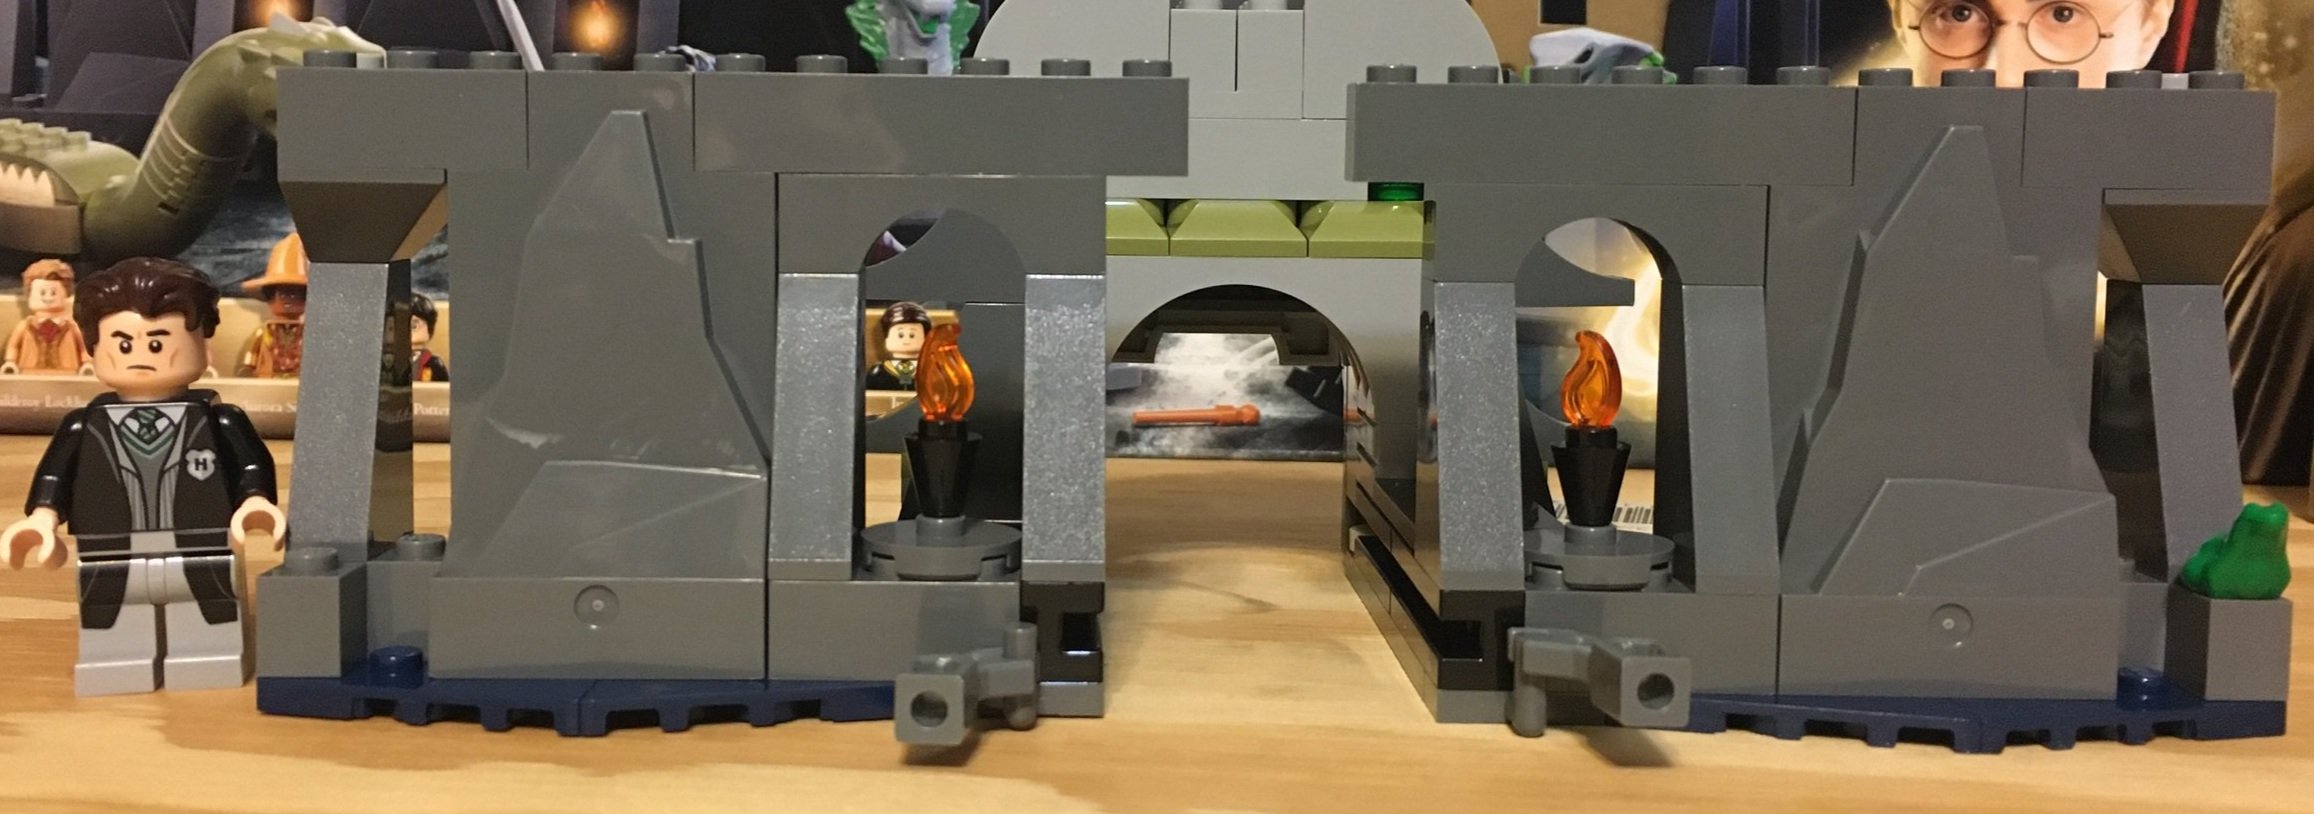
The opposing side of the build has two torches and some stone structures made of BURPs. We have no way of knowing whether the chamber is right next to the outside of the castle or buried deep within underneath the castle so maybe this is how it was.

The last minifigure is the 20th anniversary golden minifigure of the set. You get Voldemort. He’s not the most exciting one to get, but I understand how he fits in.

Here are the 11 minifigures, the basilisk, two books, to Pixies, a snake, and a camera.

Here’s what the final set looks like when you connect it all together. As a standalone, it’s not too bad. In a future post, I’ll show what it looks like to have all of the 2021 sets connected together. The front side looks pretty cool and is definitely a good start if you’re looking to make a full up, minifigure scaled Hogwarts on your own. The back side doesn’t quite make sense without the other sets such as the entrance to the chamber not having the bathroom above it.

This set is definitely a play set or minifigure collector’s set. I don’t recommend this one for adult fans unless you are super into the Harry Potter theme. At $130, it’s pretty expensive considering what you get. I haven’t seen it on sale yet. We’ll have to see if that happens as it approaches the end of its retail life.

Happy building!

Set Review - #10293-1: Santa's Visit - Winter Village

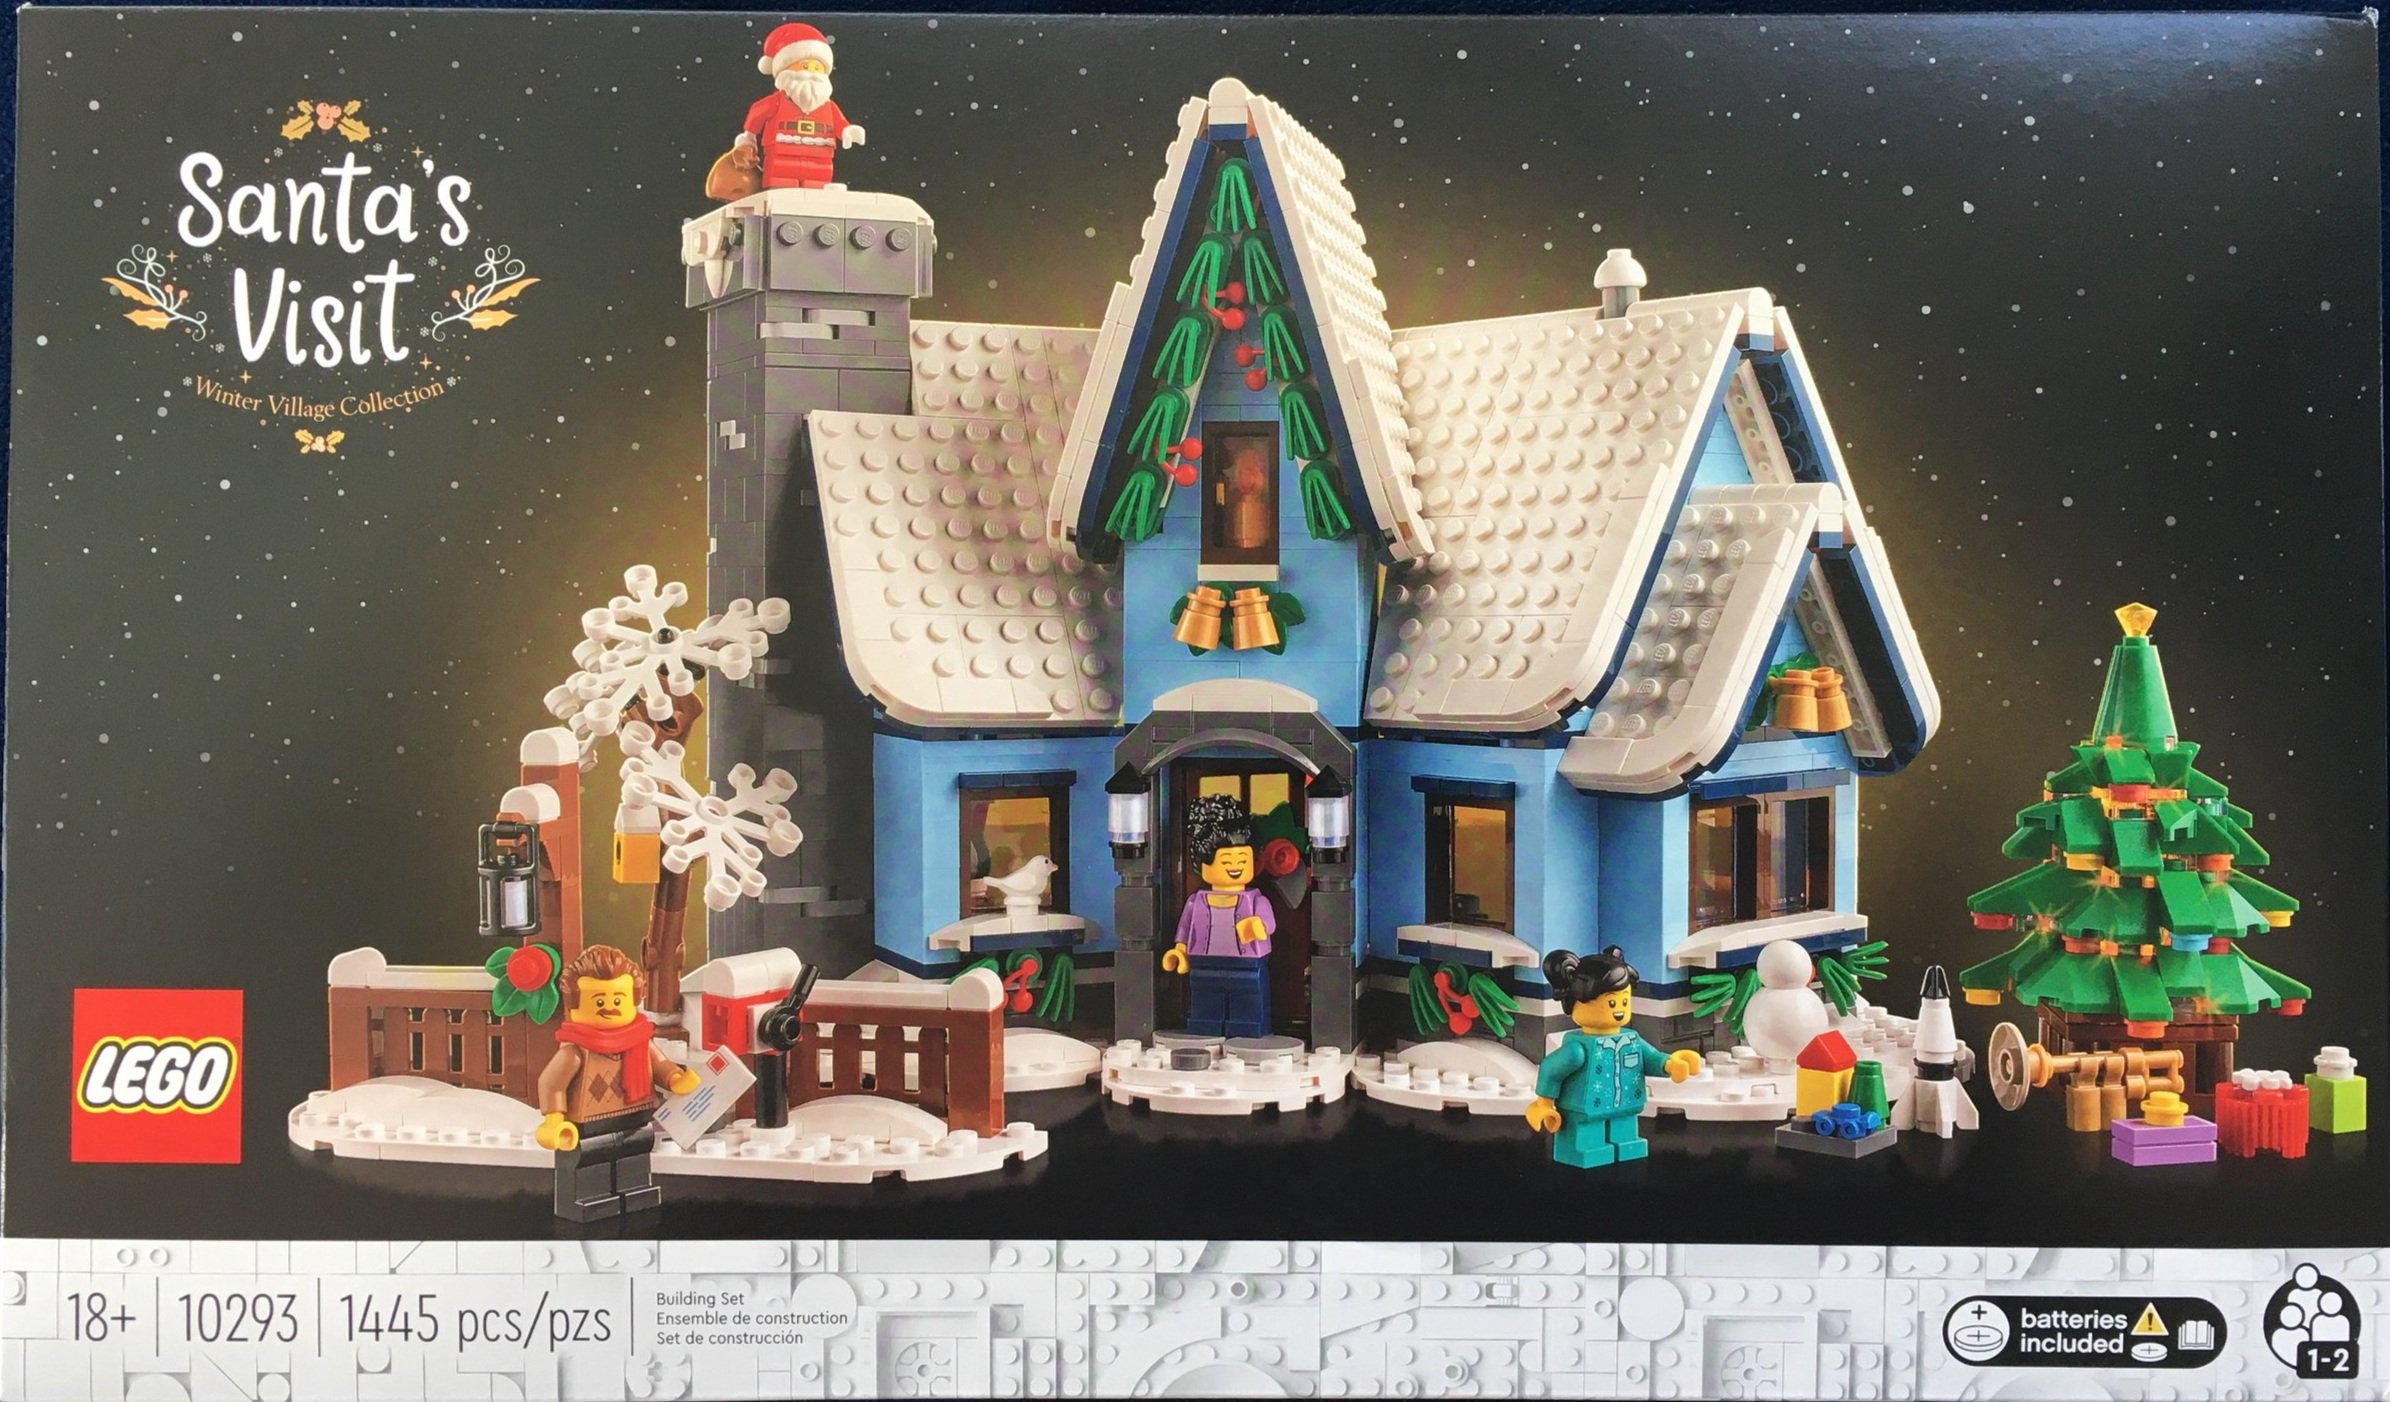
As per usual, Christmas is over and here I am finally getting to review the Winter Village themed set released for Christmas. Better late than never I guess. This one is #10293-1: Santa’s Visit. It was released on 17 September 2021 in the US. It contains 1,445 pieces and retails for $99.99. This works out to $0.069 per piece which isn’t that bad.

The box is in the 18+ branding and while the background is dark, it does look like they tried to brighten up the set so all of the features stand out. The box is pretty standard. The front shows the full set and the front of the house you build. The back shows the back/inside of the house and then some of the features of the house.

This set contains nine numbered parts bags and two instruction booklets wrapped up with the stickers. The first and smaller booklet covers bag one and all of the accessories not attached to the main structure. In theory, if you were building with someone else, you could hand off that one while you worked on the house. I suspect they will finish first, but I like the concept.

Here are the instruction booklets. The inside has some details on the set and on the builder, Chris McVeigh who also designed last year’s Winter Village themed set #10275-1: Elf Club House.

Only four stickers with this set. Not too bad I guess.

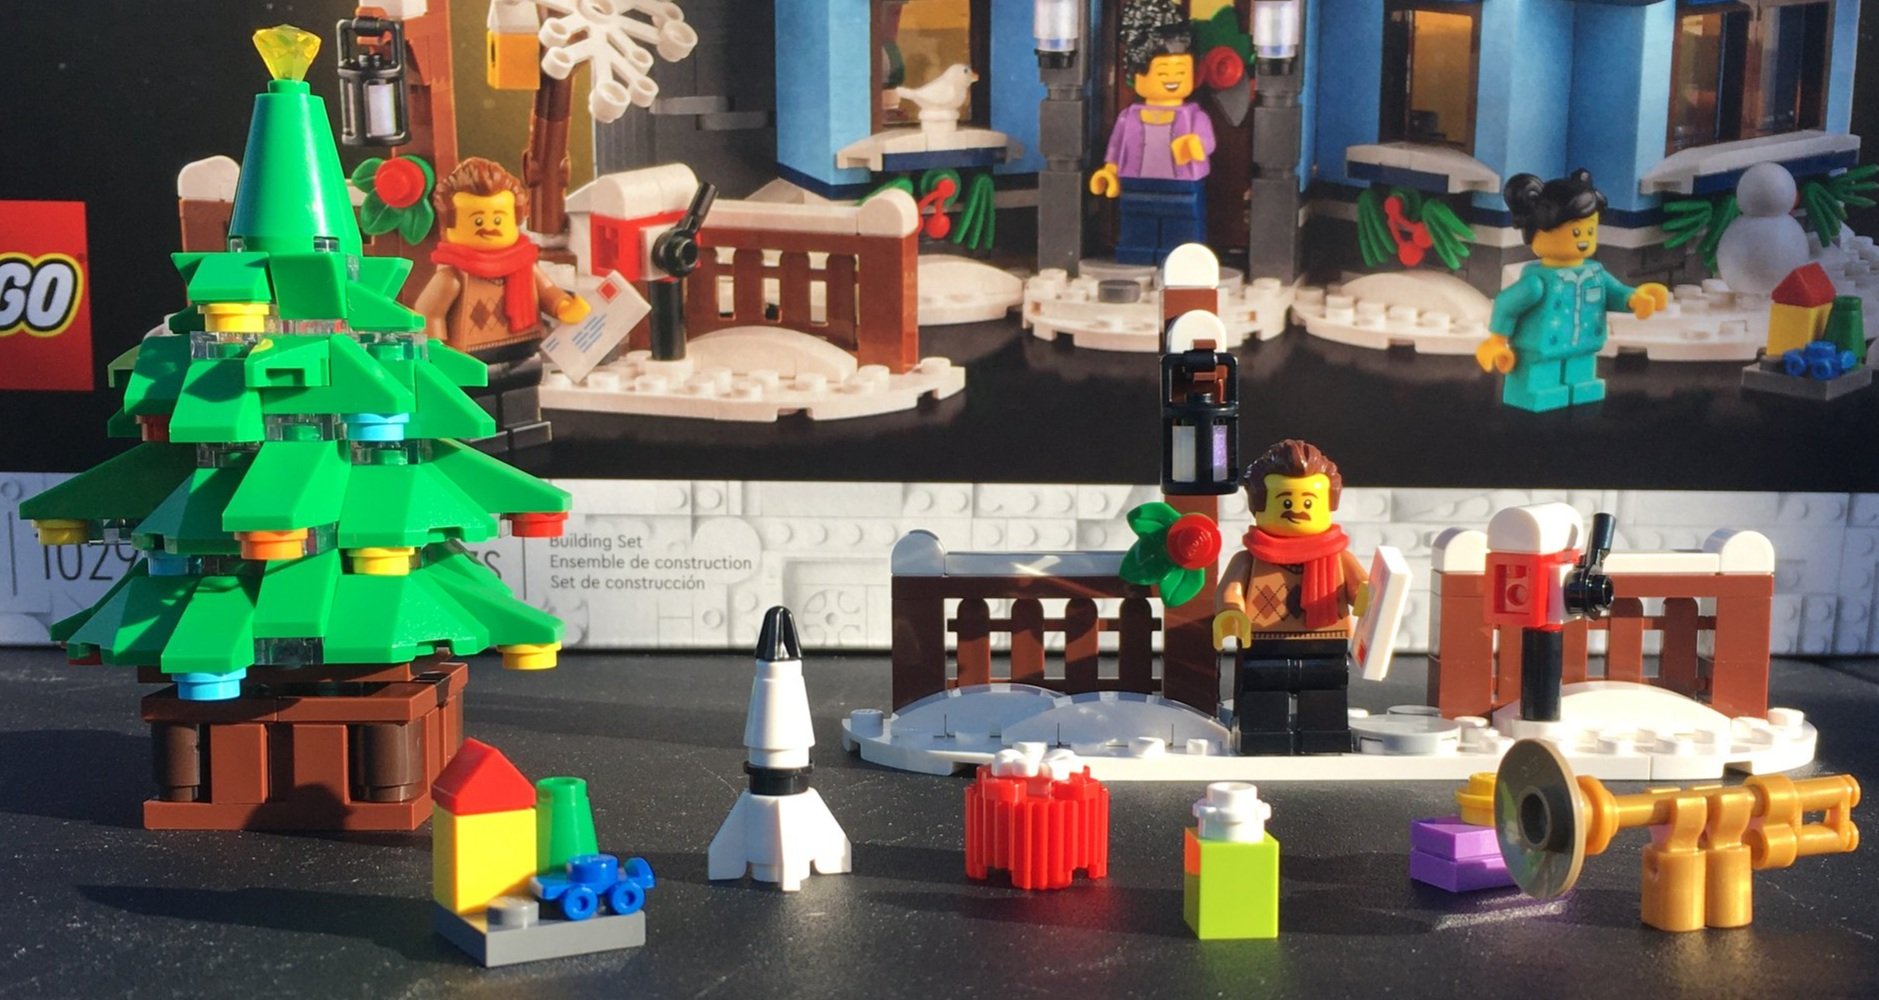
The first bag builds what I loosely refer to as the accessories, but mainly it is parts not connected to the main structure. There is a small fence section with a mail box and an entrance large enough for a minifigure. For whatever reason, the designers decided this piece should be separate so if you want it linked to the house, you need to use your own pieces. The same goes for the fence, unless you want the fence to highlight the entrance to the walkway that you also need to build with your own pieces. The mailbox is a simple build that easily gets across what it is and there is a post with a lamp on it and some greenery.

There are also a bunch of gifts you build to put under the tree. Some are just boxes with decorations, but there are a few actual items to include a small rocket and a trumpet. The girl’s room has some space themed decorations so you can assume the rocket is for her. The trumpet looks pretty good considering its size, but would be quite large for a minifigure to play. For it to be more realistic, you’d need a molded element similar to the saxophone that has shown up a few times in the past.

Lastly comes the tree. The designers continue to come up with new methods to build trees. This one is no different. The tree has a light brick on the bottom and is built on top of the brick. It is built in a way that when you push down on the top of the tree, the light brick turns on, but it is not heavy enough to keep the light brick on all the time.. There are clear plates throughout so that the light from the brick shows through the tree. This is a fun technique to use and I like how it was done. Bonus points to the designers!
The second bag builds the base for the house. As has been the recent trend, instead of just using a base plate, the designers attached a bunch of plates together. The good part about this is it allows them to get some different shapes besides just making everything square.

A few interesting parts of this bag… you build the fire in the fireplace. The fire appears to be a gas fire as it comes from burners versus a log type design. The burners pivot which I believe allows Santa to come down the chimney and not get burned. Although the “fire” stays lit so the house burns up when it tilts over. The other fun part is the present that you build and place on the floor. Later, you build a chair that goes in front of the gift. This is supposed to be the parents hiding gifts for the kid, but any kid would find that gift in seconds so not really a good hiding spot.

Bag three builds up some of the outer wall. This includes some greenery decorations made of claw type pieces. There is also a lot of snow that has fallen off the house or been shoveled into the areas. There is also a small white bird perched on a window sill.

I didn’t take a picture of the inside, but the kitchen is built up with a sink, some counters, an oven, drawers, a kitchen mixer, and a loaf of bread on the counter.

Bag four finishes most of the first floor. You build up the walls, add the windows, and install the door. On the inside, there are a few additions like a flower, the wood pile, and more of the chimney.

The fifth bag builds up the living room area of the house. This includes adding a chair, with a coffee table, and then decorations on the fire place. The fire place decorations include stockings, some candles, a clock, and a family picture. It also builds up the chimney and some of the wall of the house.

The sixth bag adds a dining room table with four chairs. The table has a red table runner and a candle on some greenery.

It also has you build the girl’s room. This includes a bed, a desk and chair, a picture on the wall (focused on space exploration), and the Christmas list on her desk. There are no stairs to the upstairs as usual, but no complaints considering the piece count and price of the set.

On the outside, there is a roof portion added over the kitchen area with some decorations. The bell decorations are a cool addition.

This bag also adds the girl minifigure. She is in pajamas which I don’t think have been done before. Her face has smiling on one side and then eyes closed and sleeping on the other.

Bag seven finishes off the chimney and adds on most of the roof. A different method is used to attach the roof that hasn’t been used previously. Nothing overly complicated, just different.

Bag eight adds the center section of the house along with the roof. It doesn’t add an additional floor, just a wall section, but there’s more greenery, some bells, and a window.

Bag nine, the last one, adds a bunch of different small details around the house. You finish off the chimney with some snow around the edges. Additionally, you add a tree on the ground near the chimney. The stem and branches are brown, but the smaller branches are all white as if it had just snowed. And because I put it in the picture, you get a Santa minifigure in this bag. He comes with a sack.

The next part as seen in the picture is a small snowman. In the past, they have used minifigure parts, but this one is all white and just uses round bricks.

The last addition to the house is some roofing on the back over the girl’s bedroom and a brick build decoration of a planet with rings to go with her enjoyment of space exploration.

This set comes with four minifigures. To me, it looks like a lot of new torso parts we haven’t seen before. Is that true? Both the mother and father have smiling faces and then laughing with eyes closed on the other side. The daughter has eyes open and mouth open and then sleeping. Santa has a big hat and beard so you wouldn’t be able to tell if the face had another side (it doesn’t).

Here’s the final build. To be honest, it’s nothing that really screamed out to me that it was awesome. It had some good building techniques and it uses some fun pieces, but other than that, it was just a house. The light up Christmas tree is a nice addition to the set as compared to light up houses and fire places in the past. Other than that, it’s okay. If you’re into this theme, then definitely get the set. It’s been sold out on LEGO.com since before Christmas 2021, but I did see it listed on Walmart. Check around for it, but good luck if you can find a sale. Hopefully you can get a good gift with purchase or double VIP points to go with it.

Happy building!