Is this the Best Brick Mosaic(k) Software Yet?

If you've looked around at the LEGO fan sites and some of the photo streams, you're bound to have seen some mosaic MOCs.  If you haven't seen any of them, you can see a few of the record holding mosaic creations at this site.  I fully admit that I am not artistic enough to build one on my own, but I have looked into some of the free software options online.  If you do a search for 'LEGO Mosaic Software' there are a few sites that will let you submit a picture, tweak it, and then will spit out instructions and a piece count.  From my limited experience, most of them need specific types of pictures and have a hard time turning pictures with details or certain color schemes into LEGO brick mosaics.  

Well Bricklink just recently released their version of brick building mosaic software called Mosaick (and since I'm promoting them, here is a promotion for the Bricks for Bricks Bricklink Store).  Why are they doing this?  Well Bricklink is a great place to get bricks and you can find about all of the bricks ever made out there.  So why not build a software that encourages people to buy bricks.  Then of course when you buy bricks from someone who sells on Bricklink, they get to charge their fee and make money.  How does this version stack up?  Here is a quick example of how Mosaick worked using a pretty detailed picture.  

I am into aviation (despite not doing a lot of builds related to that area) and specifically fighter jets.  So here is picture of a formation of F-35s.

Picture from http://www.af.mil

Picture from http://www.af.mil

To use Mosaick, you don't have to download anything.  All you do is drag and drop the picture file that you want to use onto the website.  Easy!  I took the F-35 picture and dropped it in.  

F-35 mosaick 1

The first task is to figure out how you want to set up your mosaic.  My options for this picture were square, 4x3, 3x2, and 5x3.  Having messed with the software some, different pictures give you other options and some will let you customize it.  Square lets you move a square around the picture to select what you want to do.  For this case, I picked the 5x3 aspect ratio just to see what it would come out like.  The first was 25x15 inches or 80x48 studs (or 2.5x1.5 standard sized LEGO base plates assuming a standard sized base plate is 32x32 studs) in color using plates.

F-35 Mosaick 2

It's not super detailed, but you can tell what the picture is for the most part.  And for a little over $1,800 you can buy all the parts to make this through Bricklink (yikes!).  

Okay, so money is no issue for you.  You just want a super cool mosaic built from LEGO plates.  How about 75x45 inches or 240x144 studs(7.5x4.5 standard baseplates).  In my opinion, this looks awesome!  Wow!  Considering how detailed the original picture is, this definitely captures it... granted it is huge, but that's another story.  And for over $16,000, you can buy the parts right away!

F-35 Mosaick 3

Just for fun, you can also grey scale the picture.  Same size as the previous one, but obviously less colors.  As you can see the one aircraft on the bottom left is hard to see, but the details are mostly there.  Given that the parts are mostly dark and light grey with some black and white, the price comes down substantially to ~$1,500.

F-35 mosaick grey scale.jpg

If you've looked at the pictures I've posted or into Mosaick itself, you've seen that you can choose plates, tiles, or bricks.  This obviously will adjust the price based on what parts are available and the colors of those parts.  So again the same picture with the same dimensions, but back in color, this time in tiles.  The picture looks almost the same and the cost goes down from ~$16,000 to ~$7,500.  To me it looks like the detail is still there.  

F-35 mosaick tile.jpg

Same picture again, but with bricks.  This one brings the price to just under $4,000.  Again, it still looks just as detailed to me.  

F-35 mosaick brick

Also, I took the picture down a size so now it is 50x30 inches or 160x96 studs (5x3 standard baseplates).  This brings down the cost to ~$1,800 with bricks.  The detail isn't as good, but I still think it looks pretty sharp.  

F-35 mosaic smaller.jpg

So failure on my part... I didn't capture any of the piece counts or numbers of separate colors.  I did however save a version of the instructions.  You have the option to print, but I think using a computer would probably be easier when it comes time to build.  Tracking where you're at would be a challenge for a mosaic this big though.  I'm sure you could come up with a good method though.  

F-35 mosaick instructions.jpg

Whew!  If you've made it down this far, I'm curious to know what you think.  Have you messed with Mosaick at all?  Has anyone actually built anything?  I think that the key is to try the different methods out to see how you can keep the detail in your picture while keeping the parts cost lower. Overall, I think Mosaick is the best LEGO brick mosaic software I have ever seen.  It's only in beta version so hopefully the Bricklink team will continue to make it better.  I'm excited to see what happens with this tool and I look forward to someday having the time a bricks to build a giant mosaic for my wall.

Set Review - #75152 - Star Wars - Imperial Assault Hovertank

It's been a bit since I've reviewed a Star Wars set so time to get back in the game.  This one is not a new one.  The Imperial Assault Hovertank is from "Rogue One" and has been out since 1 Oct 2016.  At $29.99 (in the US) for 385 pieces it works out to $0.078 per piece.  I picked it up for 20% off on Amazon.com for $23.97 which works out to $0.062 per piece.  As of 14 June, the set is still 20% off on Amazon.com although if history is worth anything, the discount may increase as the Christmas shopping season approaches.  Either way for less than $0.10 per piece for a licensed set, this one appears to be on the cheap side.  

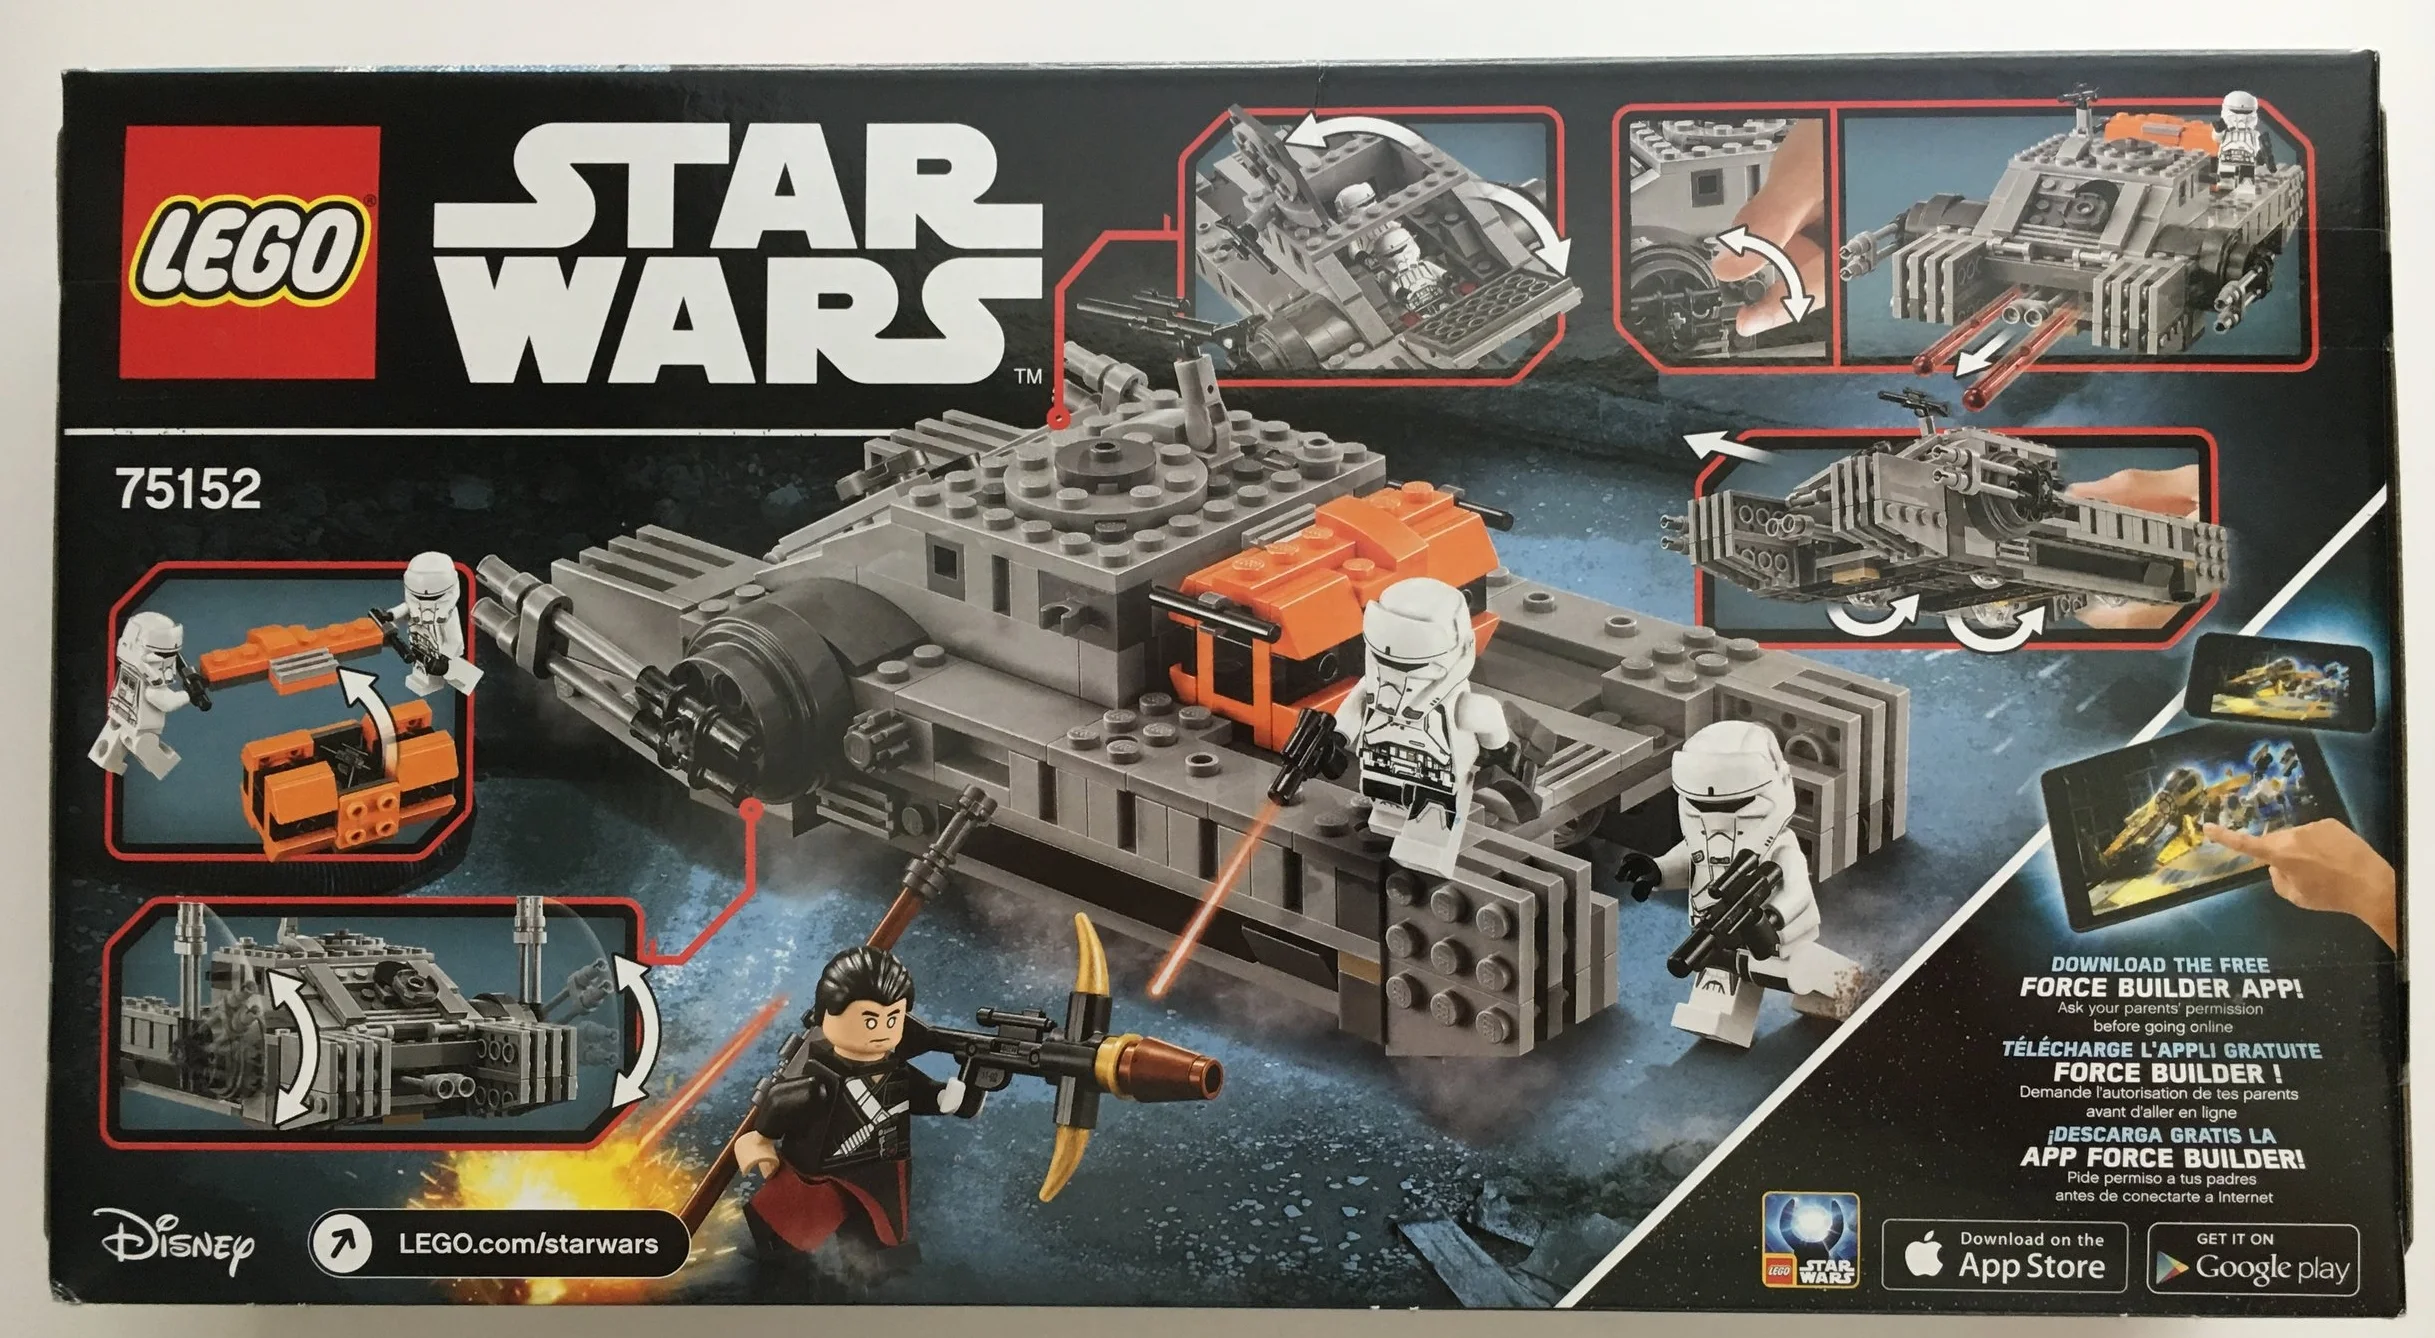
Here is the box.  Standard front and back for a Star Wars set.  

75152_box_front.jpg

The contents include 4 numbered parts bags labeled 1 through 4 and an instruction booklet.  Thankfully, there are no stickers.

75152_box_back
75152_contents.jpg
75152_bag1.jpg

Bag 1 includes Chirrut Îmwe with 2 weapons and a clip on the back to store 1 of them.  It also starts off the troop compartment of the hovertank.  Basic building techniques here and nothing outside the ordinary.

The second bag builds the left side of the hovertank.  It clips on with 2 Technic pins and has 2 Technic wheels on it that are clear so when it is complete you can move it around (it would have been much cooler if they actually made it hover, but I probably couldn't have afforded it then).  

75152_bag2.jpg
75152_bag3.jpg

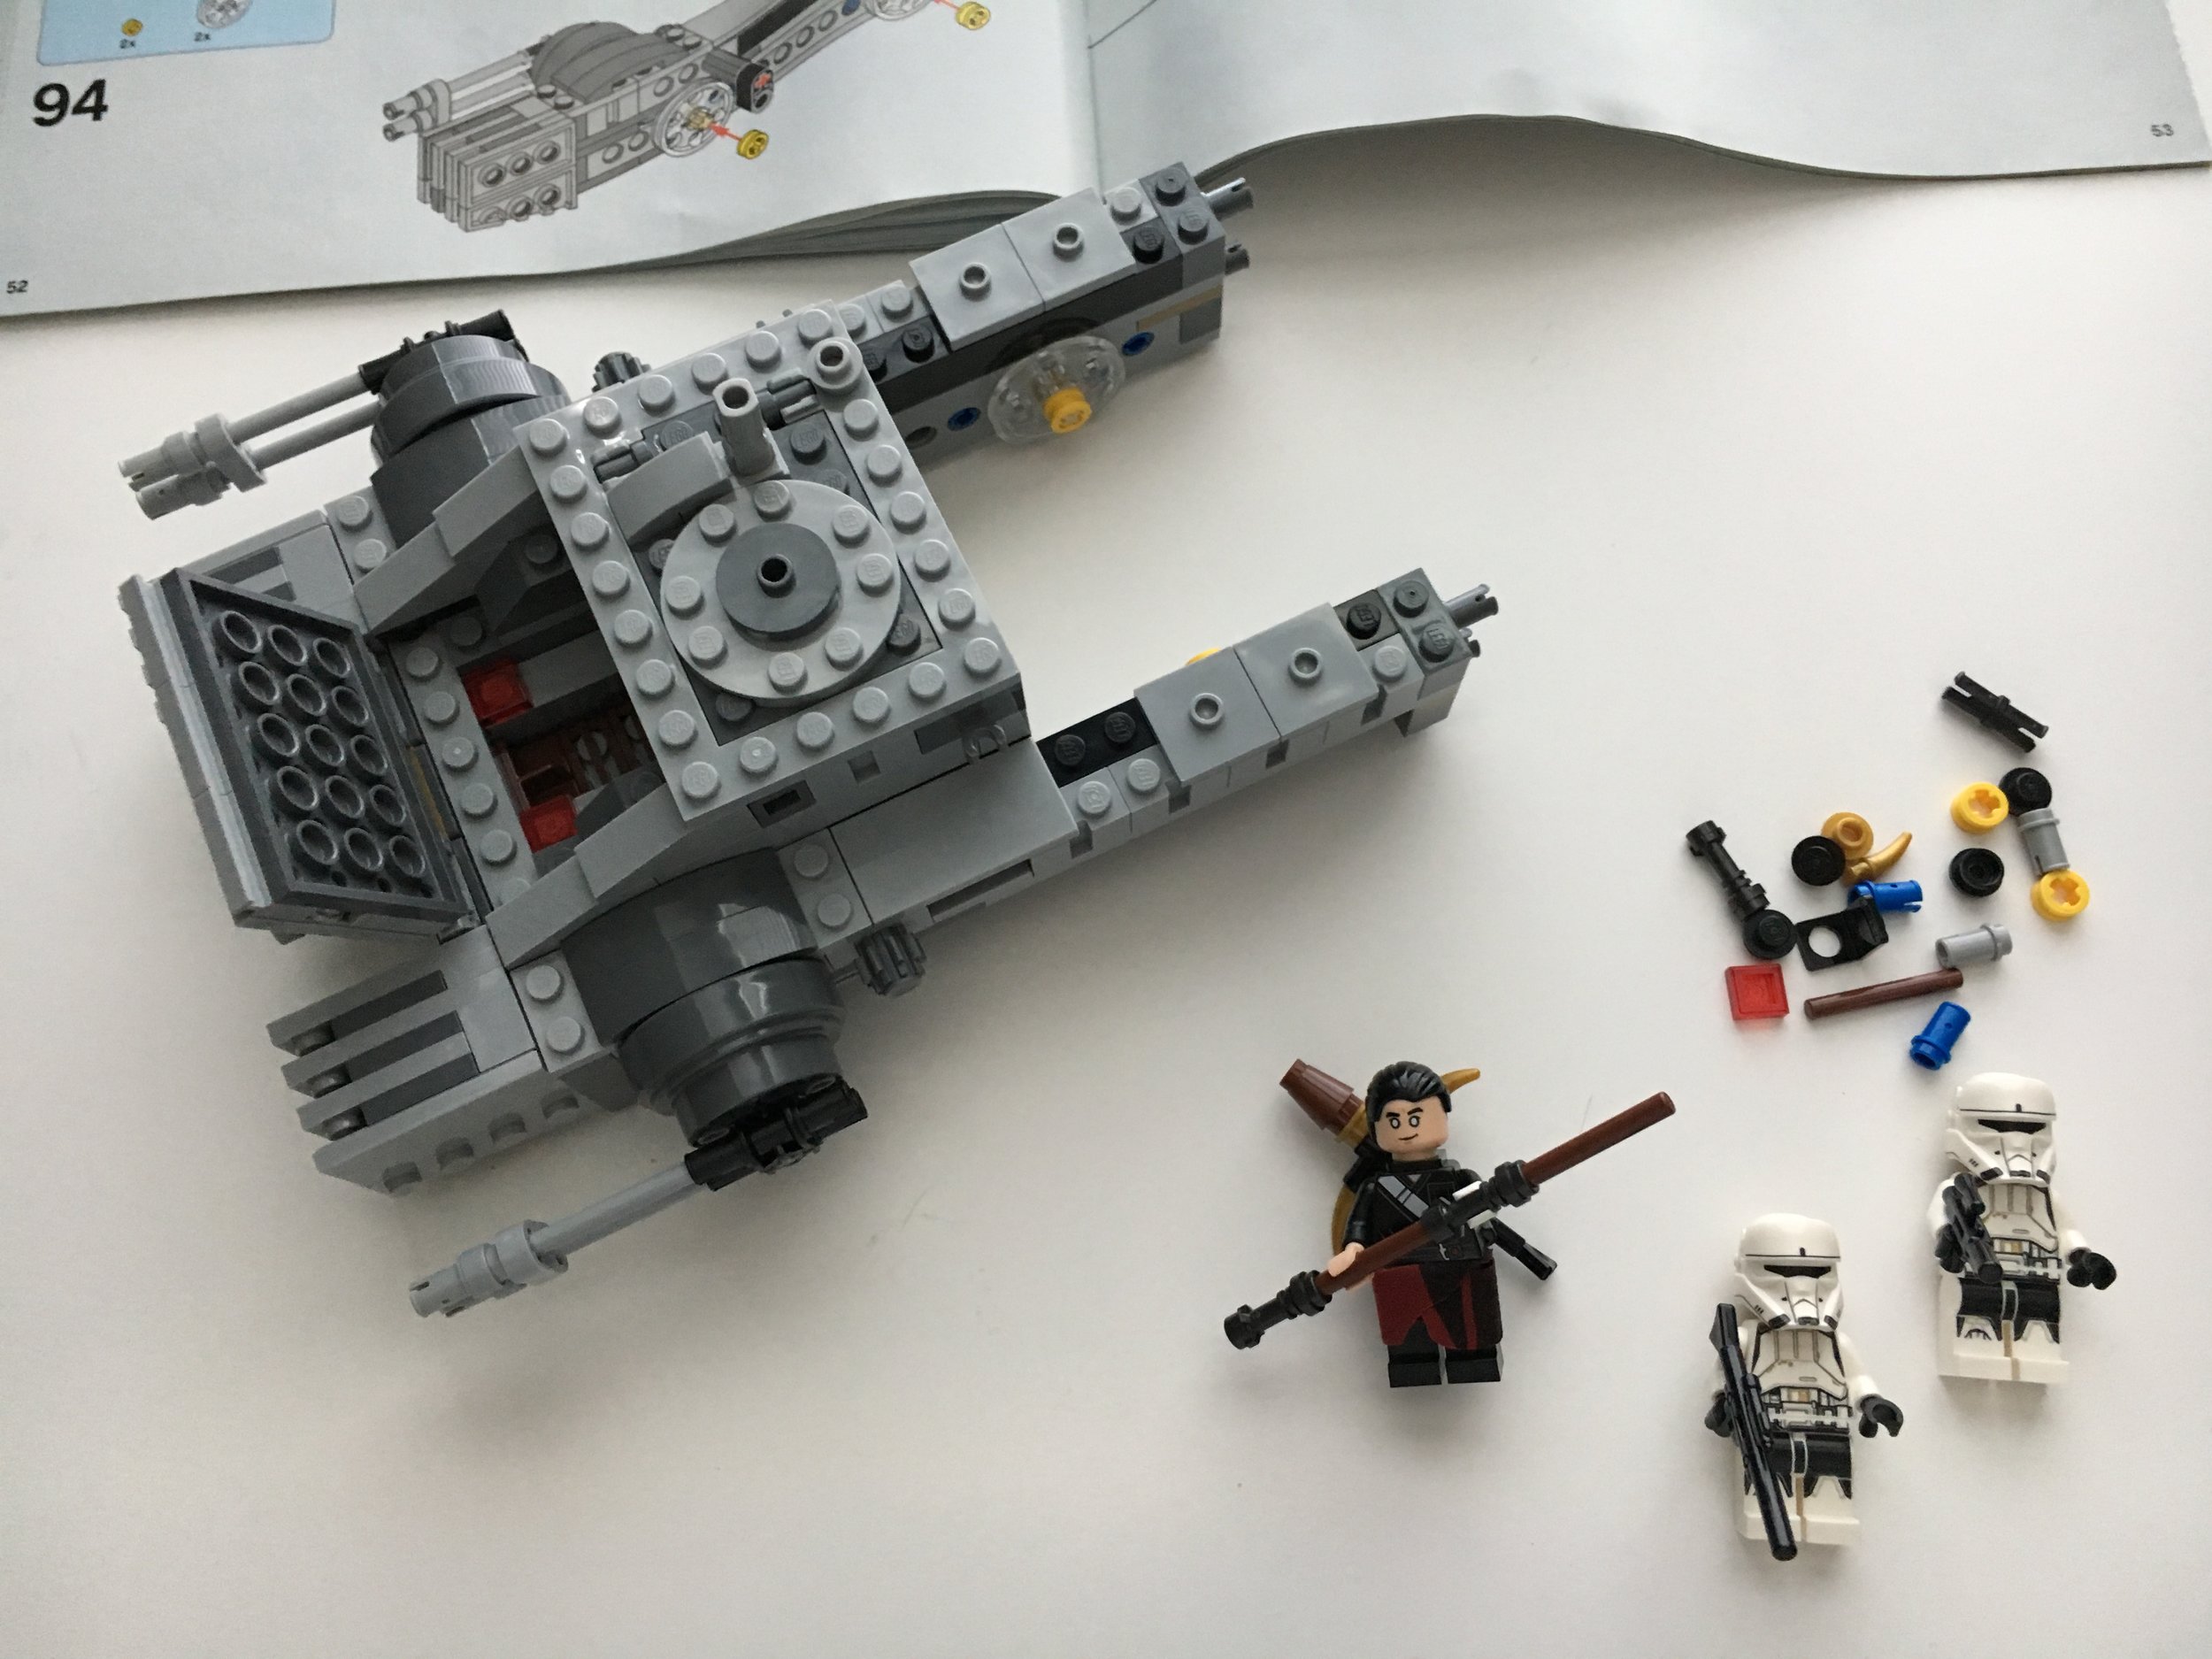
The next bag has the 2 hovertank troopers and it completes the right side so you now can move the vehicle around on the wheels.  You will also notice that the excess parts pile is growing.


The fourth bag finishes up the set.  It includes the back cargo area, the orange cargo case, a rifle mounted on top, and it installs the 2 plastic spring mounted shooters (what is the technical name of those?).  The shooters are activated by a Technic pin and gear attached to the outside of the hovertank on either side (which I learned on accident during assembly).

 
75152_bag4.jpg

My thoughts?  It reminds me too much of 75100 First Order Snowspeeder from "The Force Awakens."  Another "troop transporter" that "hovers" and has Technic wheels.  In terms of minifigures, you get two "storm troopers" and then it is the only set (so far) with Chirrut Îmwe.  Not super impressive, but if you want the minifigs and can pick the set up at a discount, you get them with a decent amount of parts considering the price.  My overall opinion is not to buy it.  It is really not an impressive set.  What are your thoughts?

Set Review - #70903 - The Riddler Riddle Racer - The LEGO Batman Movie

According to Google, The LEGO Batman Movie was released on 10 February 2017 (in the USA).  The sets came out on 2 January 2017 in the USA. I'm finally getting around to reviewing one of them.  I recently picked up the Riddler Riddle Racer at Amazon.com for 20% off. It is regularly $29.99 and I got it for $23.99 (as of today 10 June 2017, it is still 20% off there).  The set contains 254 pieces and 5 minifigures.  The regular price makes it $0.118 per piece.  The 20% off price is $0.094.  I realize it is a licensed set, but seems rather high to me even at the 20% off price.  

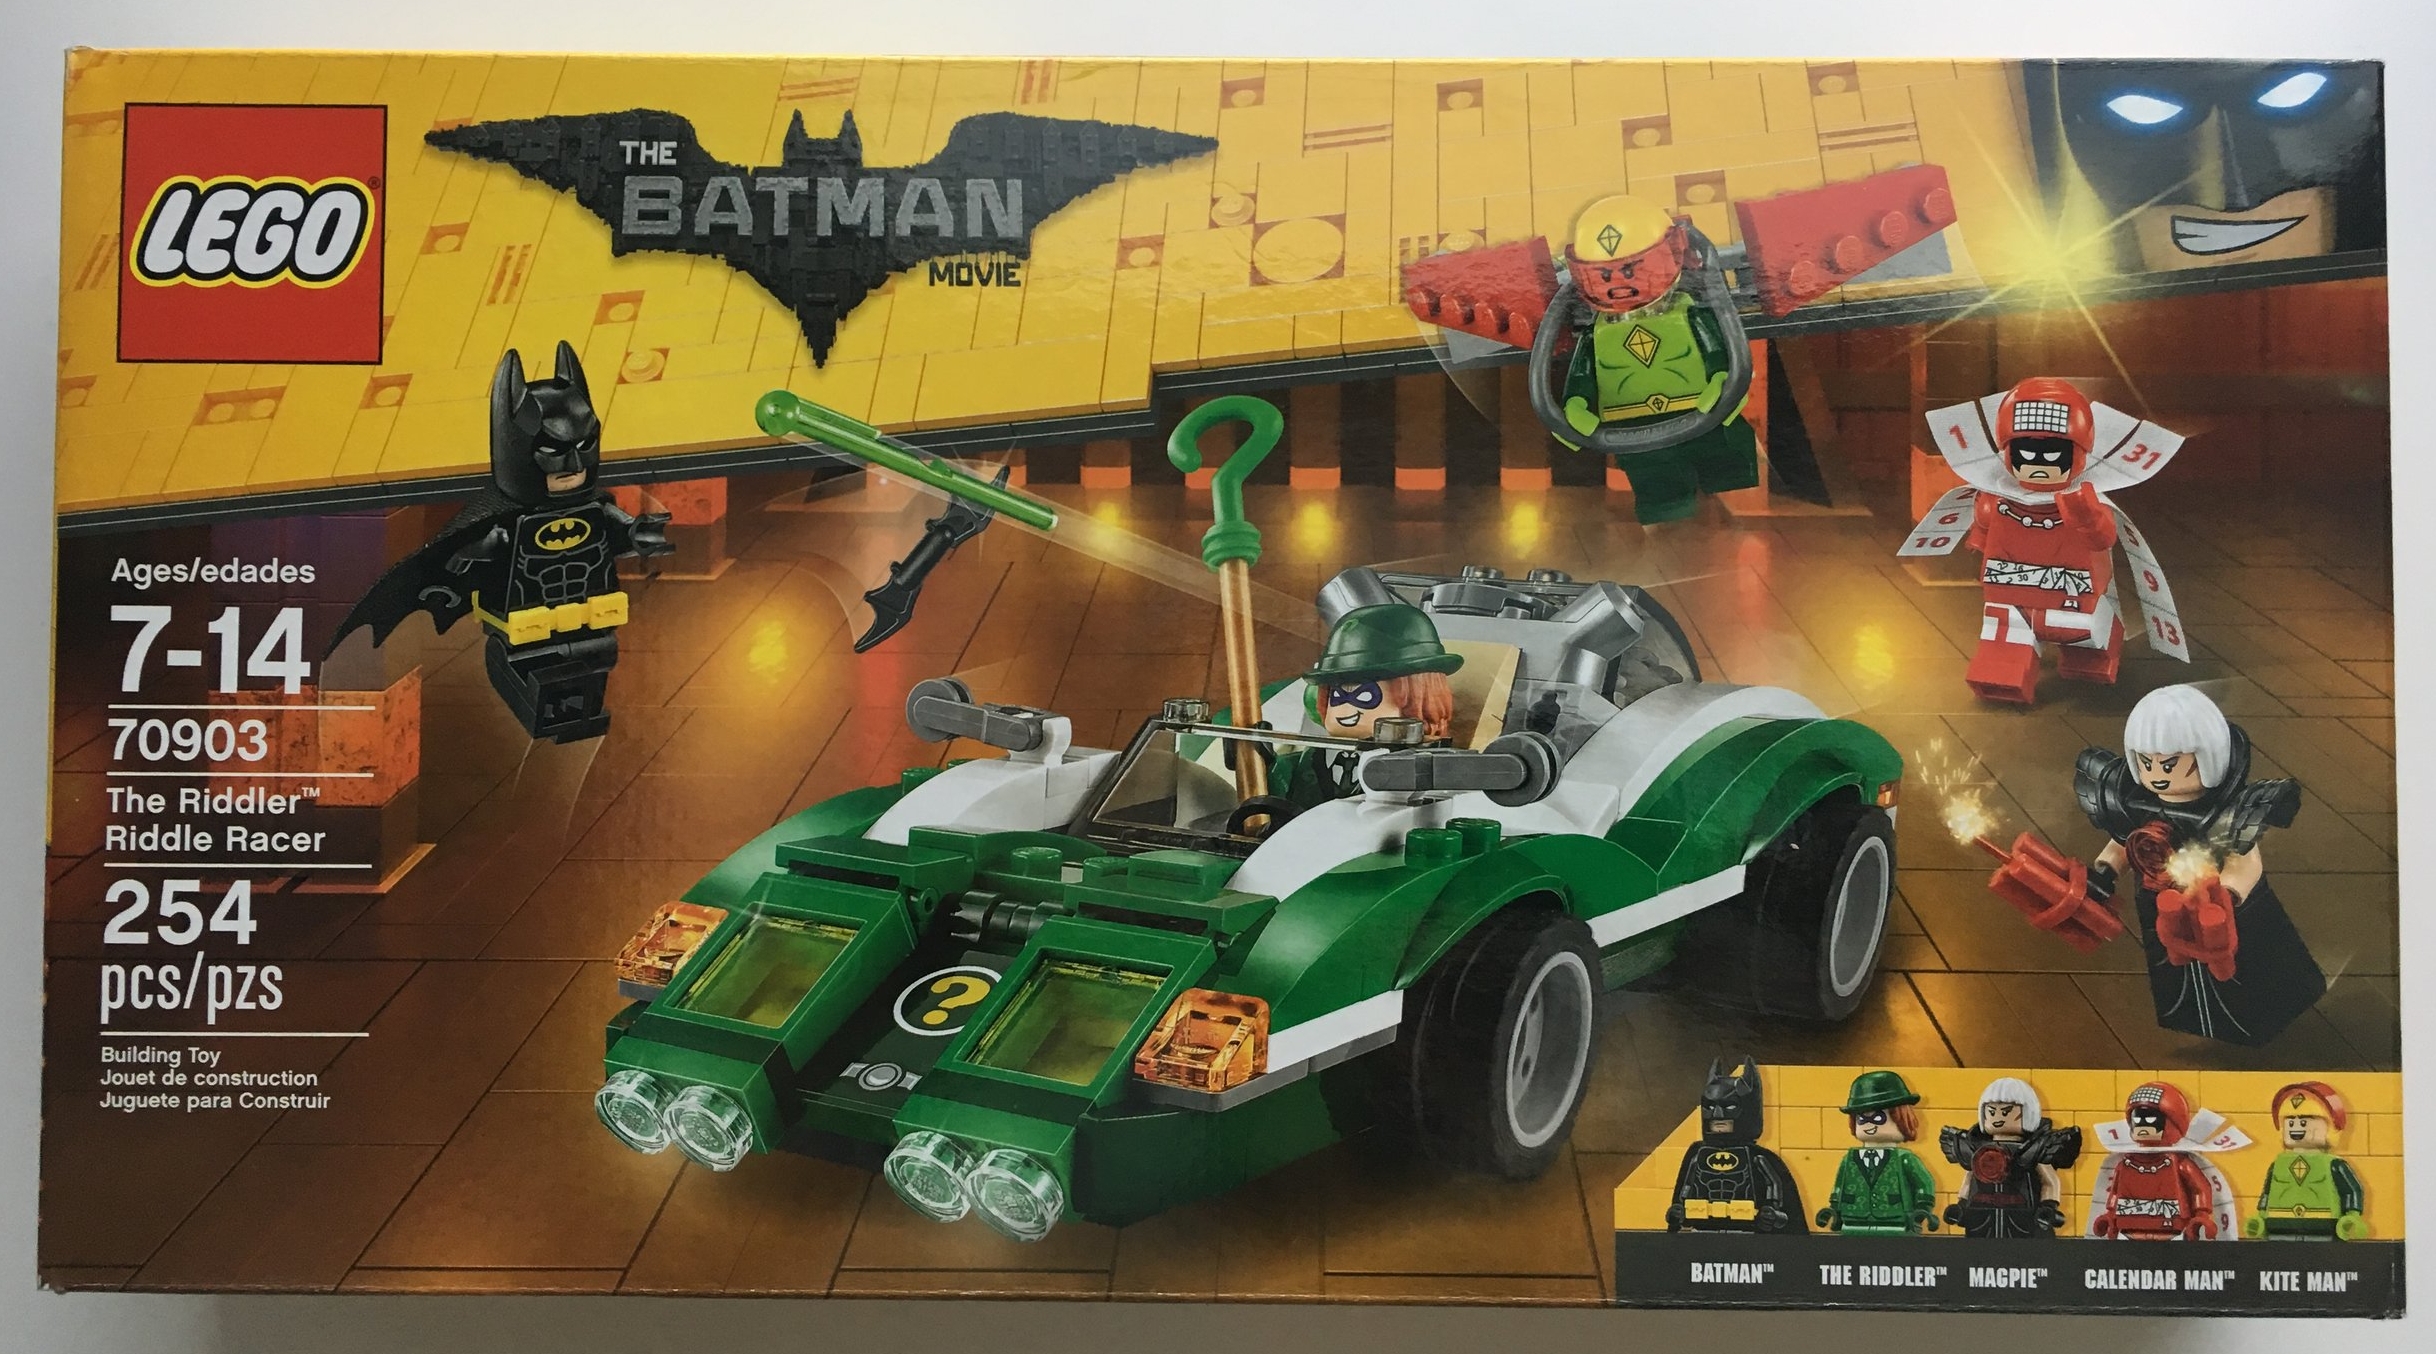
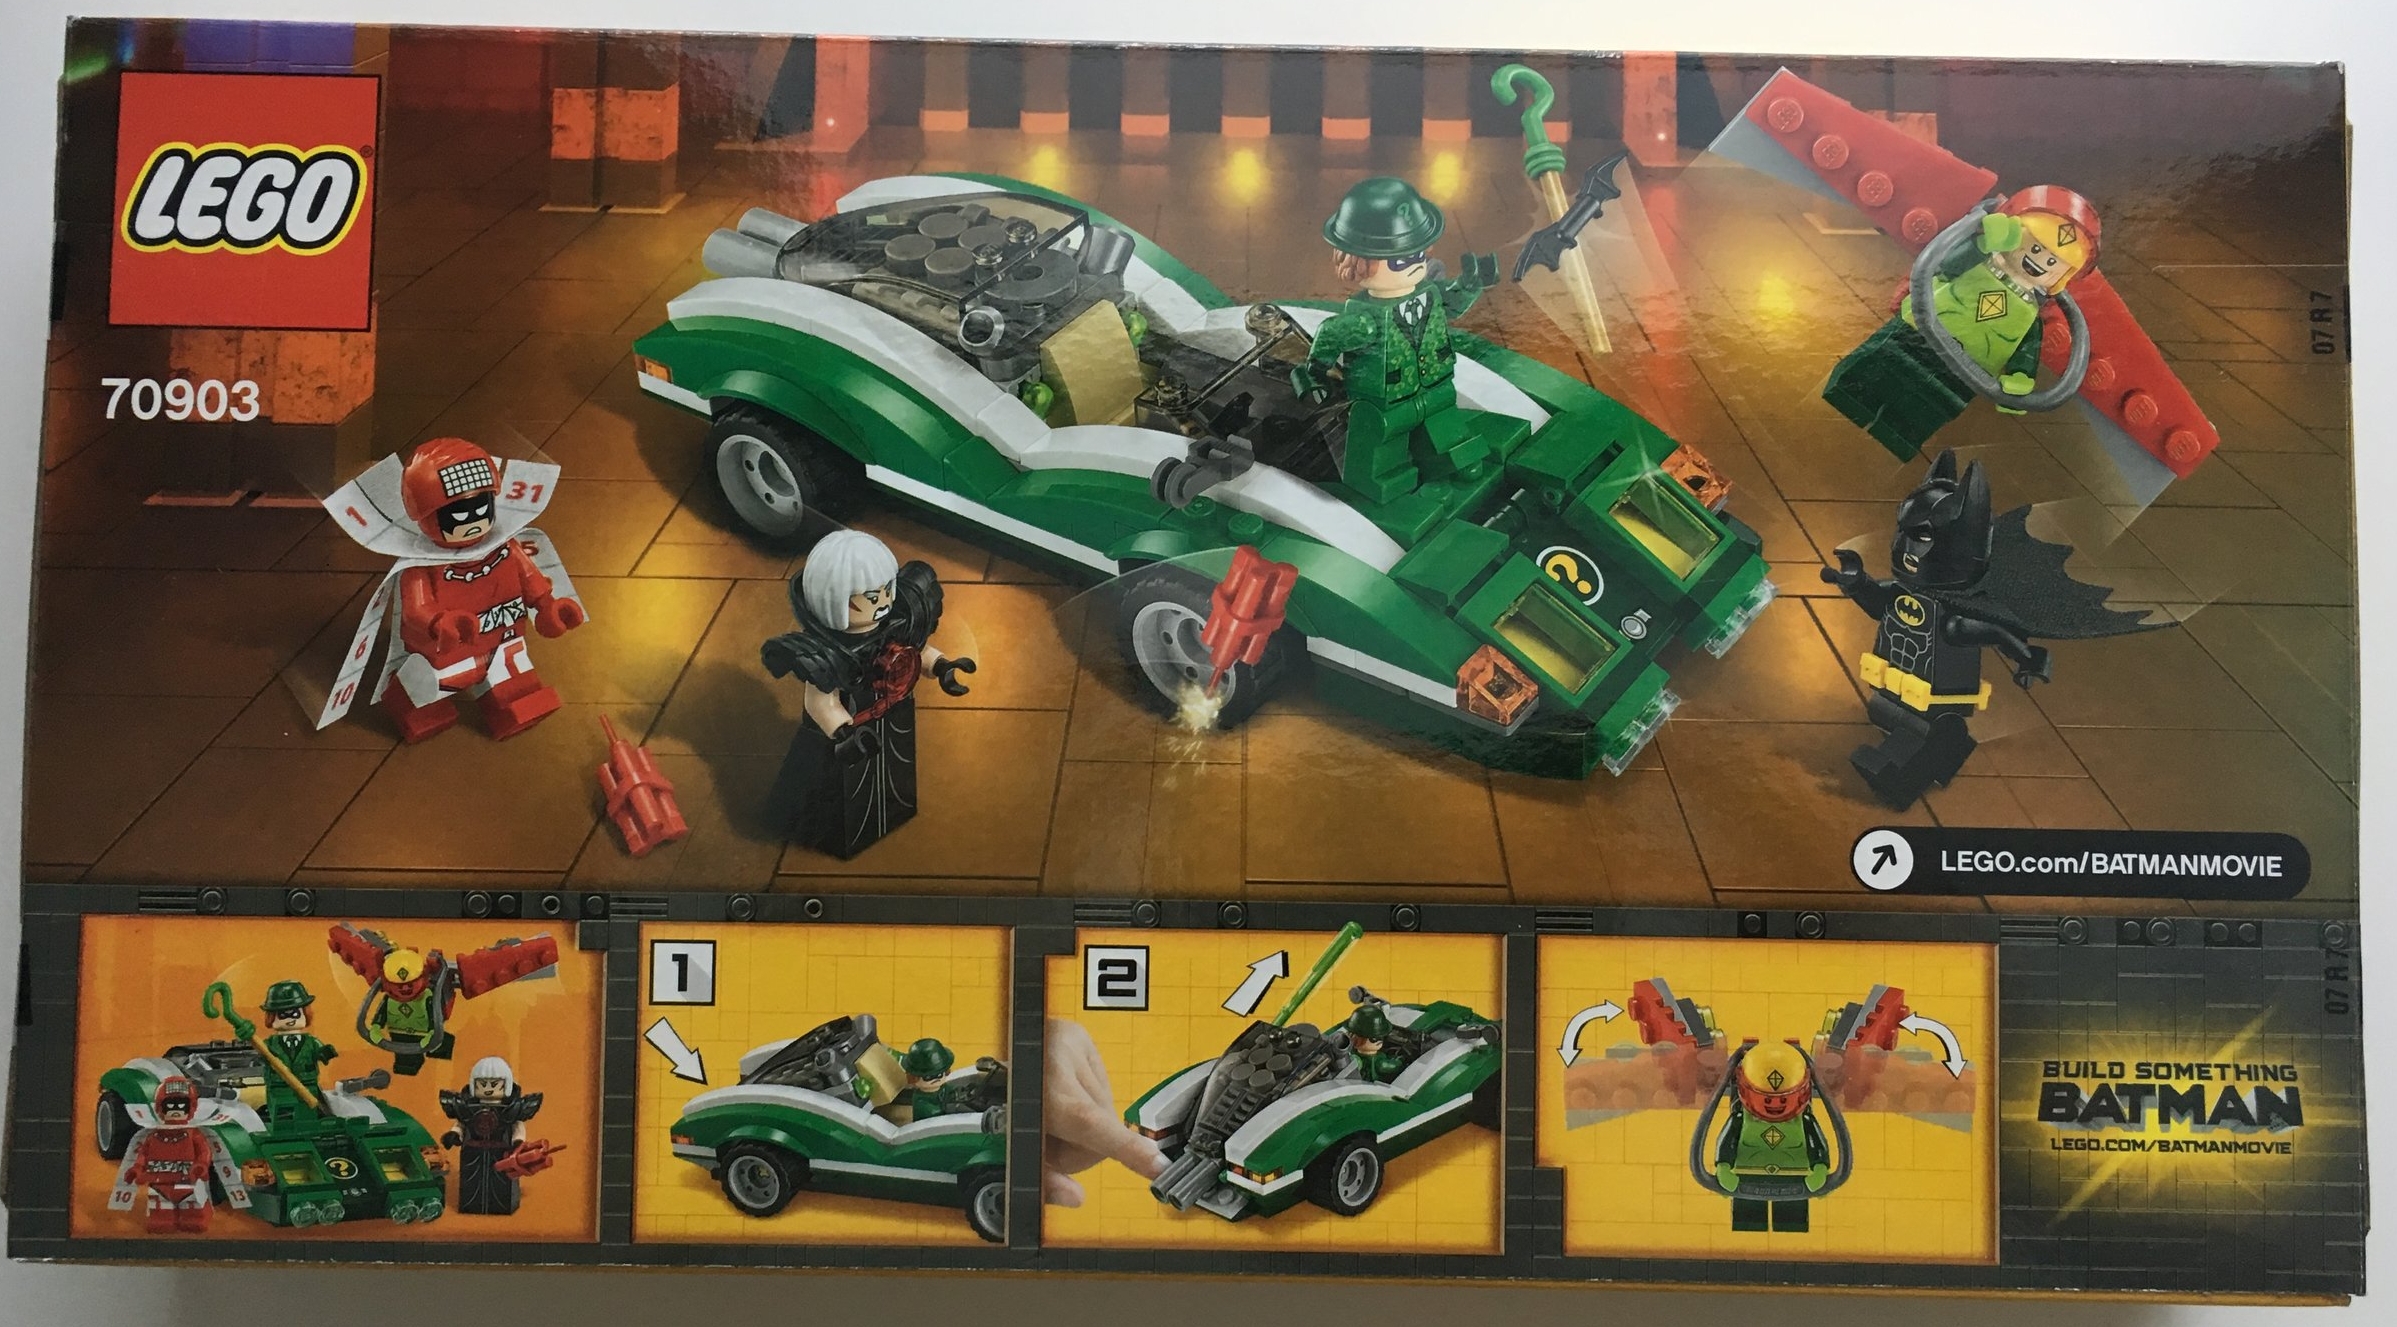
Here is the box.  The front has the movie logo, a picture of the set, the minifigures, and then the minifigures listed on the bottom.  The back shows the set again and then some of the play features to include the spring loaded "shooter" part.

70903_box_front.jpg
70903_box_back.jpg

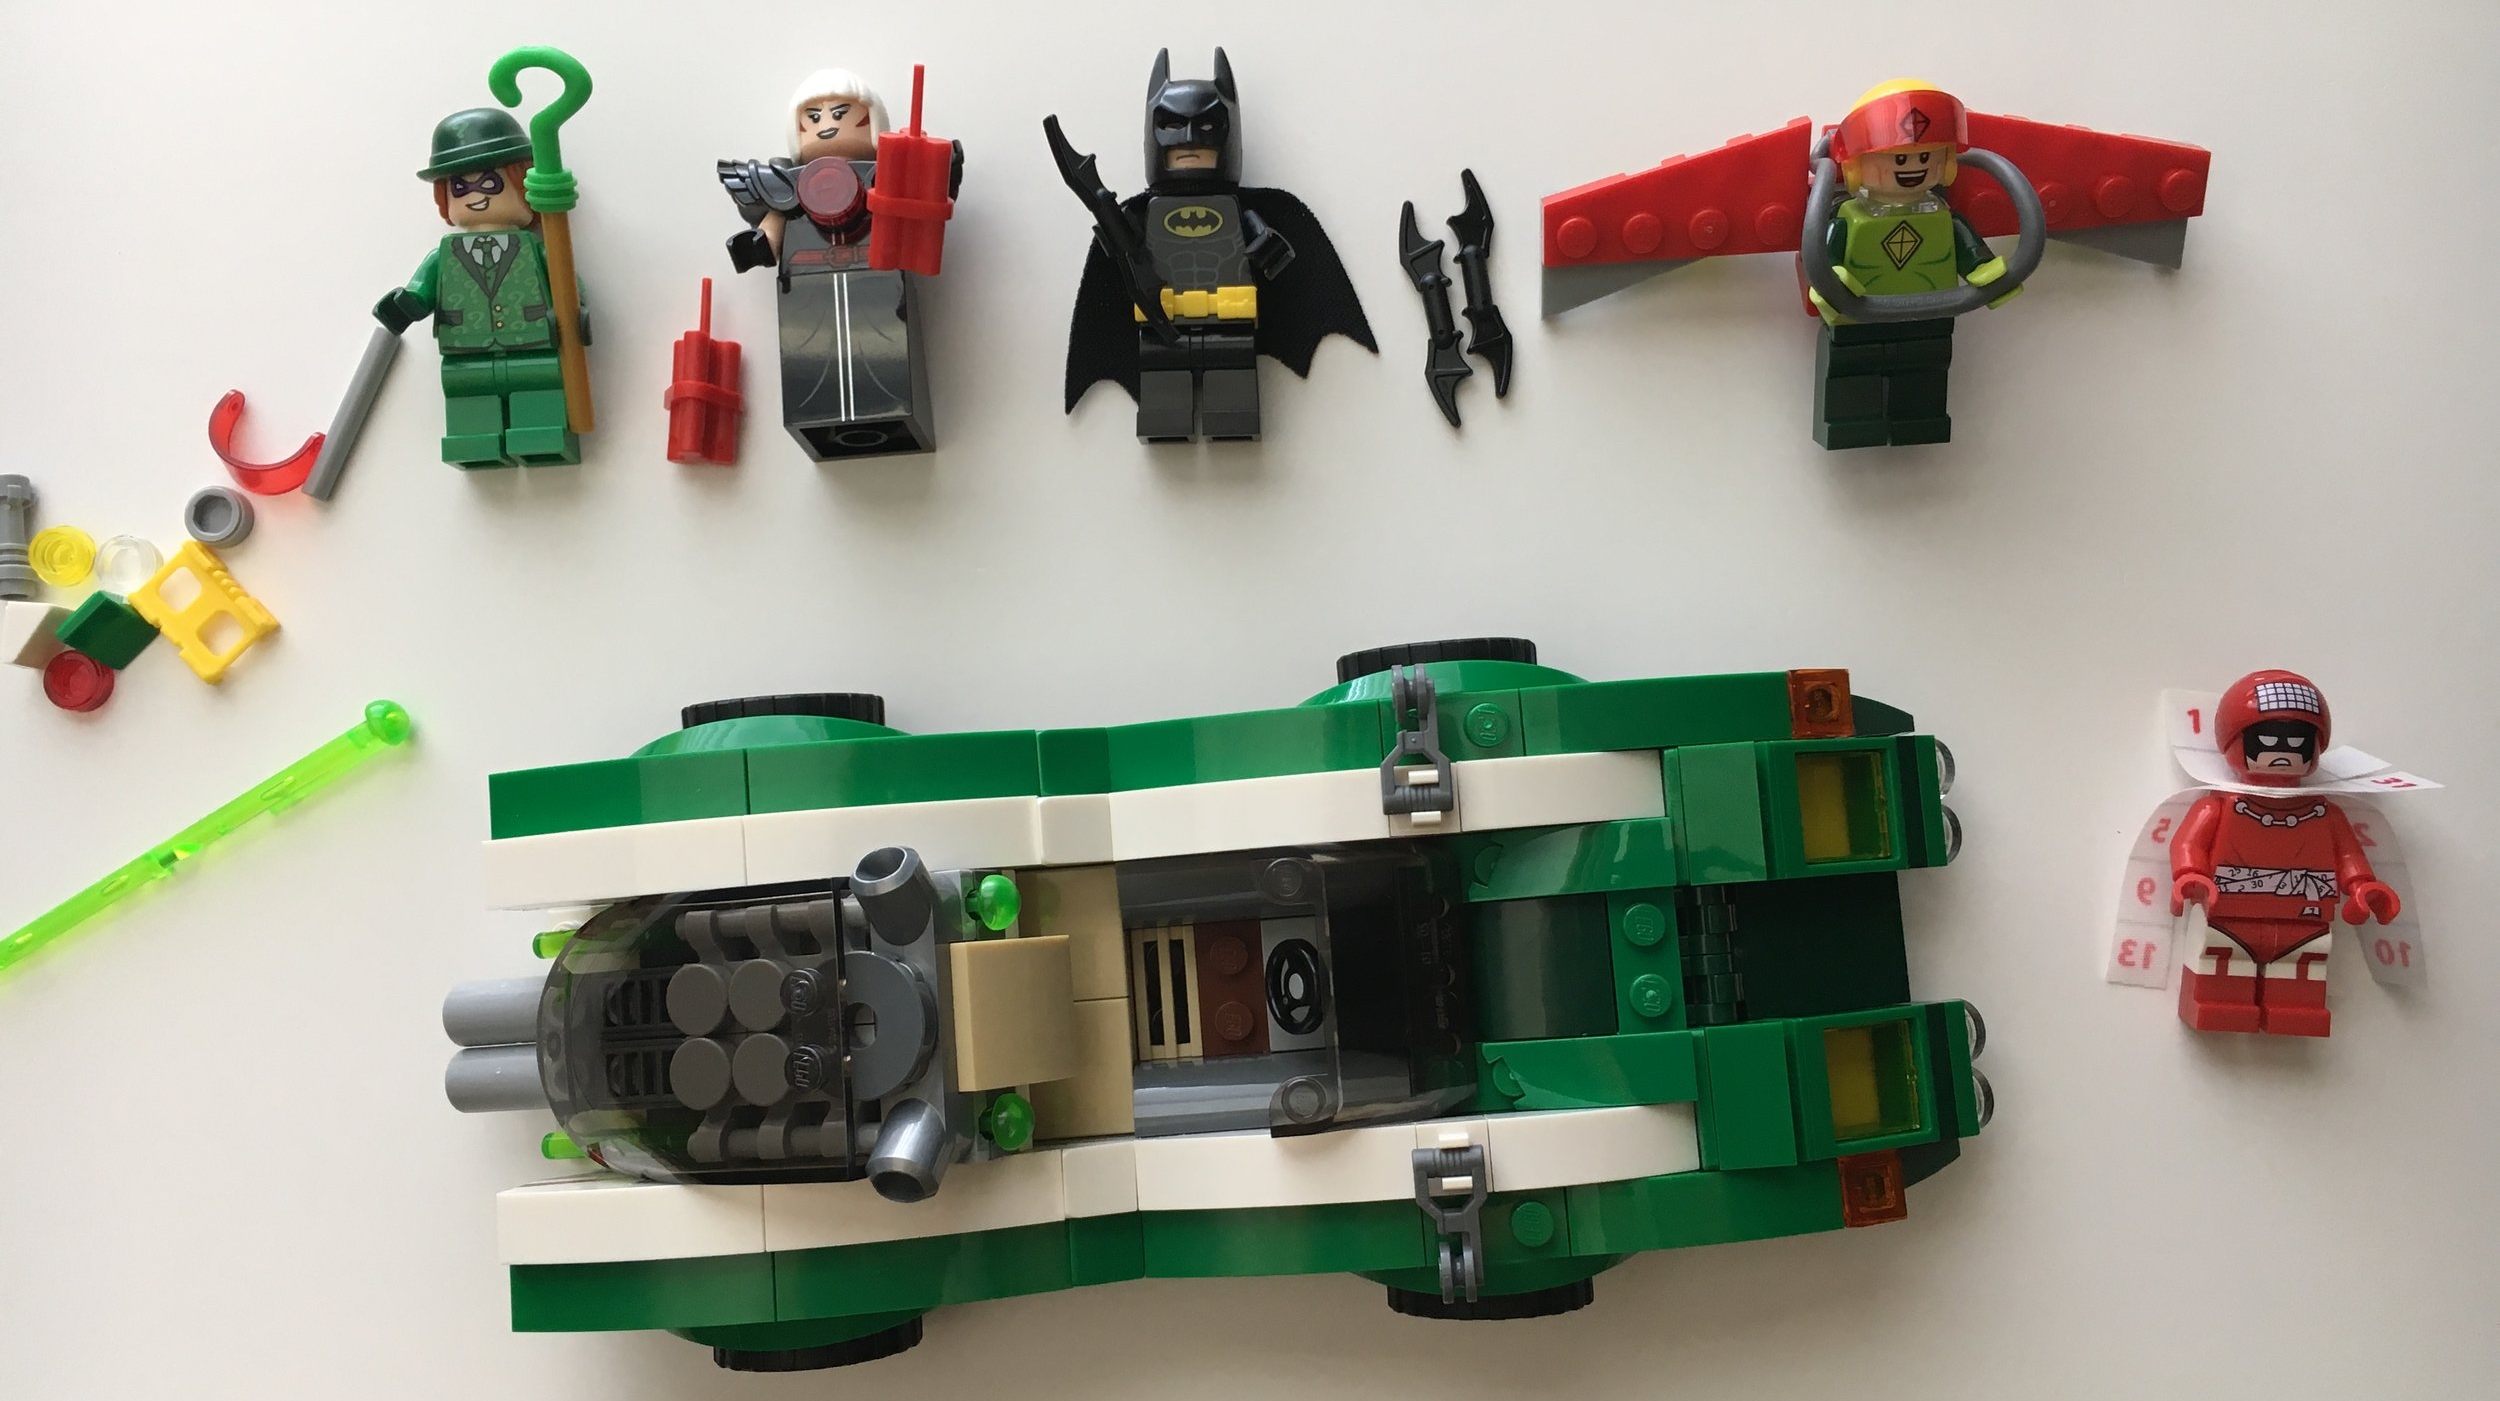
The contents are very simple for this set.  There are 2 parts bags, an instruction booklet (crammed into the box), a small sticker sheet with 2 stickers, and a 6x16 black plate which is the base of the vehicle.

70903_contents.jpg

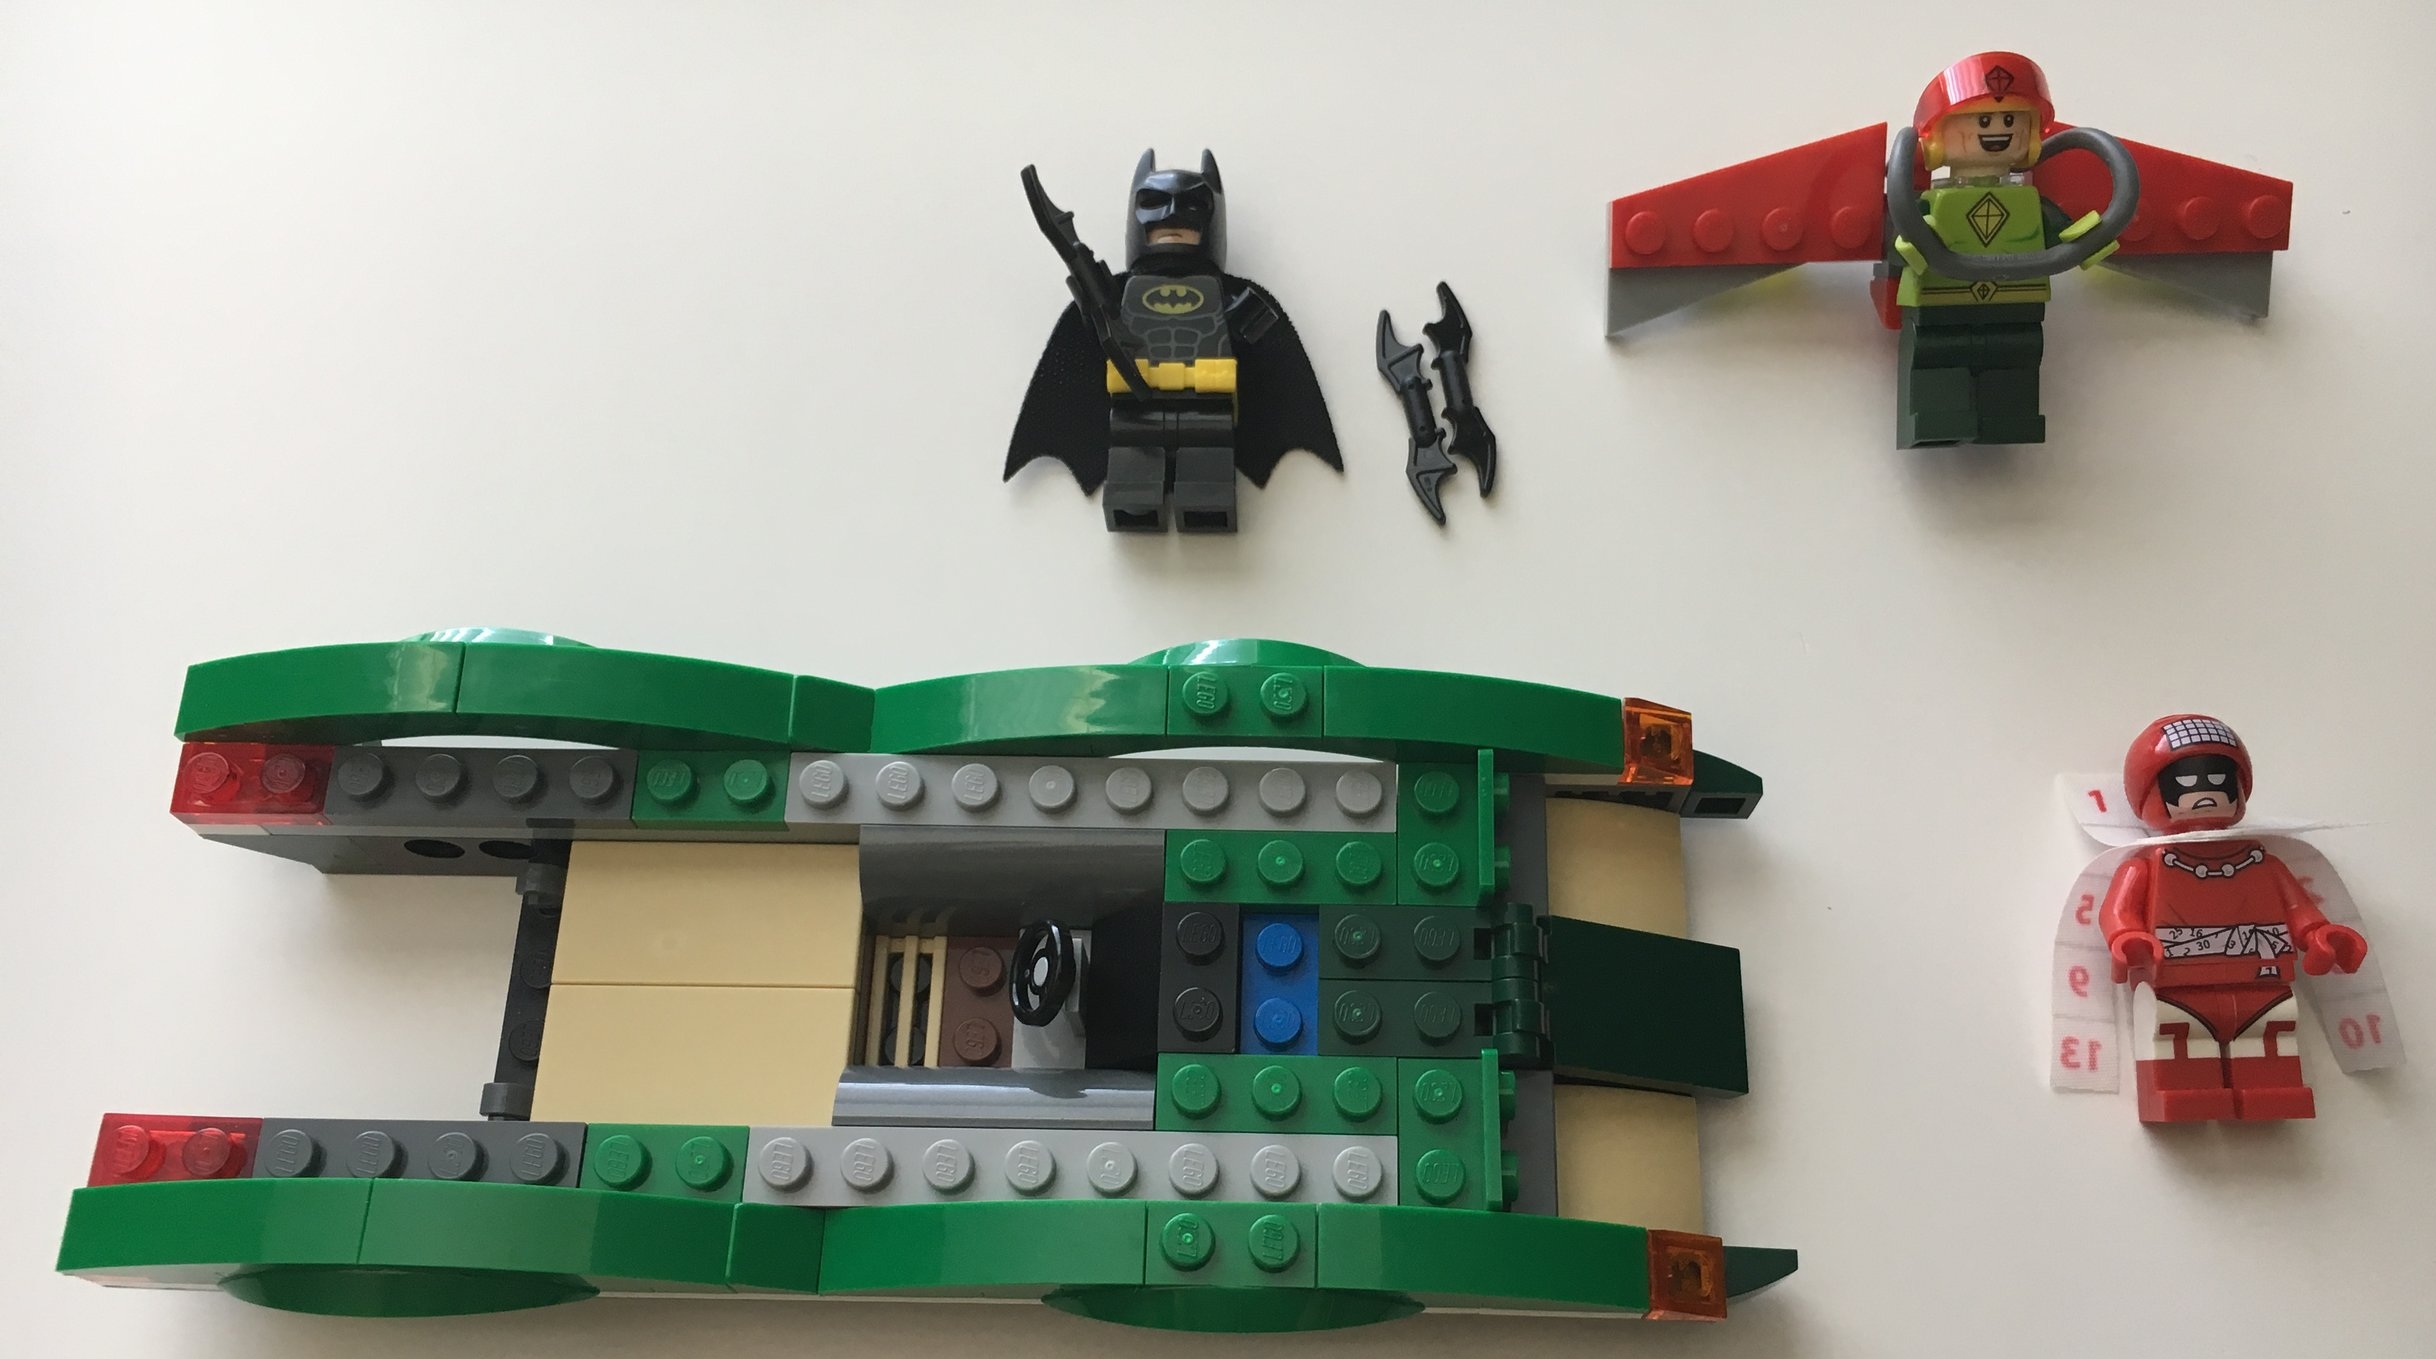
The build is rather simple.  The first bag starts with Calendar Man, Kite Man, and Batman.  Kite Man comes with an extra visor.  Batman comes with 3 batarangs and an extra belt.  Then it goes to the start of the vehicle.  For this review, I decided against putting the stickers on.  It didn't take much away from the model in my opinion.  

70903_build1.jpg

The second bag has the Riddler and Magpie.  Magpie comes with 2 dynamite stick packs.  It also completes the build.

70903_build2.jpg

The vehicle uses a number of great green and dark green pieces that could be used elsewhere.  The green window frames with the yellow glass for headlights is awesome too and could come in handy for a MOCs.

The build itself is simple.  It is mostly studs on top, but that gets the details across.  The part used for the mirrors is the first time I have seen it that way.  In the past I think I've only seen this part as a minifigure accessory to go down a zip line.    

The engine compartment tilts up so you can shoot the translucent green poles out of the spring brick (I'm sure there is a technical term for all of these, but you get what I'm talking about... someone please correct me).  

70903_vehicle.jpg

Overall... I think this set is a minfig pack.  You get 5 minifigures from the movie in one.  The car and the parts are okay, but nothing super amazing or out of the ordinary.  My recommendation is to not buy unless you really want the minifigures.  If you want to get it, definitely look for it at a discount on amazon.com or Walmart.  My guess is around Christmas time these sets will be discounted even more so if you can wait, definitely do it.

Campaign to Support Brick Dreams - 1 June to 31 December 2017

brick_dreams.jpg

If you've never heard of Bricks for Bricks before (we're small... it's okay if you haven't), we are a for-profit business focused on giving back a portion of our profits to those in need.  We focus our efforts on education and/or children whenever possible.  You can see some of our past campaigns here.  Now that we just finished our move from Florida to Alabama, it's time to kick off another campaign to help those in need.  

From 1 June 2017 to 31 December 2017, 15% of our profits will go to Brick Dreams.  Brick Dreams was started in 2012 by a high school student in California.  The goal is to give Lego bricks to kids who are victims of domestic violence.  The group gives these kids tennis ball cans full of bricks.  Knowing that these kids often have to move around a lot, the container holds a lot of bricks and has a top so it is easy to move around with it.  The founder is off in college now, but he's handed it off to 2 boys who are both 12.  You can check out their site to see some of the things they've done and what they are up to now.

Bricks for Bricks will use 15% of our profits to send some bricks to Brick Dreams.  Thanks for your support!

Set Review - #71018 - Series 17 Collectible Minifigures

After the LEGO Batman Movie collectible minifigures, it was good to get back to another series of original designed collectible minifigures.  Series 17 was released on 1 May 2017.  Oddly enough on the first day of the release, you could only purchase 5 at a time.  The next day you could purchase up to 32.  The price has held at $3.99 for a while now (I believe Simpsons Series 1 was the last set at the $2.99 price point).  This series contains 16 minfigures like the previous series versus 20 from Batman and 18 from Disney.  So let's get into the review of the minifigures.

professional_surfer.jpg

I believe the last male surfer minifigure was from series 2.  This one has a wet suit, some facial hair, and a good blond hair piece for his head.  To me what stands out for this figure is the board.  The shark mouth on the board is an awesome design in my opinion.  It's a lot better than a lot of the plain boards of the past.  For reference, the Series 2 minifigure had a board with a palm tree and sunset on it.

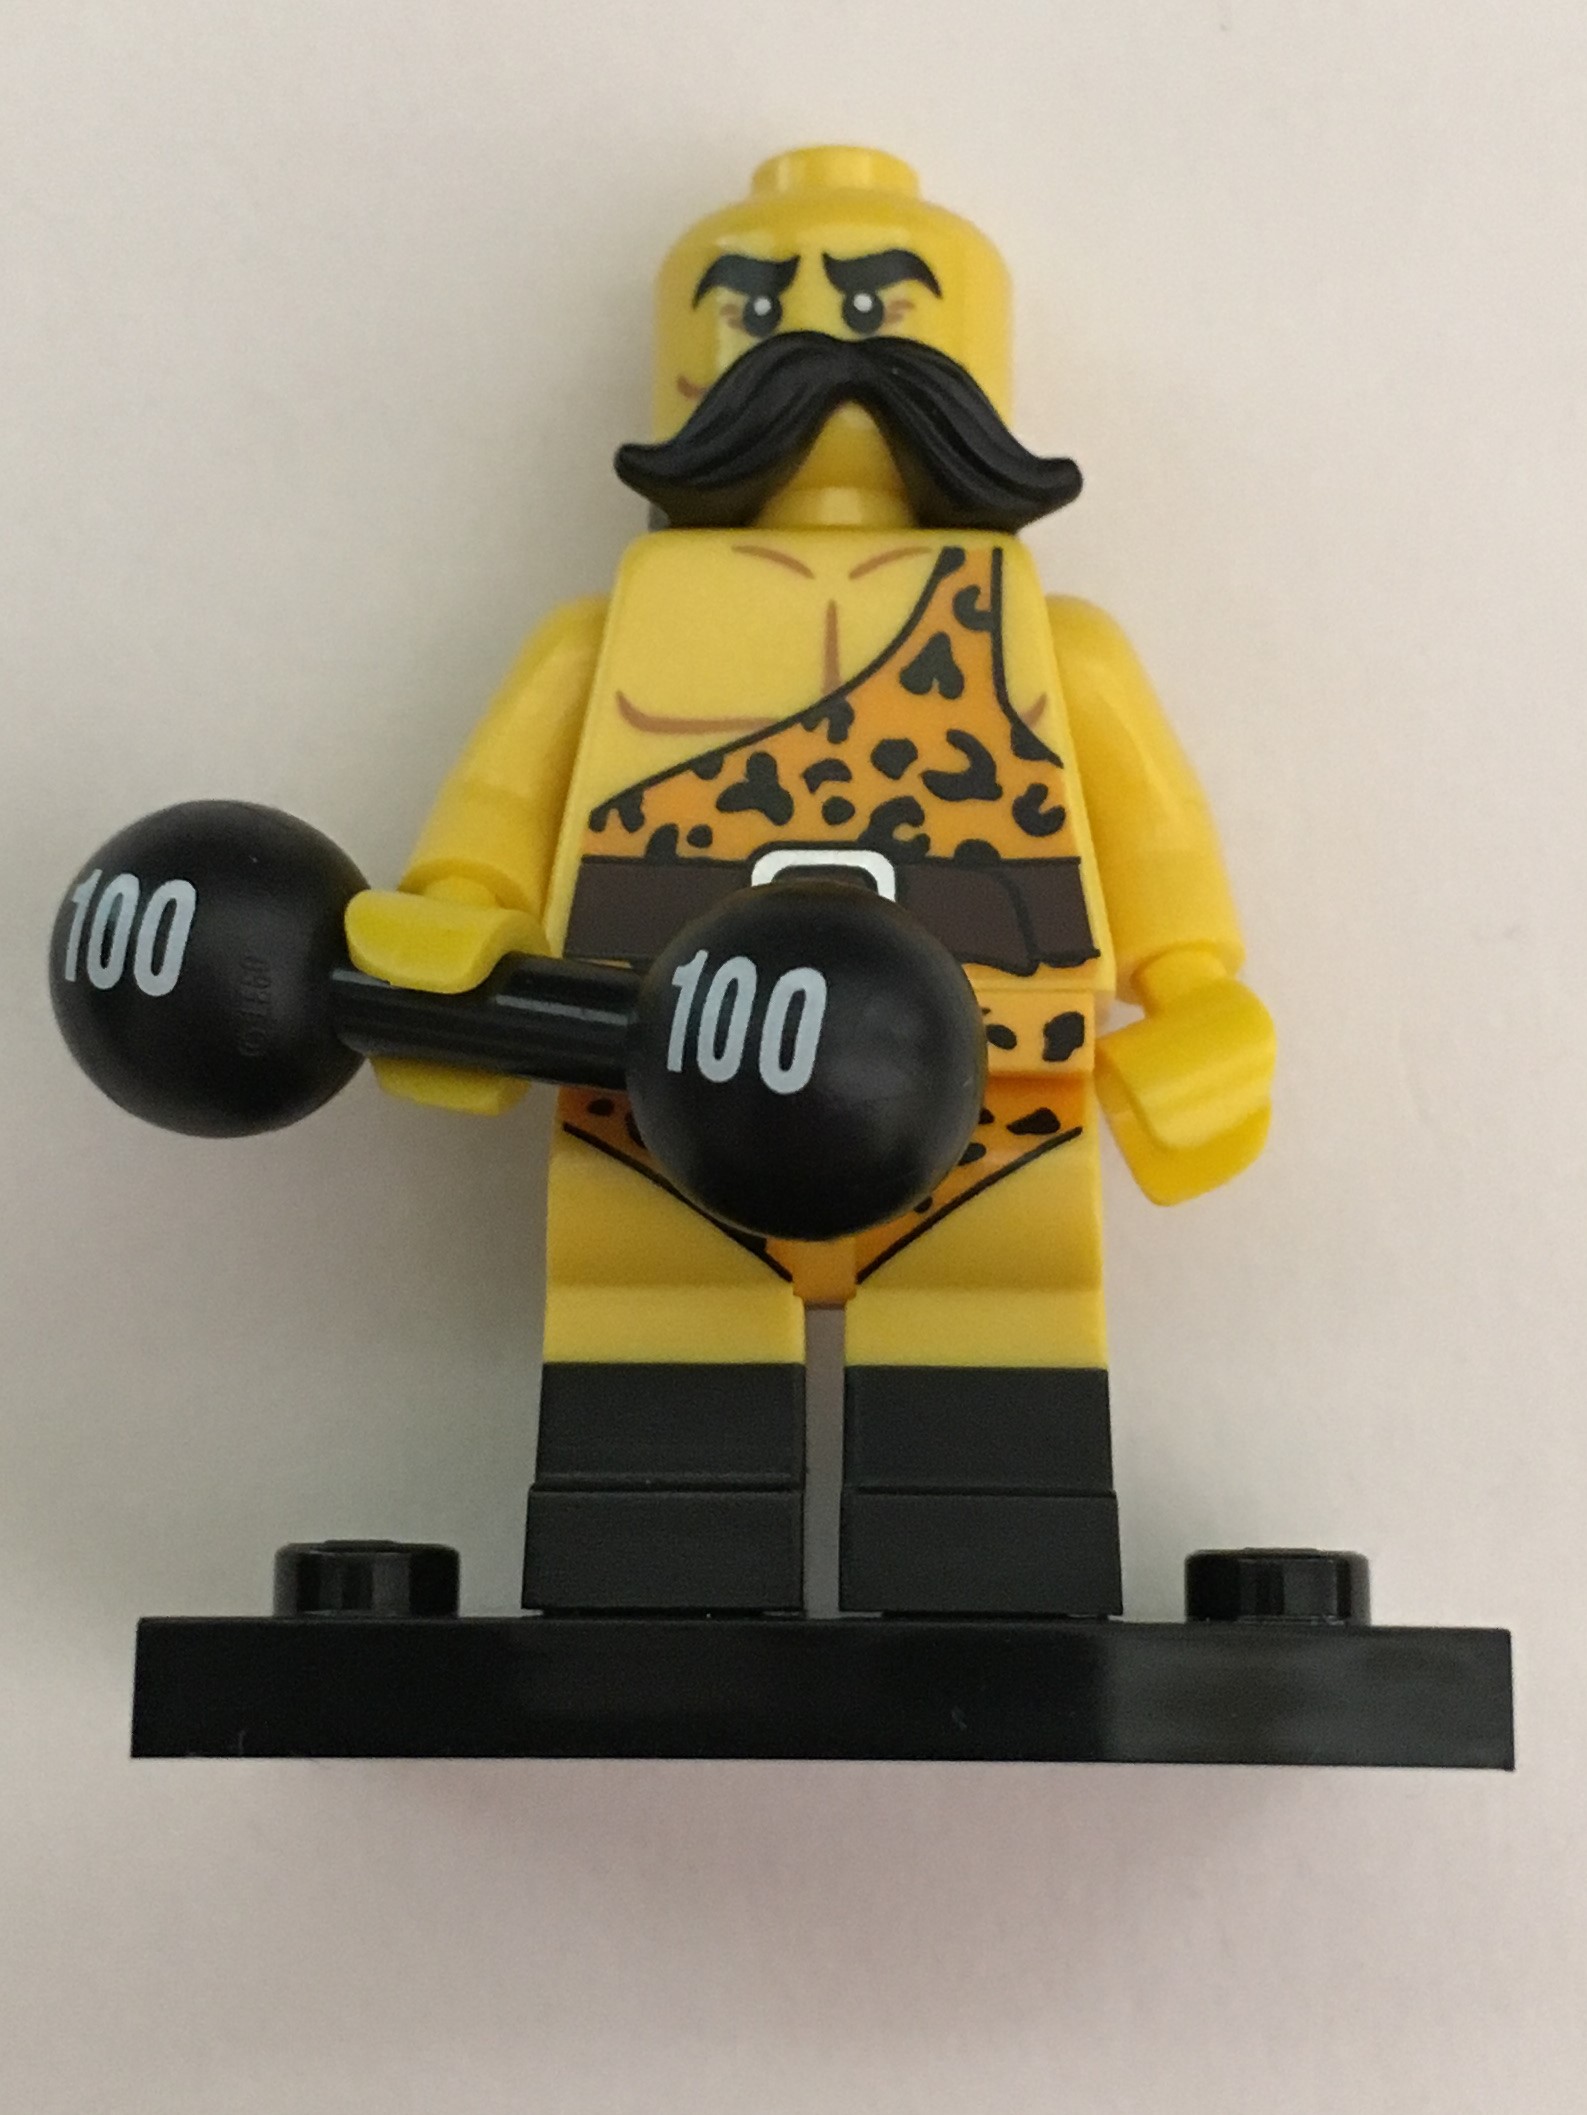
Oddly enough, the Circus Strongman has an equivalent in series 2 as well, a weightlifter.  To be fair this one has a circus theme versus the sole lifting focus as the one in series 2.  The mustache in this one is a nice touch and the weight has a 100 label on it versus the weight lifter's plain weights.

circus_strongman.jpg
gourmet_chef.jpg

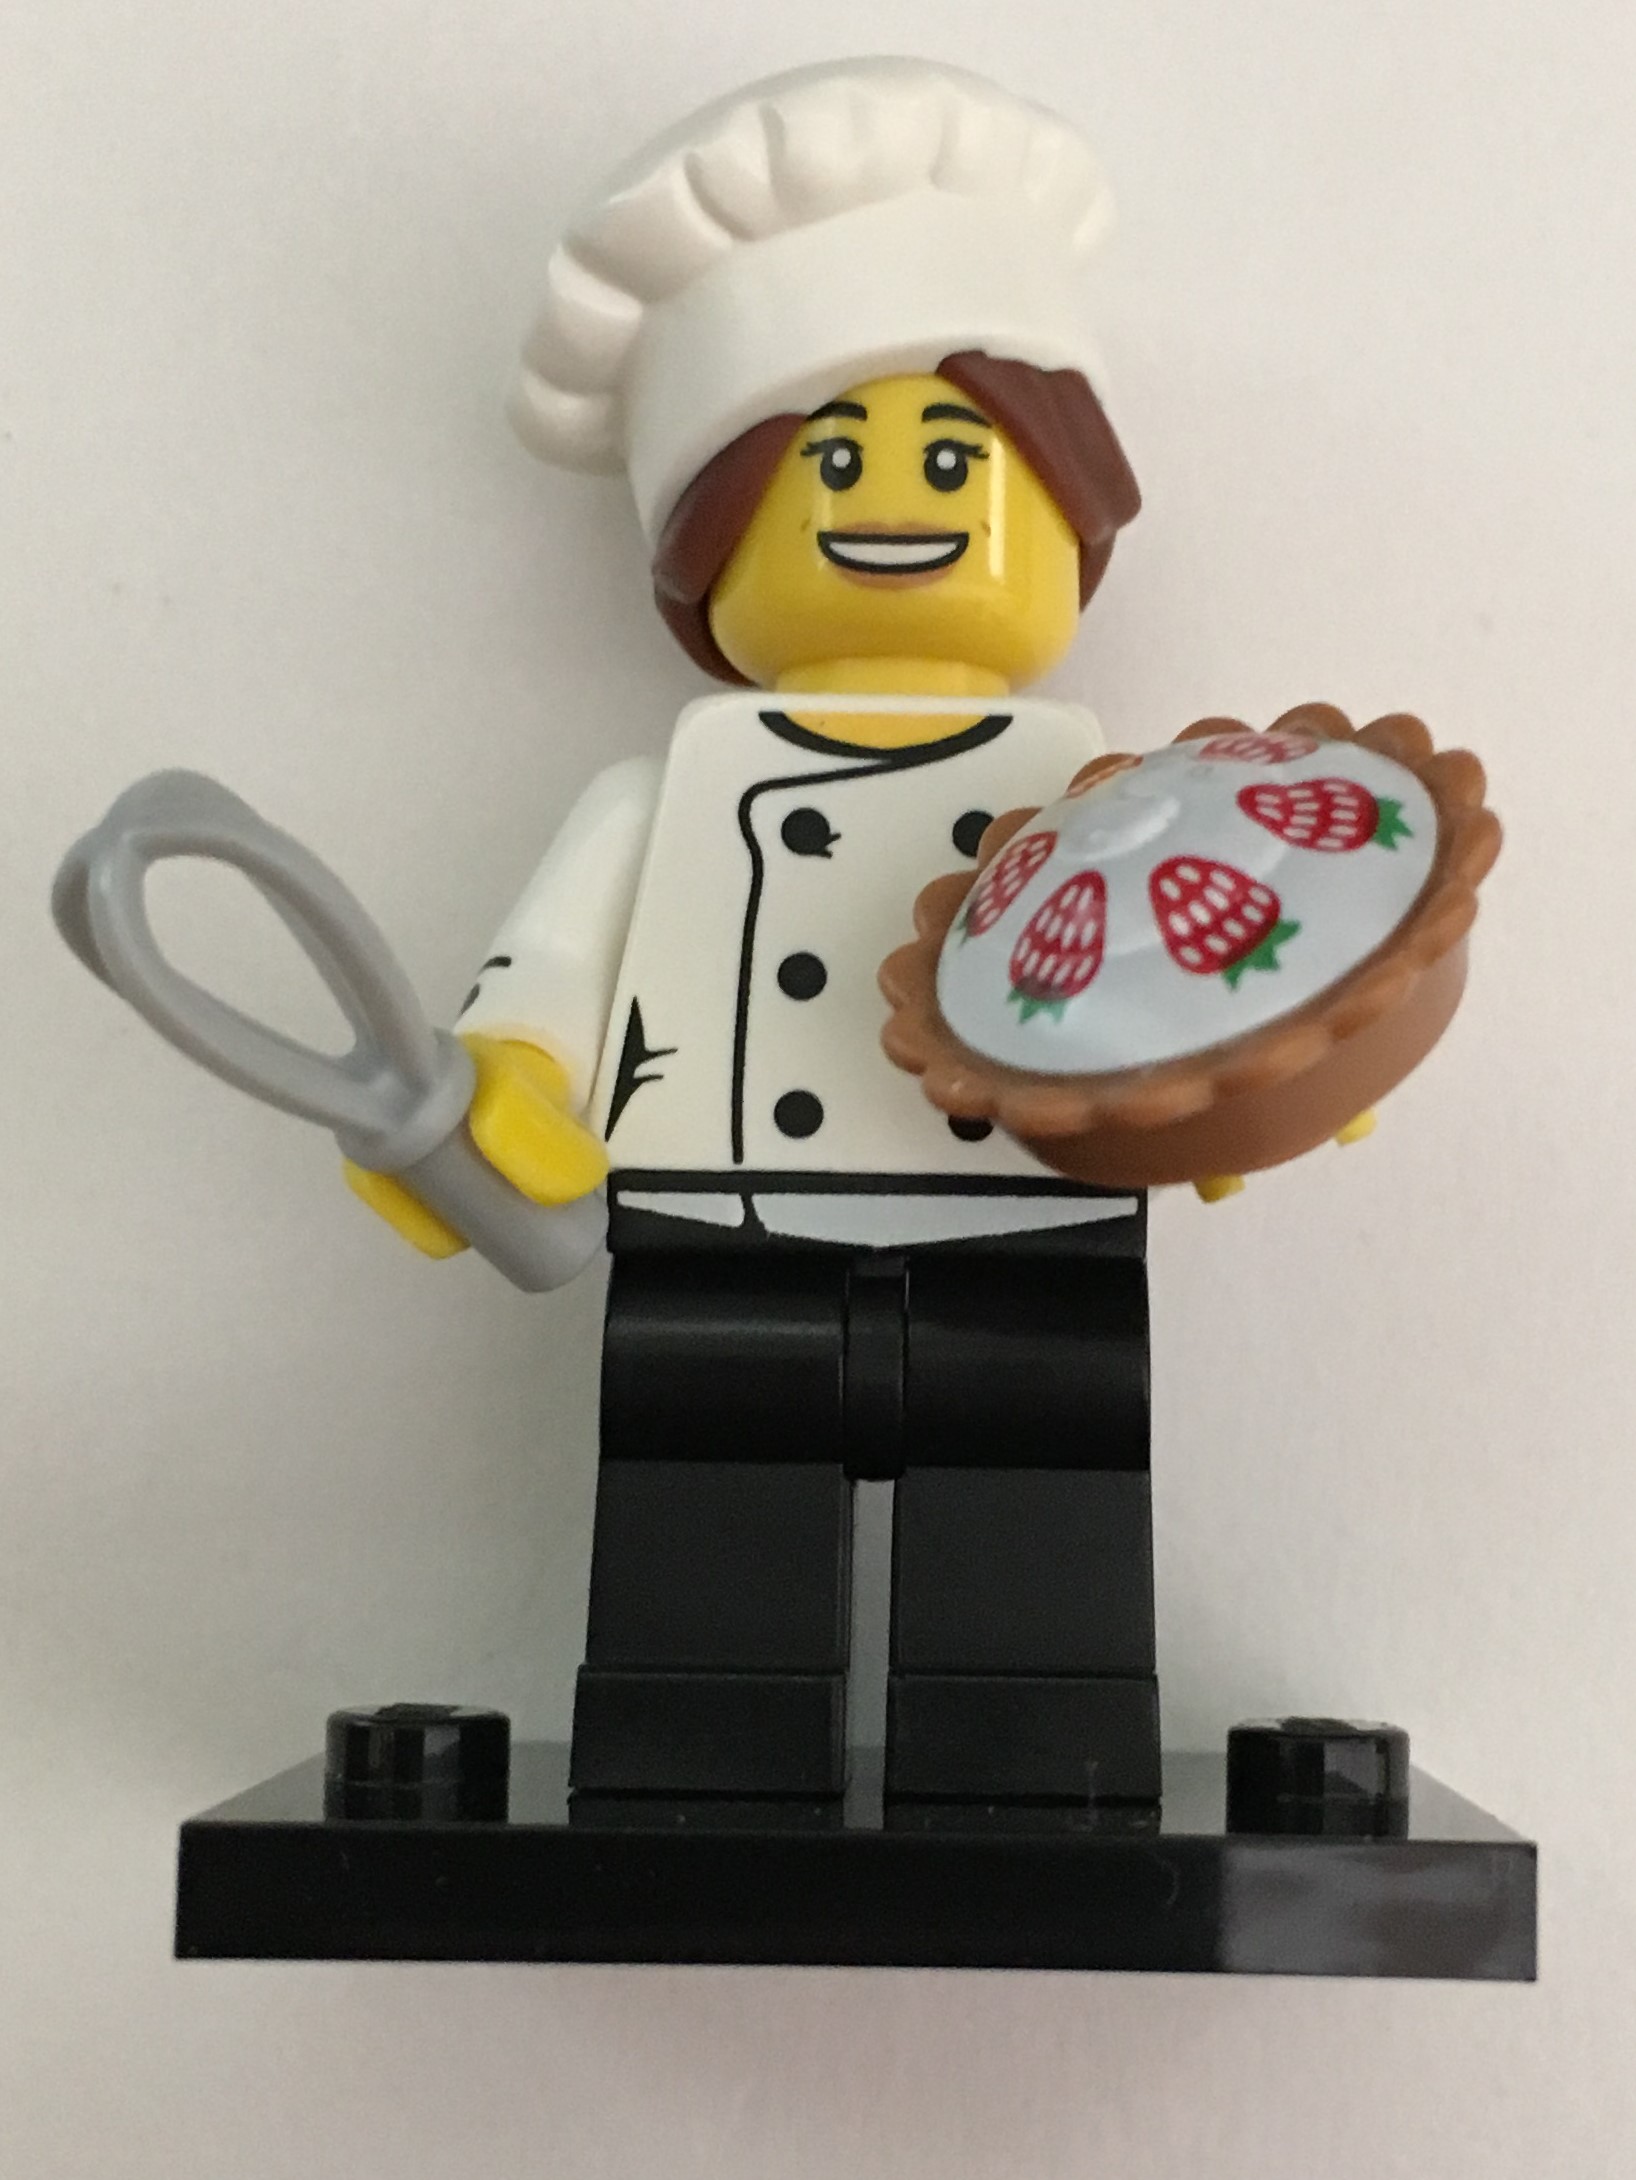
The Gourmet Chef is different from most LEGO minifigure chefs.  The hat does not rest dead center on the head as it is crooked to the side and shows the woman's hair.  Also the whisk is new (I think) and the pie has strawberries printed on top.  This one could go well with the bakery in Assembly Square or the Parisian Restaurant.

From my NLS, the Corn Cob guy is "made by his mustache."  Without it, this one would be rather plain.  While there has been numerous minifigures dressed as animals, this is the second as a fruit/vegetable.  The first was banana guy in series 16.  I'm looking forward to seeing what other types of foods LEGO comes up with next for minifigures of the future.  

corn_cob_guy.jpg
veterinarian.jpg

The Veterinarian contains a rabbit at the smaller scale of pets.  Originally dogs were much larger and have since shrunk similar to the one with the dog show judge in series 16.  The minifigure comes with blue hands (presumably wearing gloves, a name tag on her pants, and with a stethoscope around her neck.  

The Hot Dog Man is different than the hot dog man from series 13.  This one is a vendor selling a hot dog in a bun and a drink.  The minifigure comes with a tray and he is wearing an apron and the hat seen at some of the old fashioned fast food restaurants out there.  

hot_dog_man.jpg
butterfly_girl.jpg

Butterfly Girl looks like many of the little girls I see walking around these days only she into butterflies versus princesses.  The wings, face and hair decorations, tank top with the butterfly, and flowers all fit in with the over-the-top ways I have seen little kids walking around today.

The Roman Gladiator fits the theme of numerous other collectible minifigures to include the Roman Emperor from series 9 and the Roman Commander from series 10.  This one has a golden trident as a weapon, some brown gloves, and some rockin' abs.  

Roman_Gladiator.jpg
connoisseur.jpg

In my opinion, the Connoisseur should be called "French guy".  Not sure why he isn't, but whatever.  He apparently is a connoisseur of bread that is 2/3s his size.  He also has a bulldog type dog similar in size to the rabbit that the veterinarian has.

The battle dwarf is a newer design.  He's not really a Lord of the Rings type, but he is ready to kick some butt.  He comes with an ax and then a hammer with the drawing of a boar-like animal on it.  His beard is big and bright red as is his mohawk-like red hairdo.  

battle_dwarf.jpg
retro_spaceman.jpg

The Retro Spaceman is right out of the... is it the 70s?  Earlier?  Do kids these days even know what a retro spaceman is or was this minifigure solely build for AFOLs?

Speaking of kids not knowing where the reference comes from, do they know what this Yuppie minifigure is and when cell phones were that size?  The shades are pretty cool and I think the printed cheese slope is awesome.

yuppie.jpg
rocket_boy.jpg

Series 15 had a spaceman and series 17 has a Rocket Boy dressed up as a rocket.  I like the "kid drawn" classic space flag and the costume rivals some of the best seen at Halloween time.  I think this one is the best in the set, but that's just me.

The Dance Instructor is straight out of the 1980s.  The head band and outfit definitely come from that decade.  The water bottle is a new LEGO printed design with the H2O symbol.  And 1, and 2...

dance_instructor.jpg
elf_girl.jpg

When I think of elves, I more often think of the small people that work for Santa Claus (versus the Will Ferrell movie).  Elf Girl Is clearly not one of those as she is the standard minifigure size and has a large sword and shield.  She is ready to take someone out.

The highwayman was quite possibly the most talked about minifigure in the set.  When LEGO announced that series 17 was coming out, they listed this one as a "mystery minifigure."  It existed as a black outline as it does on the minifigure packets.  In reading some of the other LEGO fan sites I tend to agree that I don't get LEGO's marketing strategy.  It was very strange in my opinion.  What was so special about this minifigure to hide it?  Don't get me wrong, it's cool with the cape, scarf over the bottom of the face, 2 pistols, and tri-corner hat, but beyond that I'm not really sure what LEGO was going for.  

highwayman.jpg

So there is my take on Series 17.  Another great, original series in my opinion.  Scoop them up now before they go away and the prices go up on the secondary market.

Set Review - #10255 - Creator Expert - Assembly Square (Modular Building) - Part 3

Part 1 of the review        Part 2 of the review

It was a challenge, but I managed to finish the build before moving.  Here is the rest of the review...

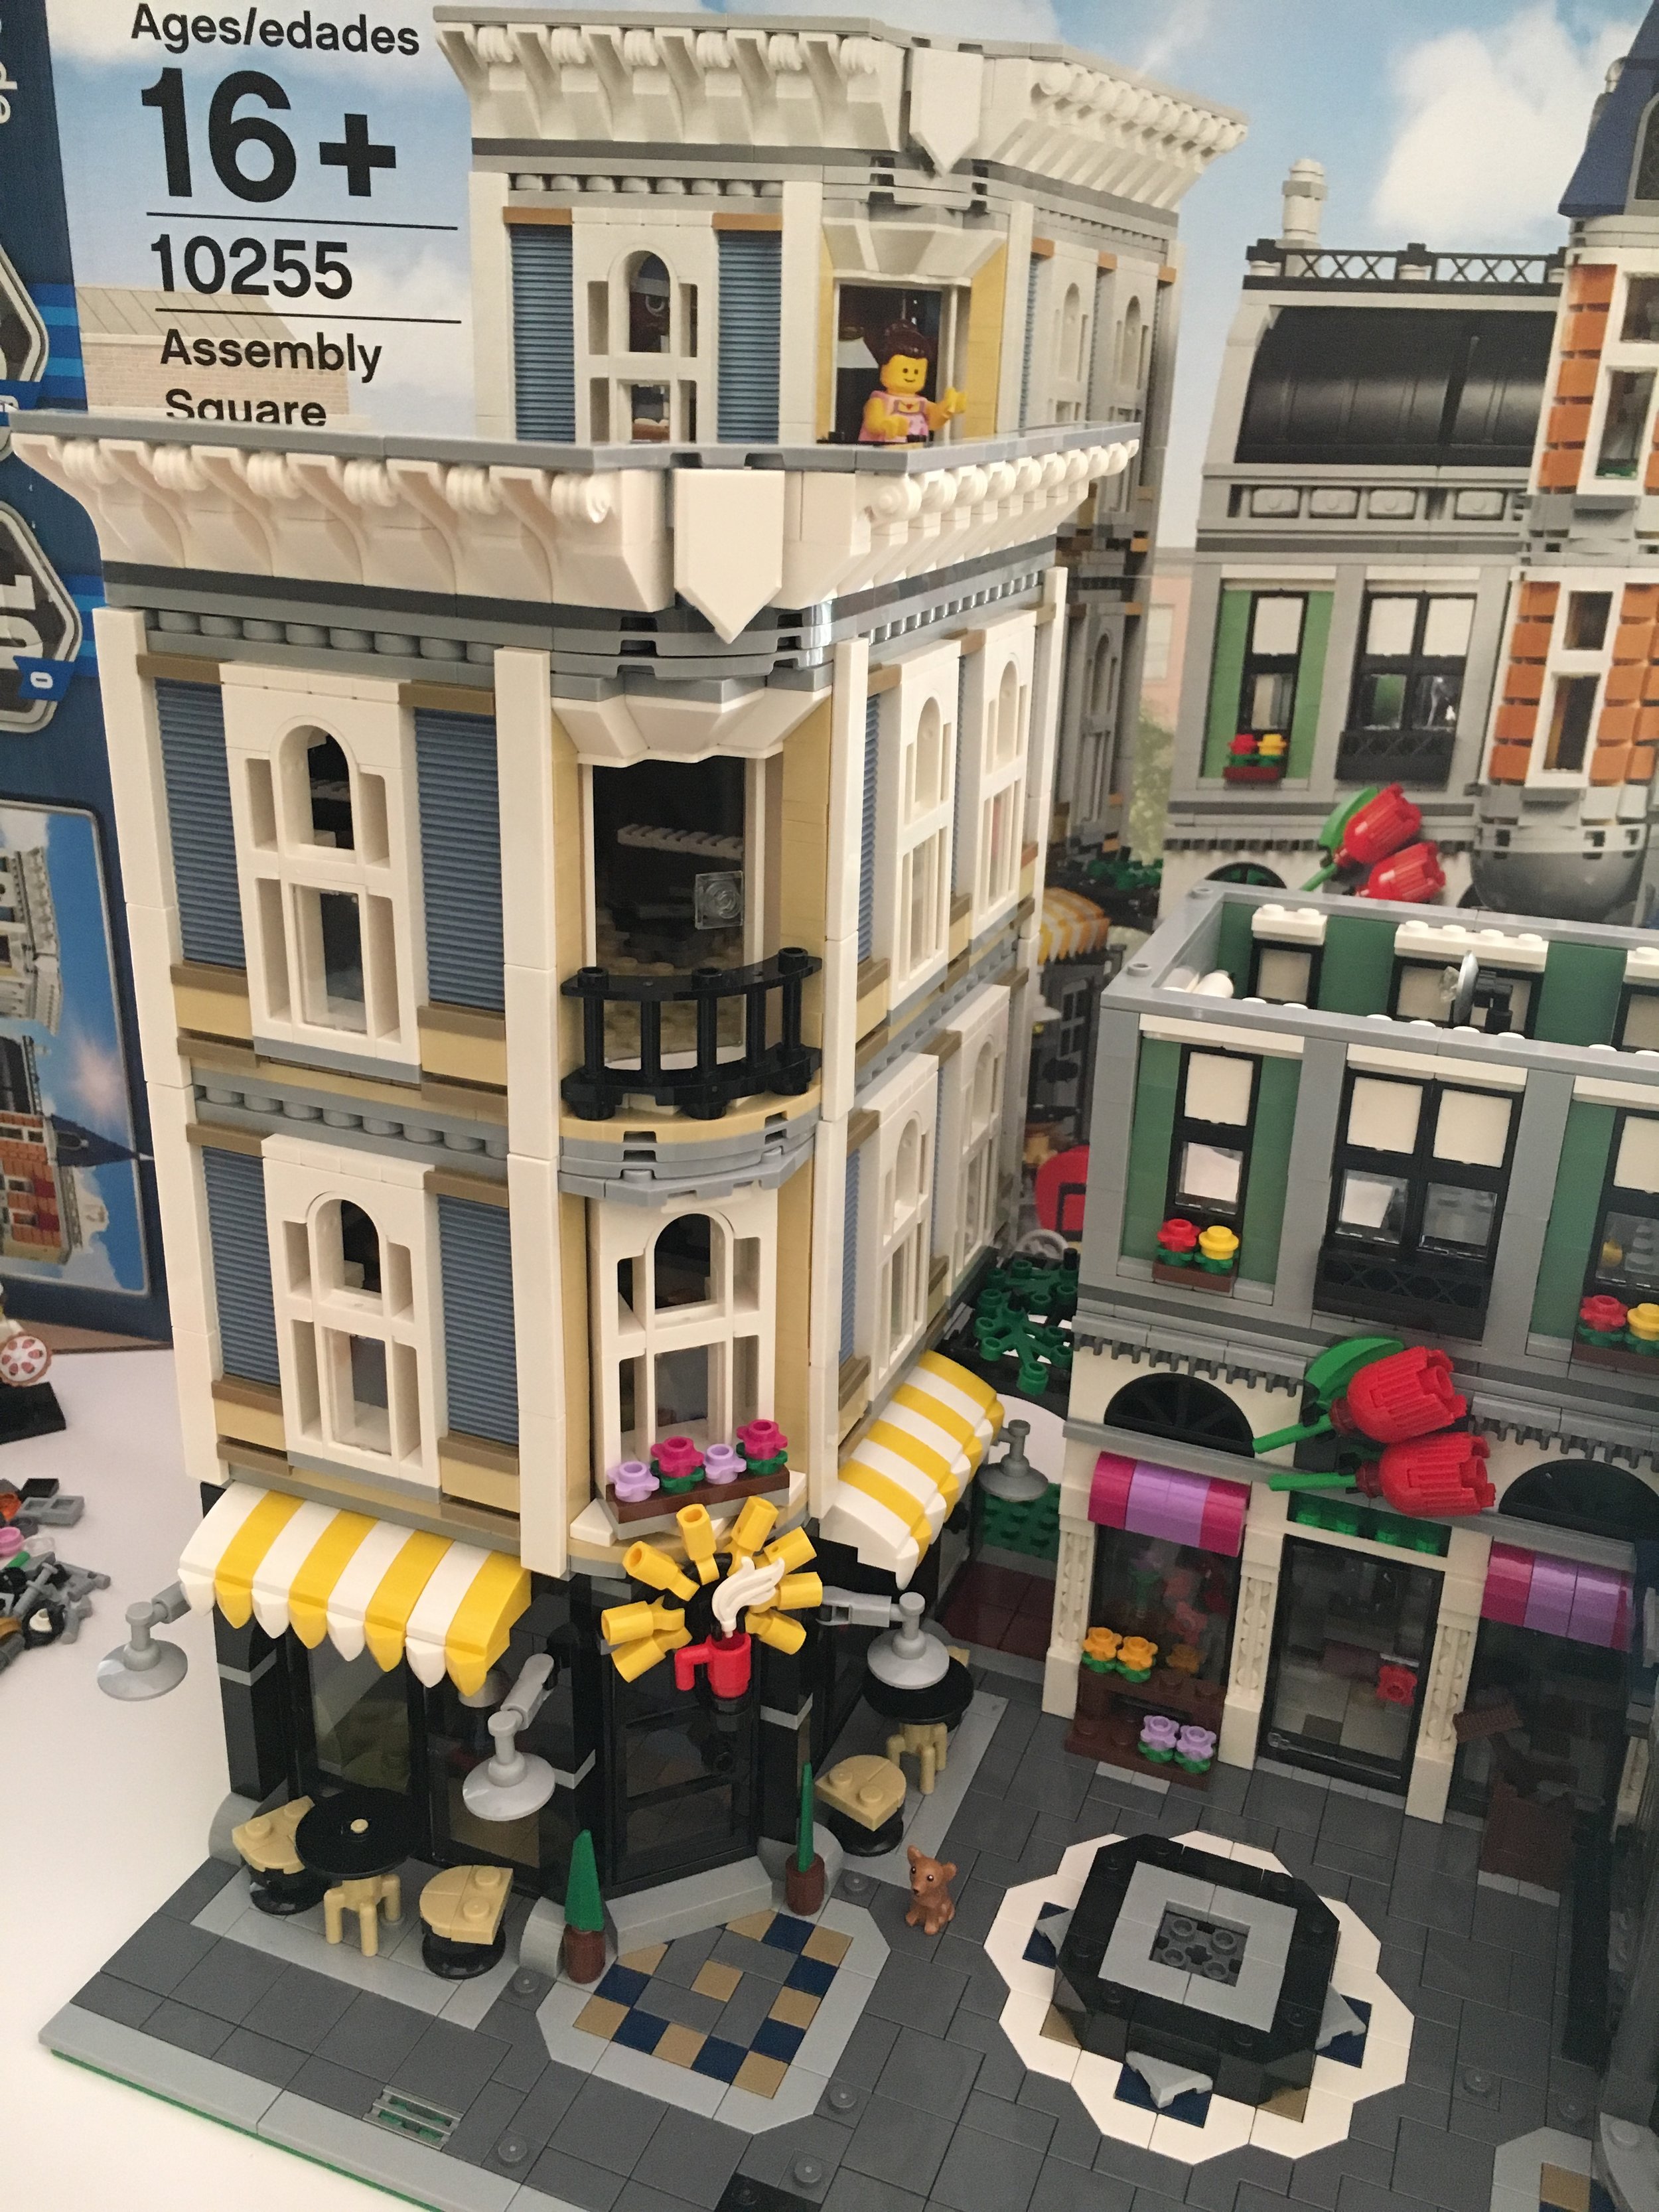
The fourth set of bags contains 5 parts bags.  It includes the second floor build above the bakery and flower shop which consists of the dentist's office and photographer's office.  Below is the complete version from the front.  

Assembly_Square_bag4.jpg

The dentist's office is impressively full of details.  The chair, light, and trays for the dentist to use all look similar to many dental facilities.  I don't know about some of the tools that he has to use, but I guess they weren't going to make special tools just for this set.  

Assembly_Square_dentist_office.jpg

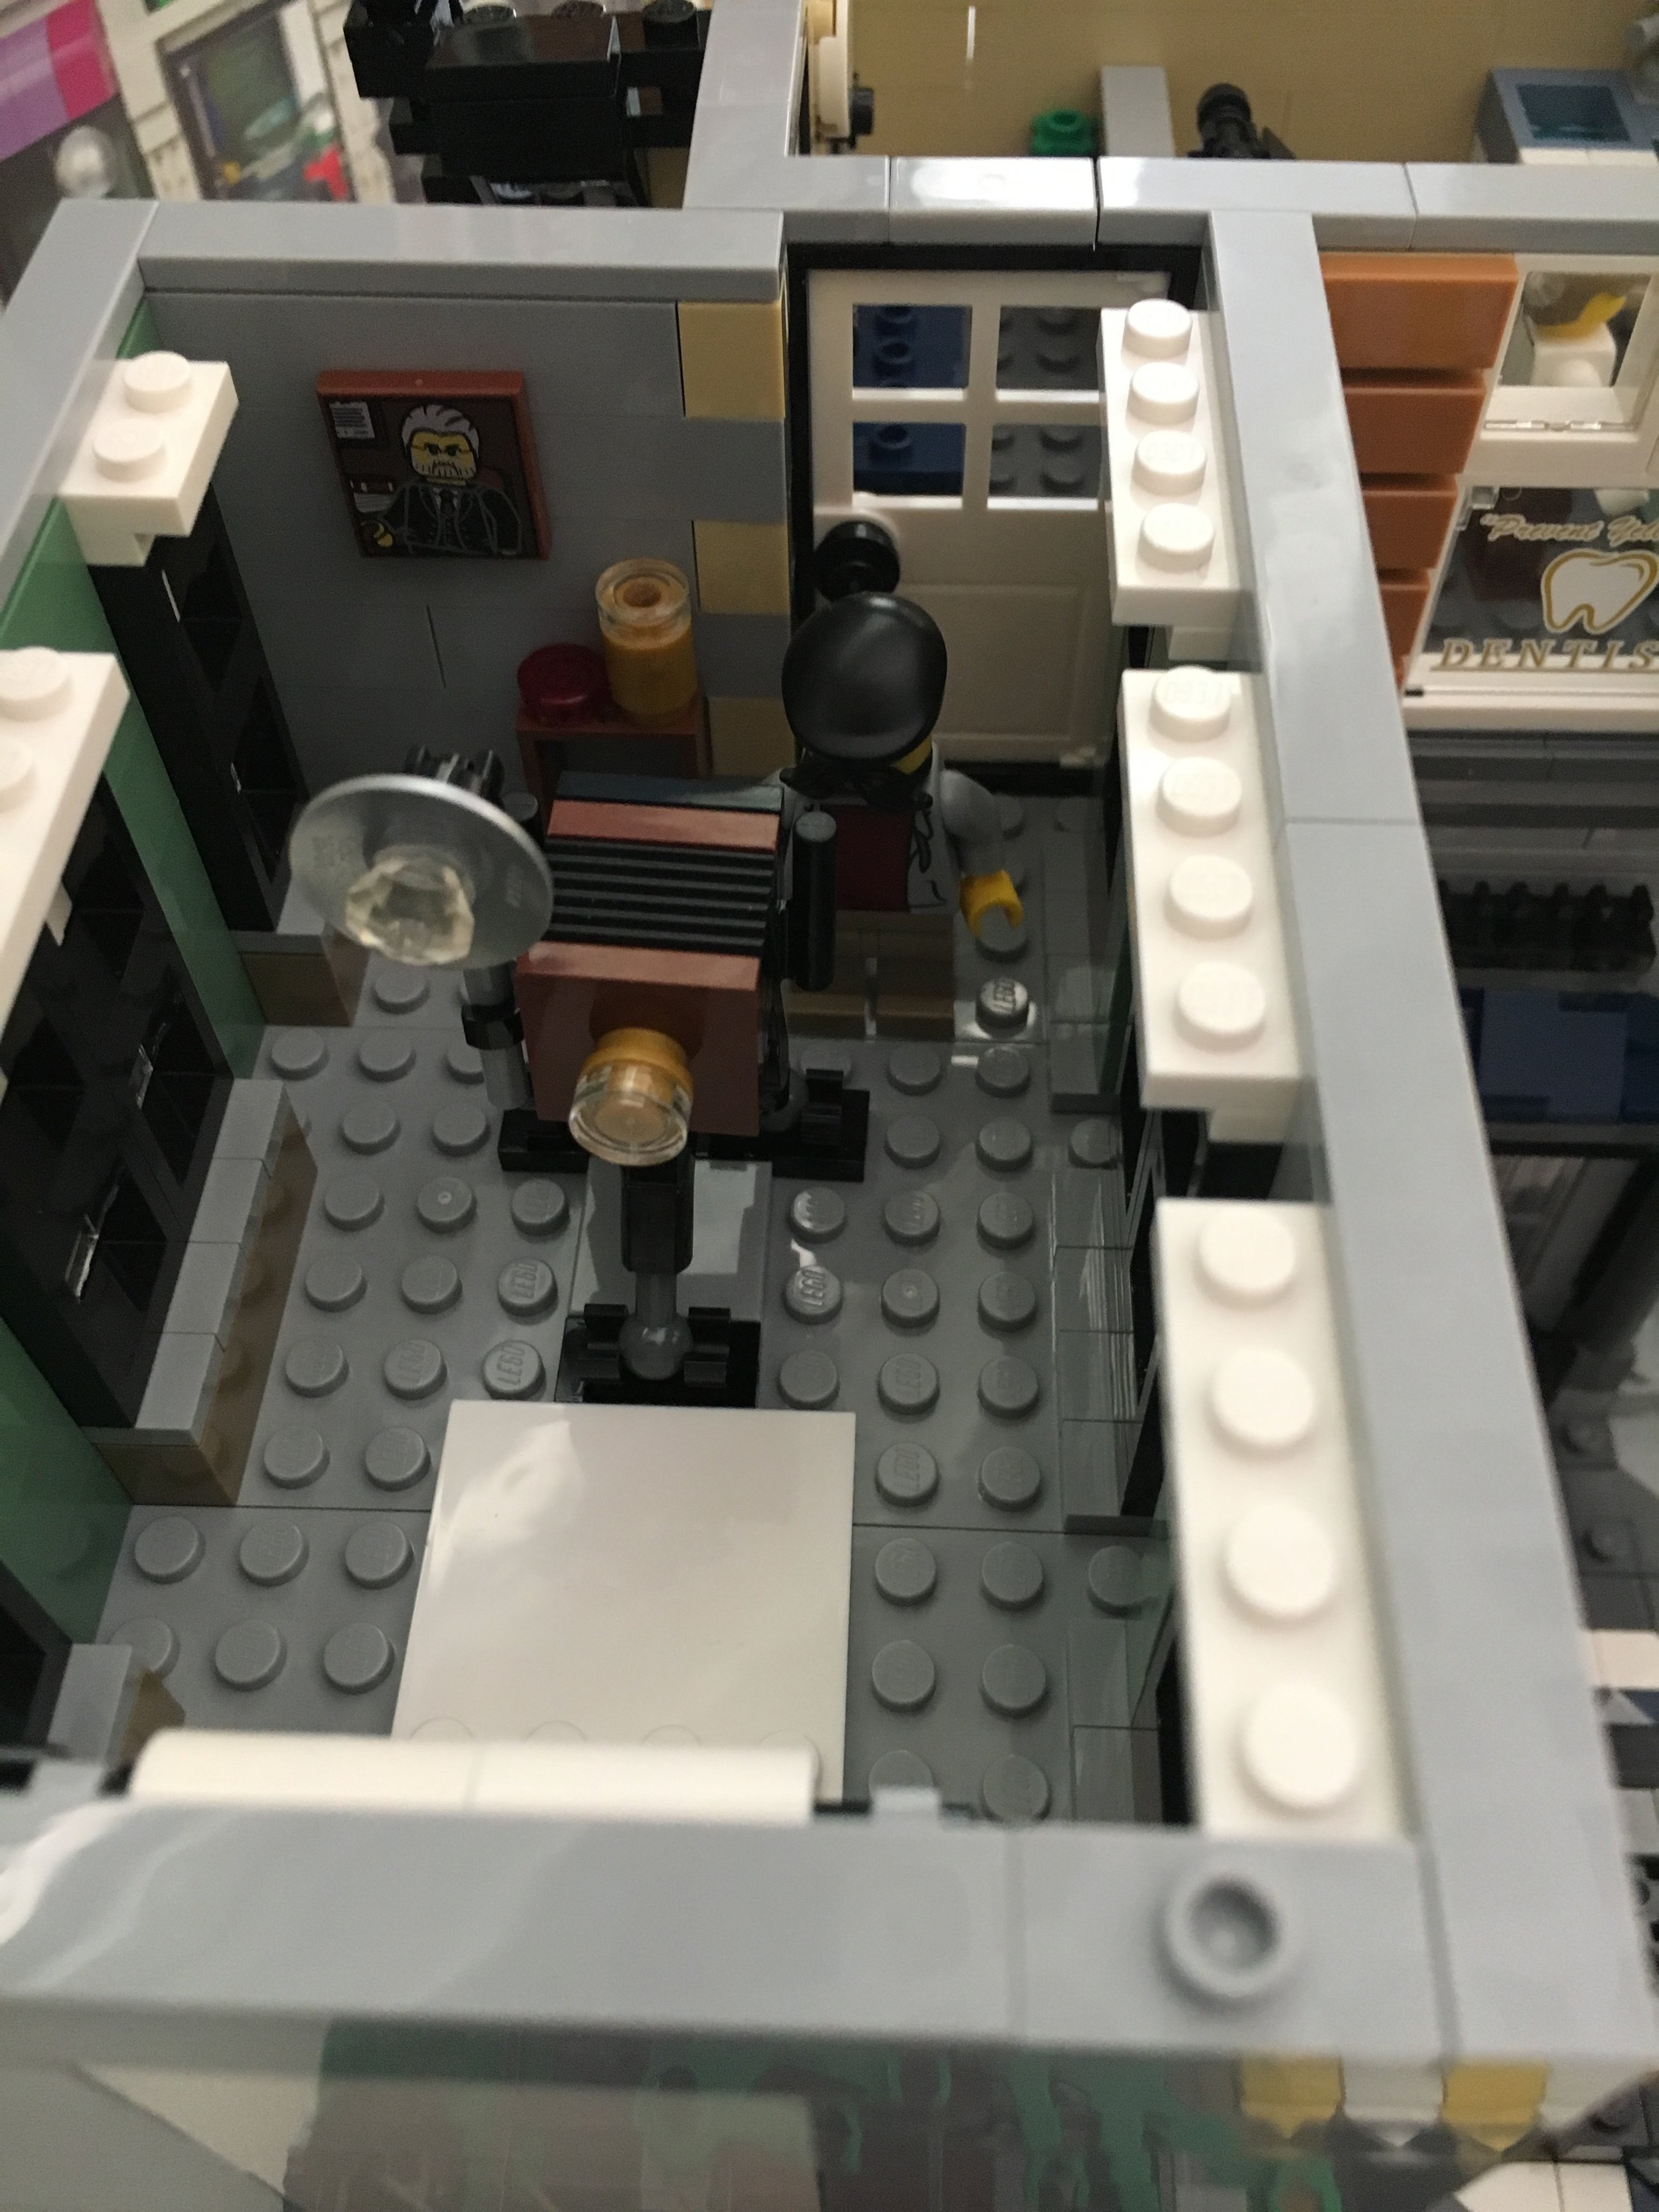
The photographer has a small shop attached to the dental office and he shares a waiting room with the dentist.  The camera itself is very old looking, but is a great design of an old camera by LEGO bricks.  There is a photographer minifig (is this the first mustache in a modular?) and then you can see the photograph 2x2 tile on the wall.  There is also a white background for taking photos.  The box shows the ballerina figure (shown later) posing on it.

Assembly_Square_photographer.jpg

The fifth set of bags contains 7 parts bags.  As can be seen below, this completes the floors above the coffee shop.  It includes a music studio/store, the dance studio, and then the top of the building.

Assembly_Square_bag5.jpg

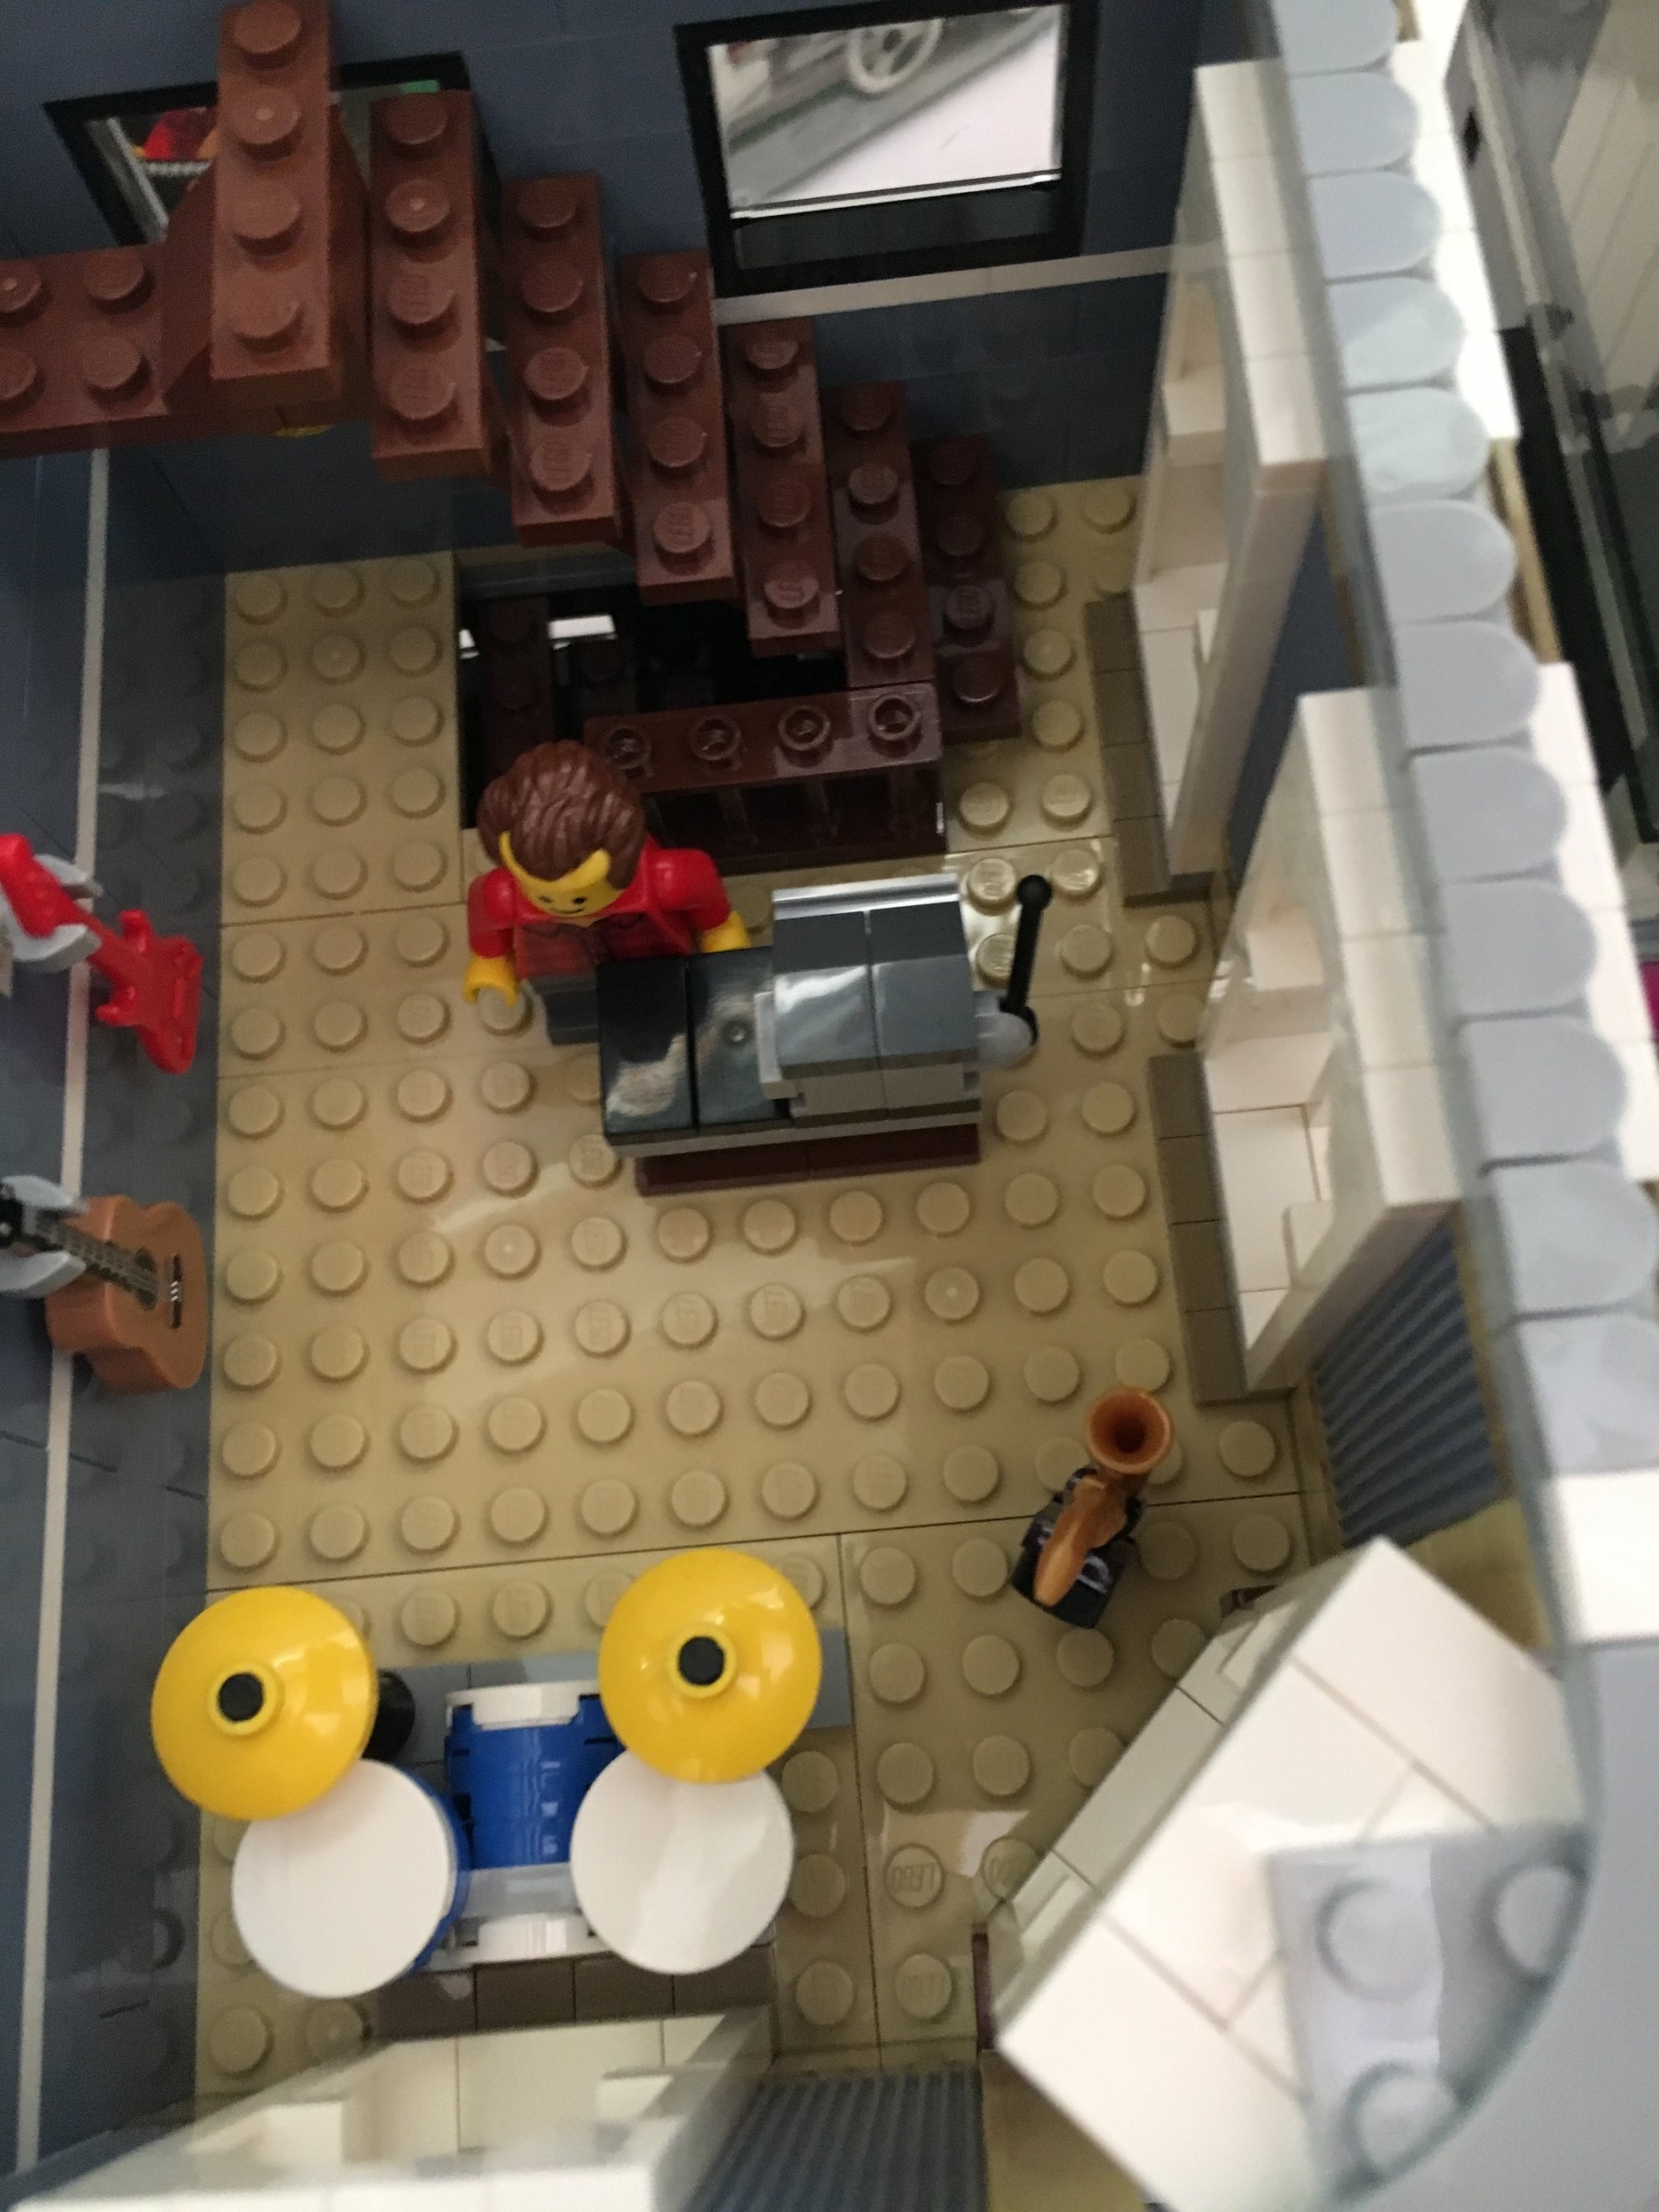
The second floor is the music shop.  It contains a counter with cash register and then some instruments you can buy to include a drum set, saxophone, acoustic guitar, and an electric guitar.  The store looks a little bare, but I'm sure you could MOC up some good additional things to fill it up the store like records or other instruments.

Assembly_Square_music_shop2.jpg
Assembly_square_music_shop1.jpg

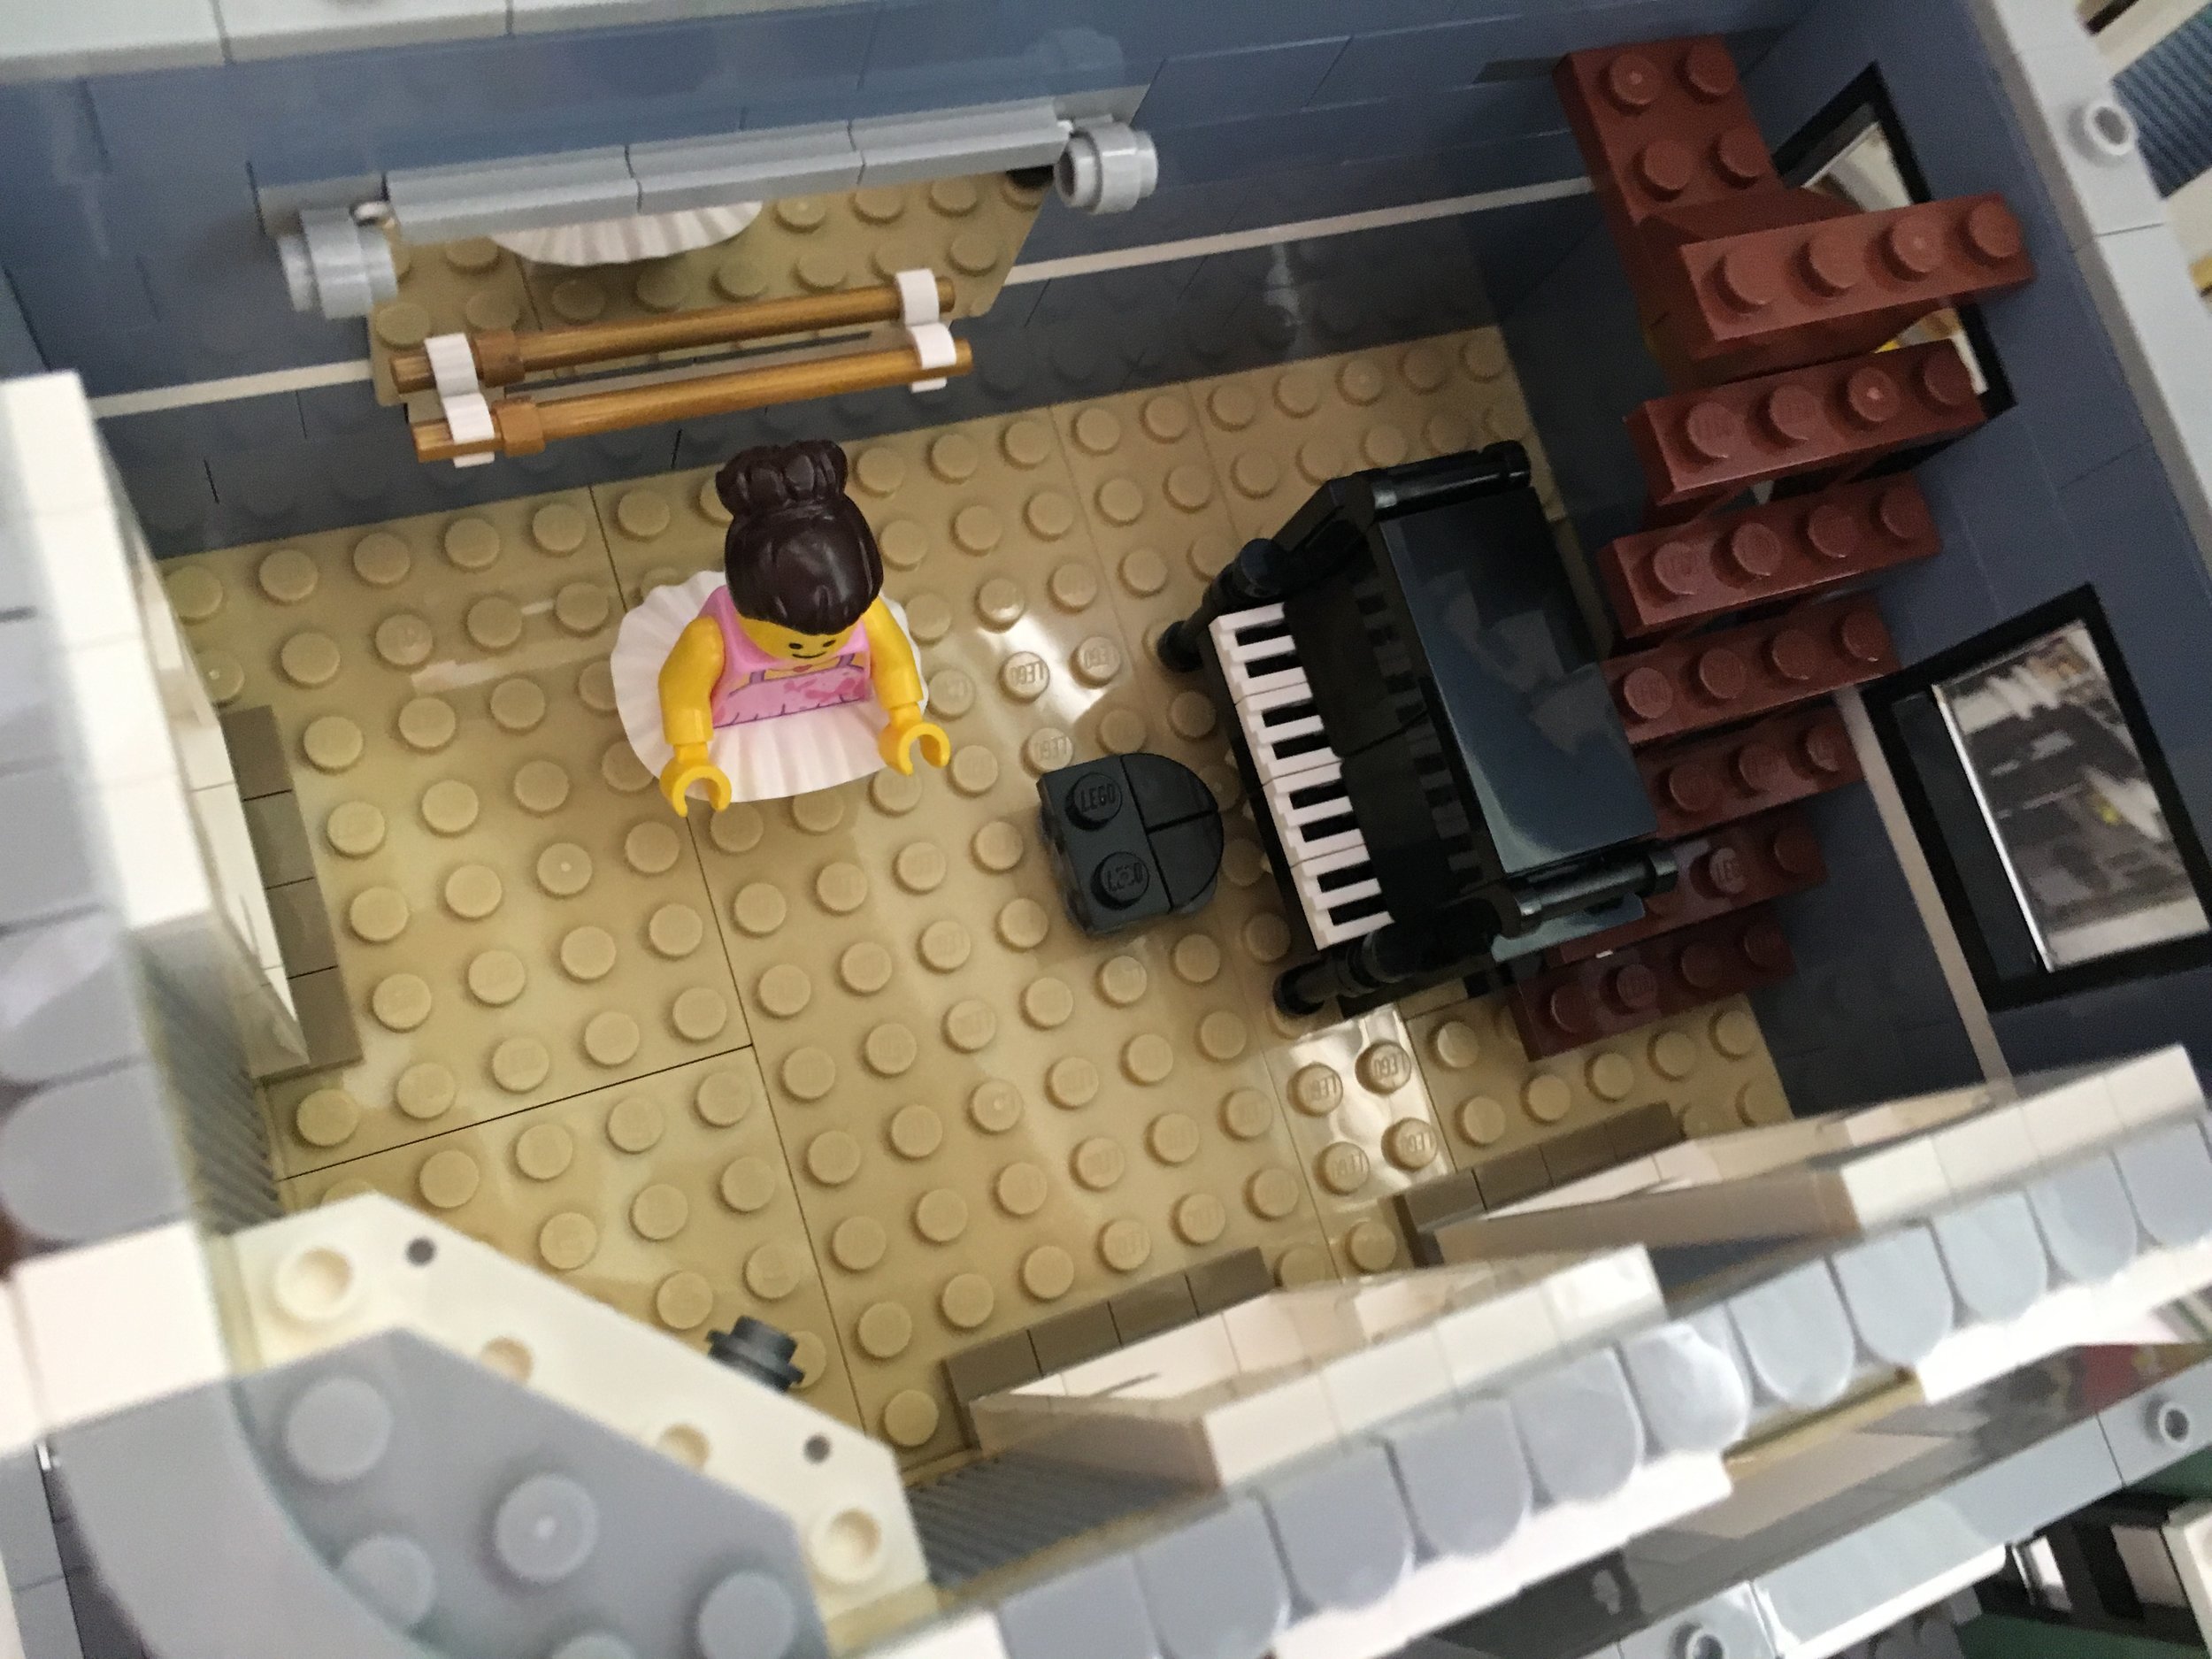
The third floor is the dance studio.  It contains a bar, mirror (similar to the barber shop from the detective's office), and piano with a seat to play.  Beyond that, there isn't much detail which is okay in my opinion.  The dance studio also has a clear door that opens up to a small balcony which can be seen in the picture on the bottom left below.

Assembly_Square_dance_studio.jpg
Assembly_square_floor2.jpg

To roof of the 3 story building in Assembly Square deserves some mention.  The design is fairly simple, yet it comes across as very detailed and architectural (If that's the right word to describe it).  The designers used a piece new to me that I found pretty cool.  Brickset says it appears in 6 sets so apparently I'm not up on my new pieces.  

Assembly_Square_roof1.jpg
Assembly_Square_roof2.jpg

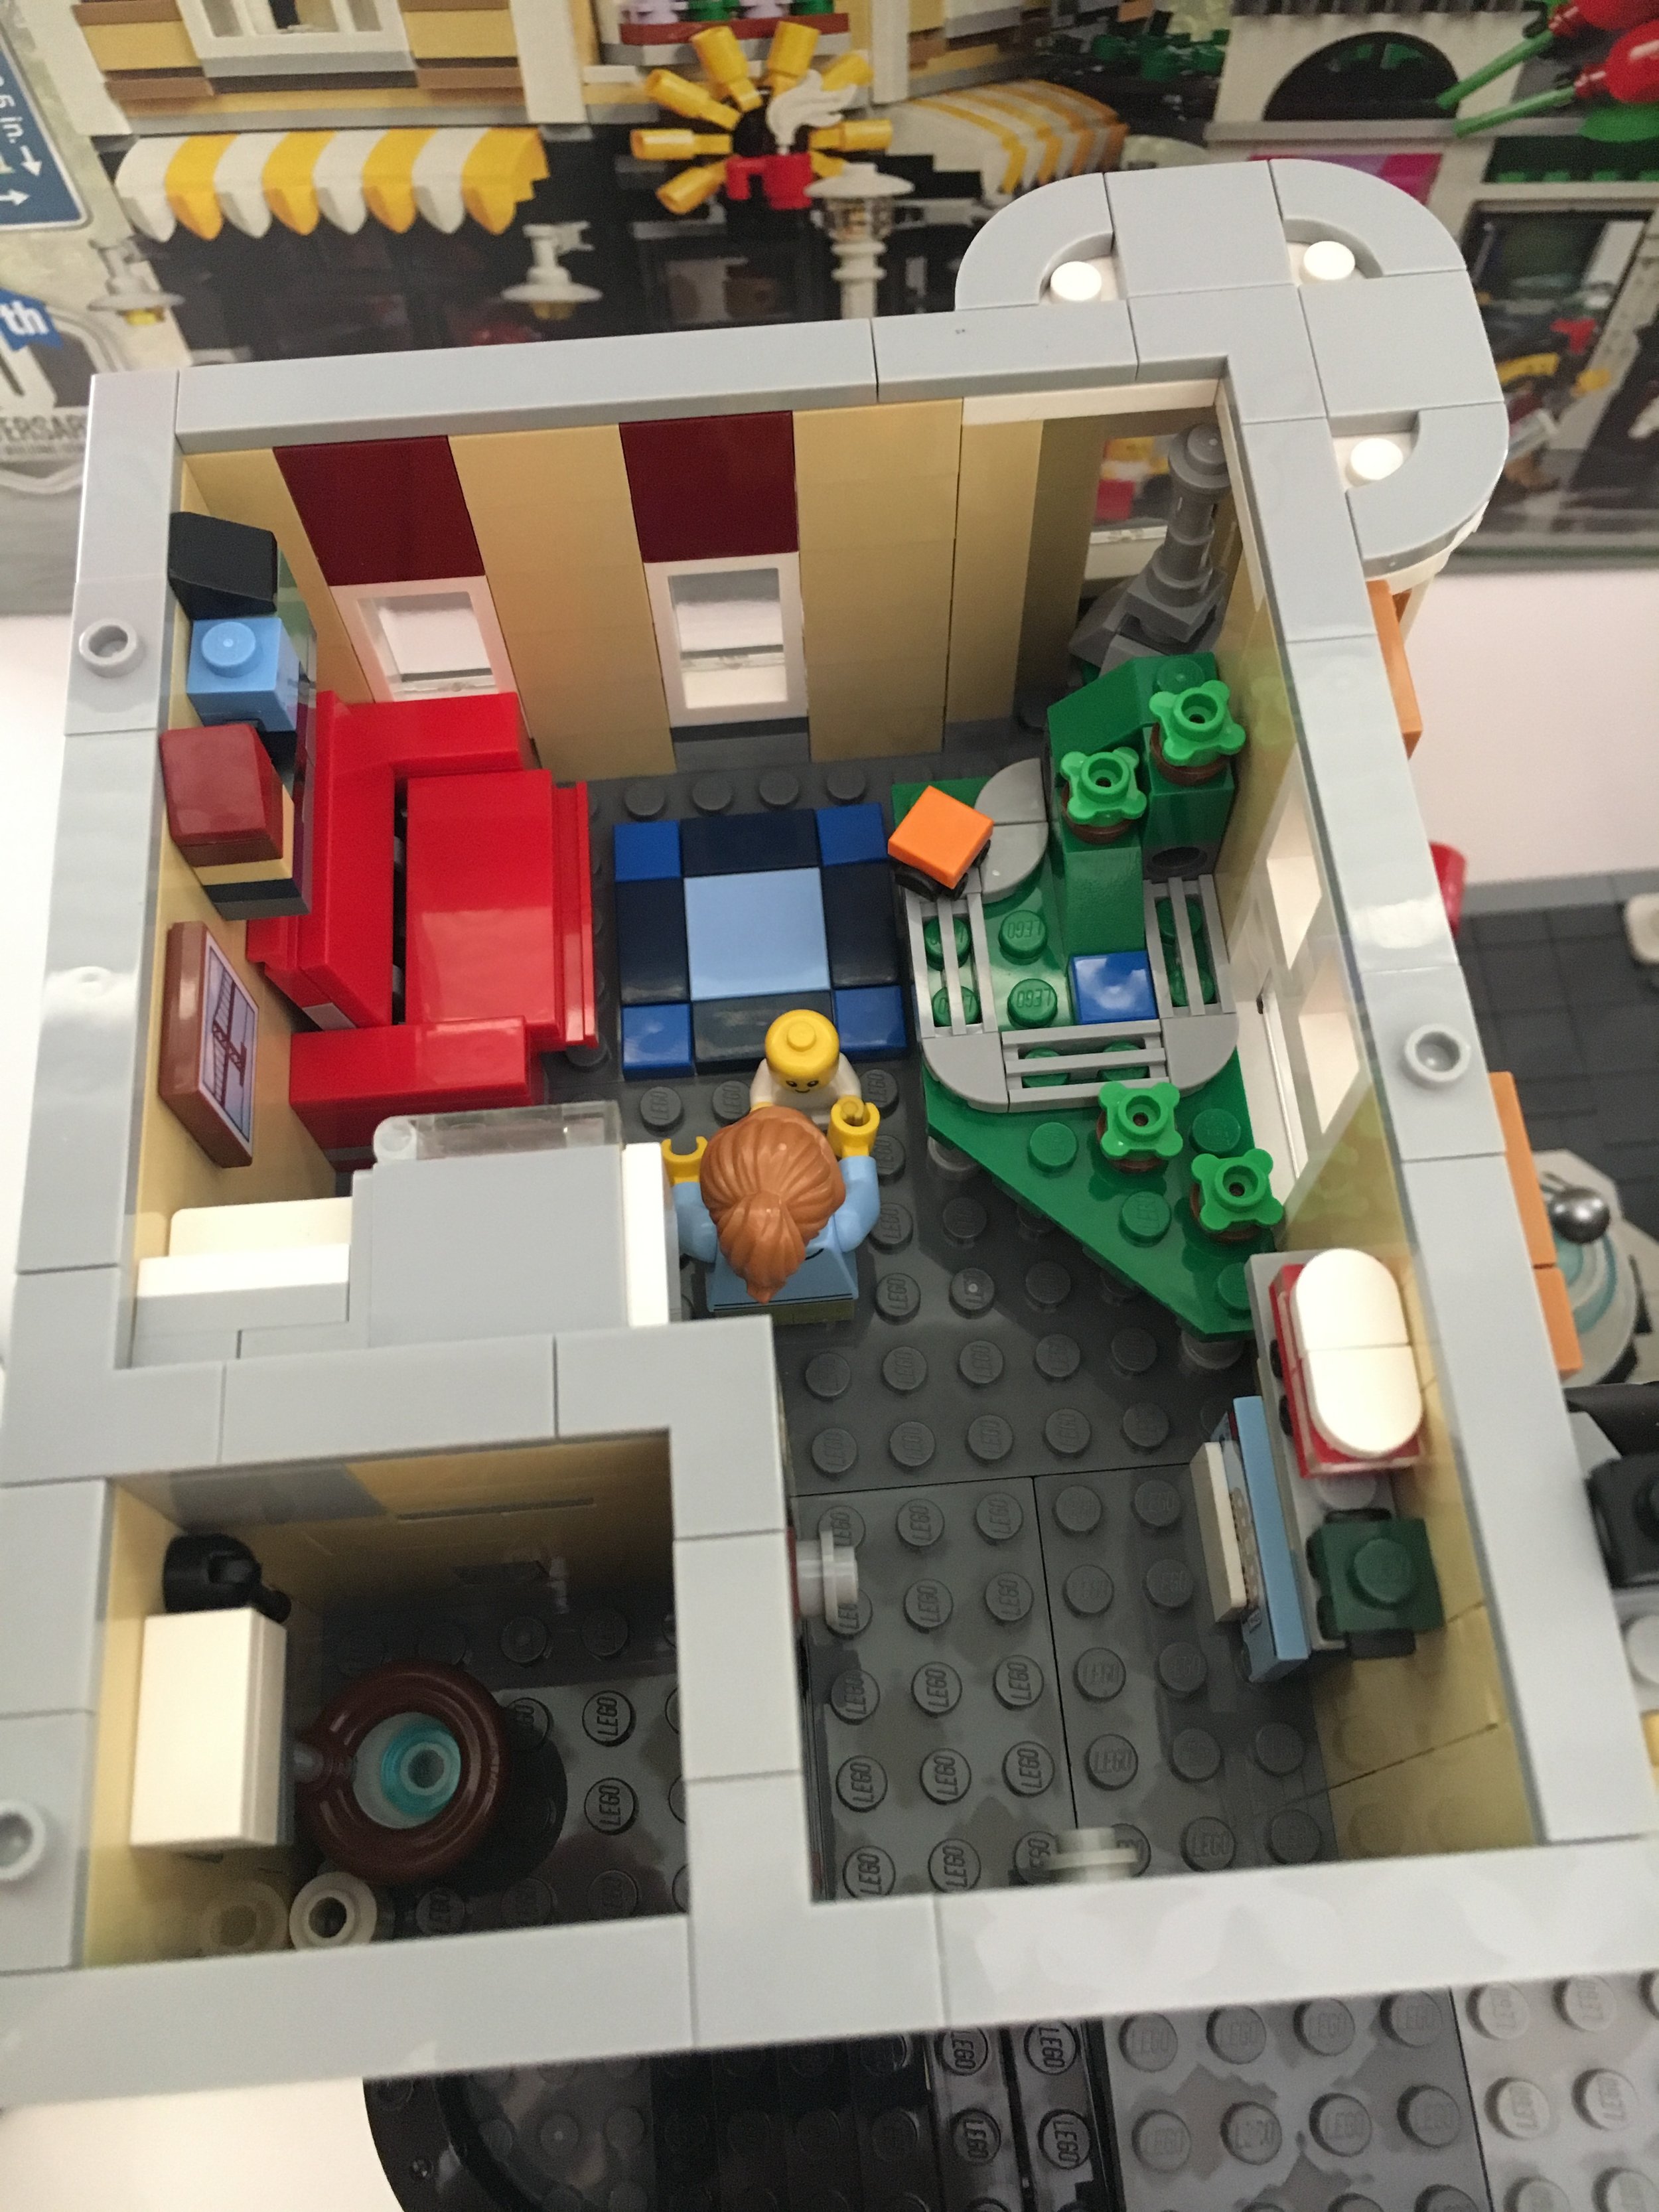
The sixth and final set of bags contains 7 parts bags.  It completes the top floor of the right side building, the fountain, and lamp posts.  To start off, the top floor is an apartment for a LEGO fan.  The instructions show a female minifigure with a baby minfigure.  You can decide whether those are the only 2 occupants or who the true LEGO fan is in that apartment.  The apartment contains an interesting design for a couch that folds out to be a bed as well.  There is a small kitchen and toilet in a room too.  In terms of LEGO, there is a table with a train display (and a Horizon Express?), a box for the cafe corner, an Eiffel Tower, and a few others I'll let you figure out on your own if you get the set.  

Assembly_Square_apartment1.jpg
Assembly_Square_apartment2.jpg

The back of the set shows the outdoor patio area with a grill/cooking area, seating, and a plant that has seen better days.  

Assembly_Square_back.jpg

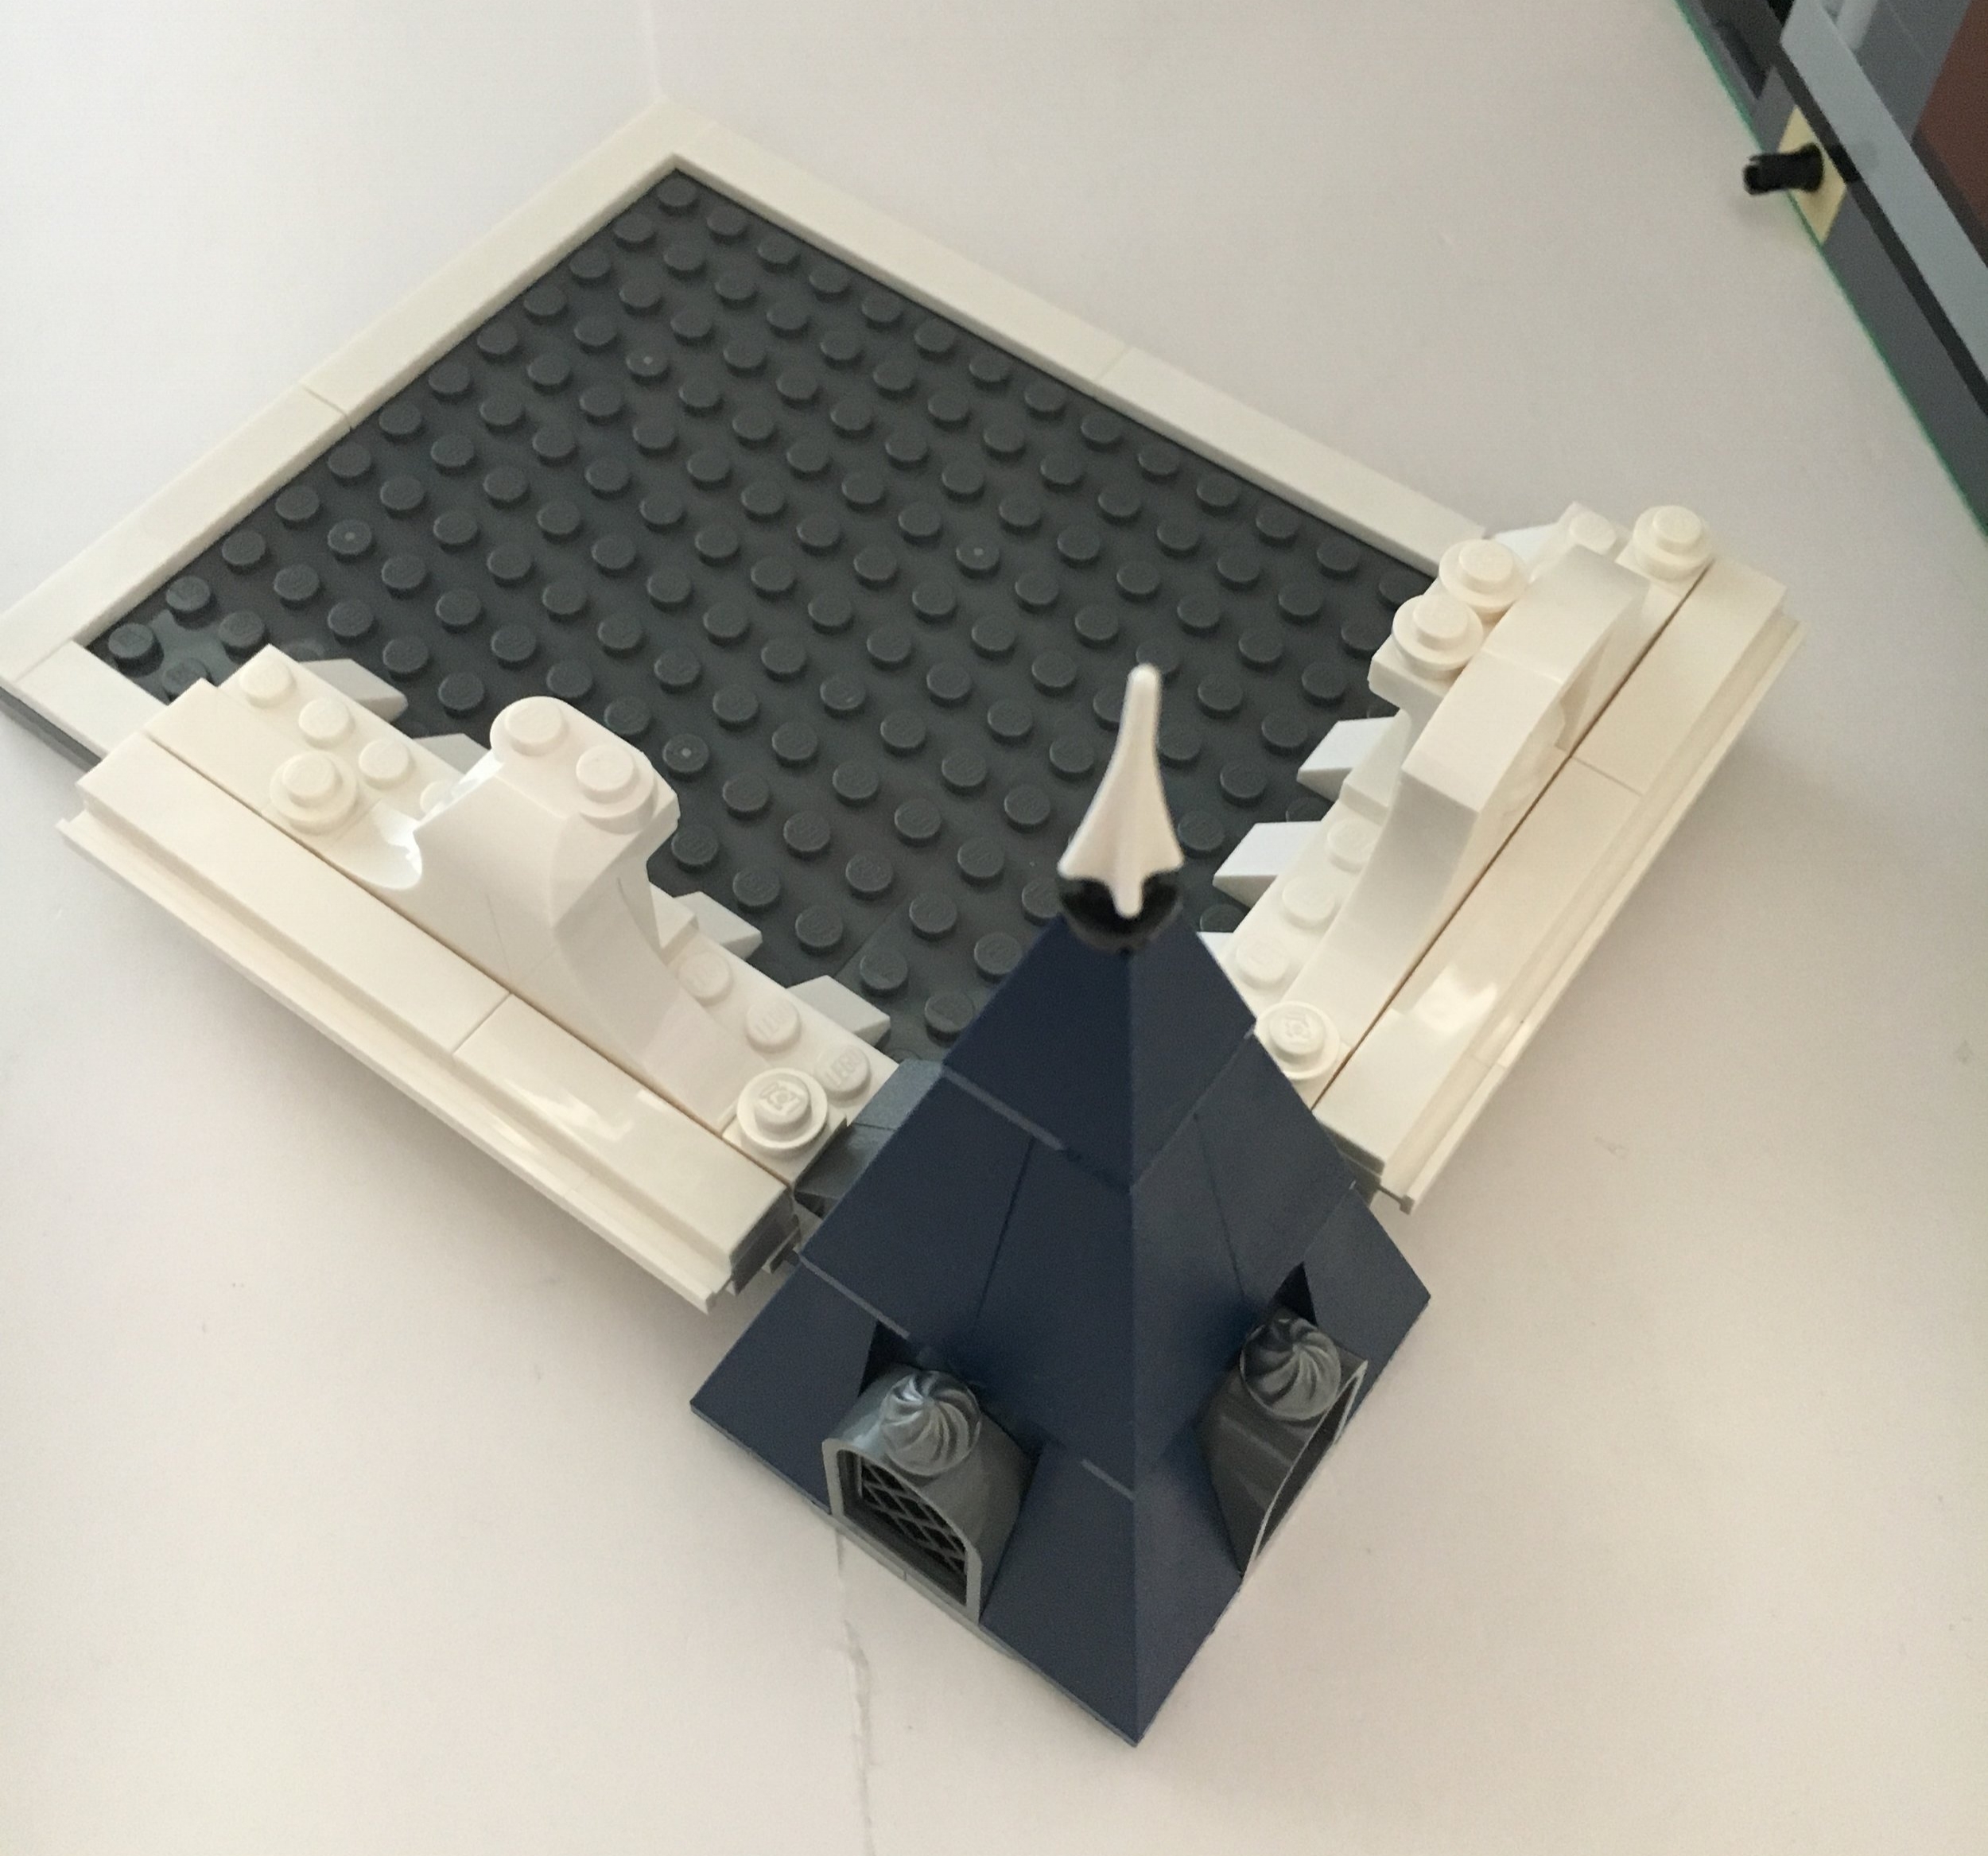
The roof over the apartment has another simple, but cool design which includes a spire and even a white chicken.  I was disappointed in the roof over the outside patio area as it contains 2 BURPs (Big Ugly Rock Pieces).  I thought that for a Creator Expert modular building and for the 10th anniversary set they would come up with some great design similar to what was done in the Parisian Restaurant.  Oh well.  It still looks okay, just a disappointment that it is such a big piece.  

Assembly_Square_roof3.jpg
Assembly_Square_BURP.jpg

Last up is the fountain and lights.  The lights are similar to others from other modular sets.  The fountain is a nice touch to the square.  

Assembly_Square_fountain.jpg

Overall it is another amazing build.  I wish I had all of my modulars built so I could add this one to the mix and take a picture.  In my opinion, the Creator Expert team did an outstanding job putting this one together.  I like the use of some of the colors and techniques from previous modulars and a few of the fan references like the AFOL apartment.  While this set is expensive, I found it to be worth the price (even if I used a lot of VIP points).  The build was exceptional and challenging, the types of pieces and colors were fantastic, and the design will go great in many CITY scenes.  Happy building!

Assembly_Square_final.jpg

Campaign Results - iCouldBe.org

icouldbe.jpg

From 1 January 2017 to 1 May 2017, 15% of the profits from Bricks for Bricks was going to iCouldBe.org.  This is a non-profit focused on connecting teenagers with mentors.  I found this group in 2017 and took on the challenge of mentoring 2 high school students who were multiple time zones away.  It has been enjoyable to interact with them to and try and share some of the wisdom that I have.  I'm proud to say that we raised $61 for he program to help them help teens.  One of the expenses the program has is background checks for mentors so this will help to pay for a few of those.

Thanks to all who bought great LEGO items from the store over the past few months and supported a great cause!

Set Review - #10255 - Creator Expert - Assembly Square (Modular Building) - Part 2

See part 1 of the review here

See part 3 of the review here

Assembly Square is slightly different from previous modular building sets.  There is a separate box inside the main box that contains bags numbered four through six.  The main box has bags one through three and the base plates.  The instructions are in a separate package, but there is not cardboard backing to it.  To be fair the book is quite thick so I don't think it will fold up during shipment.  Has anyone had this issue yet?  Also, no stickers.  YAY!

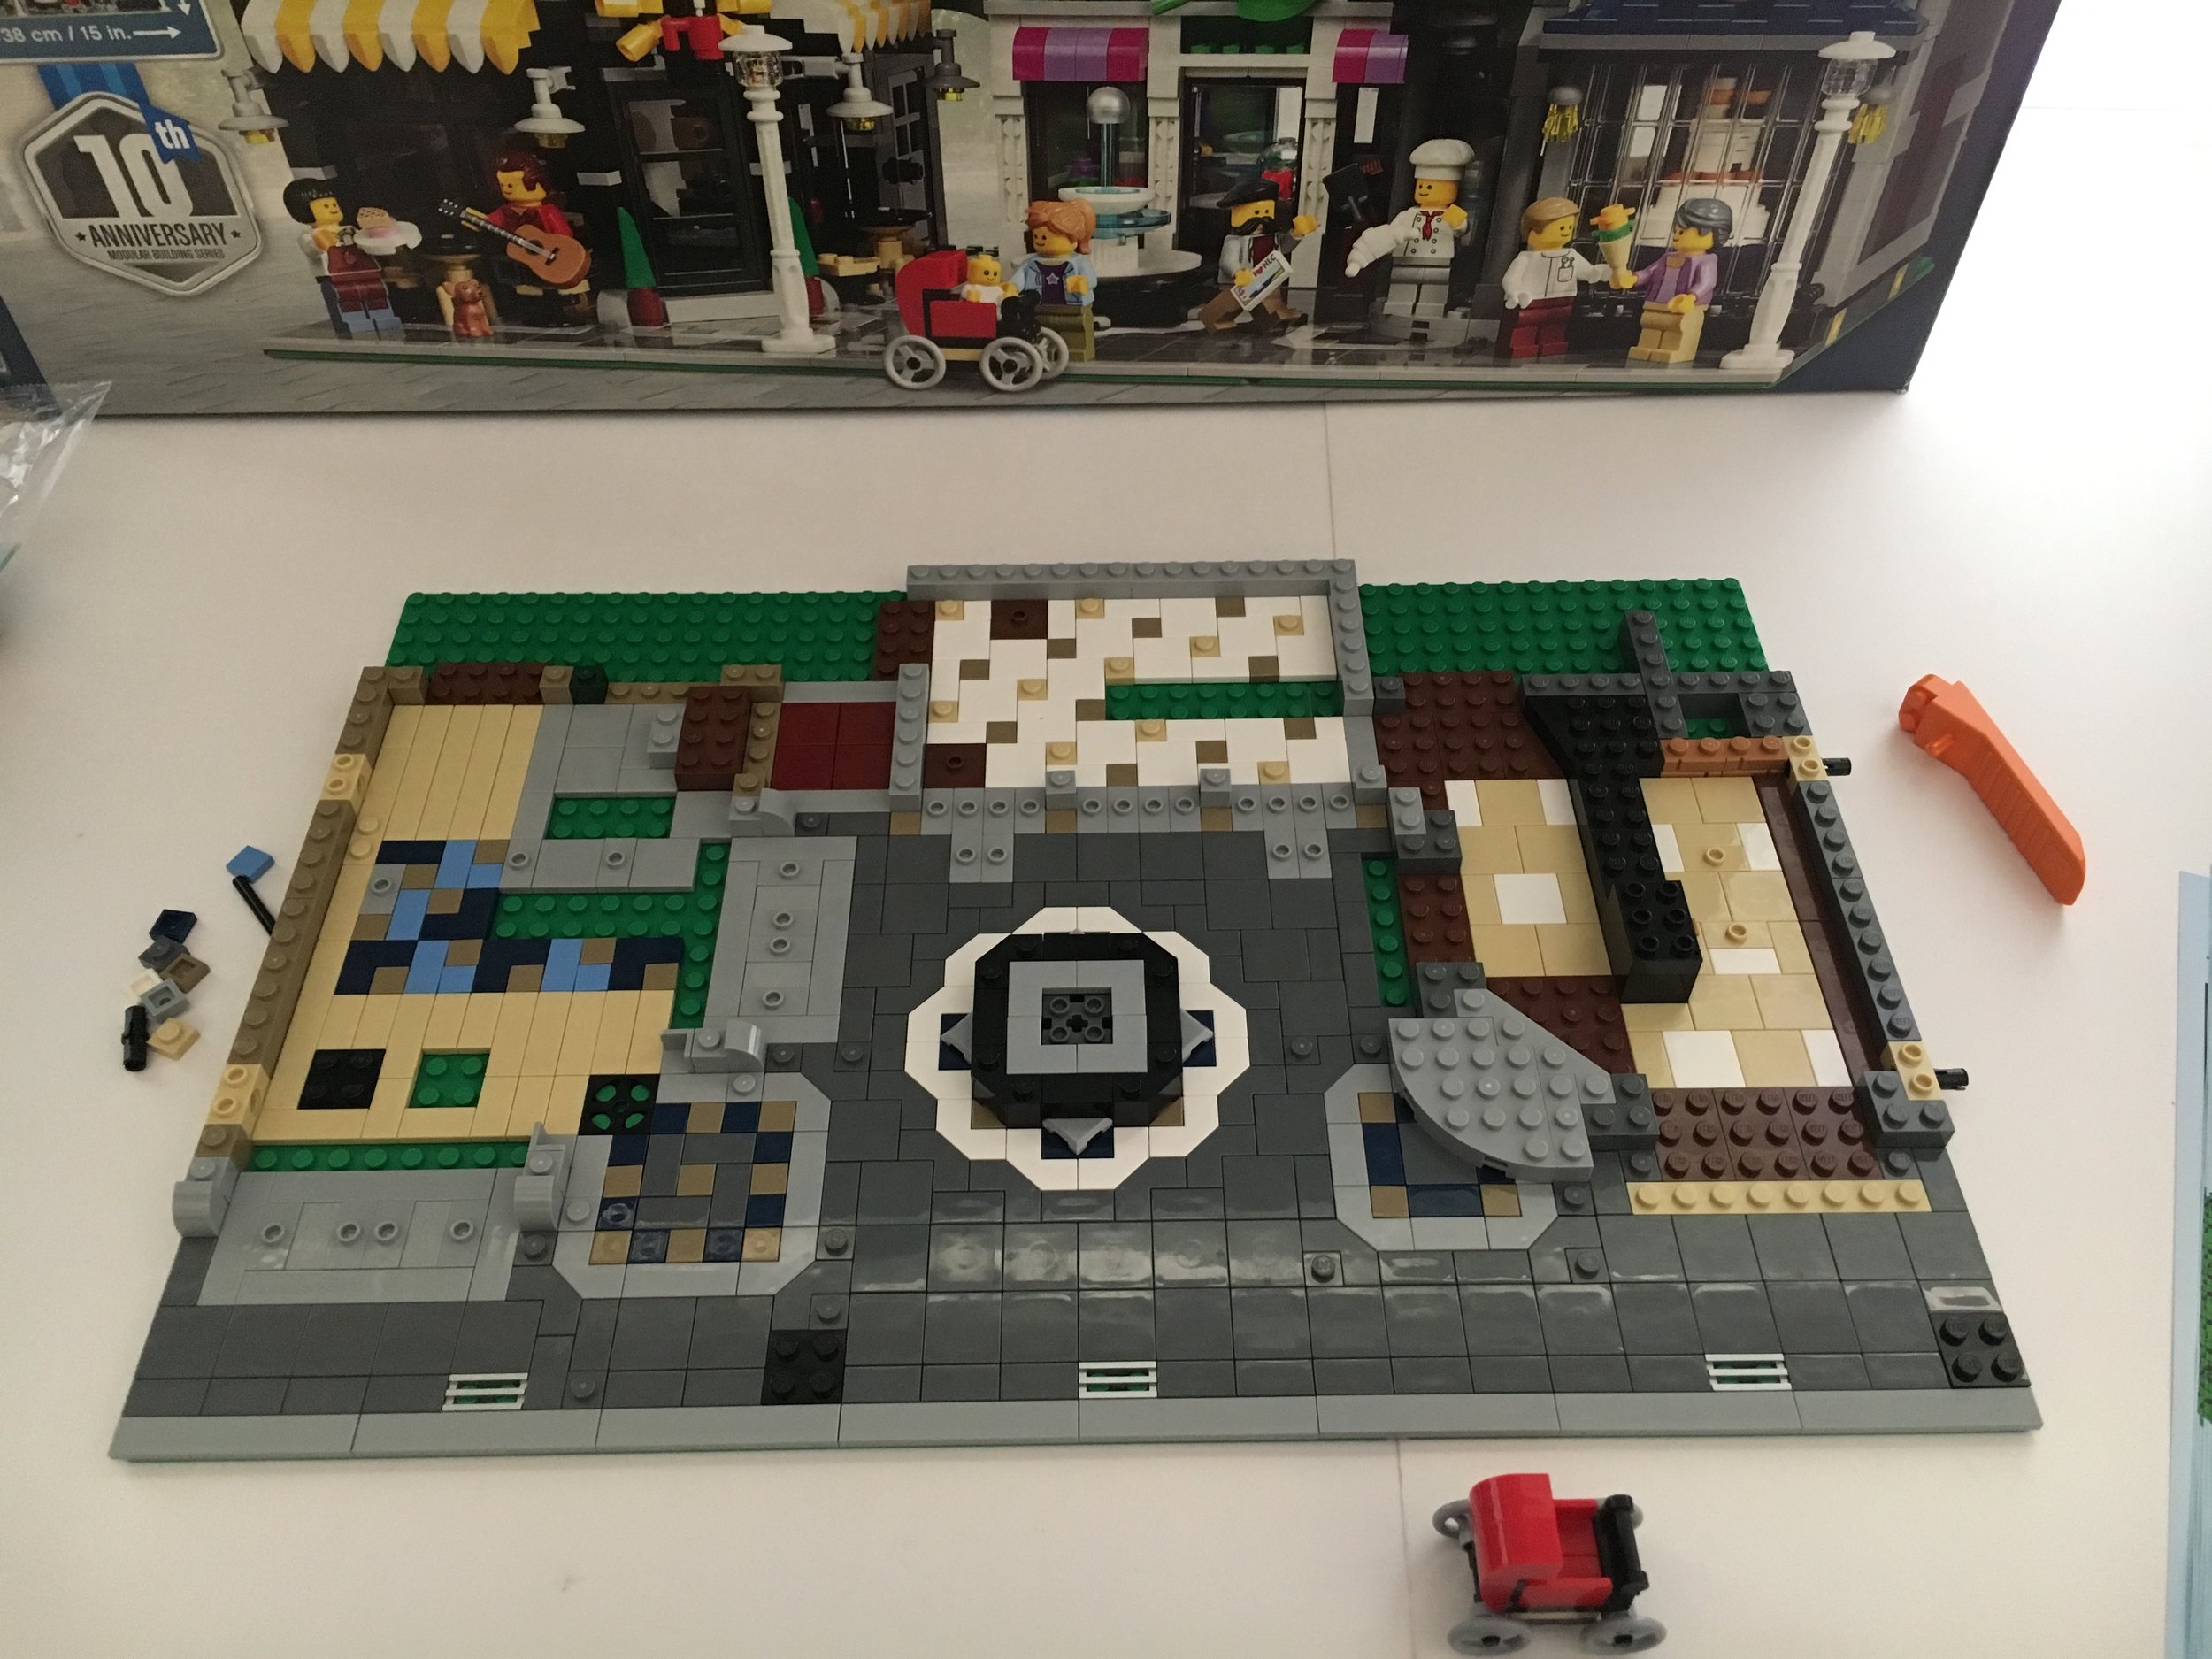
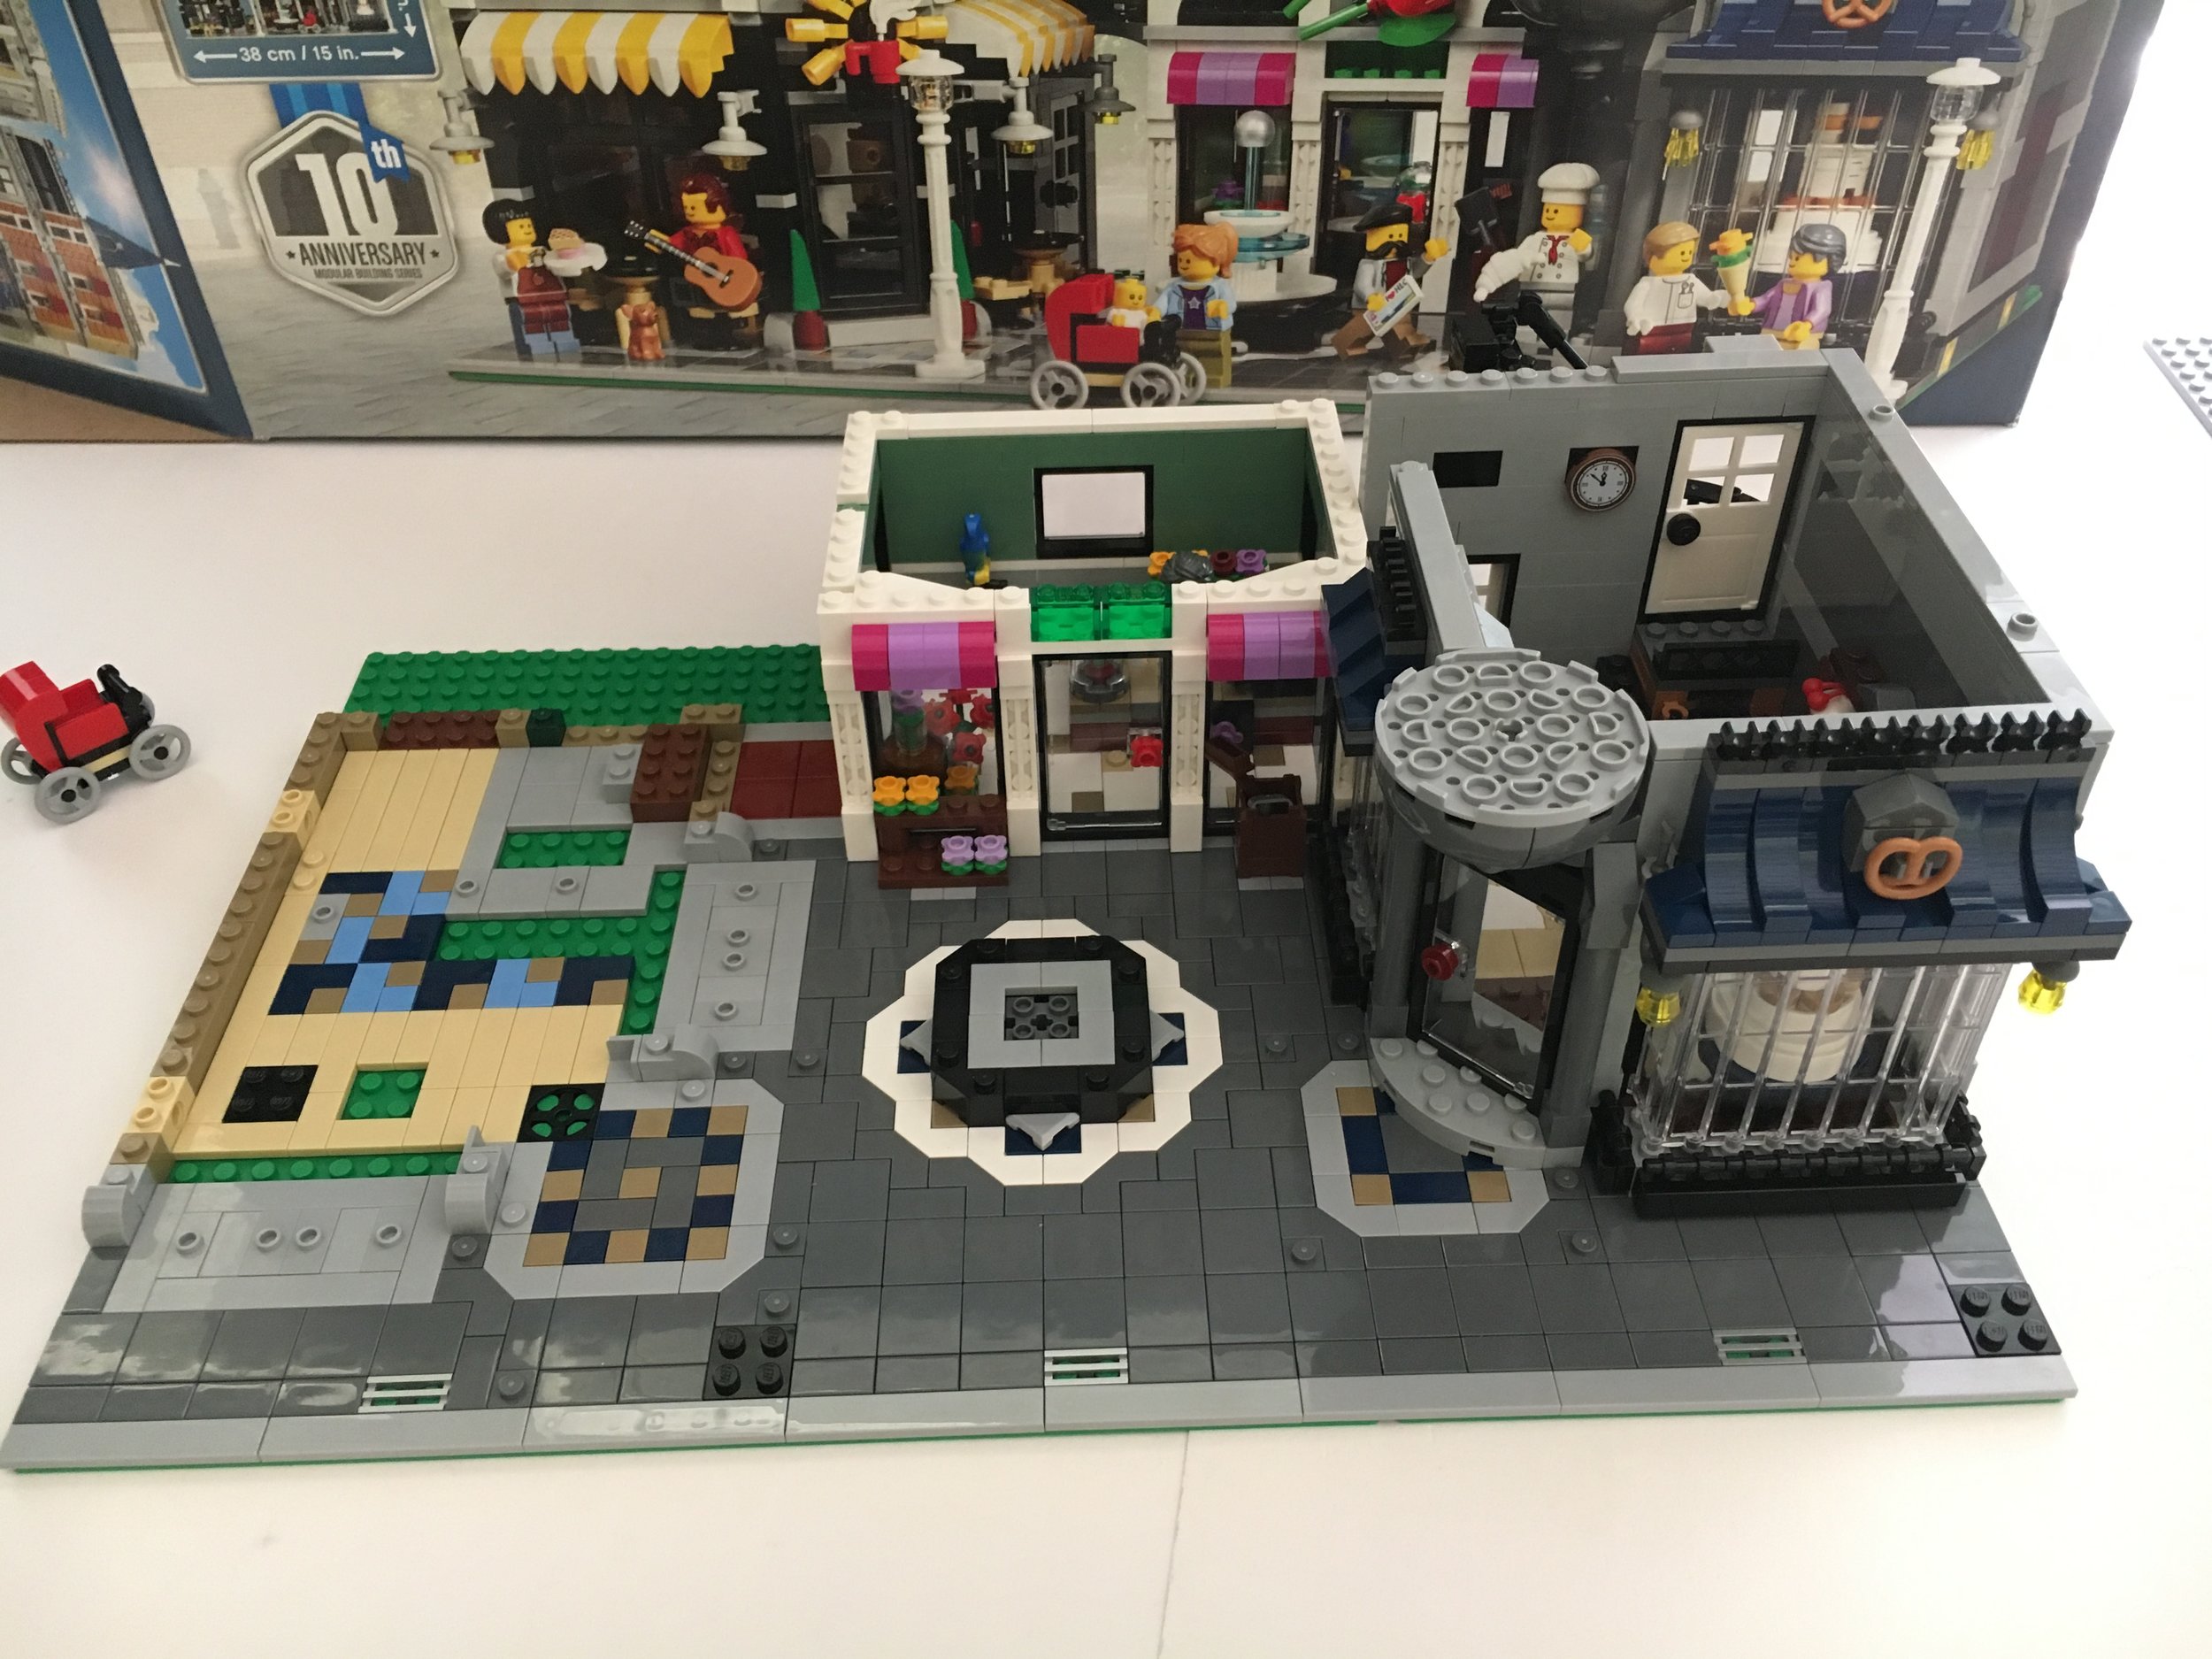
To start off, there are three bags labeled #1.  The first part of the build is uses the 2 base plates.  One base plate is the standard green 32x32 studs and the other is 16x32 studs in green as well. I haven't seen this one used in a while, but I do have some from when I was a kid.  Like the other modulars, this one contains a piece separator.  Here is the final build for the first set of bags..  

Assembly_Square_bag1.jpg

The designs for the sidewalks and floors are pretty intricate.  The addition of some angled tiled pieces in light gray and dark gray help to make it more detailed too.  The addition of some 1x2 plates with one stud help with play-ability later on when the various stores are finished and minifigs need to stand.

Assembly_Square_bag1_carriage.jpg

The carriage is part of the first set of bags.  It's a simple design as can be seen here.  

Next up is the second set of bags which includes 7 bags of bricks.  This includes the bakery and the flower shop along with a baker minifig and a minifig to work in the flower shop.  

Assembly_Square_bakery_front.jpg
Assembly_Square_bag2_bakery_top.jpg

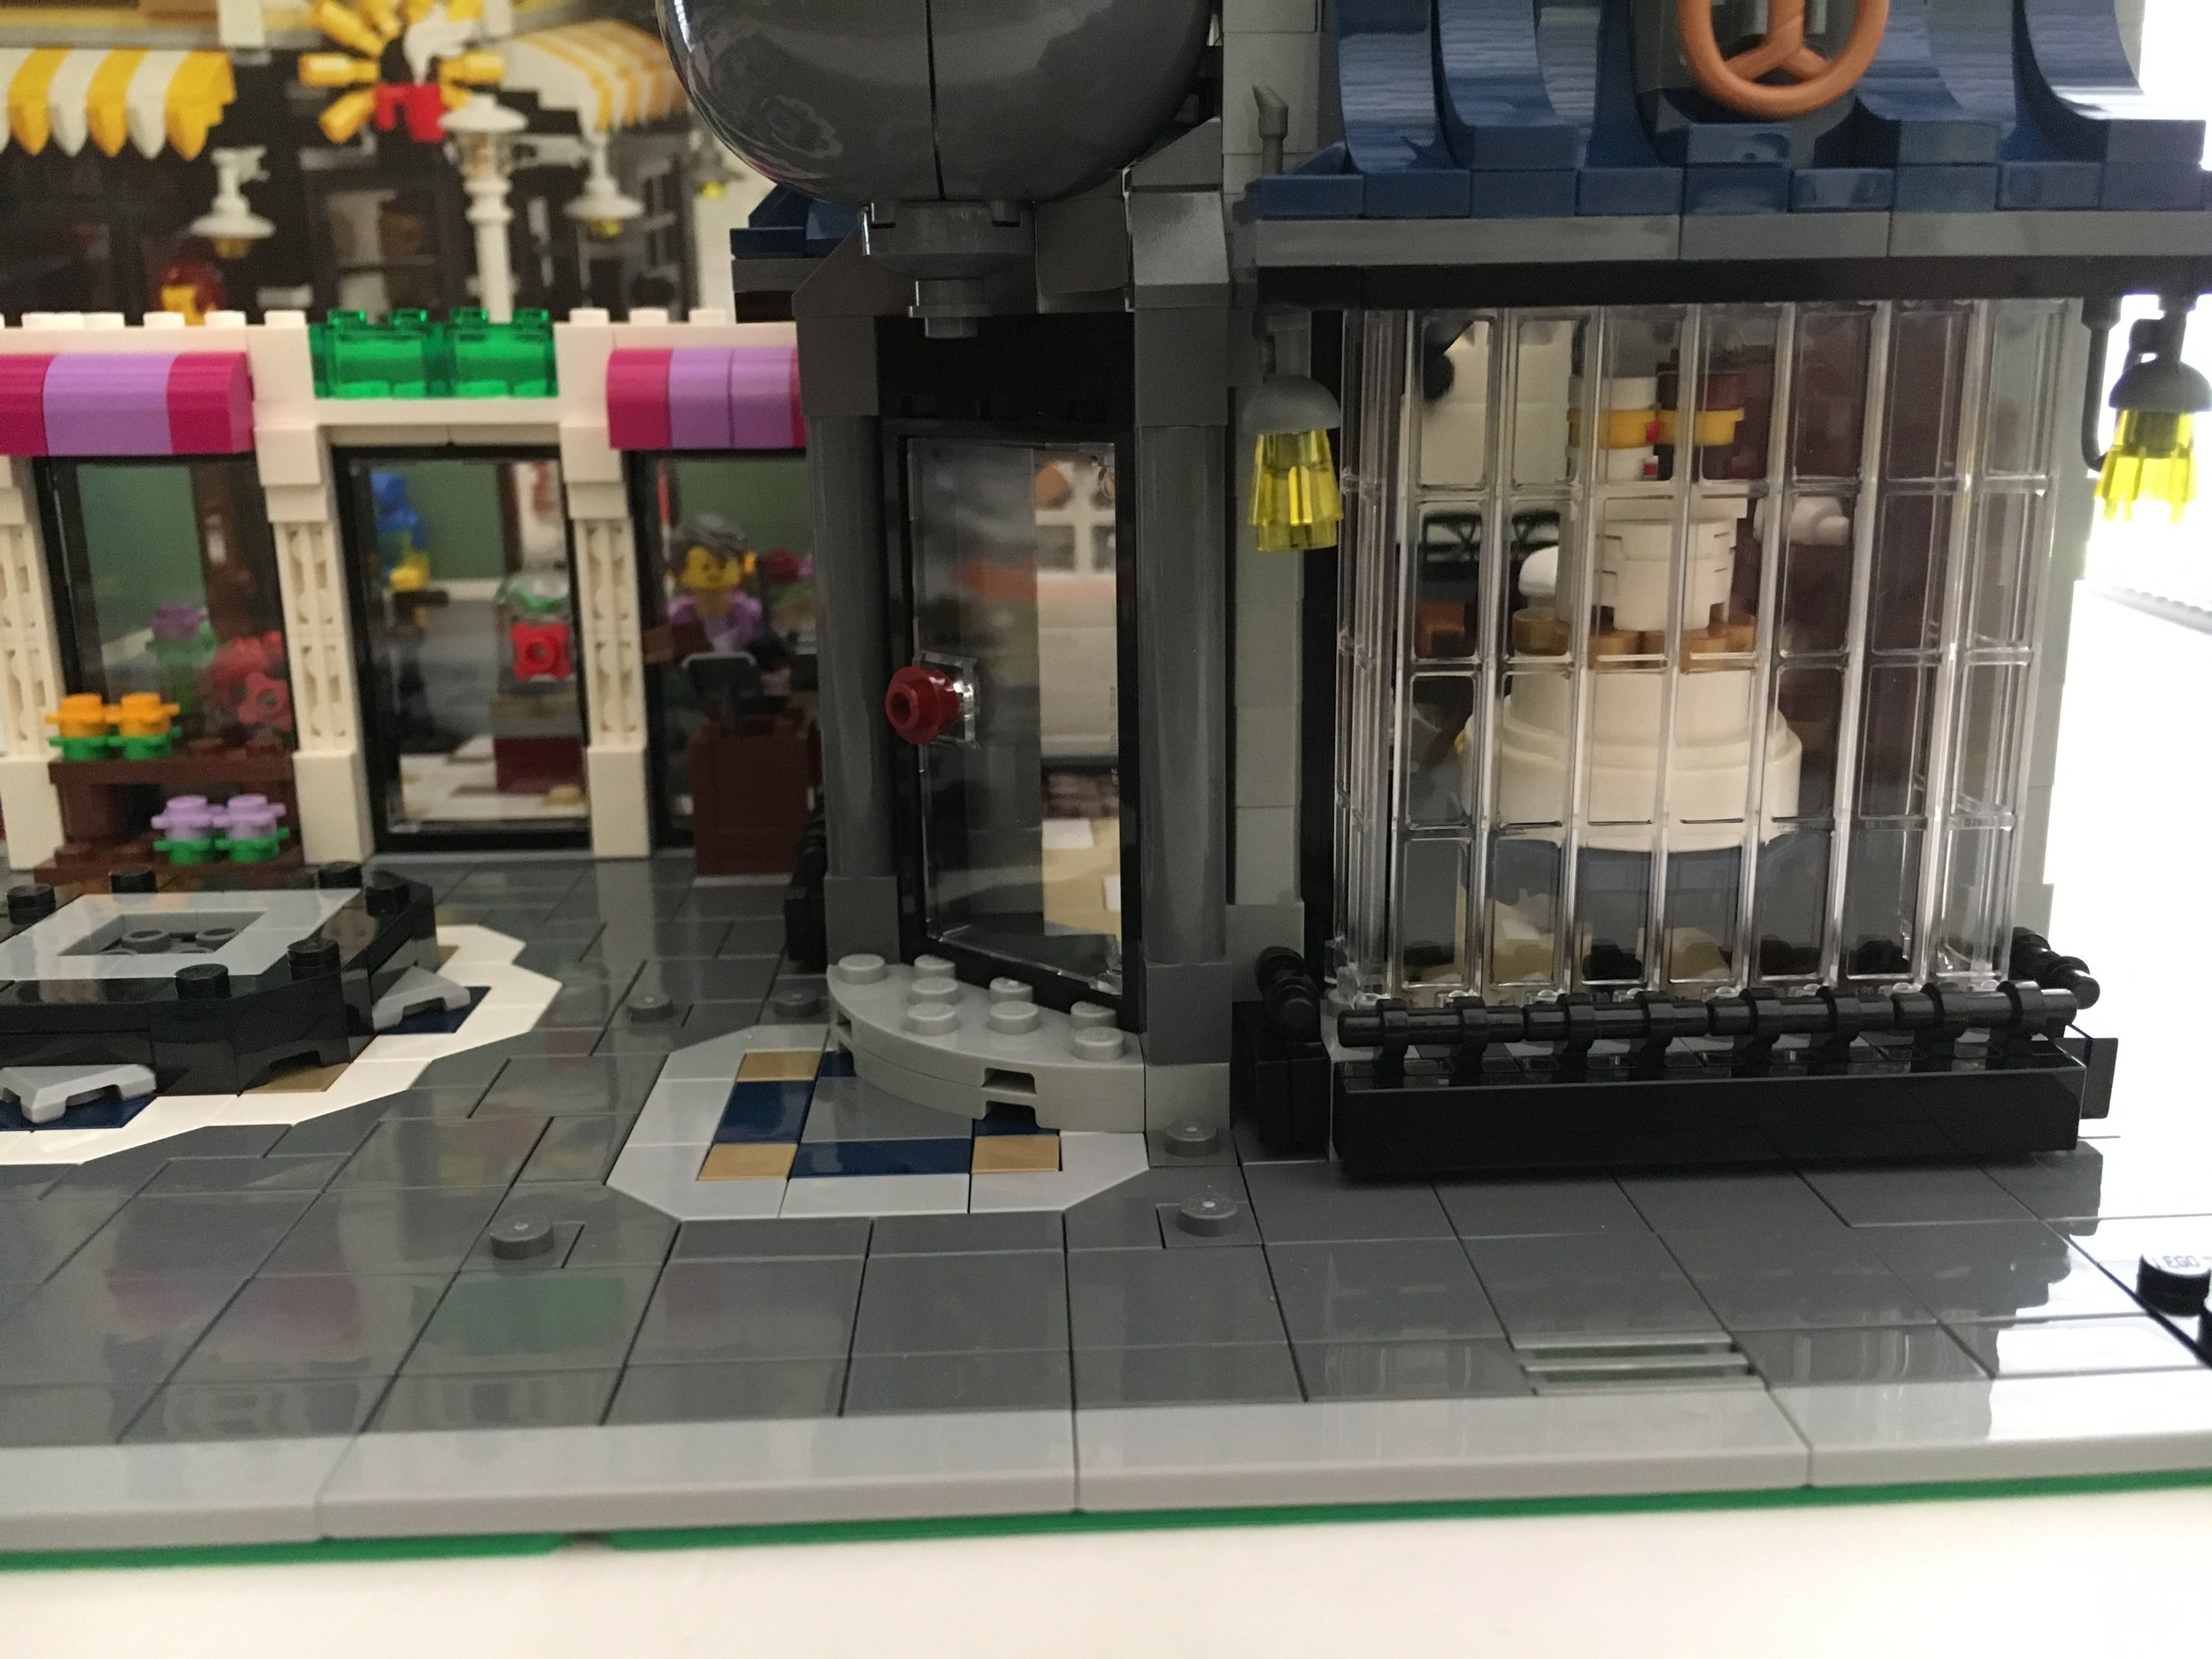
First off... the bakery.  The left picture shows the front.  I like the use of the garage door pieces for the front window.  The design to add them in is pretty easy, but not something I would have thought of on my own.  Go Creator Expert team!  You can see the wedding cake in the front with the "wedding couple" on top.  The bakery has some great details to includes some cakes and other pastries on display throughout the store.  It also has an oven to cook the various items, but really no area to bake in.  I get it... not a lot of space and the designers did what they could given the space they had.

Assembly_Square_bag2_flower_shop.jpg

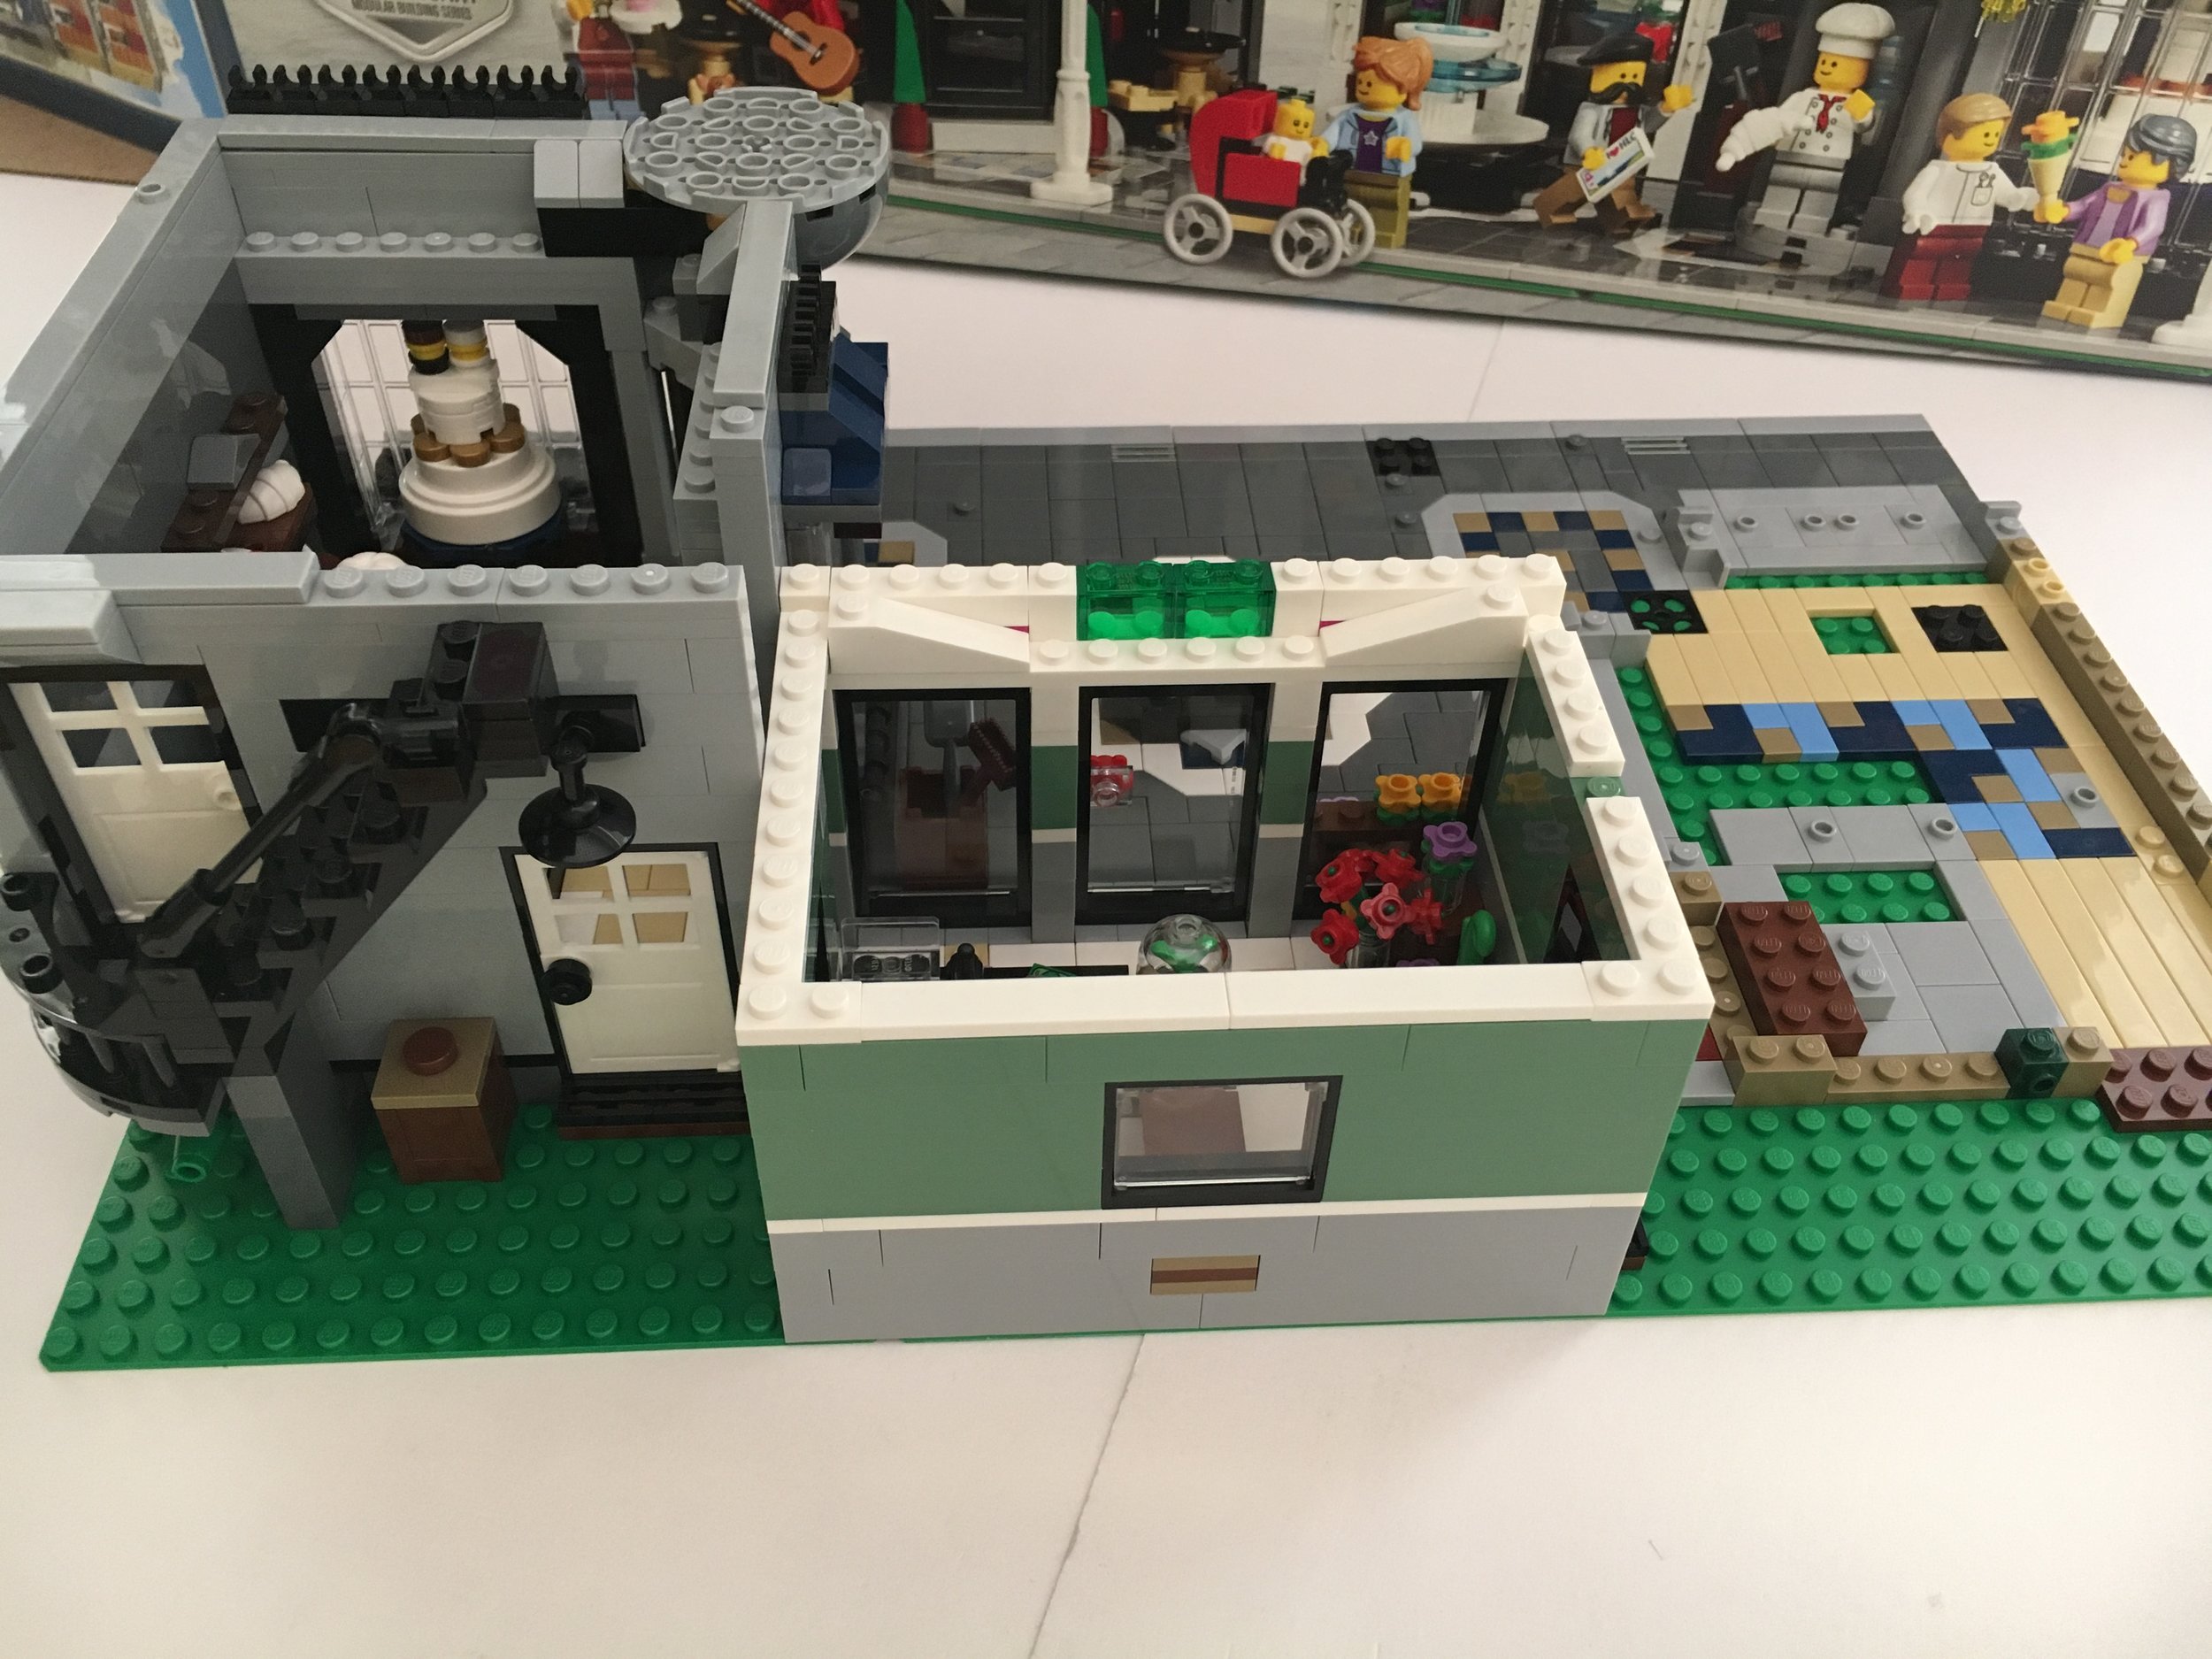
The flower shop is next and I included a top view here.  It is very detailed with various sizes of flowers.  As you can see, there is a bird and I think it is the first time there is a bluish-yellow bird.  Also, the design of the flowers that can be handed from one minifig to another is a first that I recall from any sets.  In this picture they are located right behind the minifig in a stand on the wall.

Assembly_Square_bag2_front.jpg
Assembly_Square_bag2_back.jpg

Above are pictures of the front and back.  The flower shop is actually completed in the next set of bags.  You can see the front of the bakery a little better with the pretzel on the front of the store and then I am also a fan of the bottom part of the half circle that will be completed in a later build as part of the floors above the bakery.  The awnings on the flower shop are fun shades of pink/purple too which help the store to standout.

Assembly_Square_cafe_front.jpg
Assembly_Square_bag3_cafe_interior.jpg

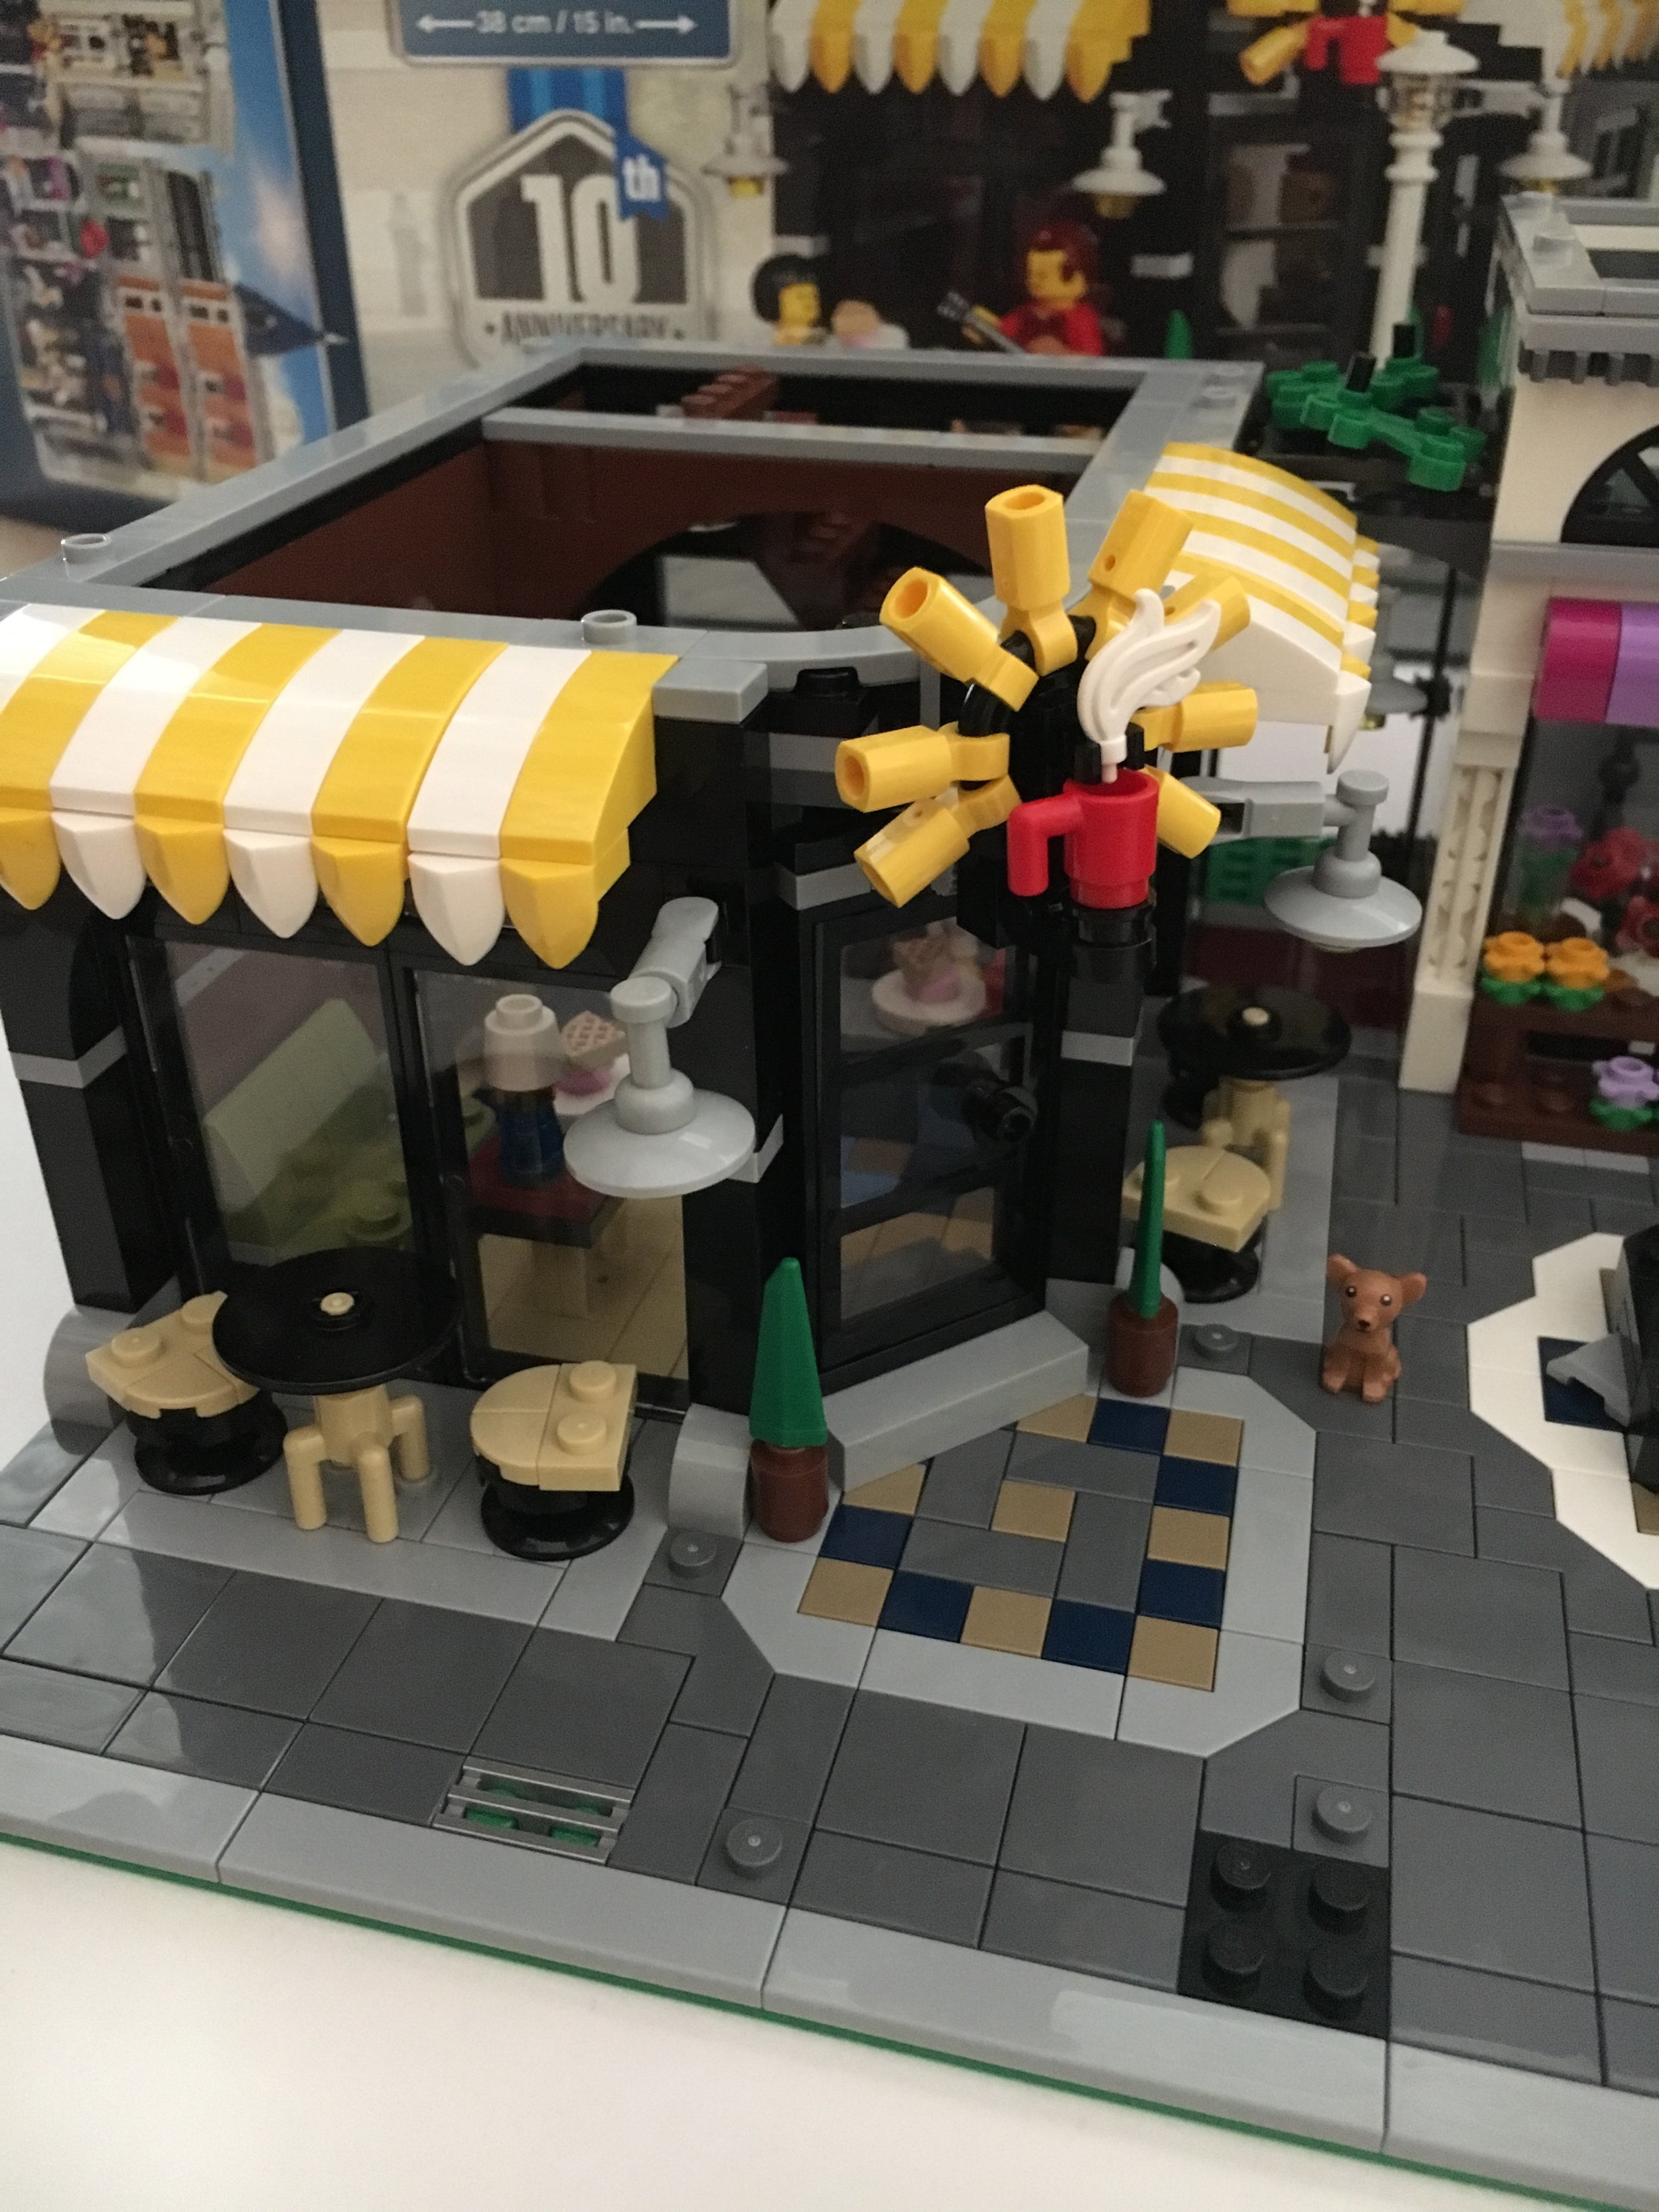
The cafe makes up bag 3 with 4 bags of bricks.  The cafe is chuck full of some great details.  As you can see above, it includes a female barista and then a small dog.  Above and to the left is the front and exterior.  There is a fun 3D logo above the door for the coffee brand.  The steam coming out of the cup is a genius design.  The chairs on the outside are much fancier than the ones from the original Cafe Corner back in the day.  Inside, there's a couch by a table with some chairs and some fun lamps and various foods on the tables.  The barista has a small work station and cash register.  It definitely looks like a cozy place to sit back and enjoy a cup of coffee.

Assembly_Square_bag3_front.jpg
Assembly_Square_bag3_back.jpg

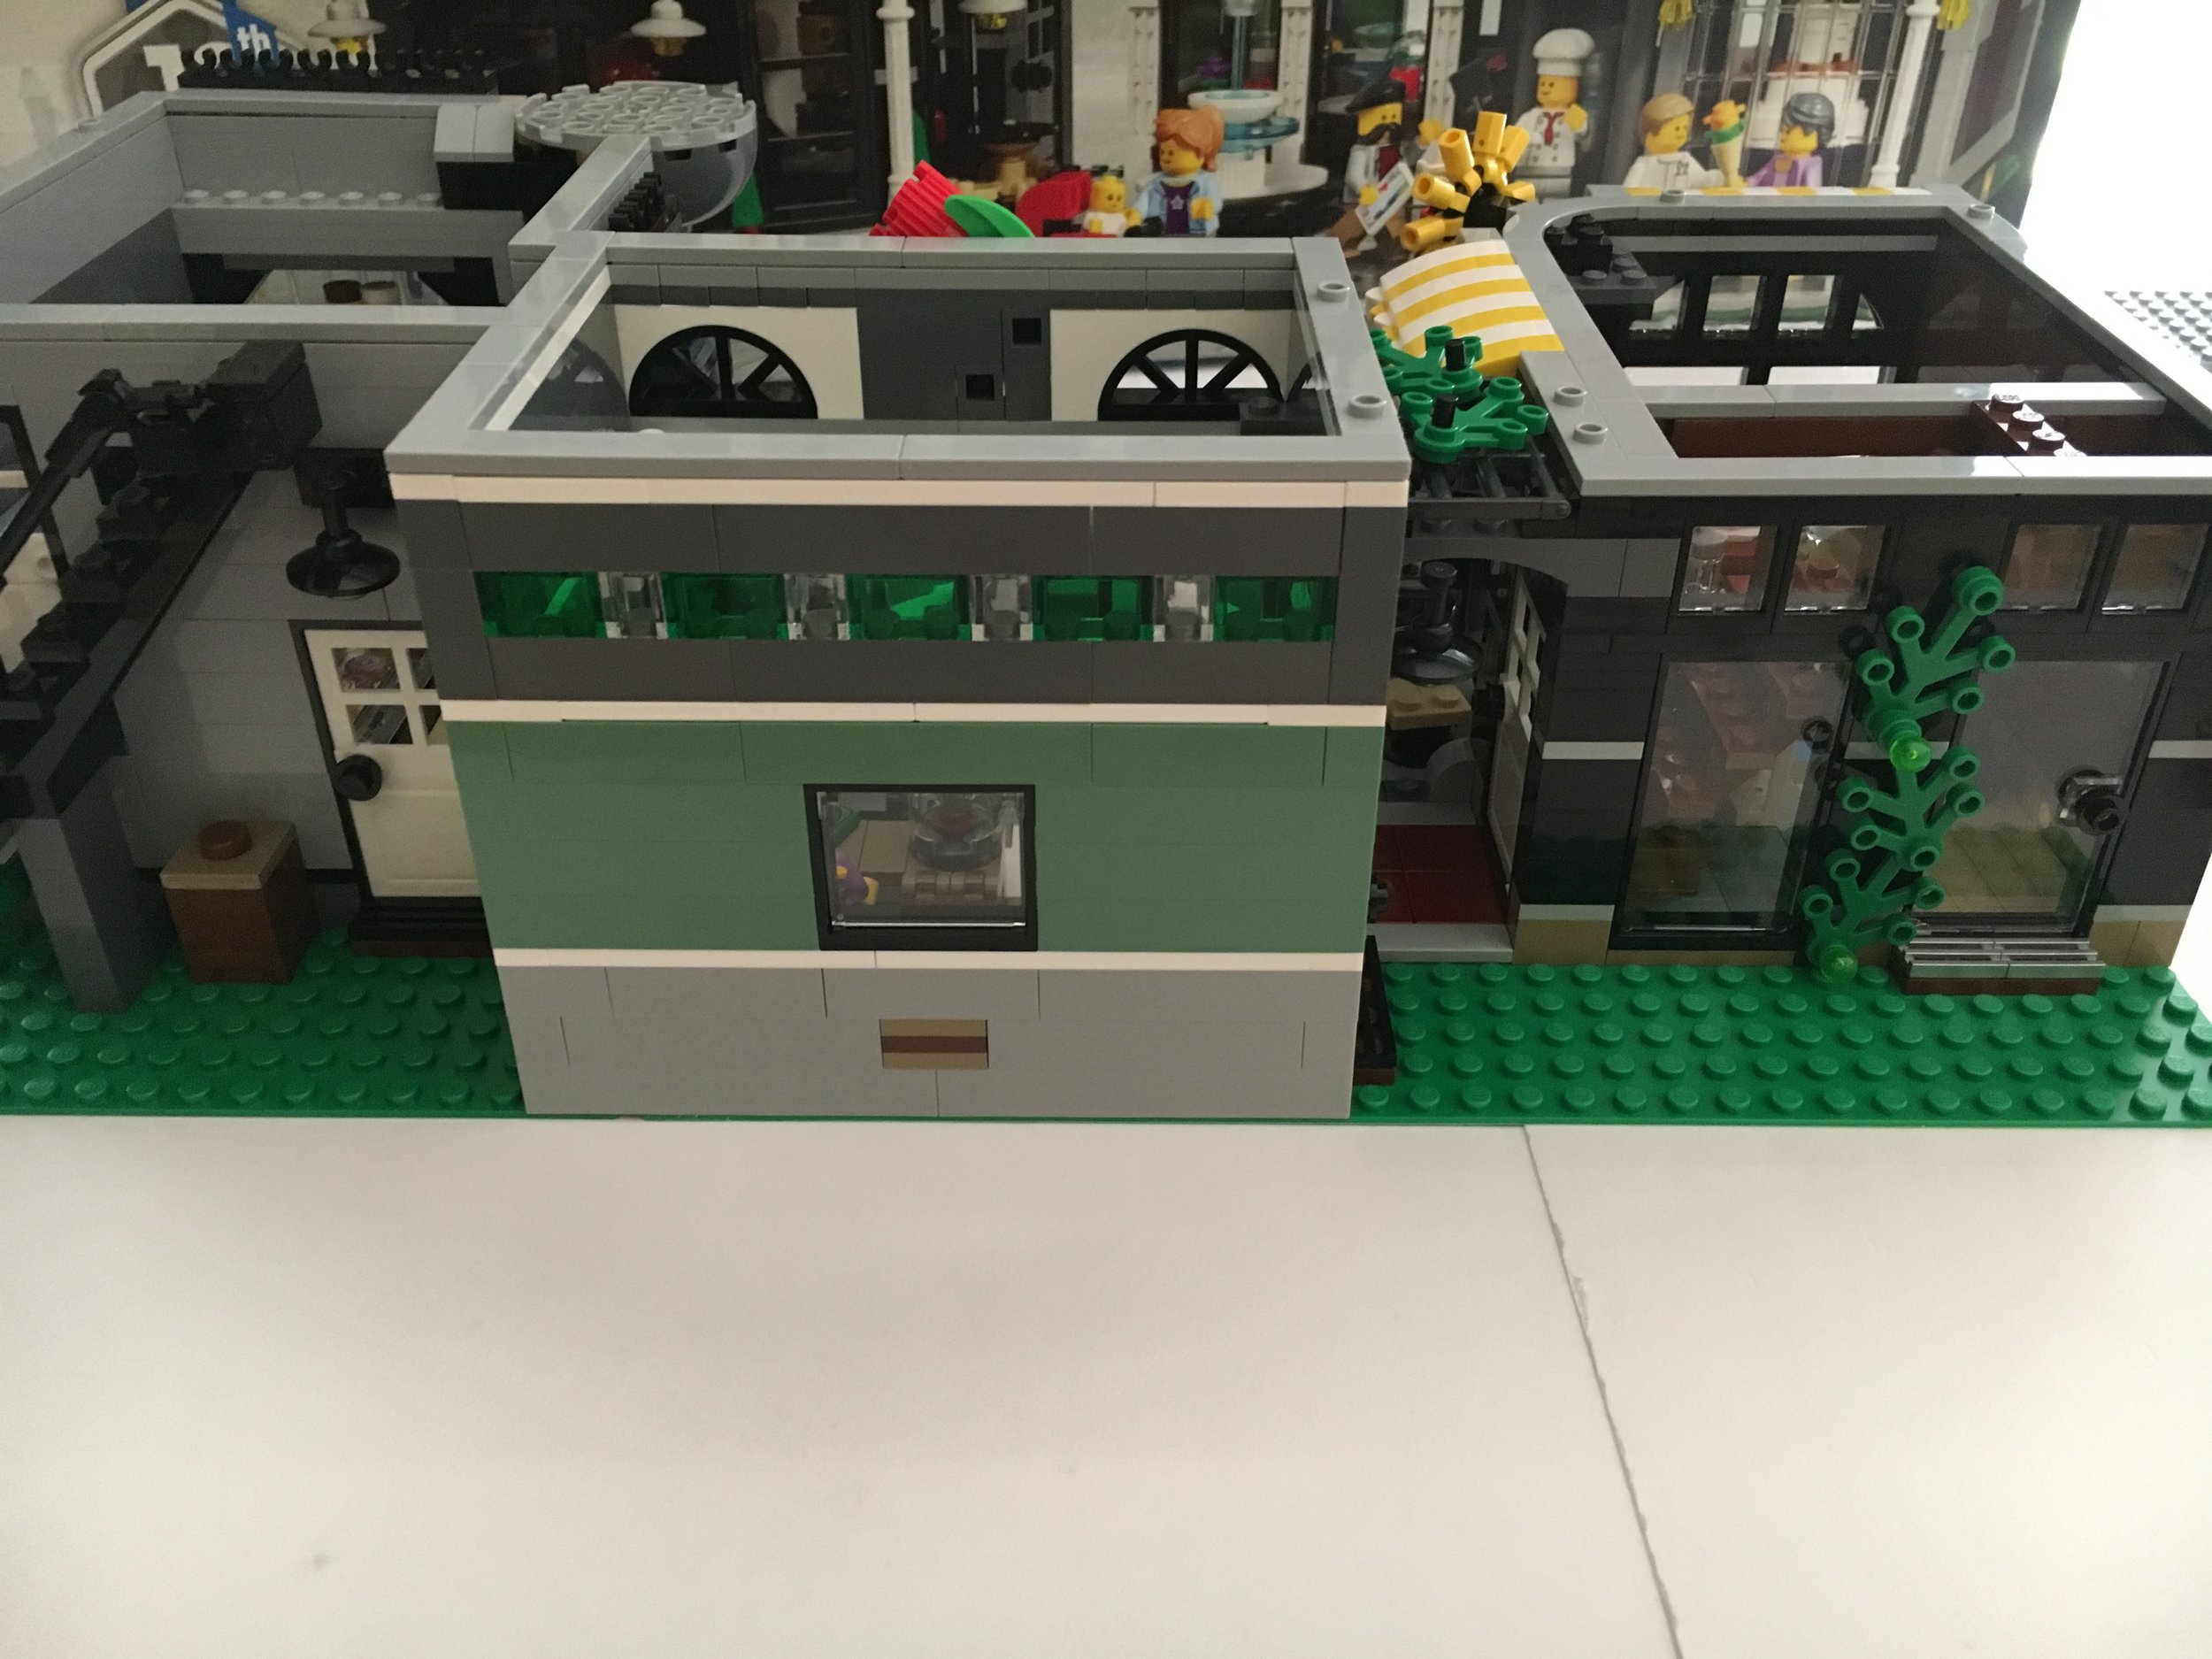
Next are pictures of the front and back of the set after the 3rd set of bags are done.  The left shows the completion of the flower shop to include the 3D flowers and some additional design to the front facade.  You can see on the right that the back of the flower shop has translucent green and clear pieces to let some natural light into the store.  You can see the window placement on the cafe and the green plant growing up the back of the cafe as well.  

So far so good.  No complaints yet.  Onto the rest of the build...

See part 3 of the review here

We're moving... again!

If you've kept up with the blog, you'll remember these posts from 2016 (#1 and #2).  My "other job" moved me from New Mexico to Florida.  Well, that "other job" decided it's time to move again.  Bricks for Bricks is now going to Alabama.  What does that mean?  The last BrickLink and Brick Classifieds  orders will be accepted on 30 April 2017.  Then on 1 May 2017 the store will be closed.  At this point, we'll have to move it all again and re-establish.  I am hoping to be back up and running in a month or two, but we'll see how things are going.

Thank you for your patience while this all happens!  Happy building!