Full disclosure… I’ve had this set for a long time… like a few years. It took a long time for me to finally start building, then to finish building, and then to add a light kit. So this review is long overdue, but the good part is this set is still available if you are interested in purchasing it. If you’ve read the blog or followed it, you’ll know that i spent some time living in Europe. I had a trip planned for Paris, but sadly, this pandemic shut down the borders and I never made it there. I did however pick up set number 10307-1: Eiffel Tower a few years ago. This set was released on 25 November 2022. It contains 10,001 pieces (the additional piece above 10,000 is the brick separator. This set retails for $629.99 which works out to $0.063 per piece which isn’t too bad. I picked this one up a few years ago when LEGO ran a sale on it around Black Friday. I used some Insider Points as well so in the end I think I paid like $200 out of pocket. There was a GWP so even better. I don’t think I could have swallowed the $630 in one chunk so I’m glad I scored it when I did and that I had the points to help.
The box is huge. The set come in it’s own box and I had it shipped so the box was in another box. Here are the various sides of the box.


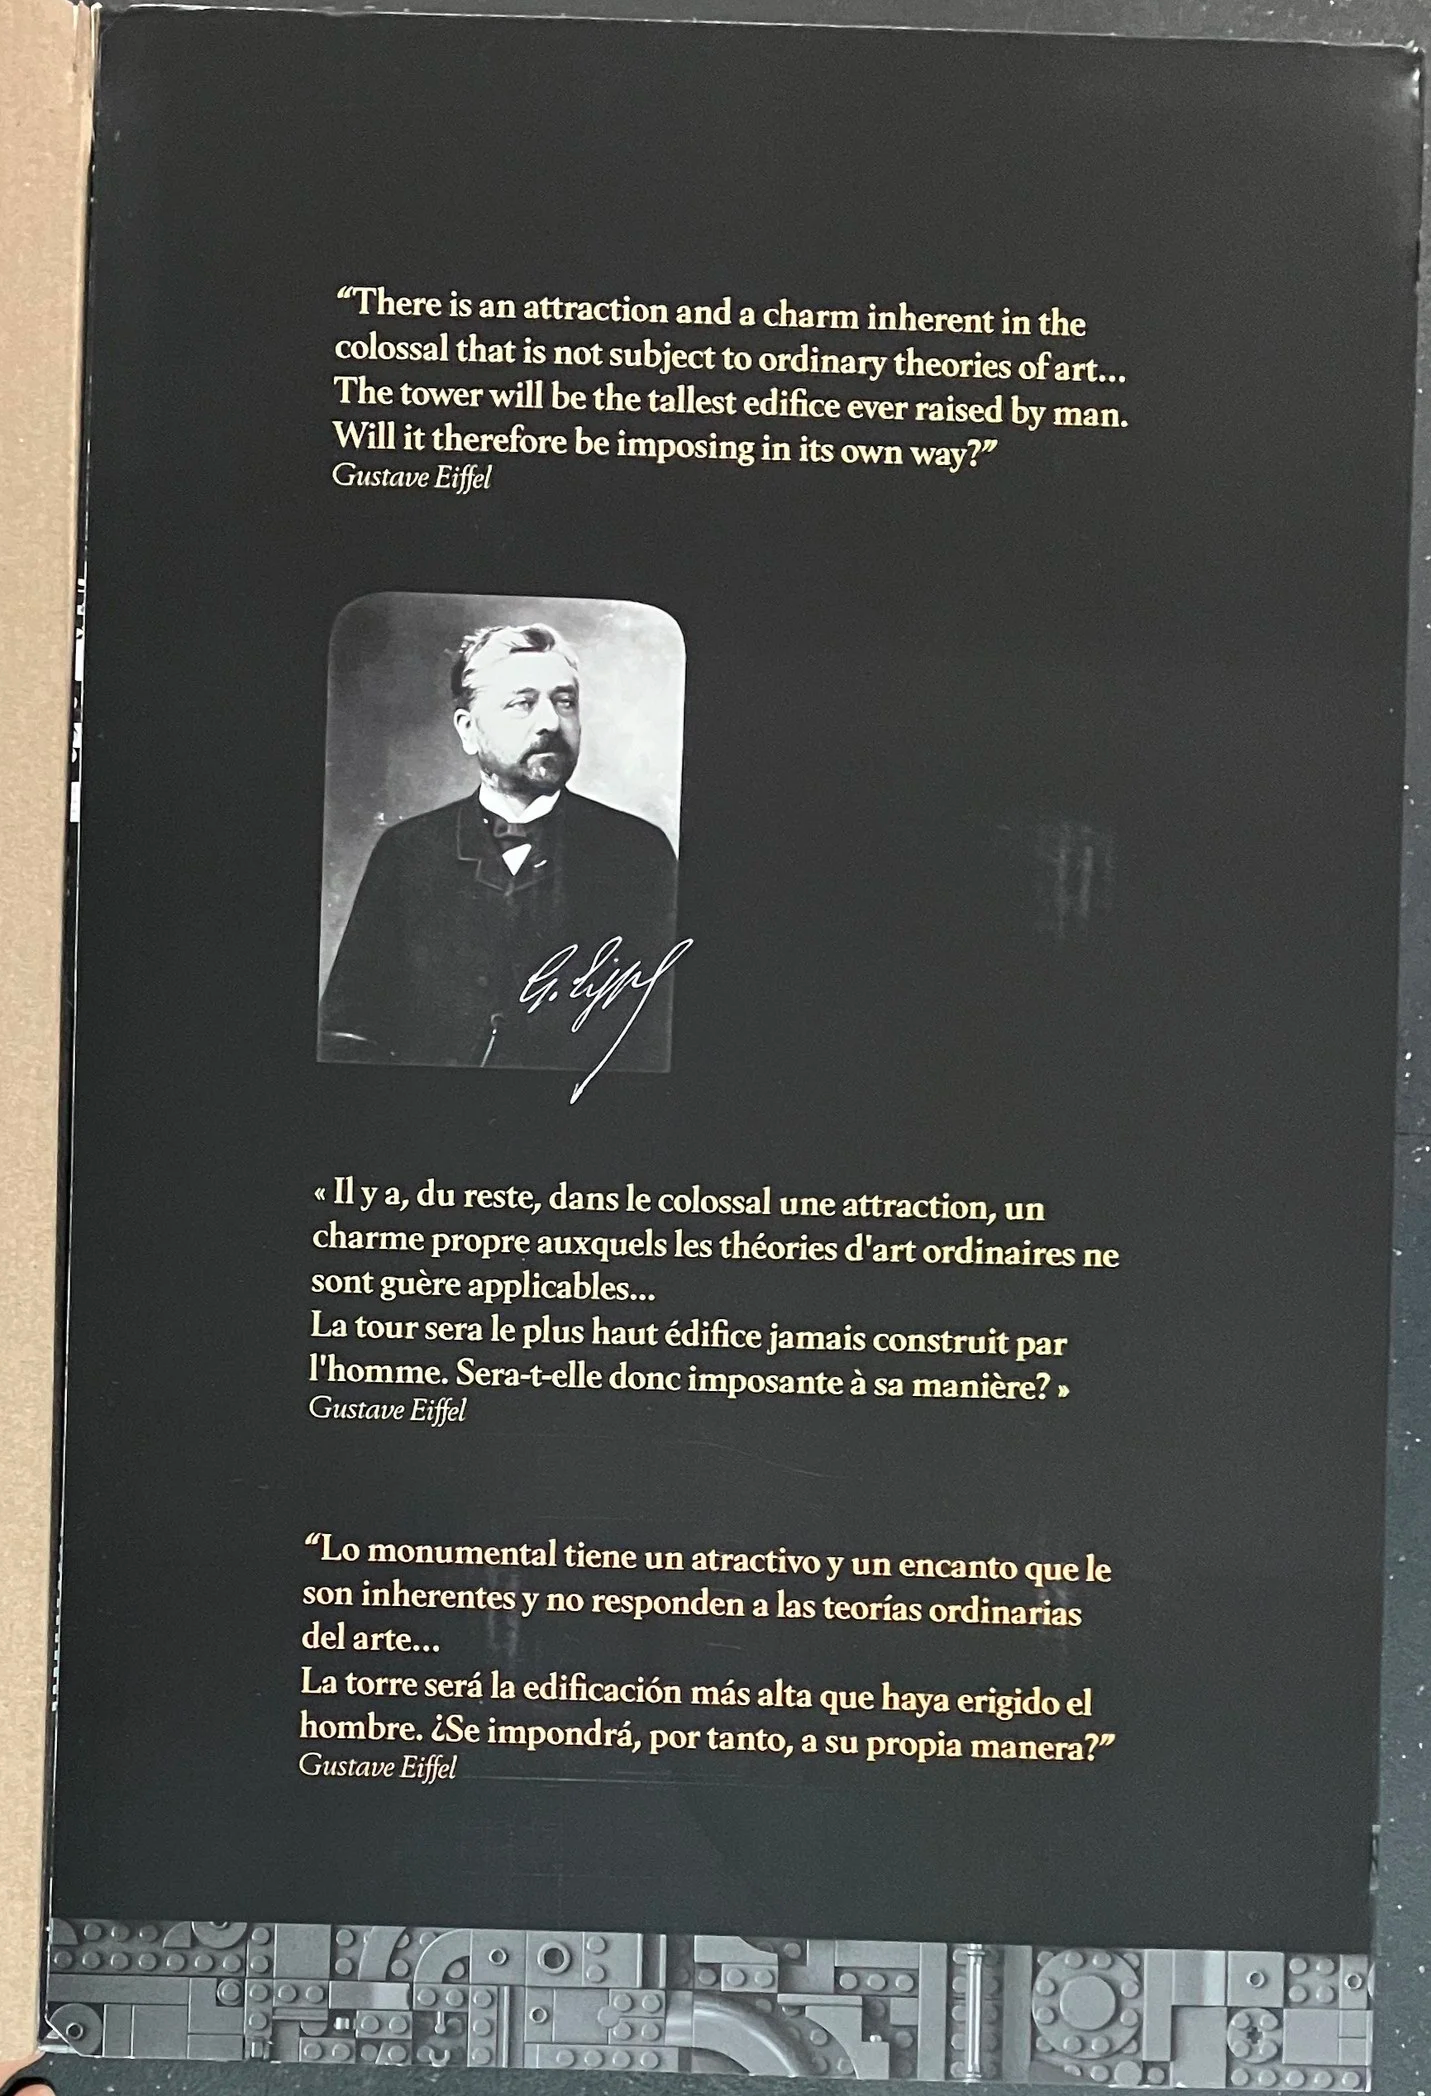
Here’s the top and then when you open the first flap, the next flap has a quote from Mr. Eiffel along with his picture.

Inside the box are three numbered boxes that fit together to form the Eiffel Tower as a picture. The other cool part is that you assemble the sections of the tower on each box using the parts in those boxes. So box one builds the base and the four legs. It’s not an exact match, but it’s pretty close.

The set comes with 74 numbered bags, a few bags without numbers, some parts not in bags, and then three instruction books (one in each box). Below are the contents of each of the three boxes.
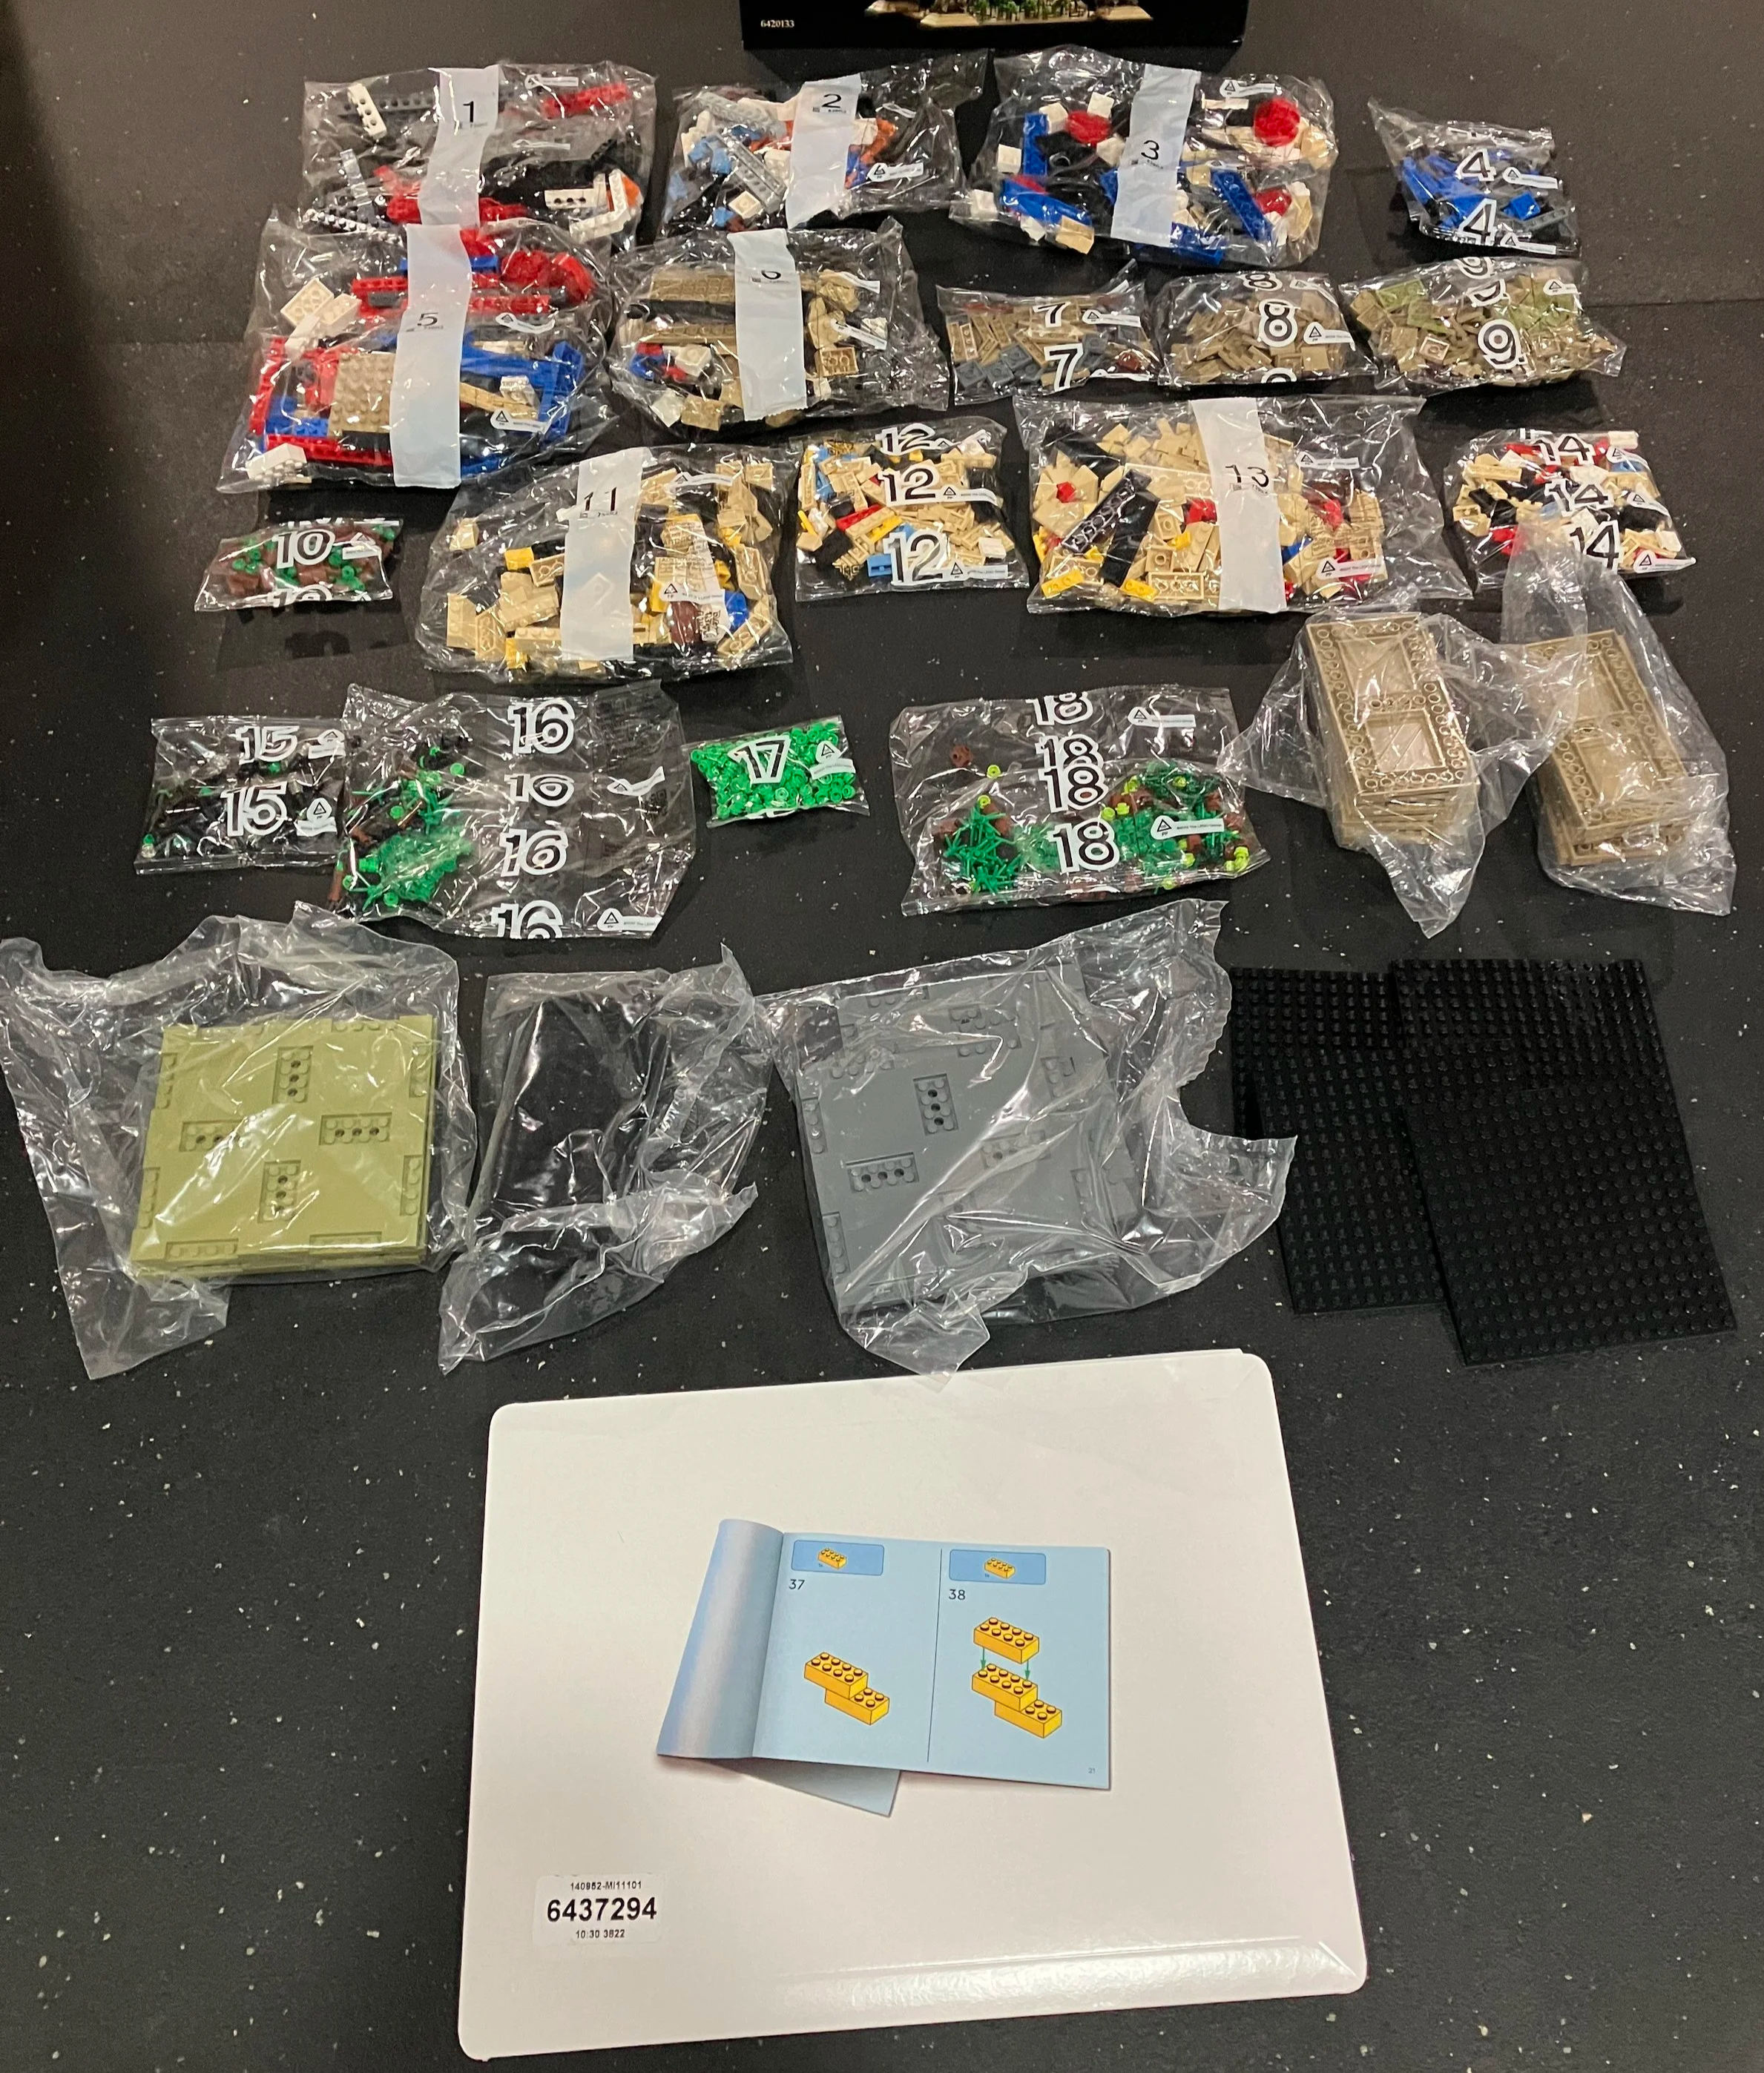
Contents of Box 1

Contents of Box 2

Contents of Box 3
With 74 bags, I decided it best not to go through each bag. If you want a full up review that goes step by step, you will have to look elsewhere. Sorry.
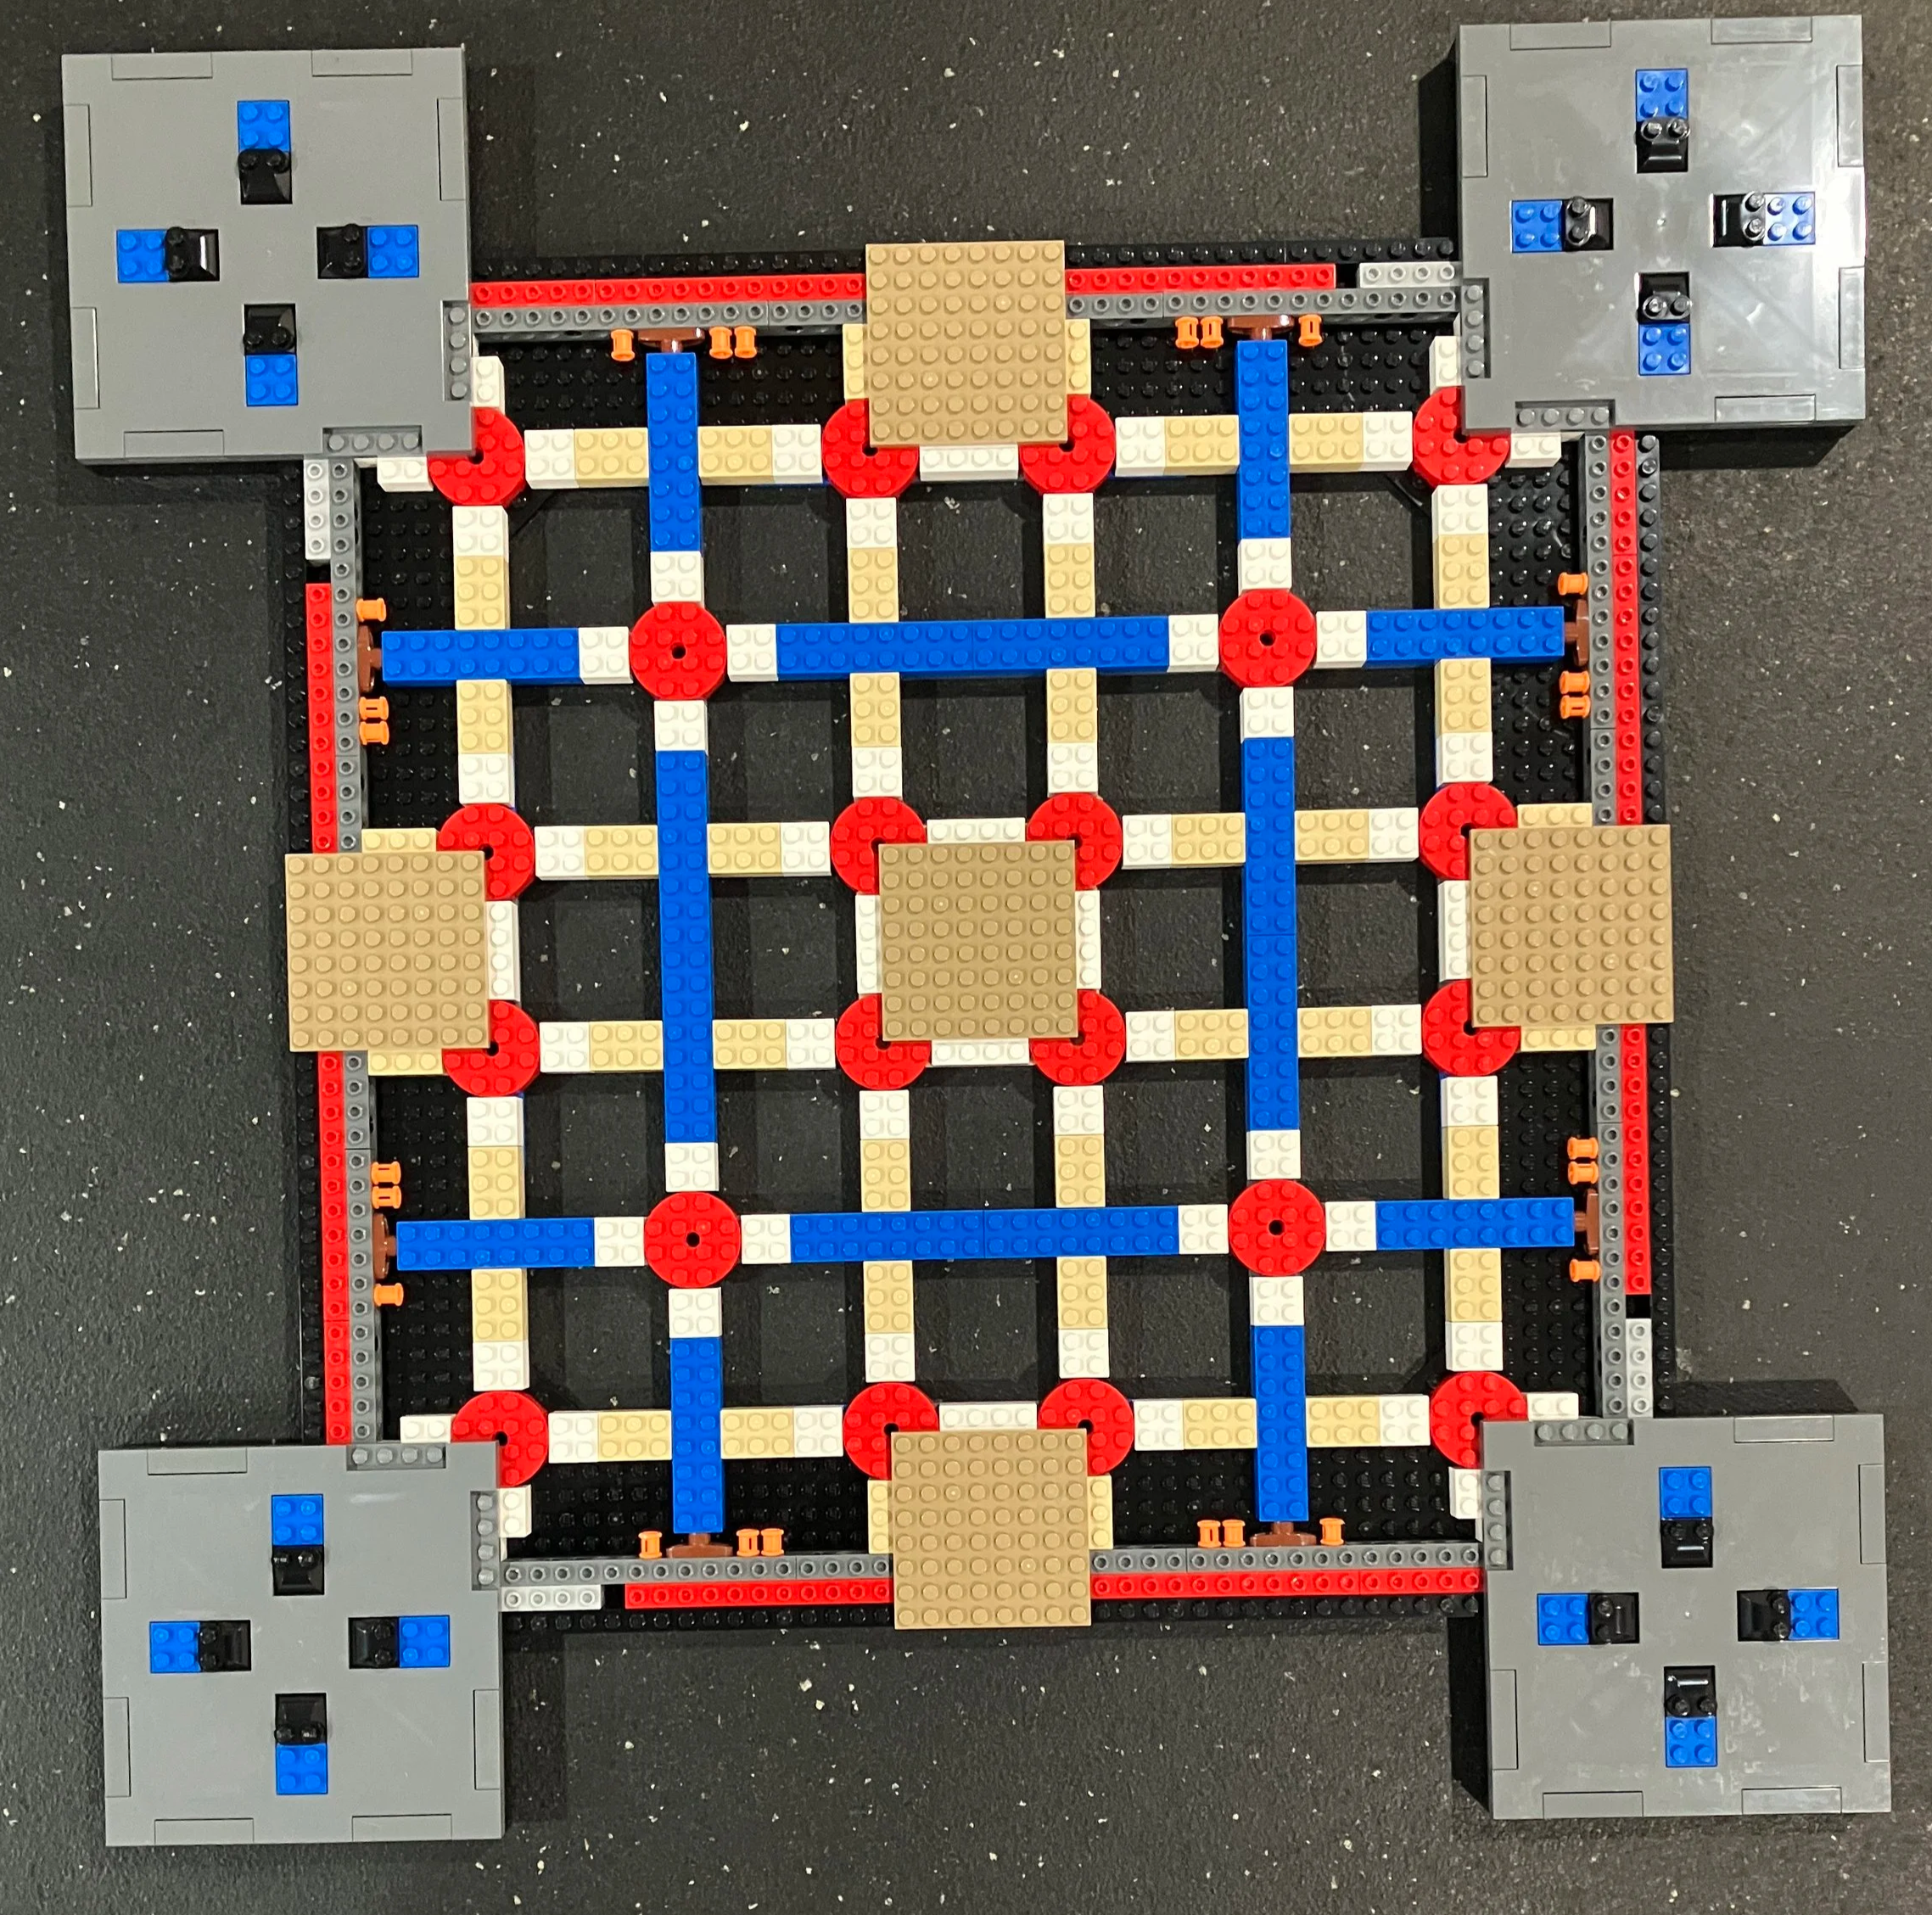
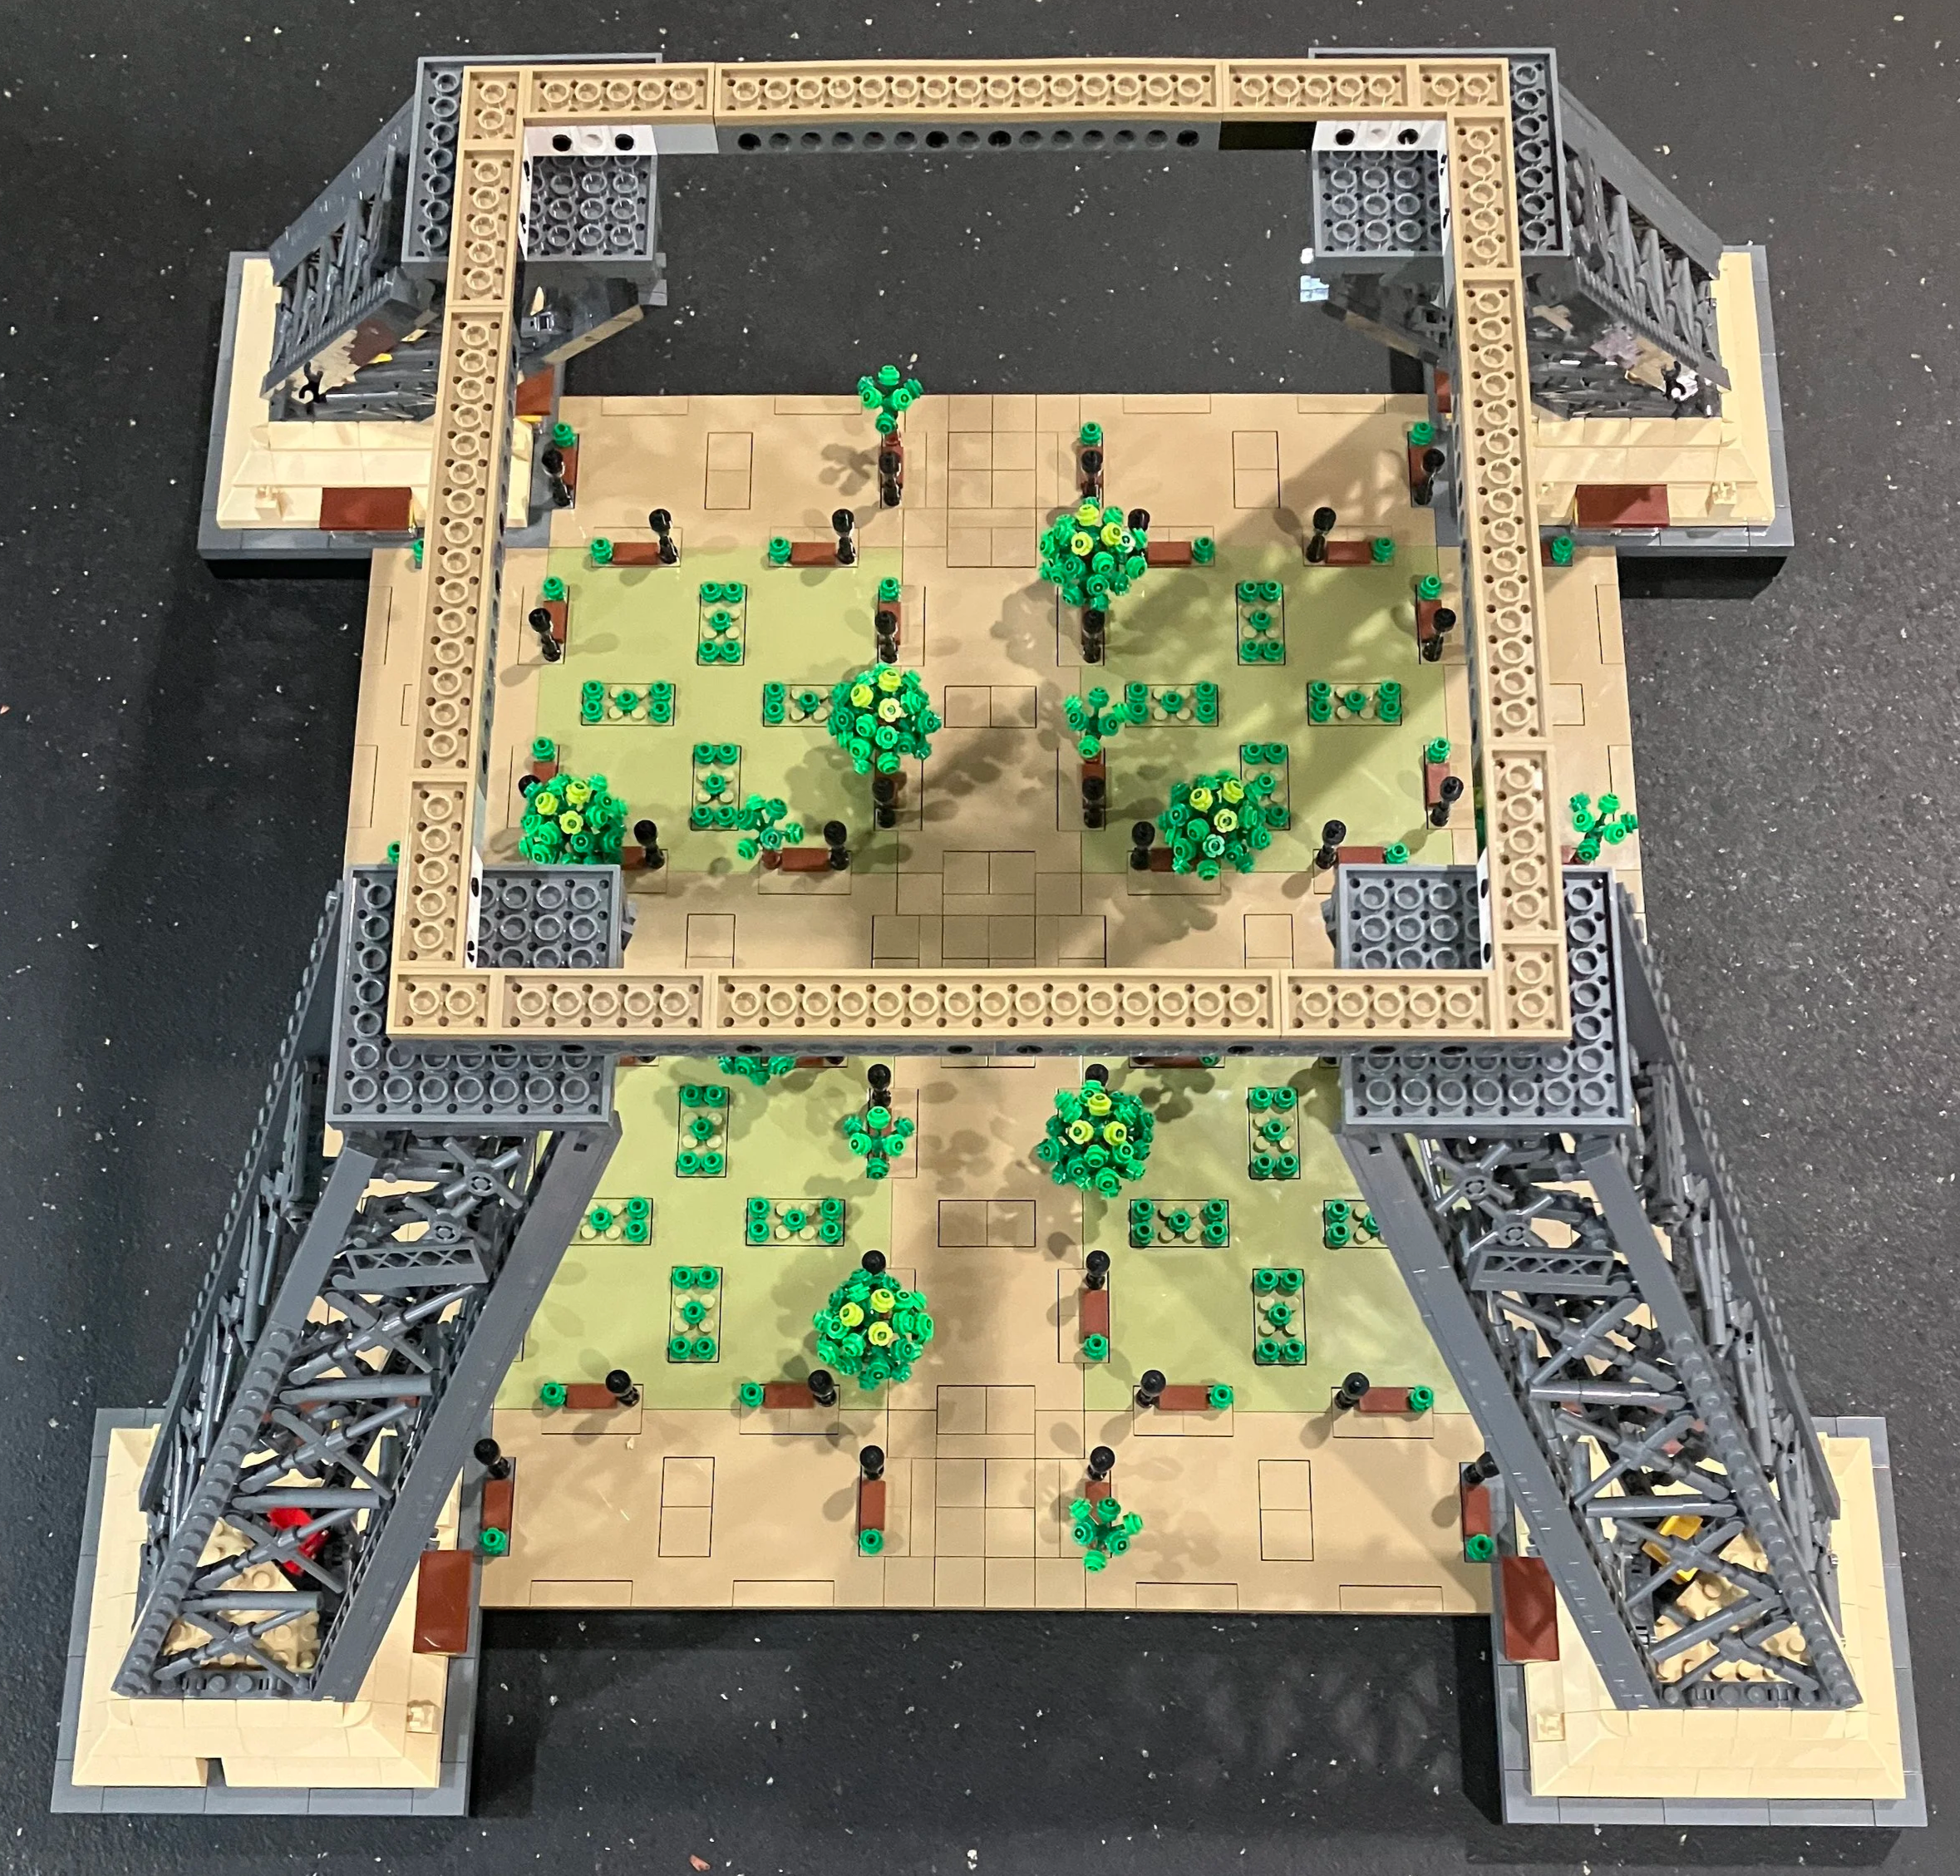
The builds starts with the base of the tower. This is created with Technic pieces and system parts. The first picture is from bags five and six. You can see the four spots where each of the legs of the tower will connect and then the center section which will become the area where there will be trees, lights, and benches. Of note, throughout this build, there are multiple bags for each instruction section. I’m not sure why they didn’t just number it step five and have two bags numbered five, but it works.
Bags 17 and 18 show a finished off center section and then they start to form the base of the tower in each of the corners. While the majority of the build from here on out is with gray pieces, it was nice that they used a few other colors so you can tell different corners apart.

By bag 28, you finish all four legs and you connect them with an initial frame. The legs are all built in a similar fashion and you use various gray pieces to build the internal frame of each leg. The frame does not actually provide any structural support. It’s just there for looks.
By bag 32, you add more of the detail of the structure connecting each of the legs. I like how they came up with the curved section by using flex tube and then different pieces connected to the frame at different lengths.

Bag 50 finishes up the next level and the next section of the tower. Each of the sections are similar to the legs using various parts to make the framework that doesn’t actually provide structure.
Bags 62 and 63 finish another section of the tower. In the center are little elevators. This section goes on top of the section from bag 50.


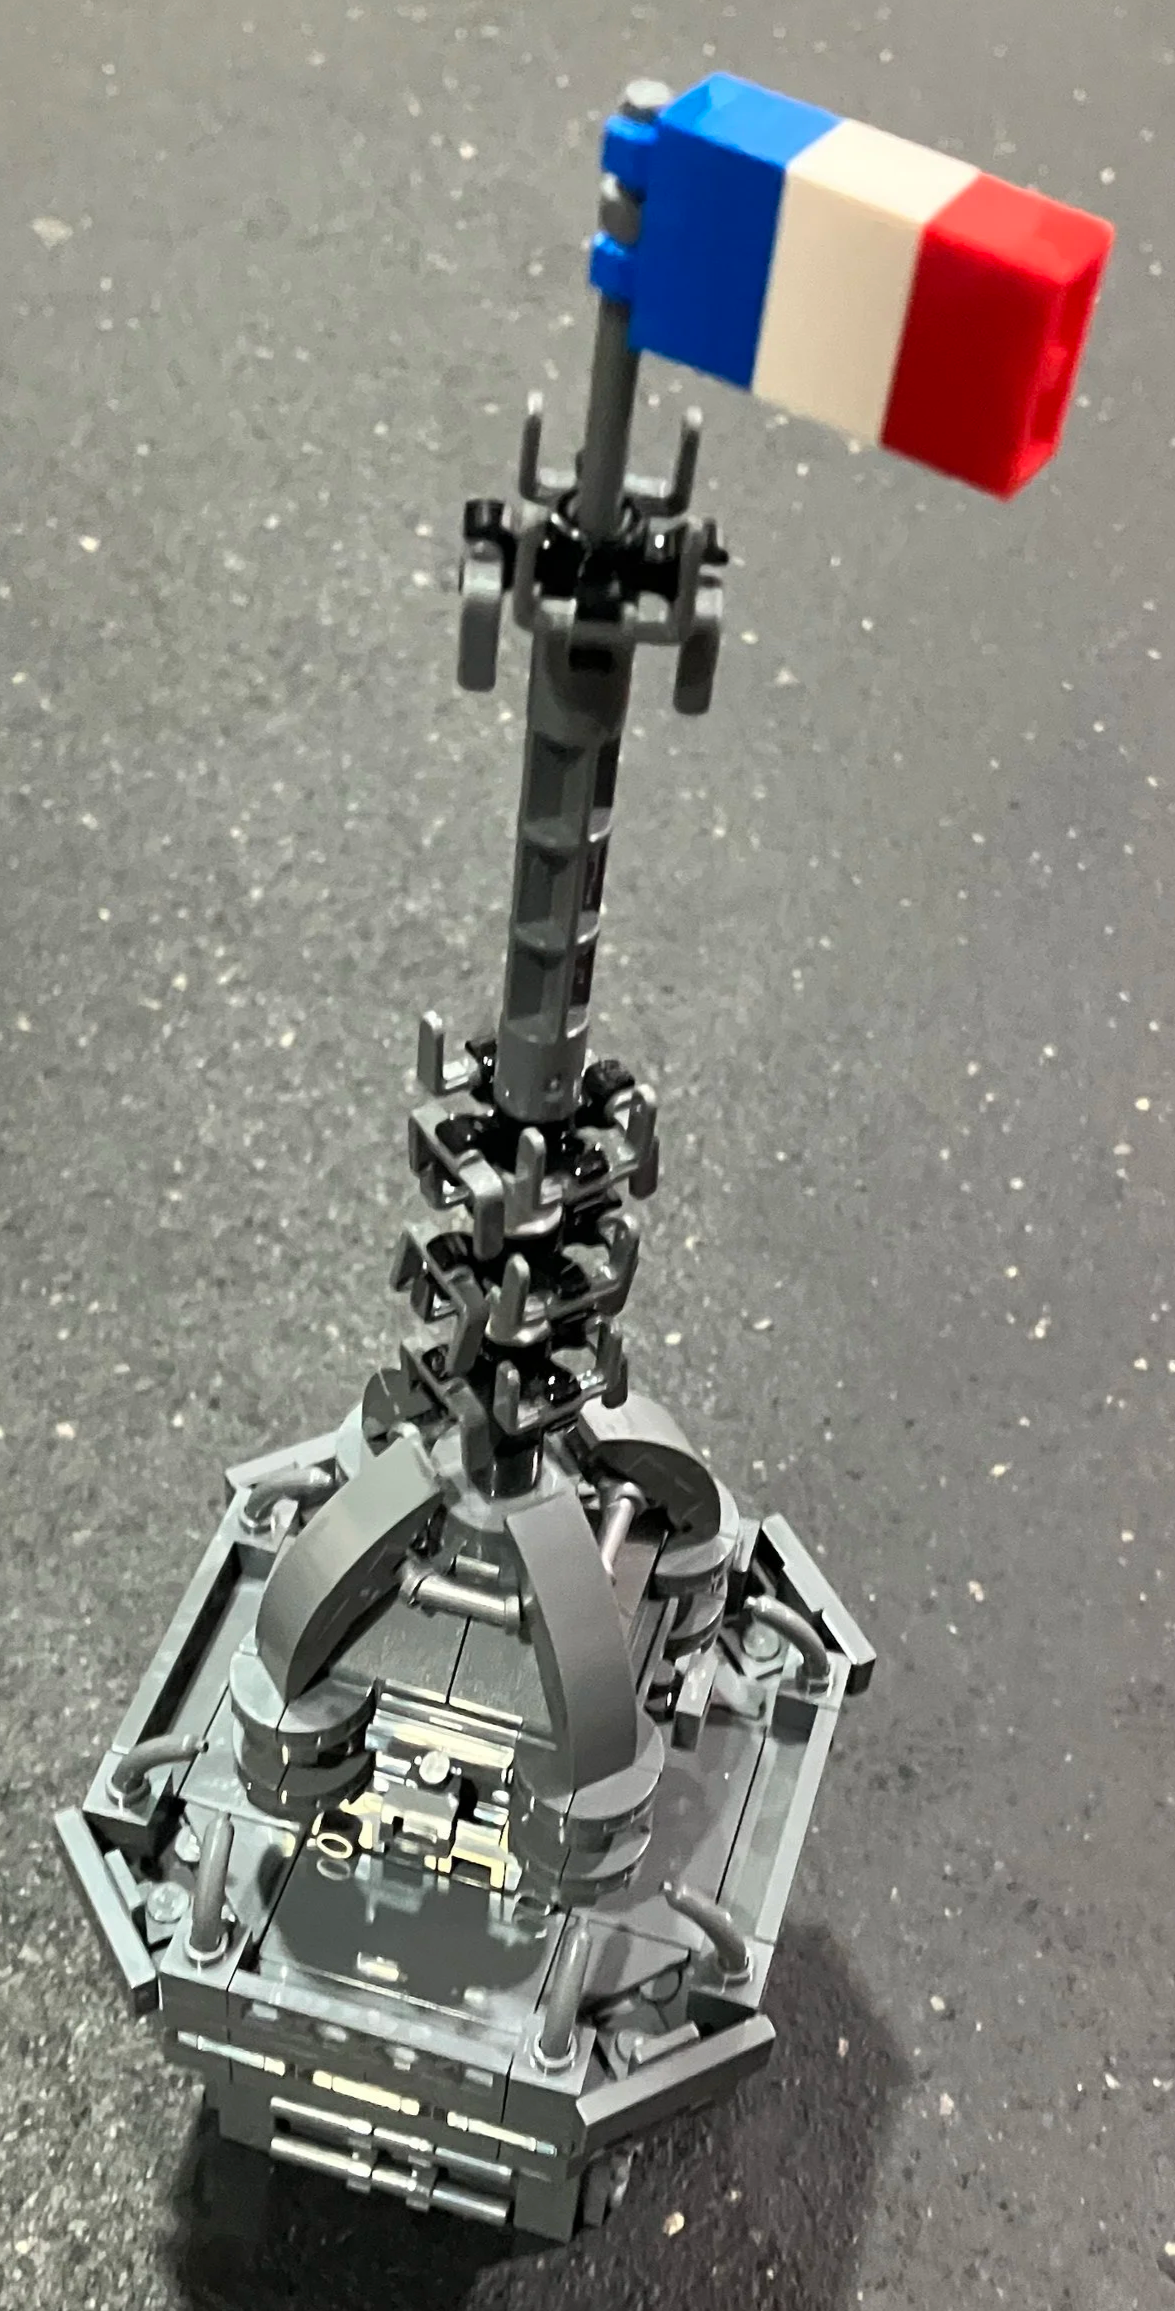
There is another level on top of the previous level. Then there’s the top. Bag 73 and then 74 build the very top (as seen in the next two pictures). It was great to have color at the very end with the flag at the top after all that dark gray.

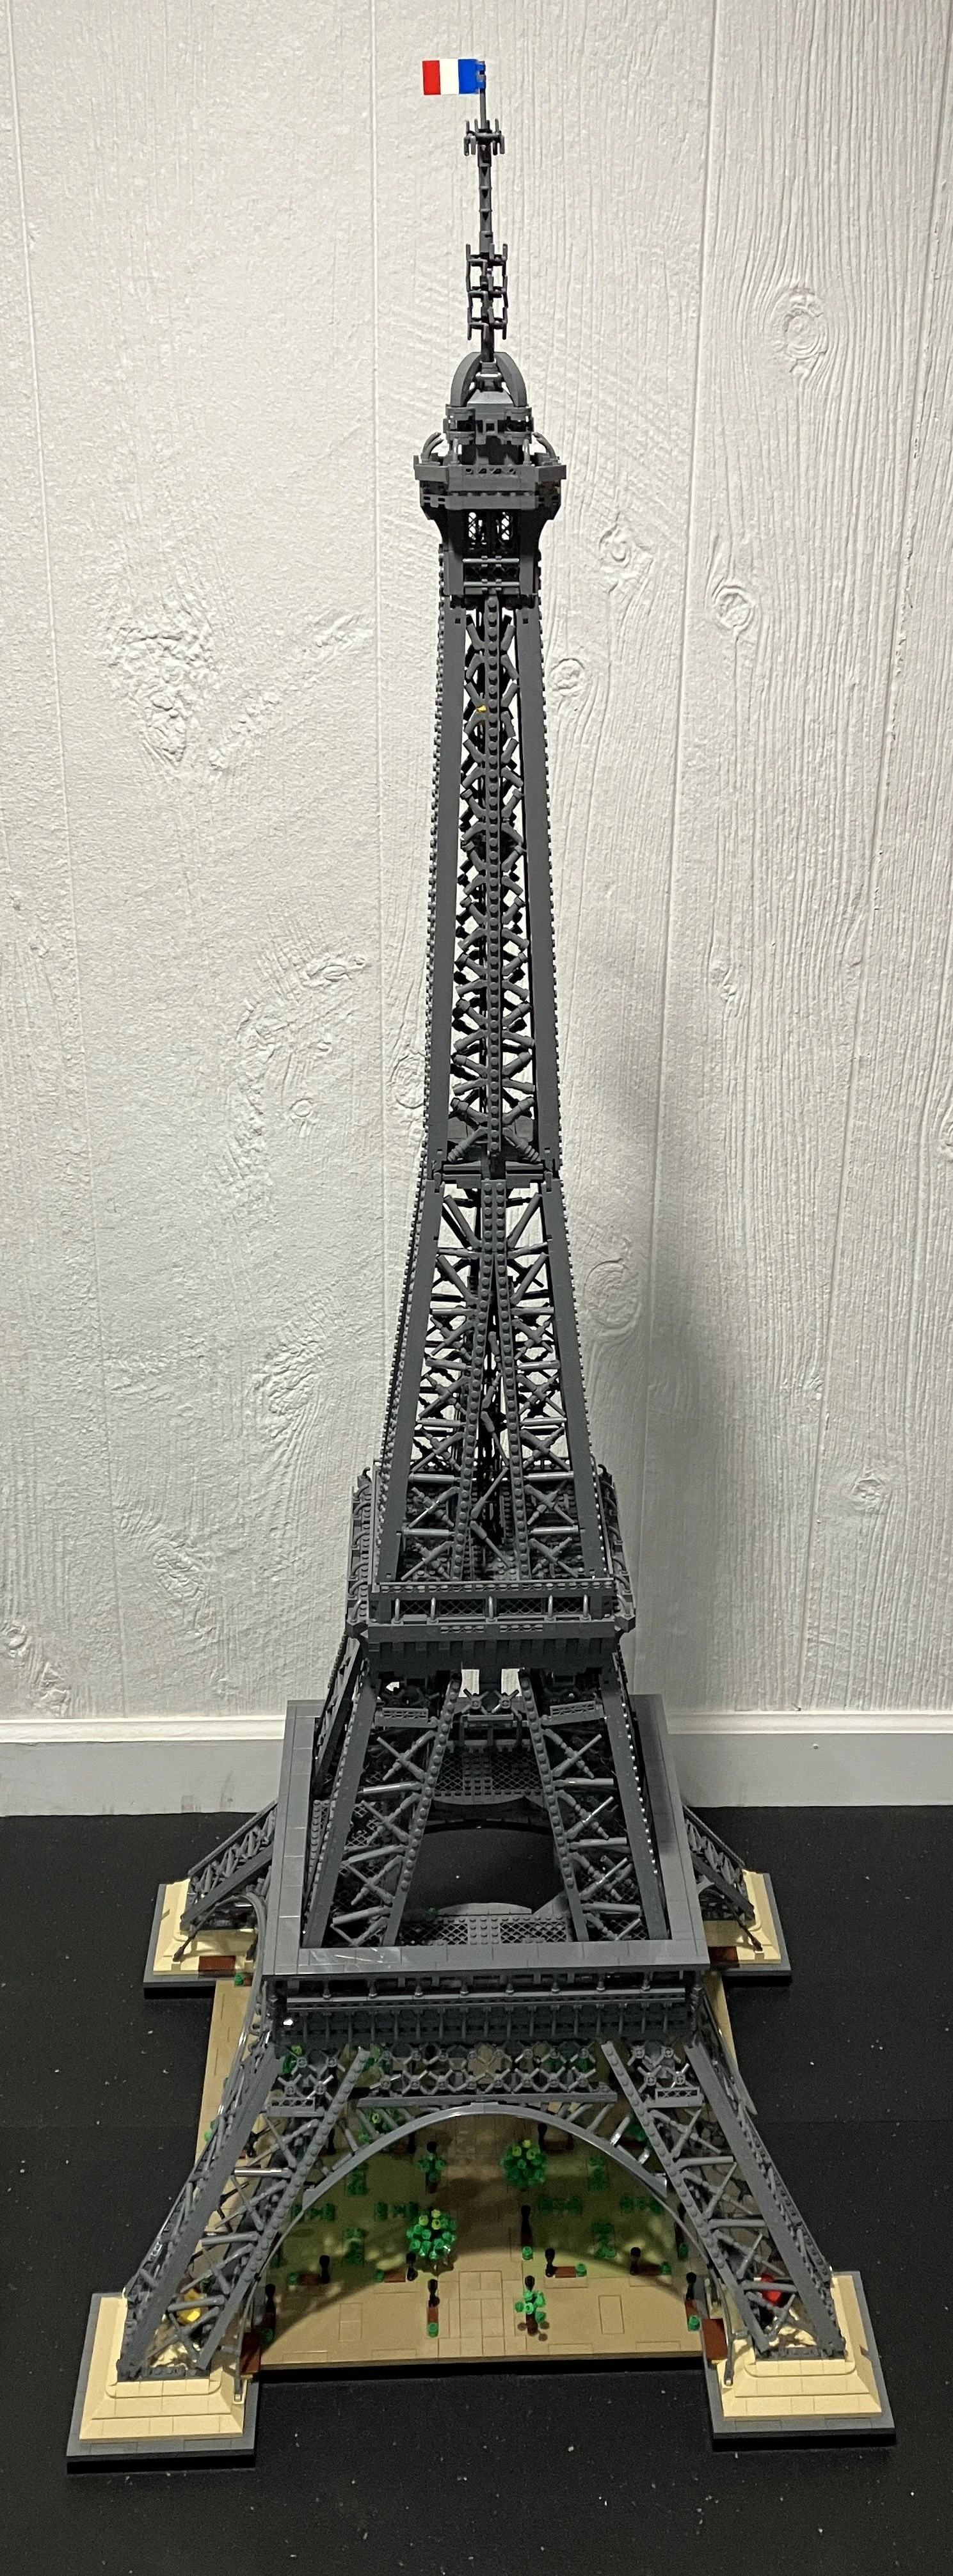
Here’s the final build. It looks incredible and it’s so tall! I enjoyed the build although it was spread out over quite a bit of time. There are a lot of repetitive sections and you build with a lot of dark gray so that can be a turnoff for many. Also, once you are done, you need to have a place to put this. It won’t just fit on a small shelf or table in the corner. It takes up some space!
Getting this set with the discount and Insider points helped. I’m not sure I would have picked this up without a substantial discount and GWP.
What are your thoughts? Too gray? Great model of a landmark? Too expensive? Fun build?

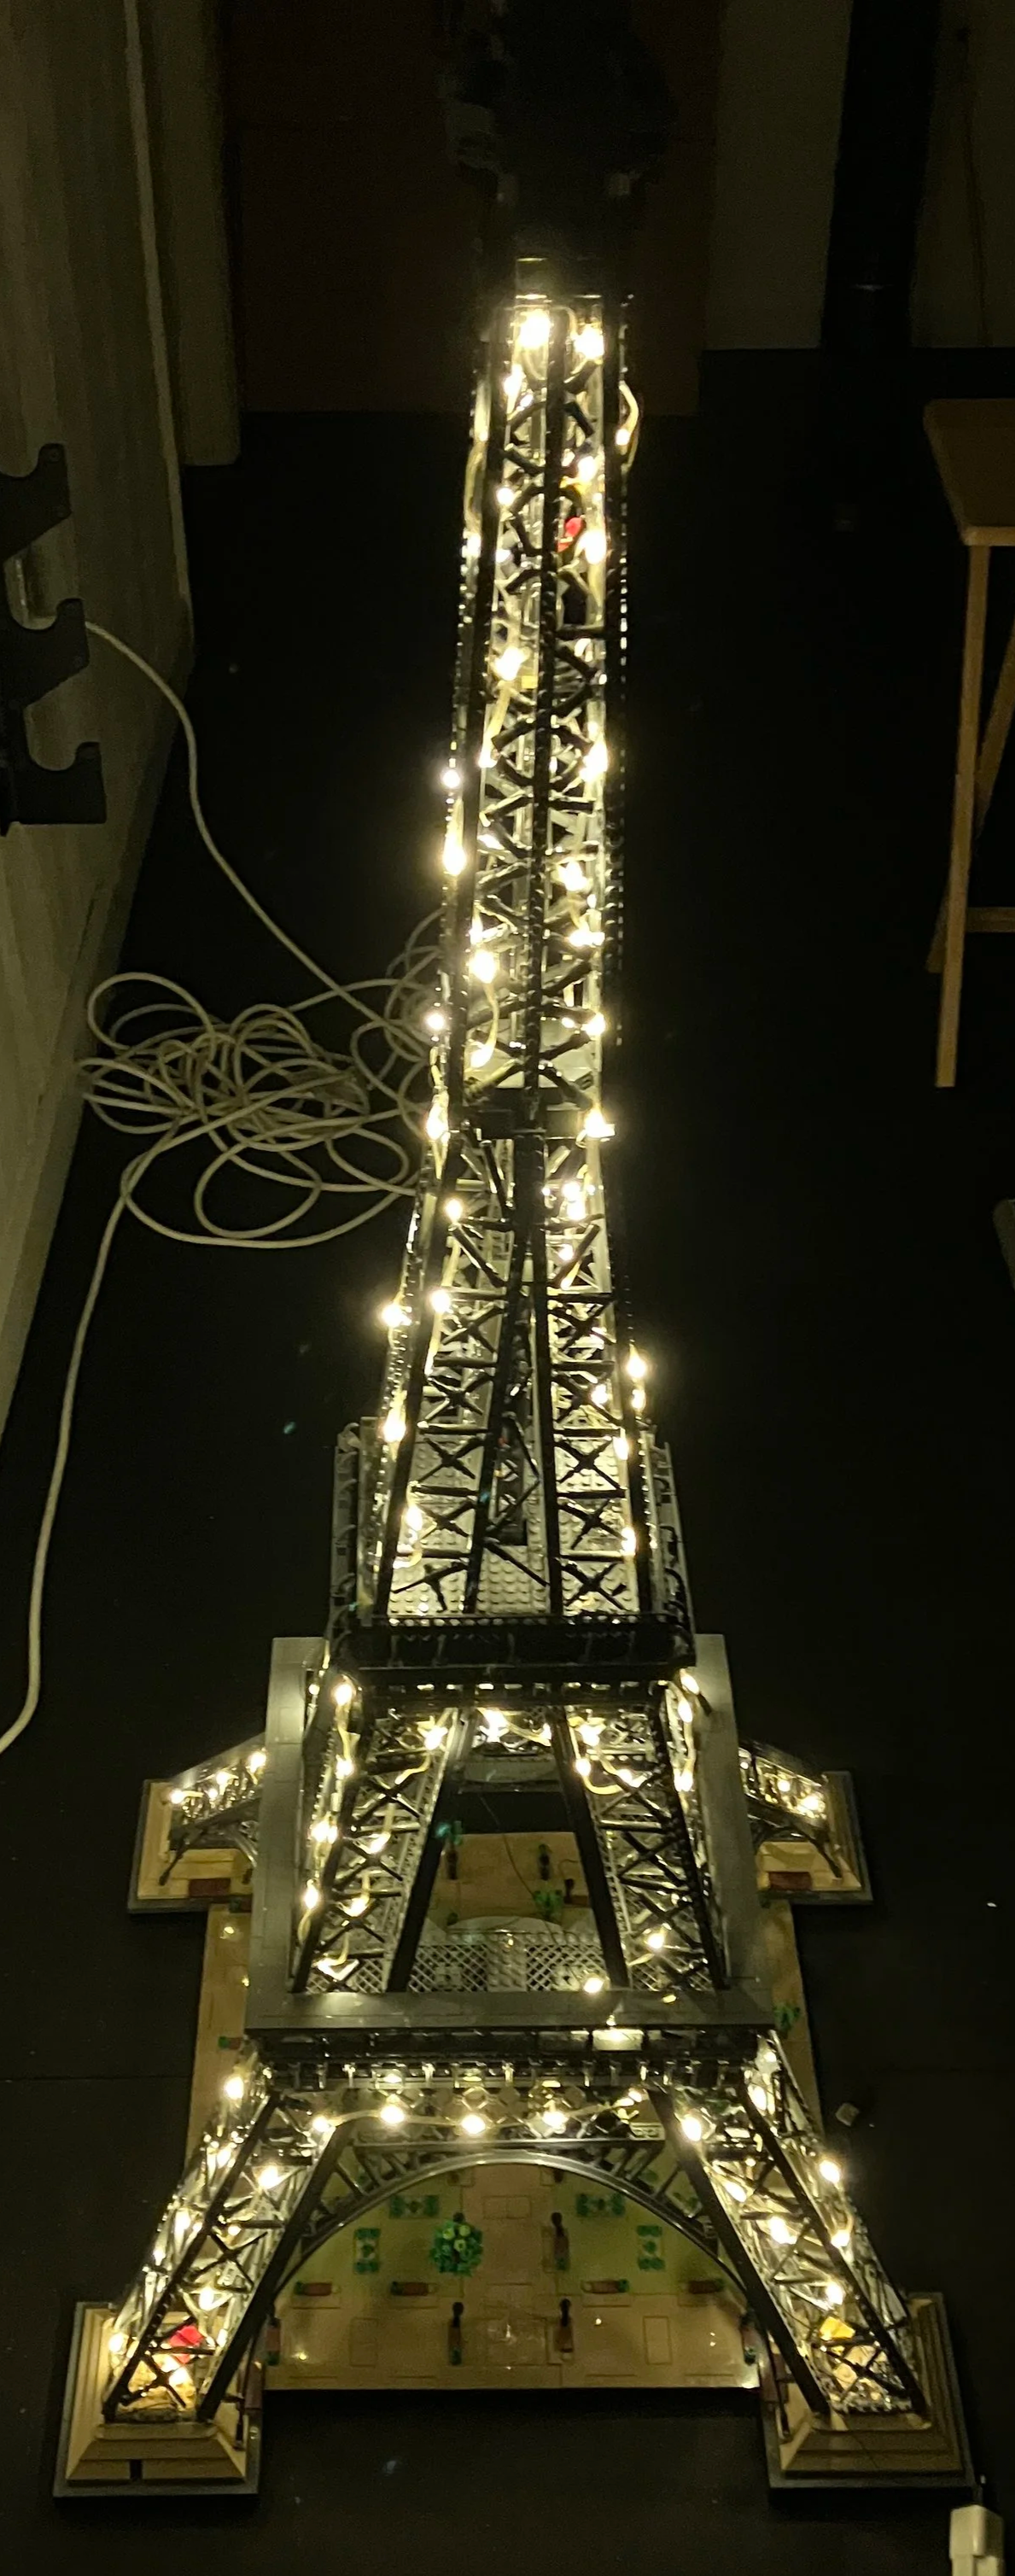
When I bought this set, Light My Bricks had a light kit for this set on sale for about half off. I forget the total price. It originally was $260 and I think I got it for $130, plus they threw in some extra lights. (Note I purchased the 1.0 kit, not the 2.0 kit). I have reviewed a light kit before from a different brand and that one wasn’t too bad to install. This one was a beast! Besides all of the very small wires and connections, it was a challenge to thread all of the wires into the right places and to follow the instructions of what to remove and where to hook things. I definitely made incorrect connections along the way. The 1.0 kit starts with lighting up the base of the tower with little lights on many of the small lamps (you remove a bunch from the original build). This part took a very long time for me to get right. I ended up breaking a few pieces and had to ask Light My Bricks how to purchase replacement pieces. They were kind and send me new pieces for free. Once I got the base complete, you start to light up the legs of the tower. This uses some thicker strands of LEDs that make the set look awkward in the day time. At night and in the dark, you can’t tell and the lights look great. You also add in some RGB strips for color at each of the levels of the tower. I installed a few wrong so the colors aren’t all synchronized like they should be. Finally, at the very top, I followed the instructions and the two white lights don’t come on. At this point, I’m done messing with it so it will stay dark at the top in white mode, but will look great in color mode. Here are two pictures below of the lights. The white looks great (except for the very top) and the color is a cool function with the ability to set different levels at different colors or to have it continuously change color.
After this experience, I don’t think I will do another light kit. While the end product looks cool, it was too stressful for me to build. I enjoy assembling LEGO sets, but adding in the light kit was more frustration than it was worth. Light My Bricks has a 2.0 series out now which they claim is better. The instructions are supposedly better and it’s designed to show less wires. Has anyone tried them out?
Happy building!